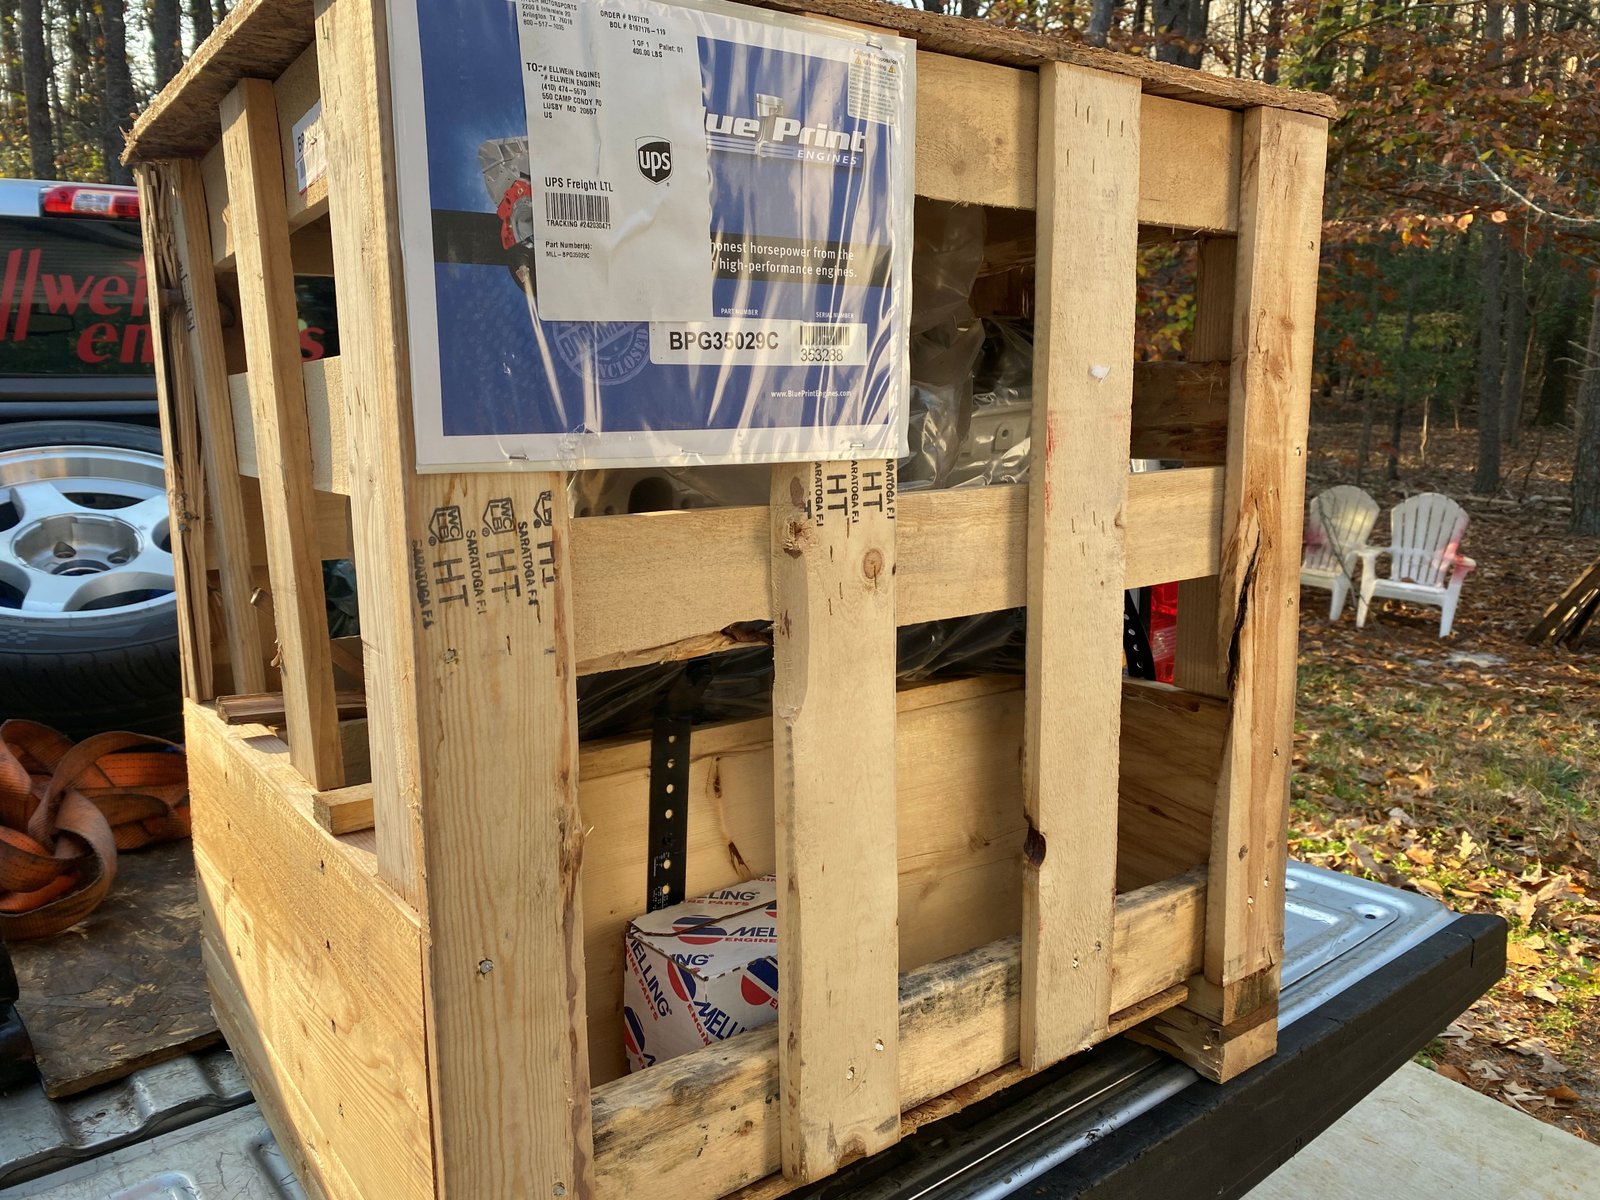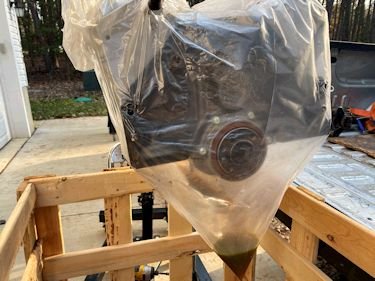
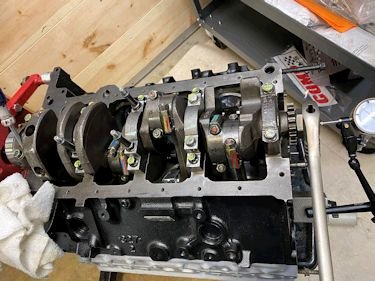
This is the Blueprint Engines part number BPG35029C
|

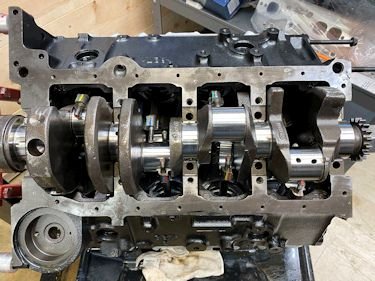
It is a good ol' LT1 with stock everything except the main caps
and the .030" over pistons. |
She comes with the 300 hp camshaft.
|

I'll be putting in the GM LT4 hot camshaft in a few days. |
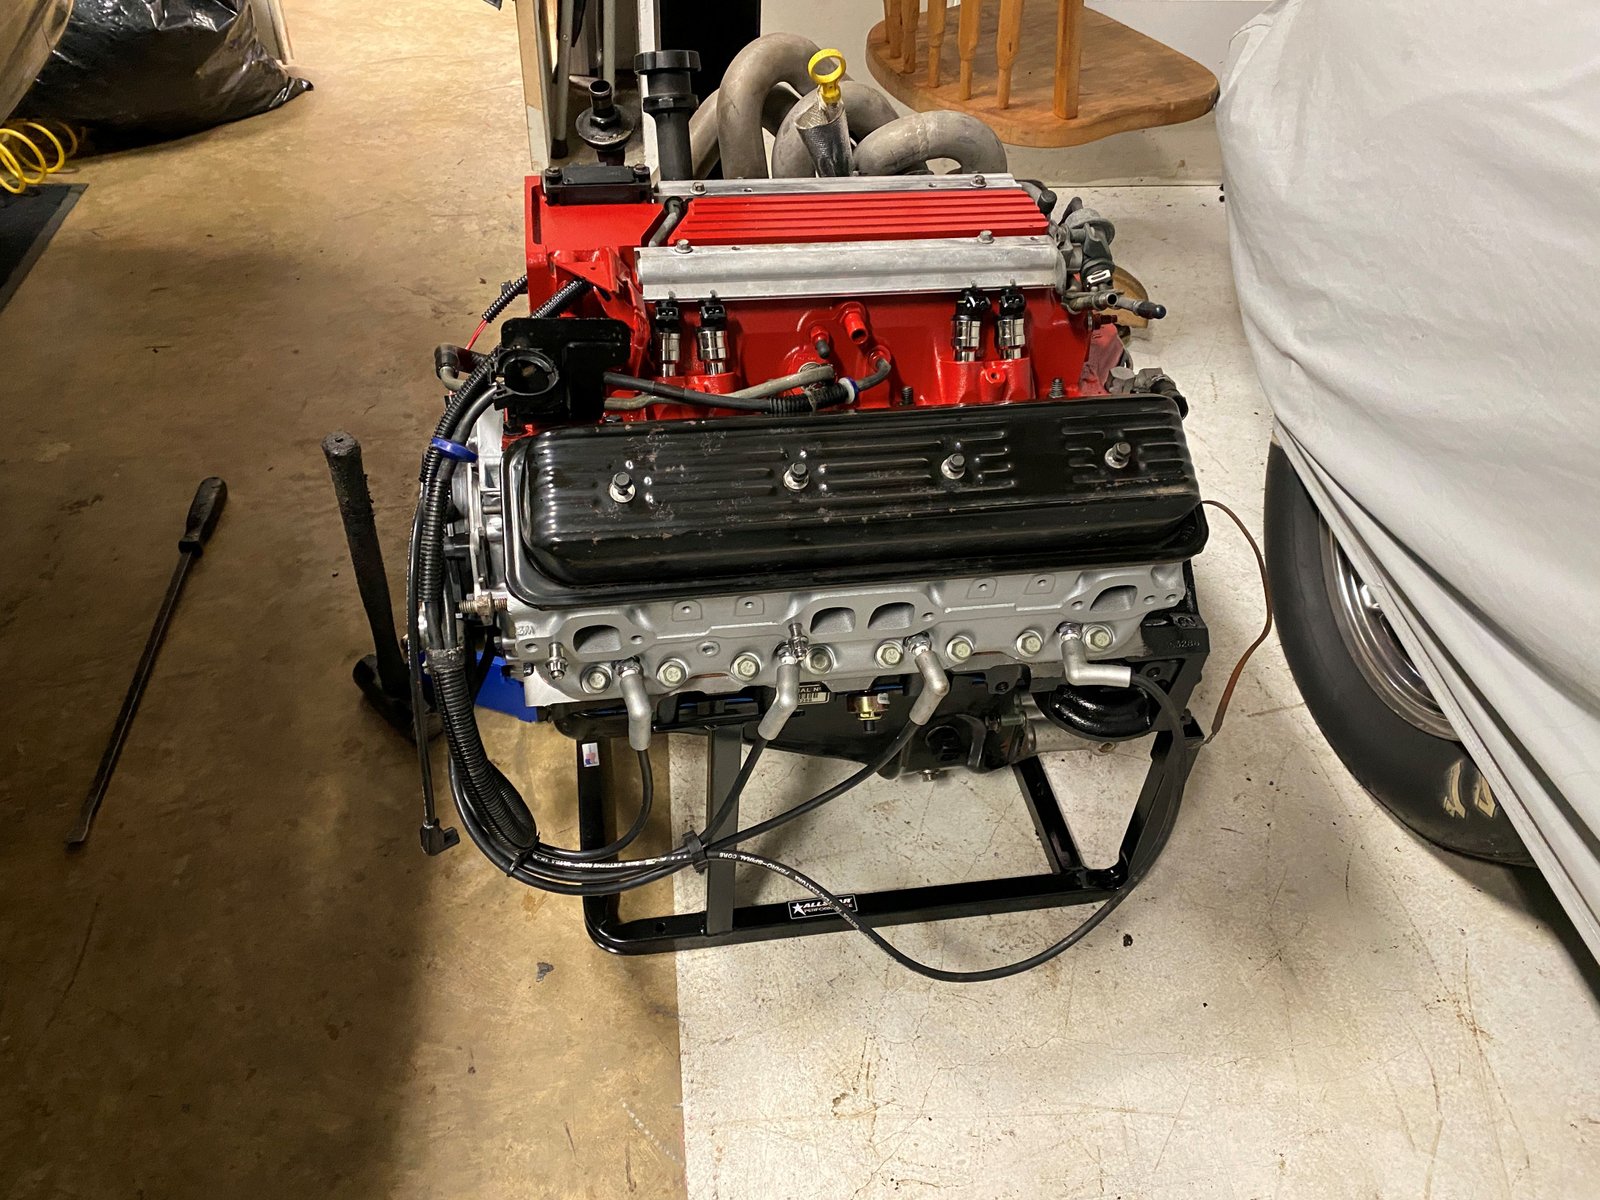
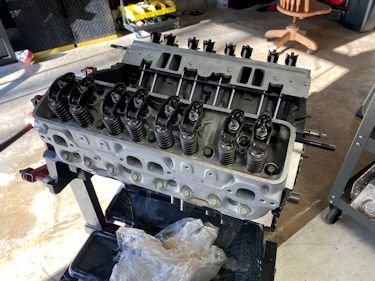
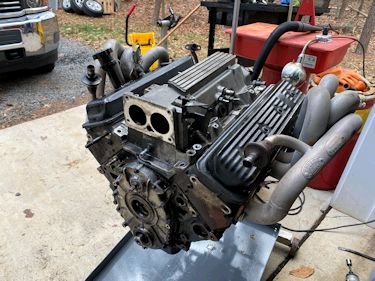
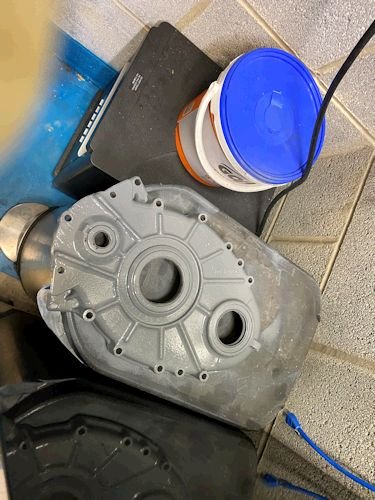
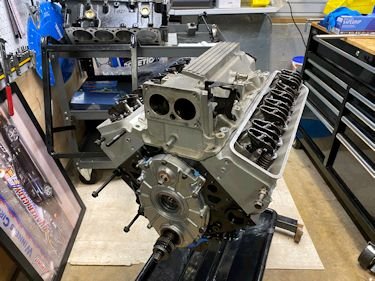
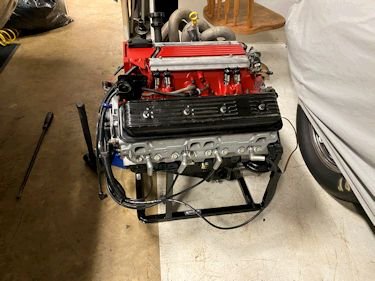
The engine arrived in perfect shape. Squeaky clean.
|
Nicely painted too. |

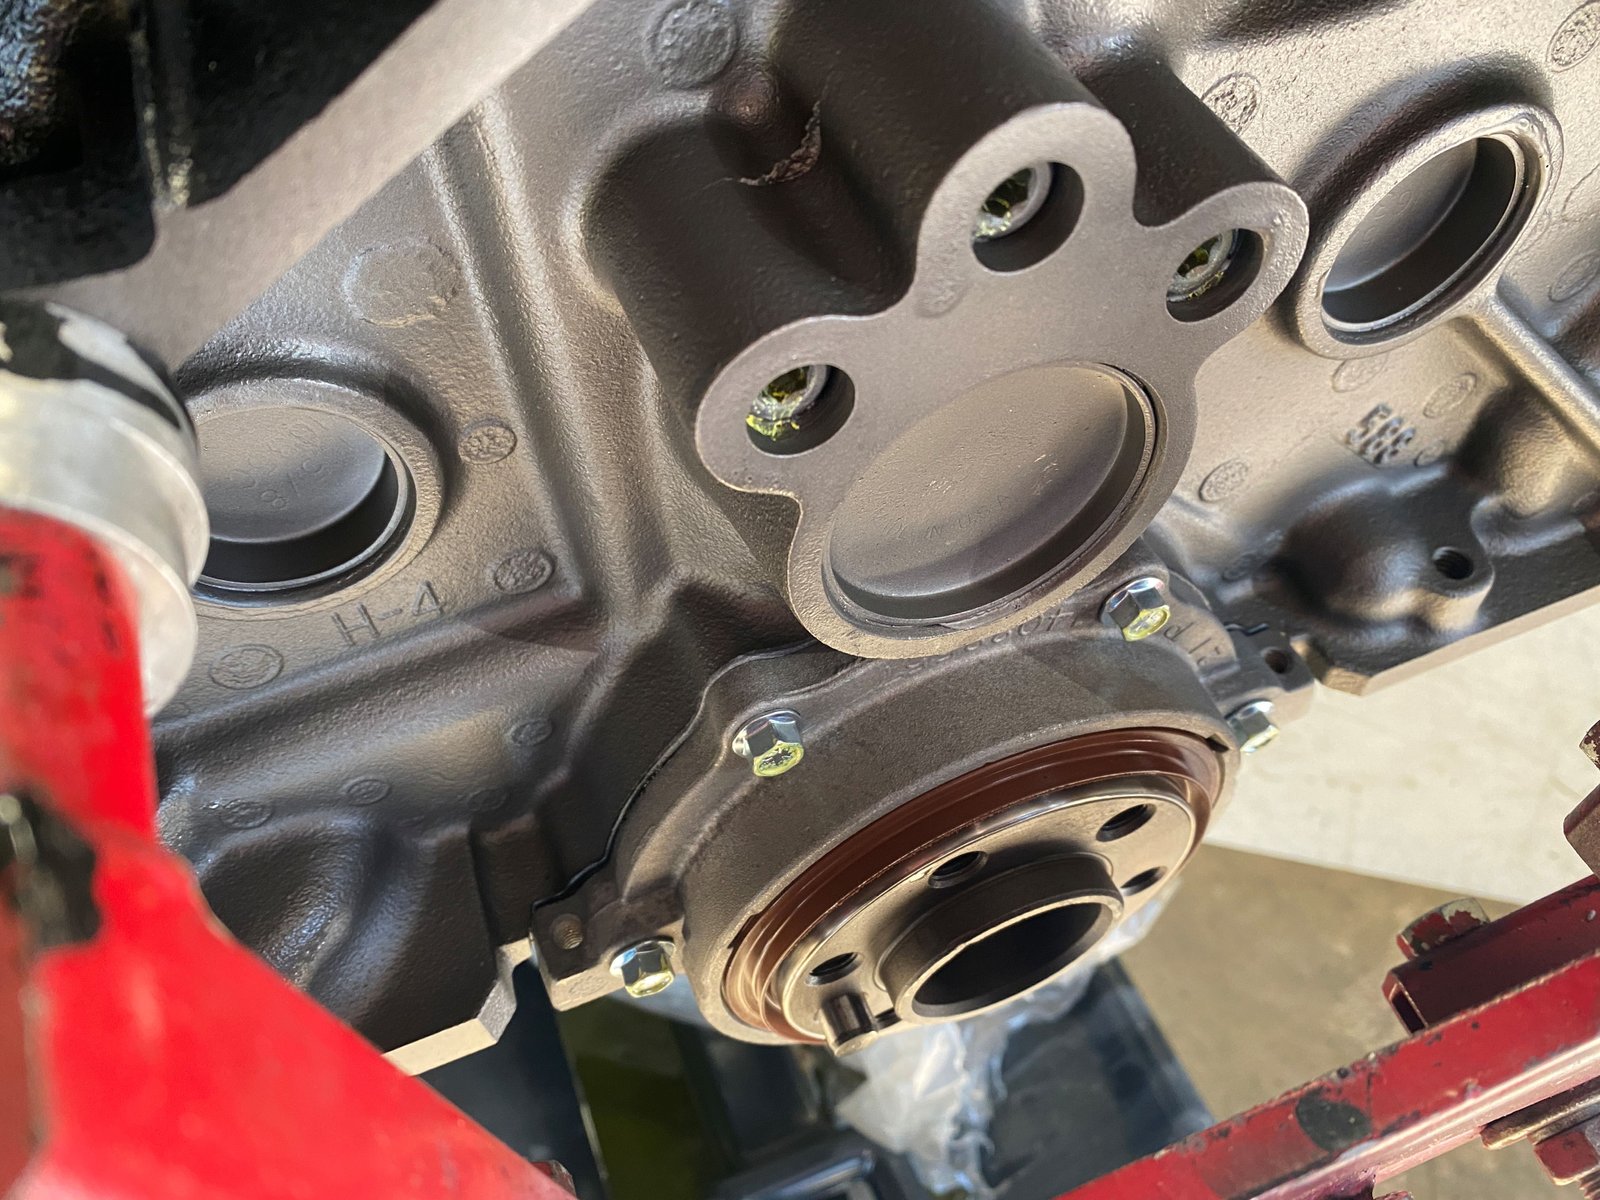
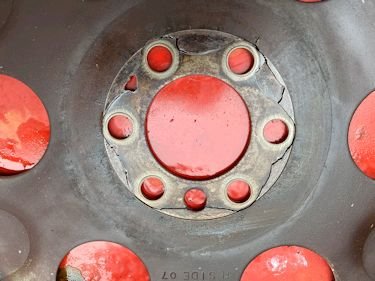
I like the main caps. They are not billet steel but they are
still 4-bolt.
|
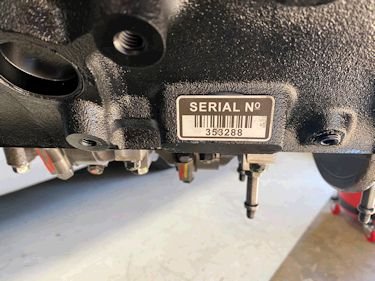
Blueprint Engines even glued a serial number to the engine. |
The M155 oil pump was in the crate but I'll need to add an the
windage tray, oil pan, timing cover, crank damper and intake
manifold.
|
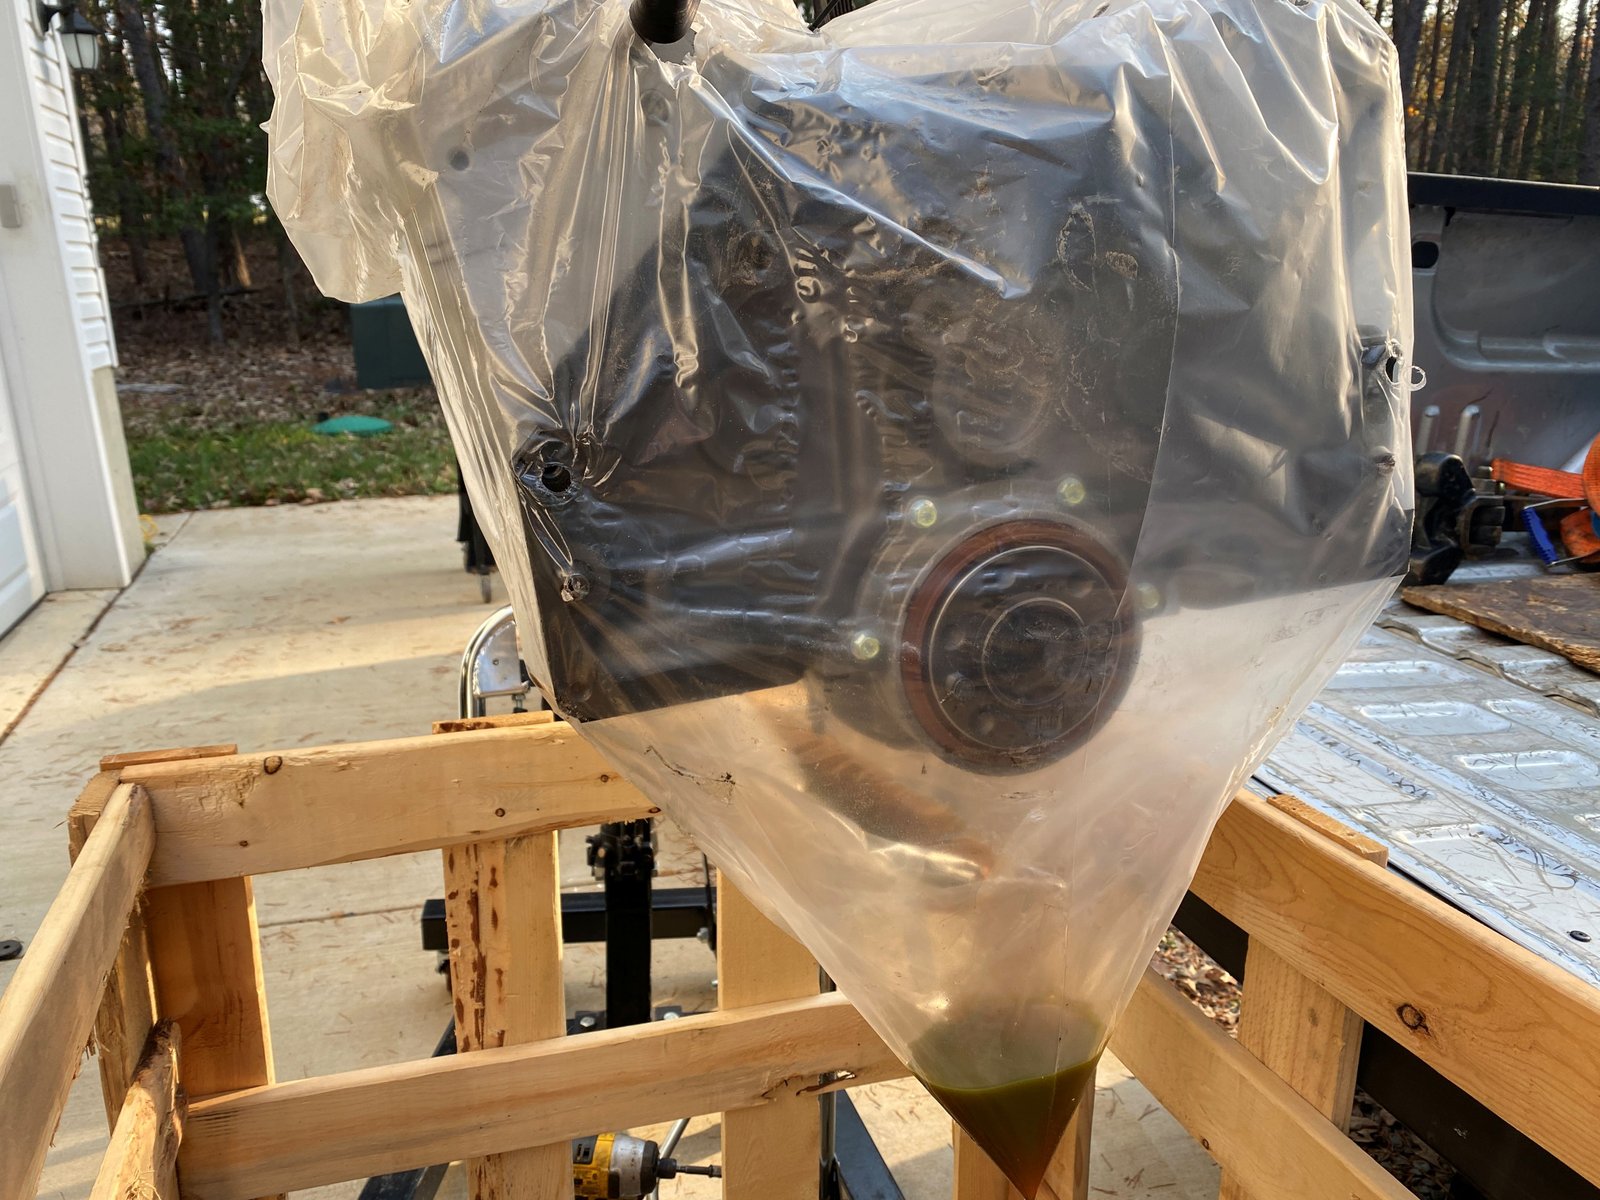
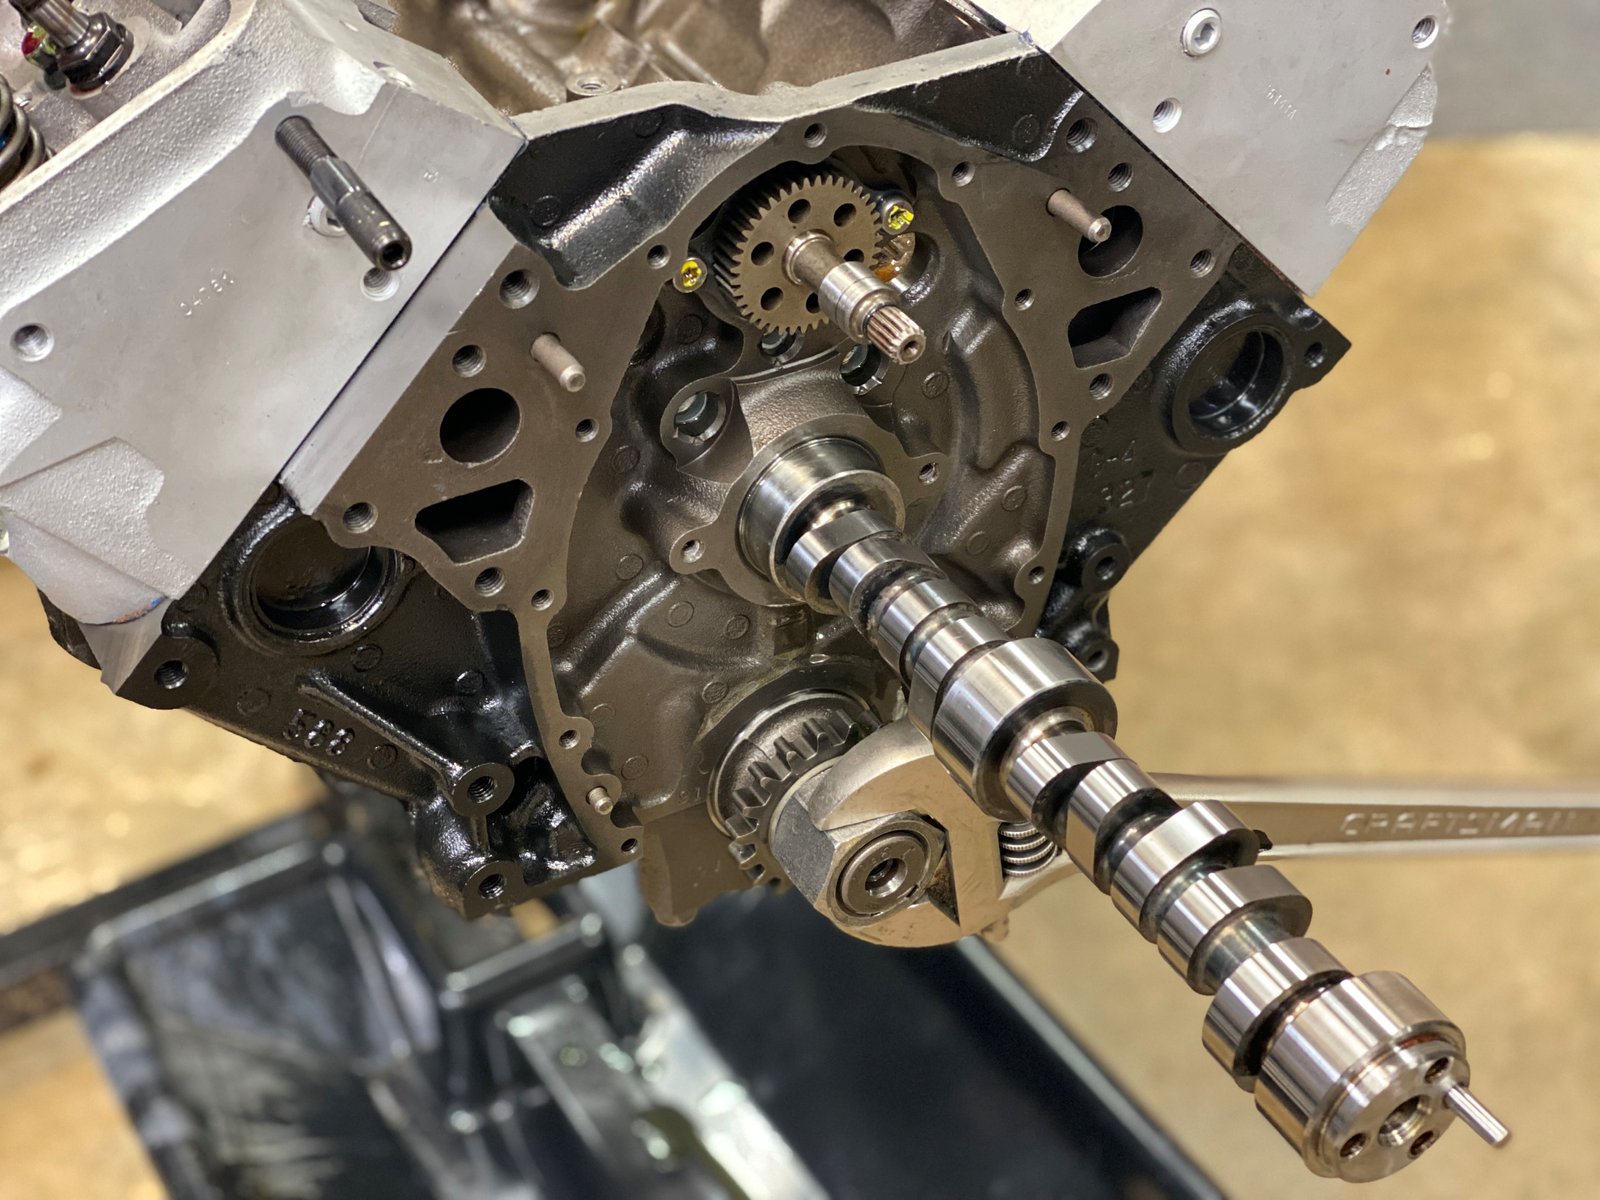
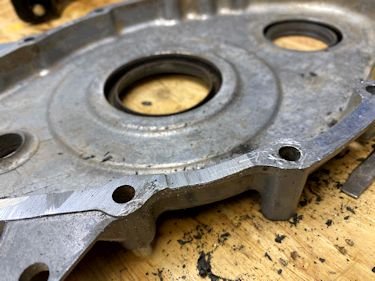
Now that I have the GM LT4 Hot cam I will go ahead and install
it. First I washed off the years of storage grime and
polished a few journals and lobes that had very minor surface
rust. |
This is a good quality "stock" rebuild.
|

The stock Corvette cam is a bit rusty. |
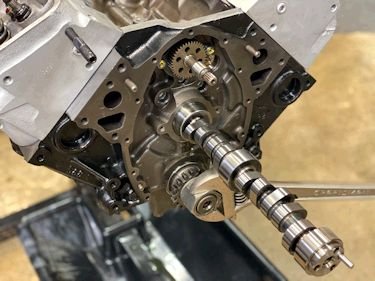
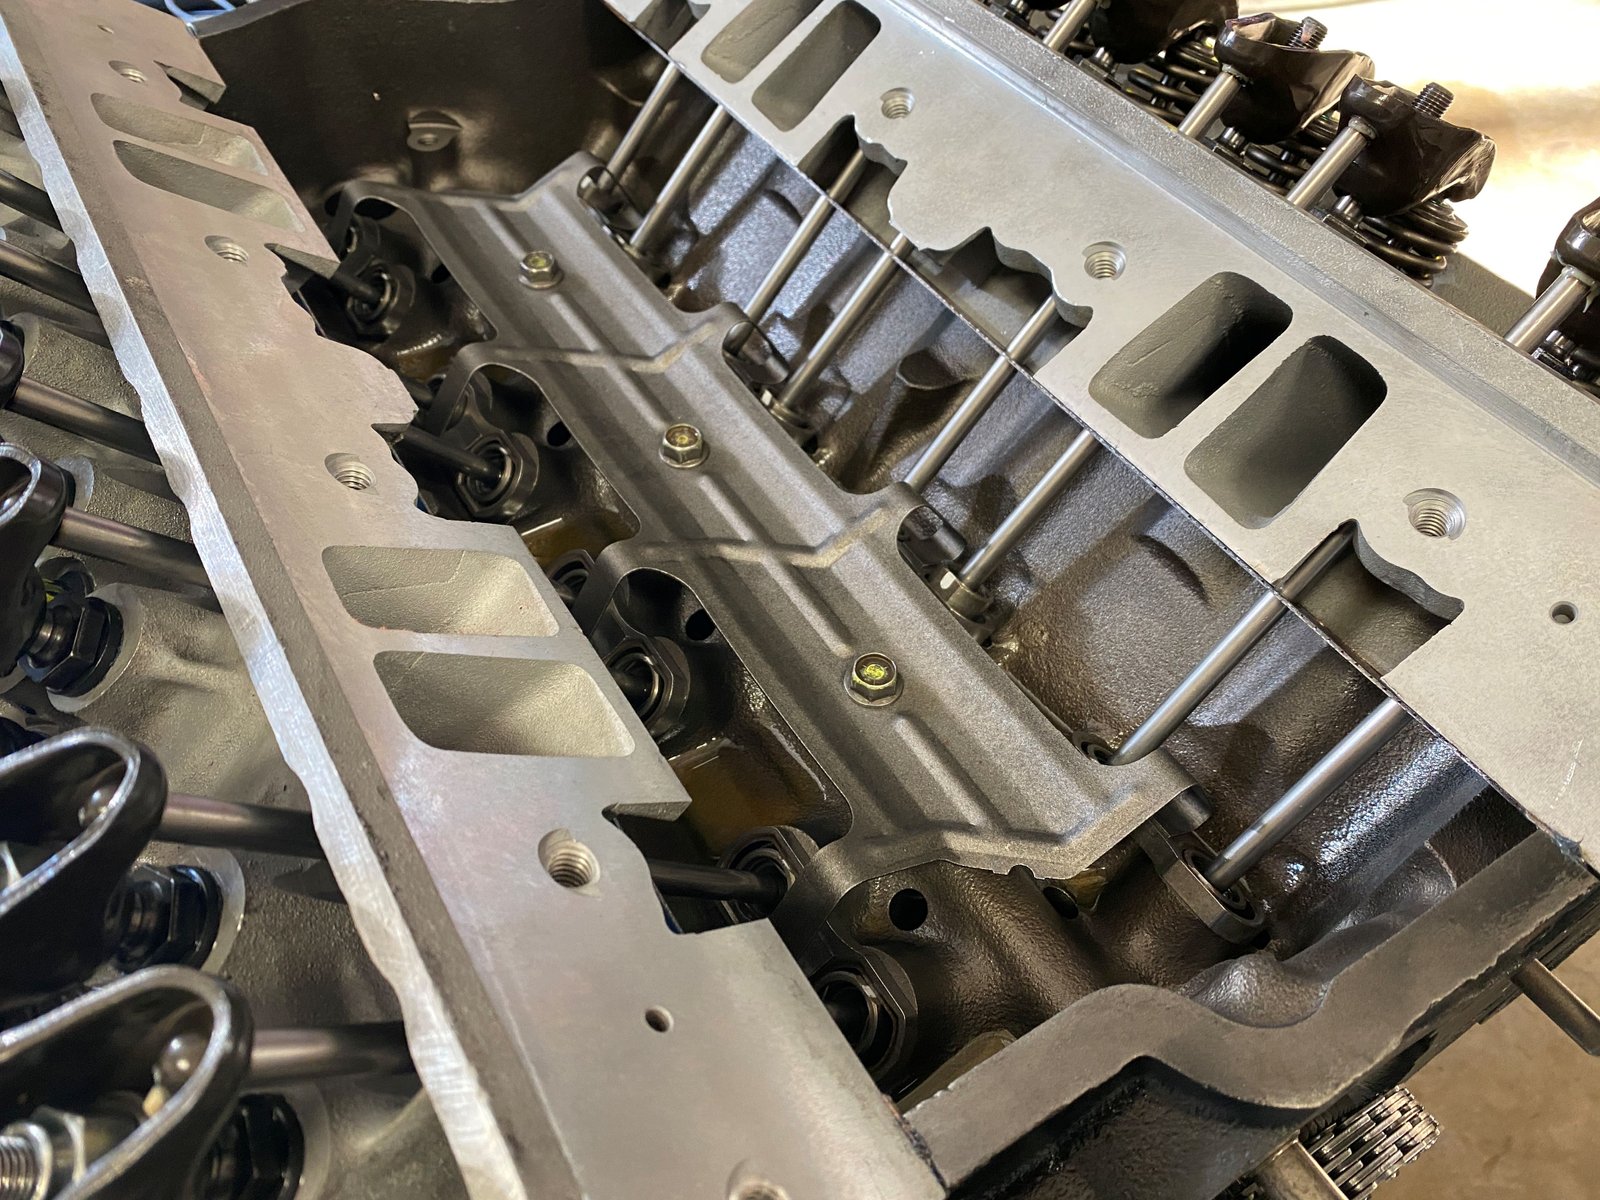
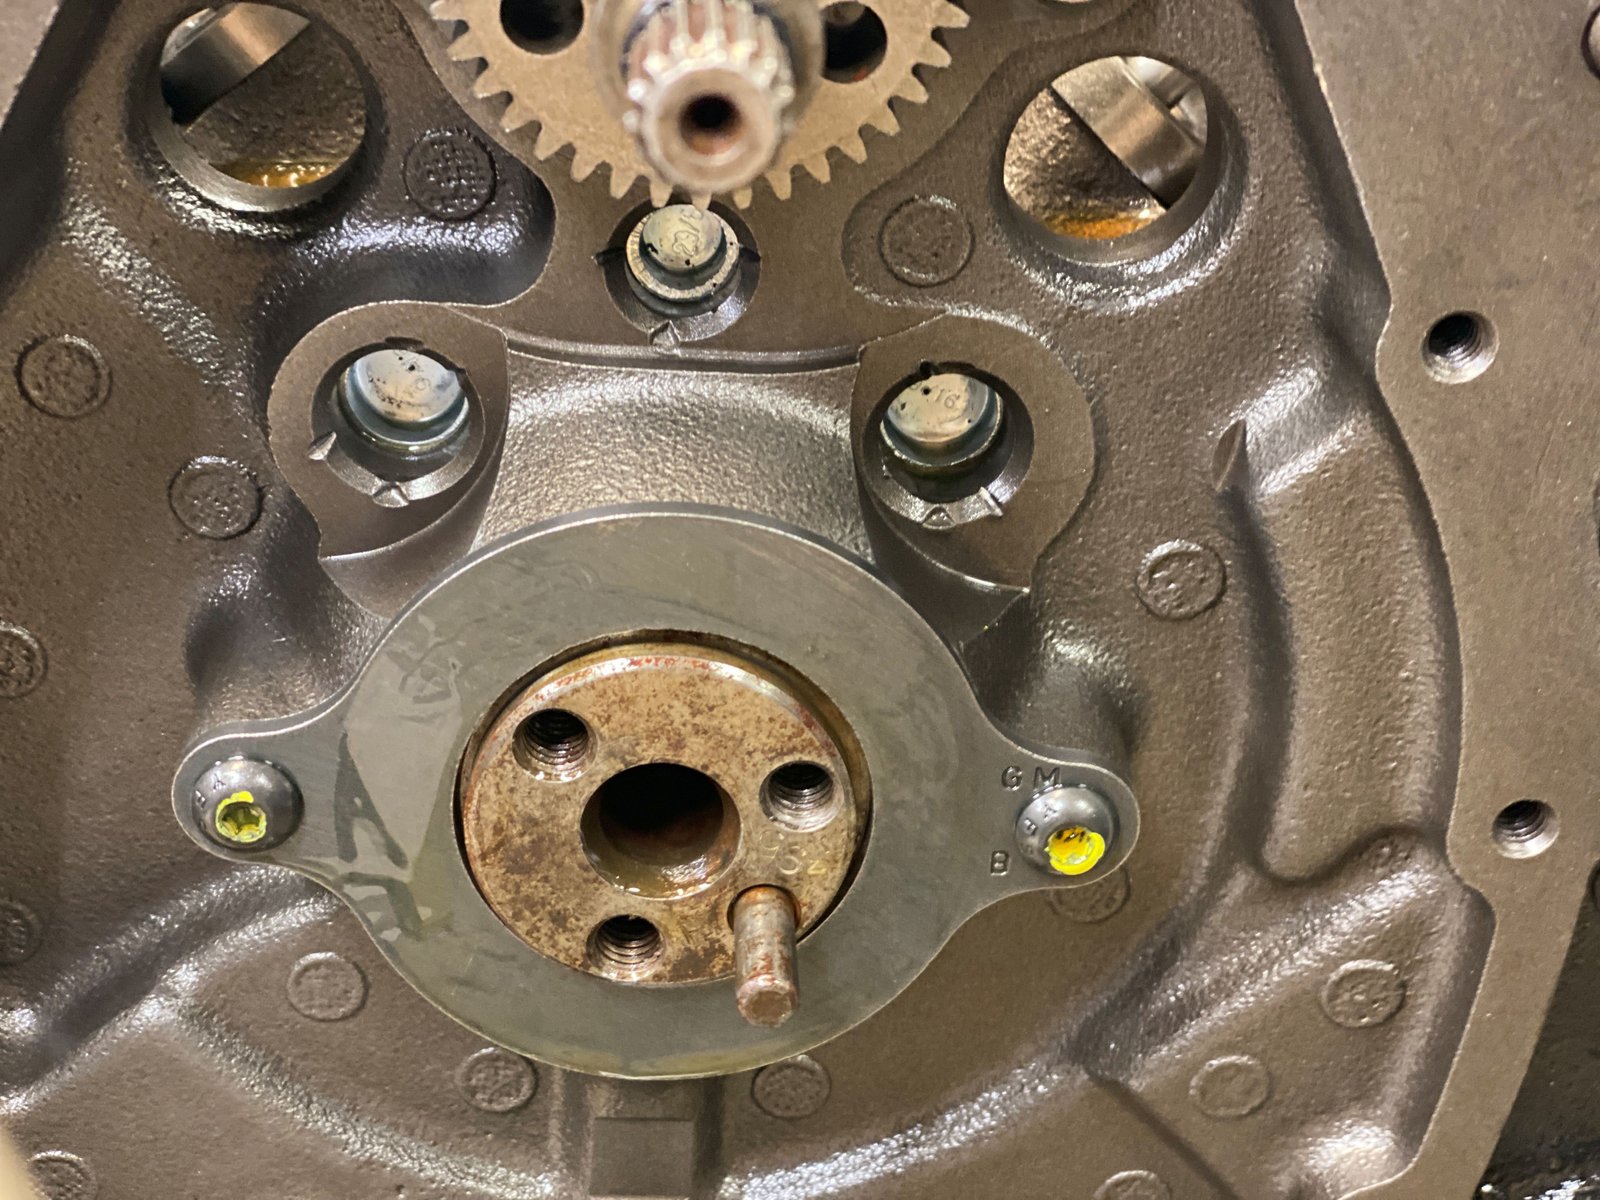
The GMPP Hot cam is not fitting well. The last 2 cam
journals are tight.
|

Turns out that the stock cam that Blueprint used must have
been too rusty on some journals. This rear journal is
.003" smaller than the GM Hot and other known good camshafts
that I have in my shop. That's why the Hot cam won't fit. |

|
I gave a call to Blueprint tech and
asked them if it is in their records that a few of the cam
journals were turned down a few thousands (probably for removing
rust). That would be a somewhat typical thing to do for a
stock rebuild and then they put in oversized camshaft
bearings. The only problem with that is that you cannot do a
simple cam swap. They promised to call back tomorrow.
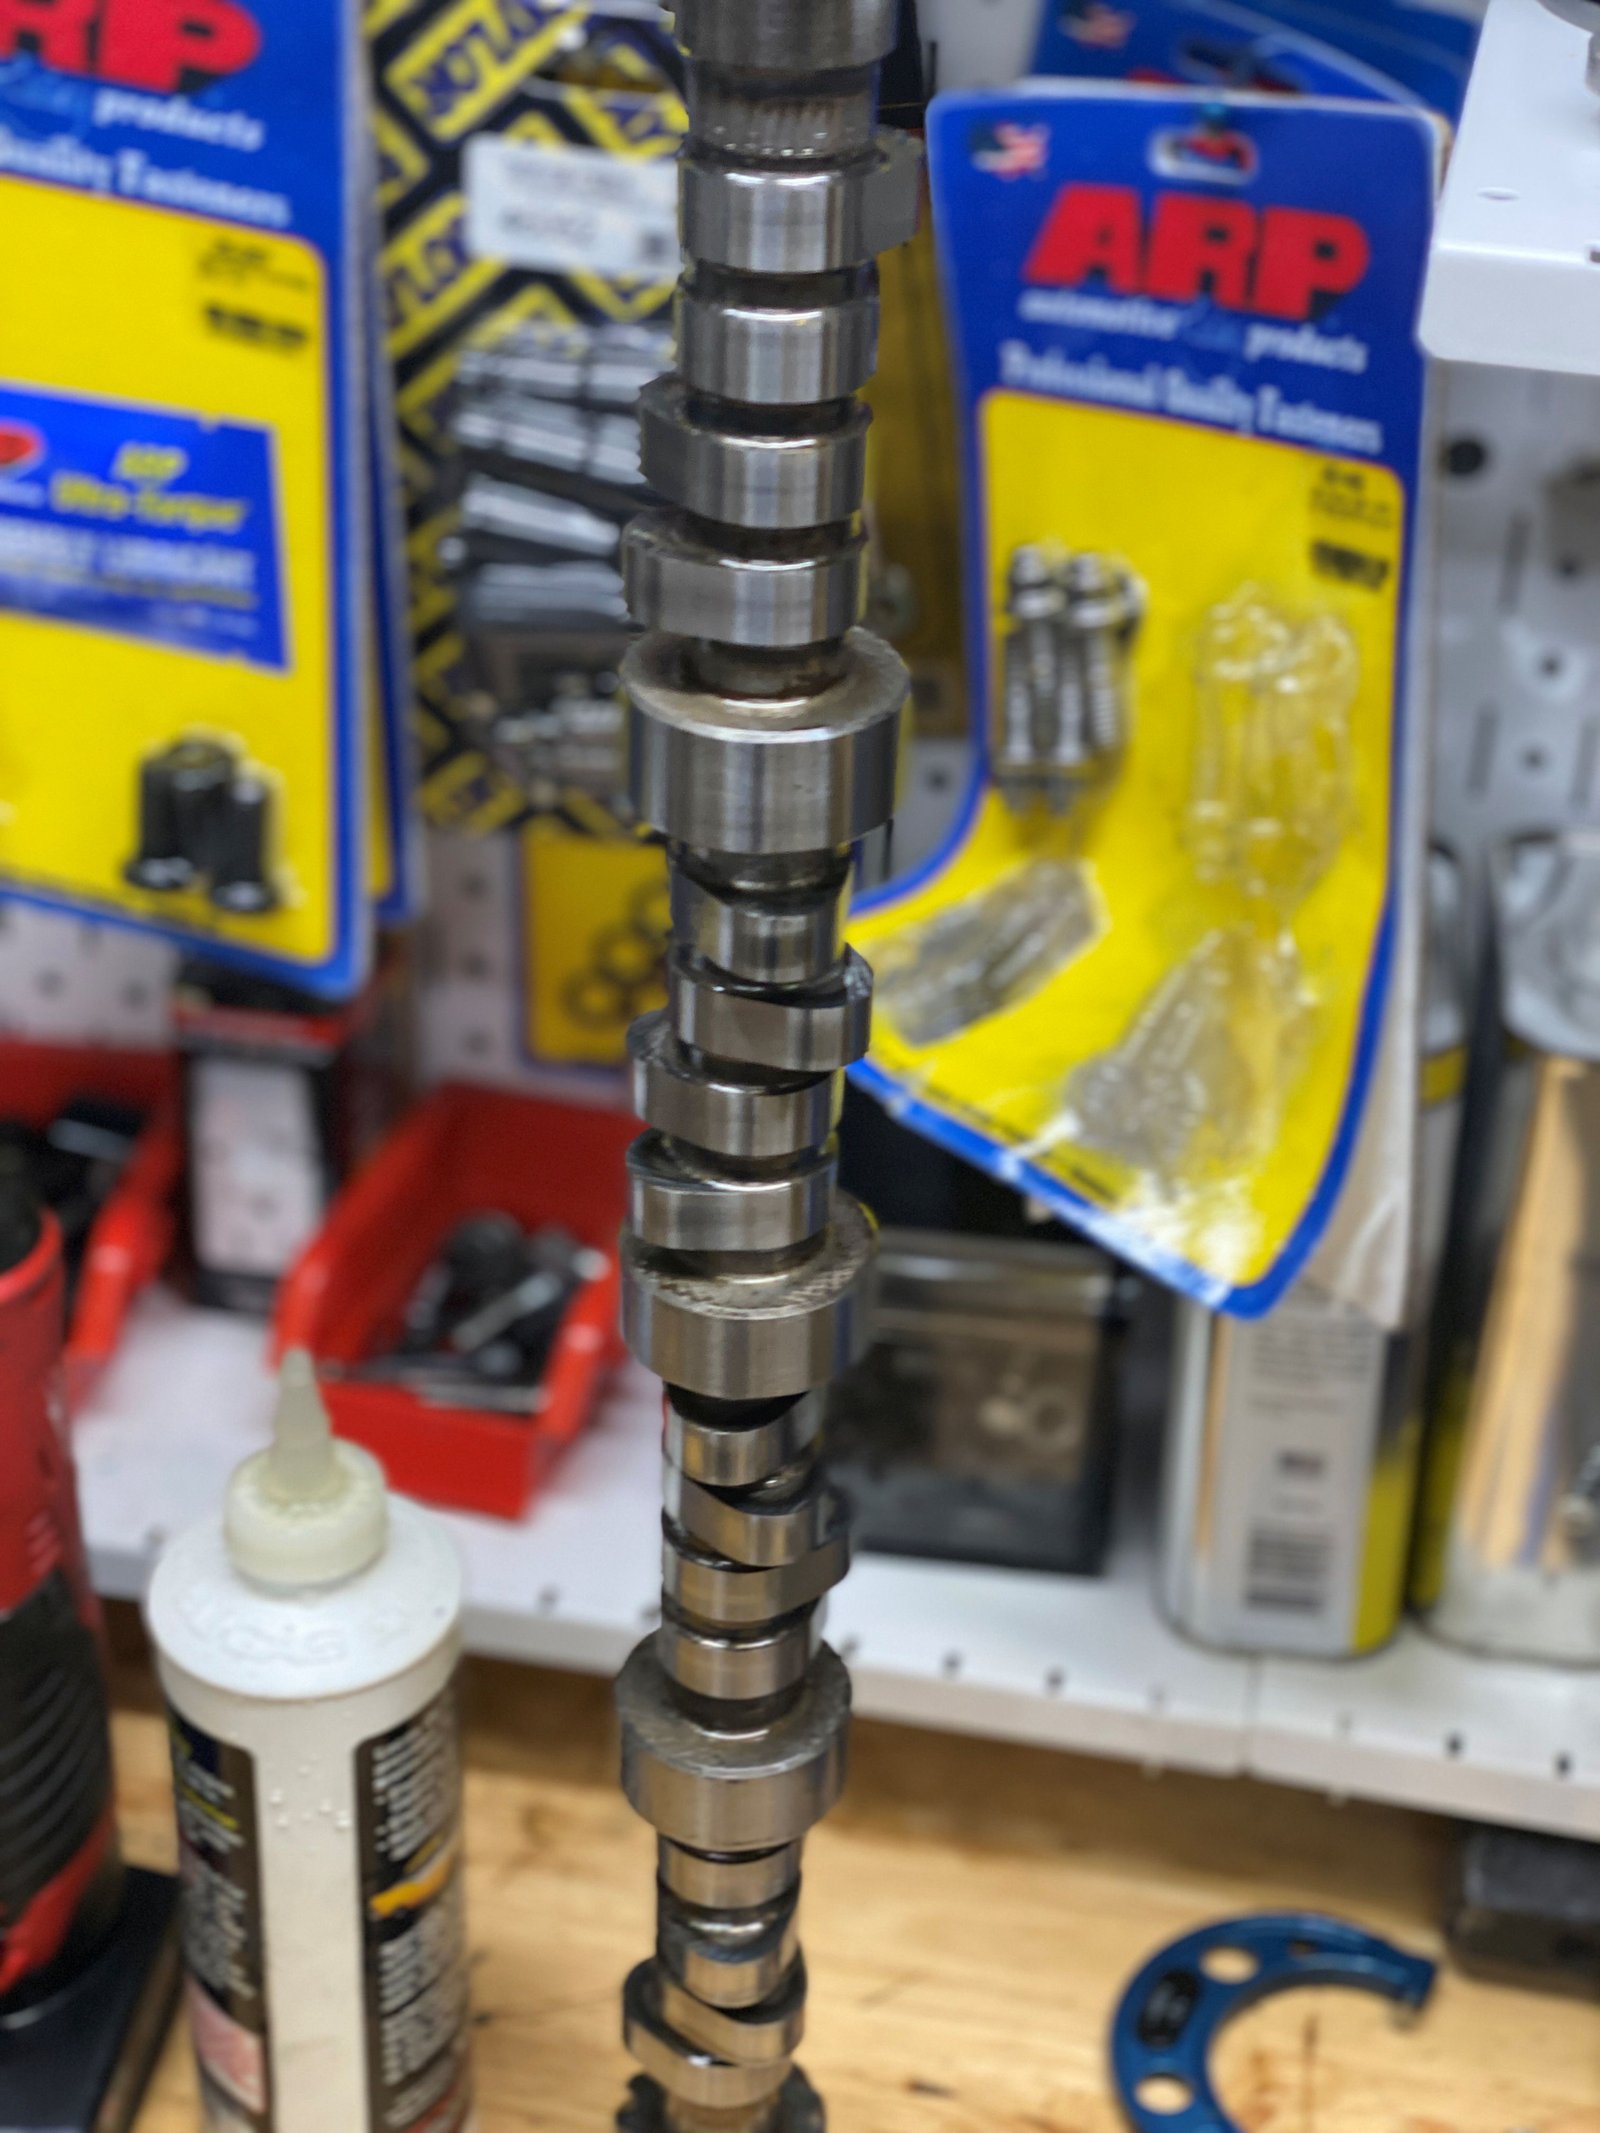
It is no trouble at all to swap out a few camshaft bearings.
You never know what you'll find.
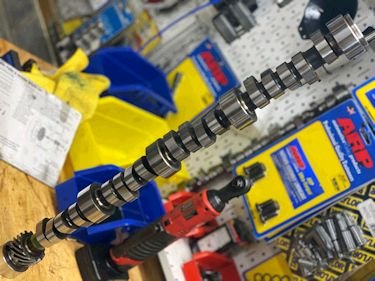
Look at the camshaft to the left
that cam out of the engine and it does look like it has been
"refurbished". |
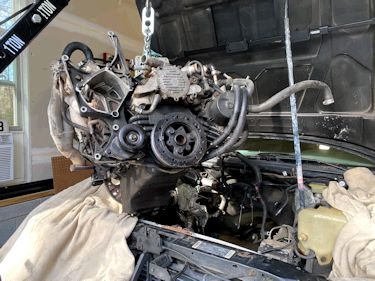
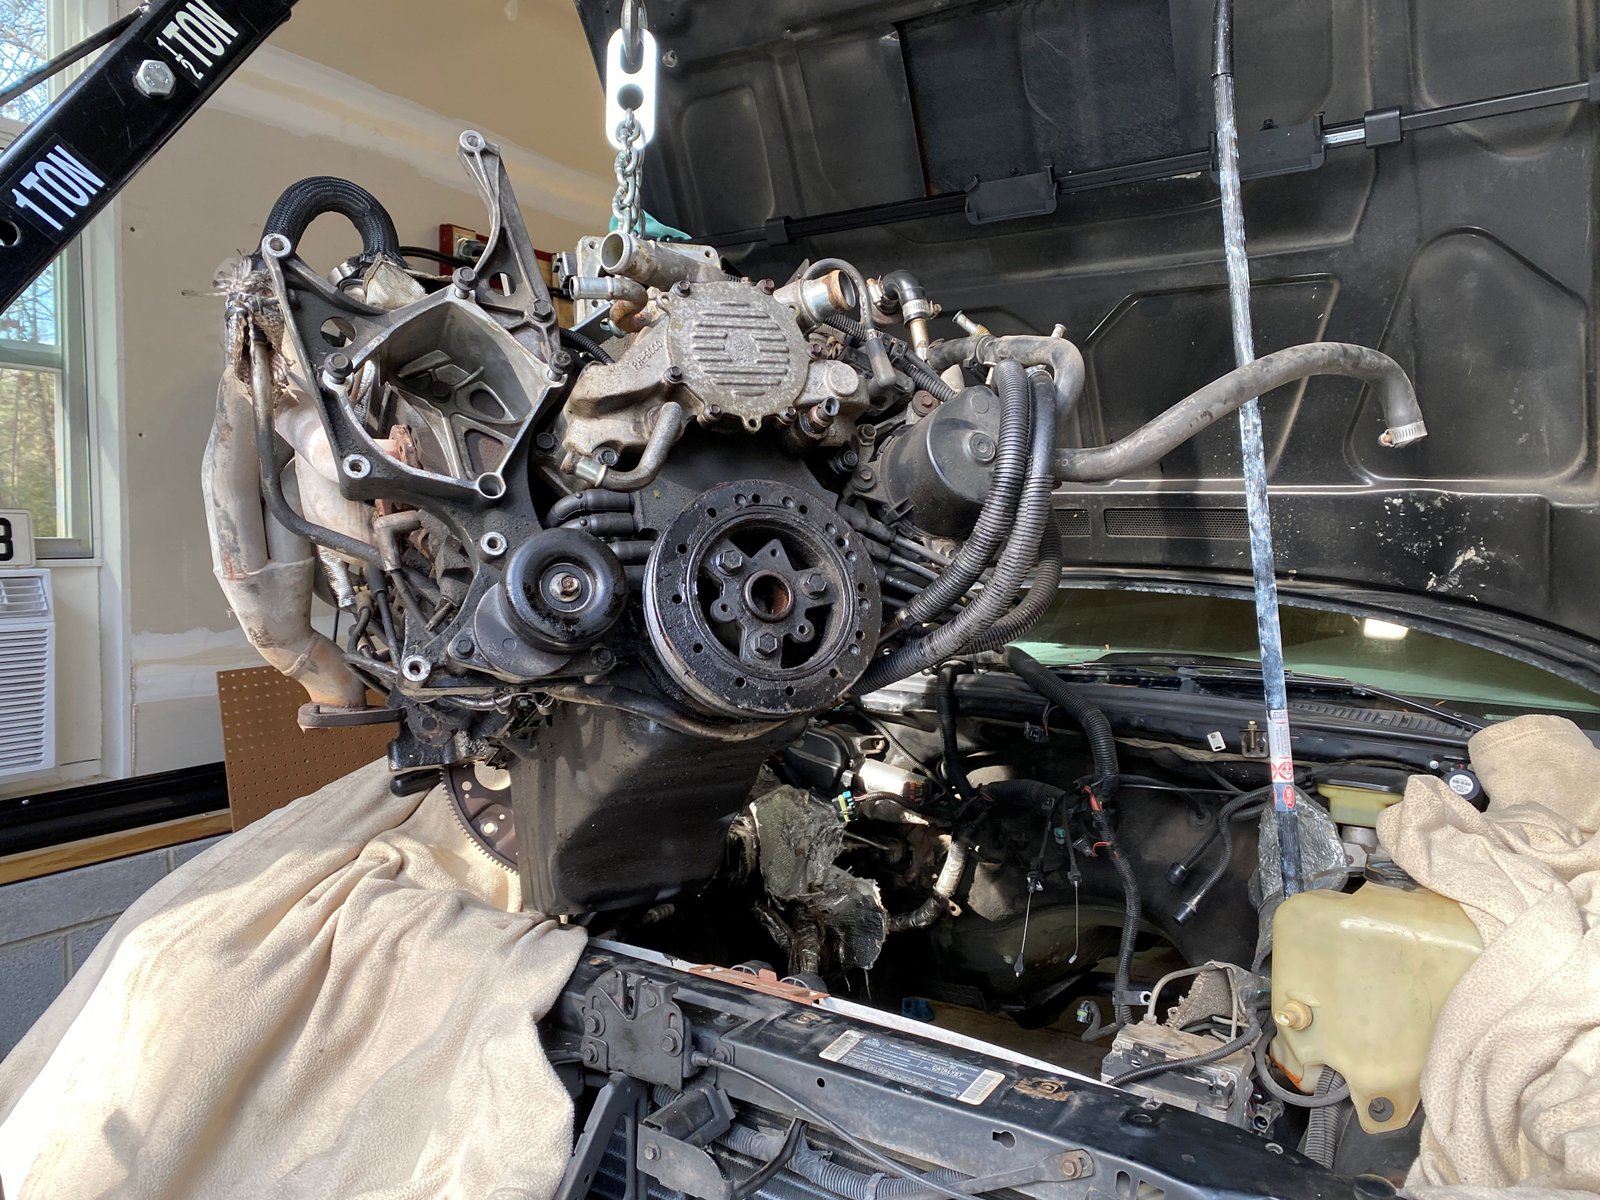
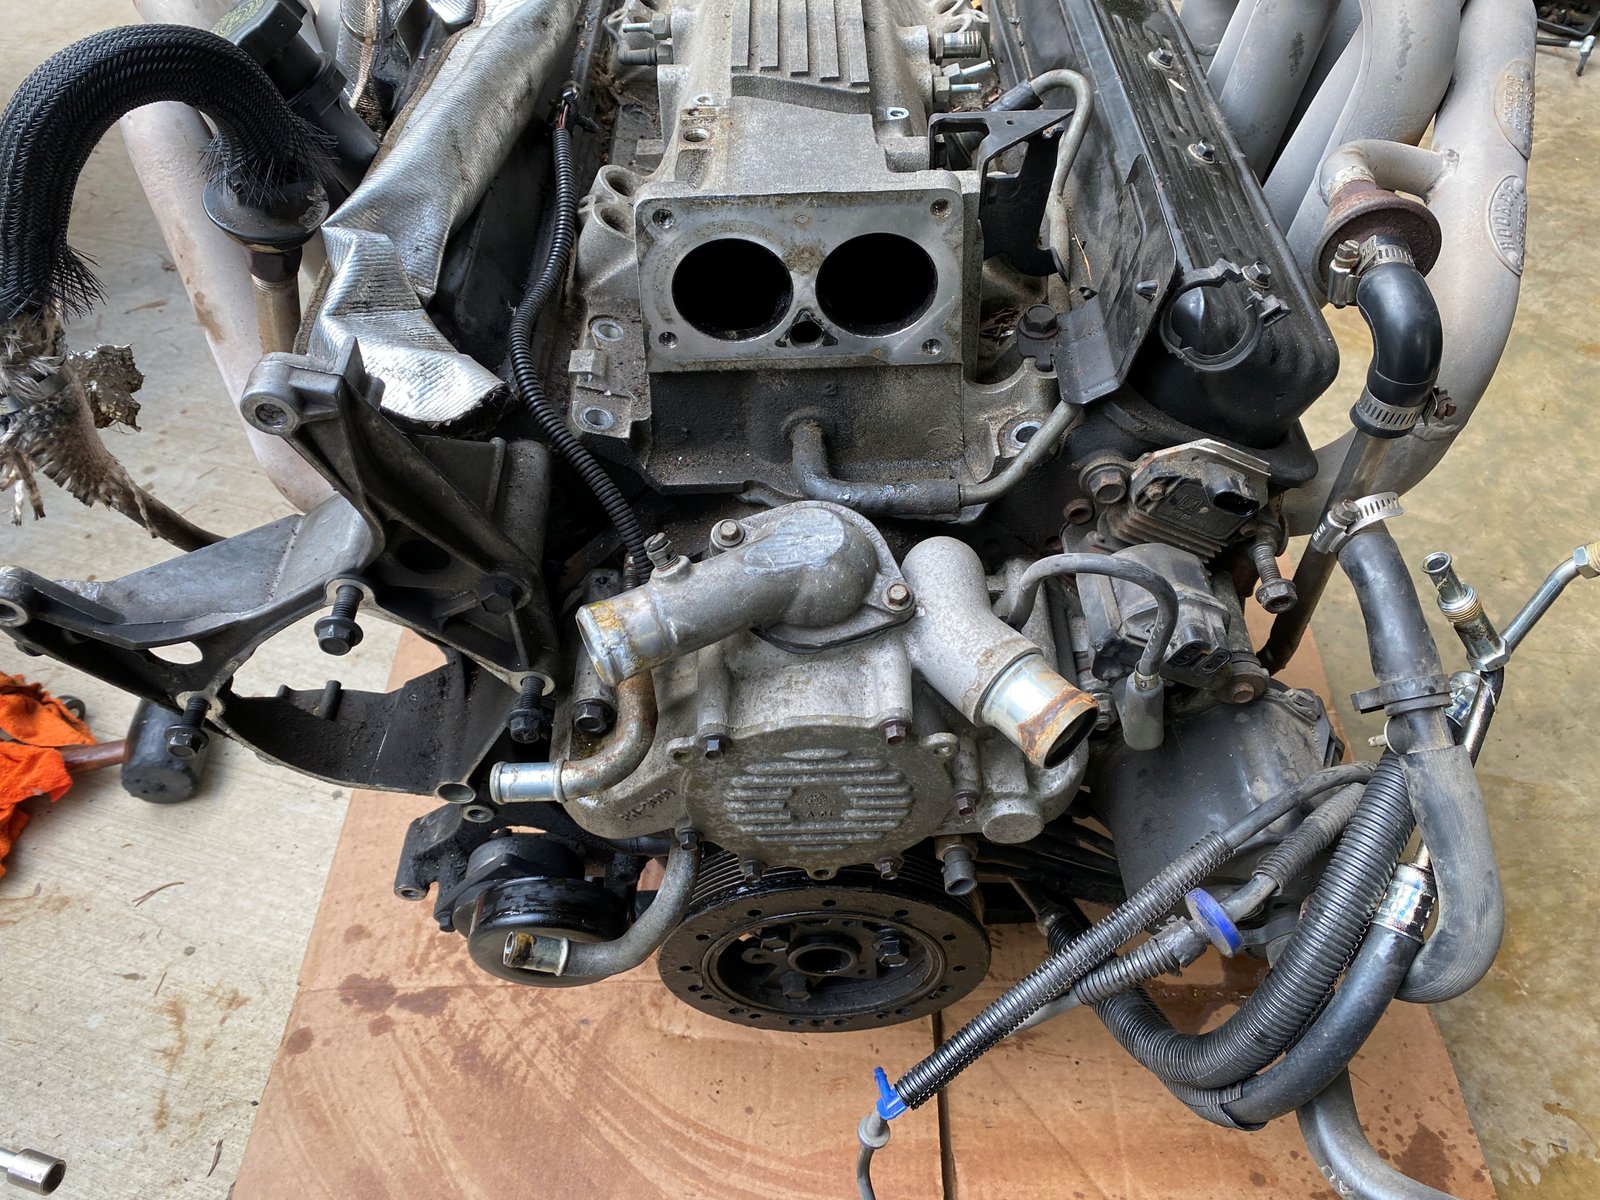
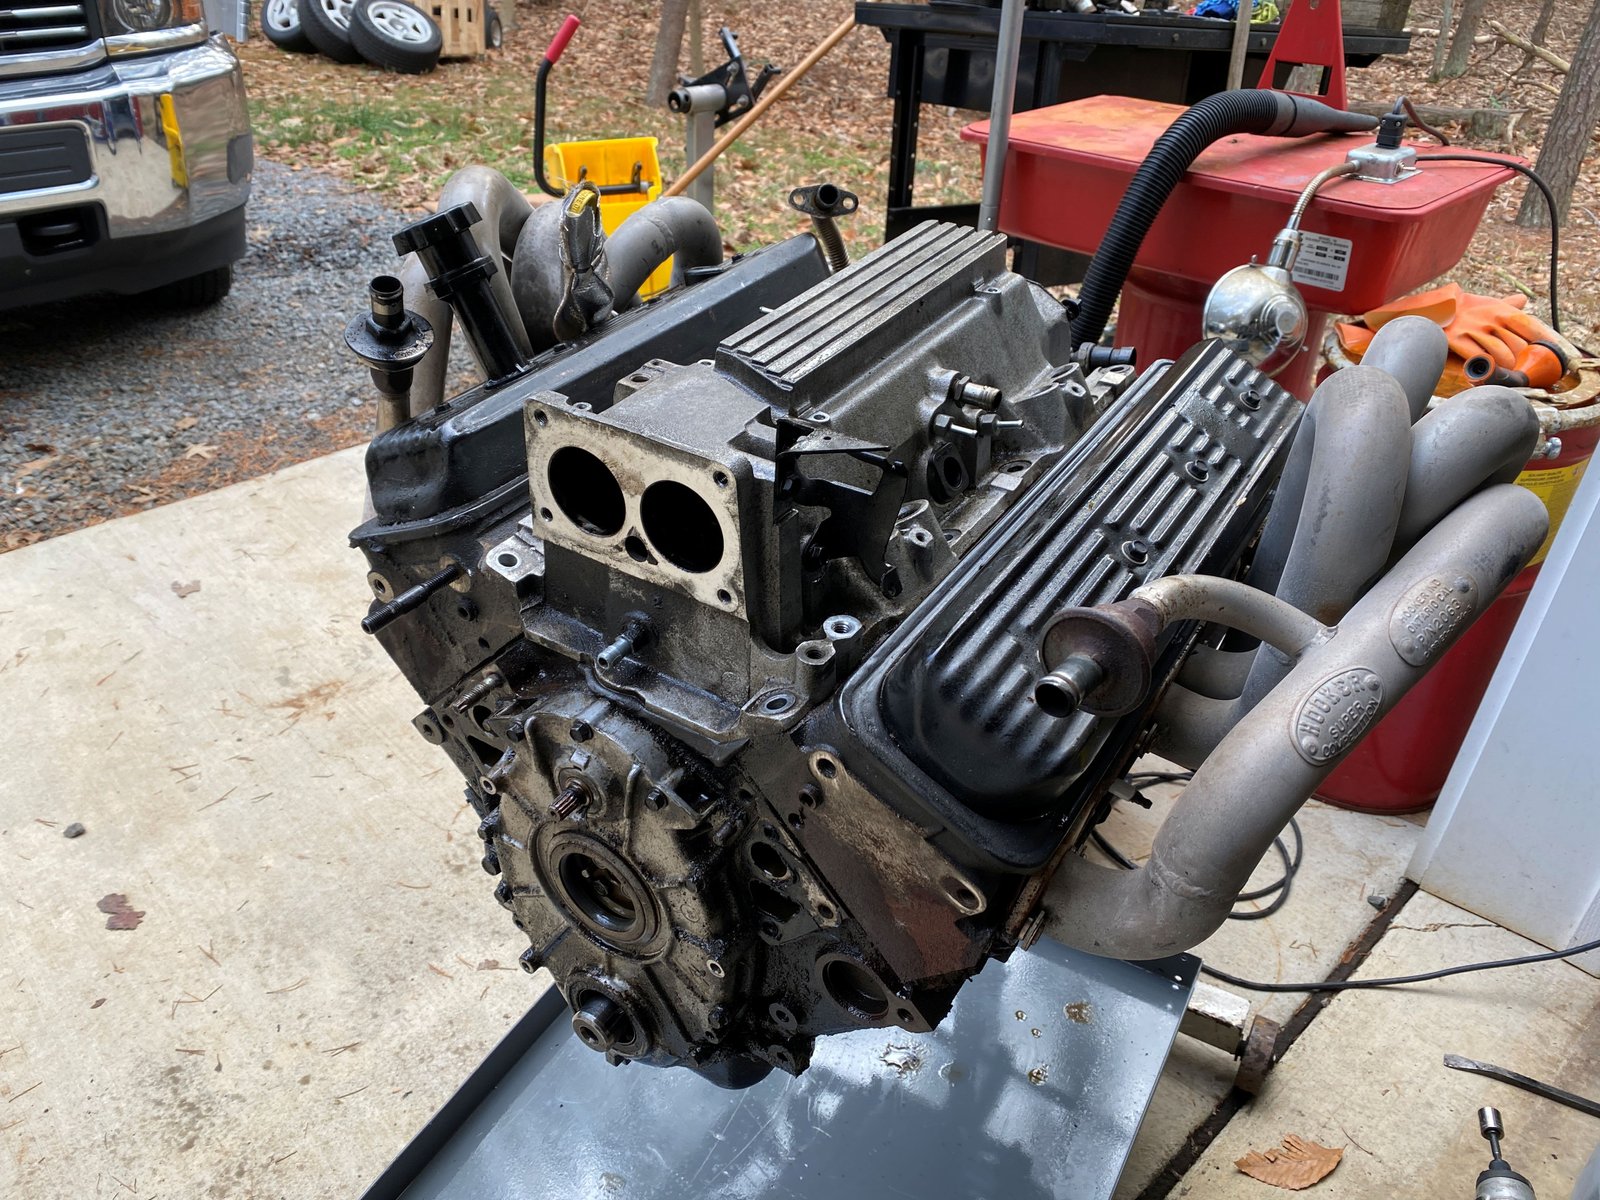
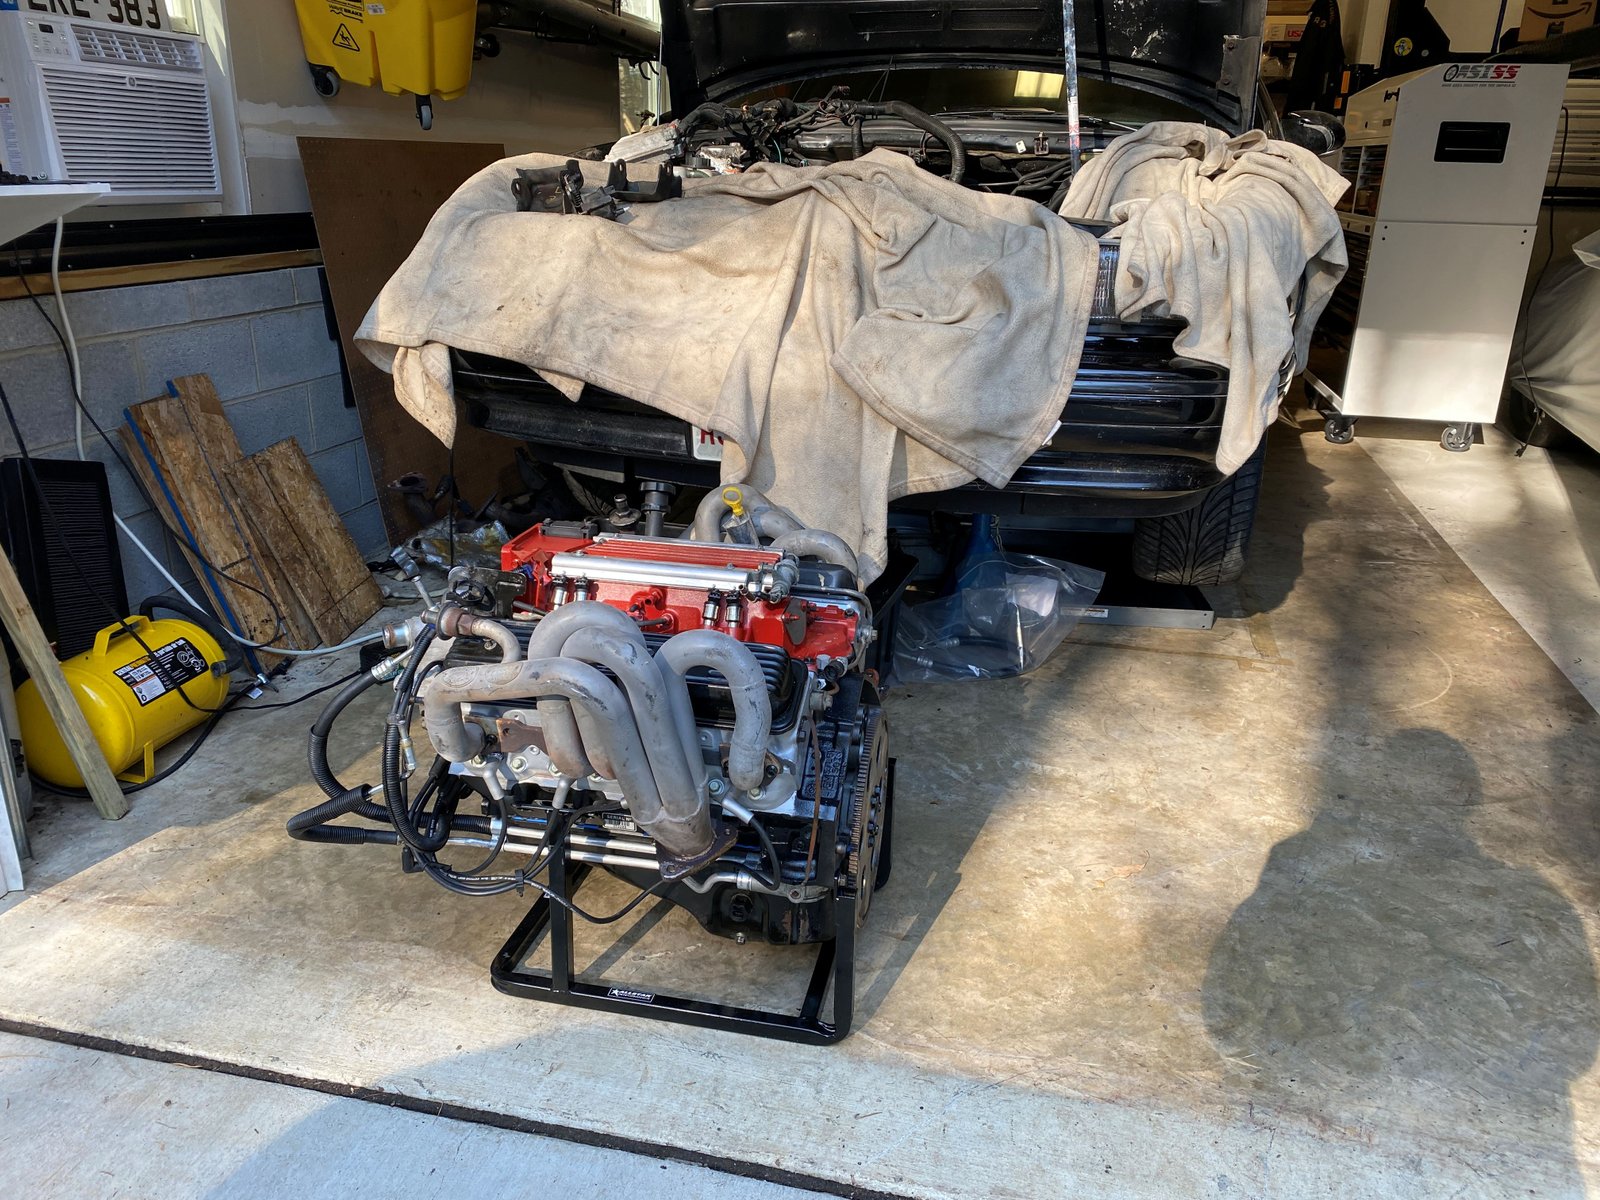
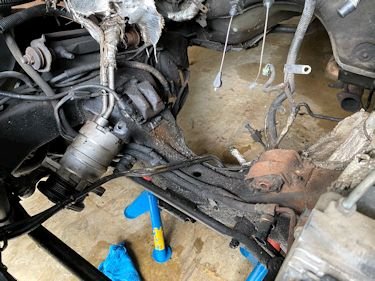
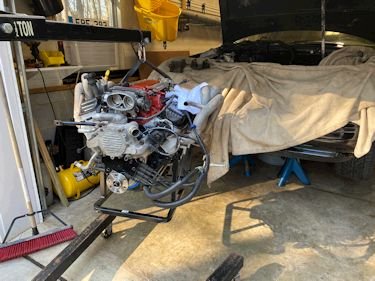
Now let's get busy and pull the old motor. We need a few
parts from this. Oil pan, timing cover, intake manifold, water
pump....headers...etc.
|
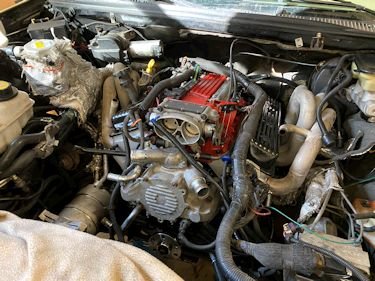
It is a little bit grimy like any engine with lots of miles on
it. |

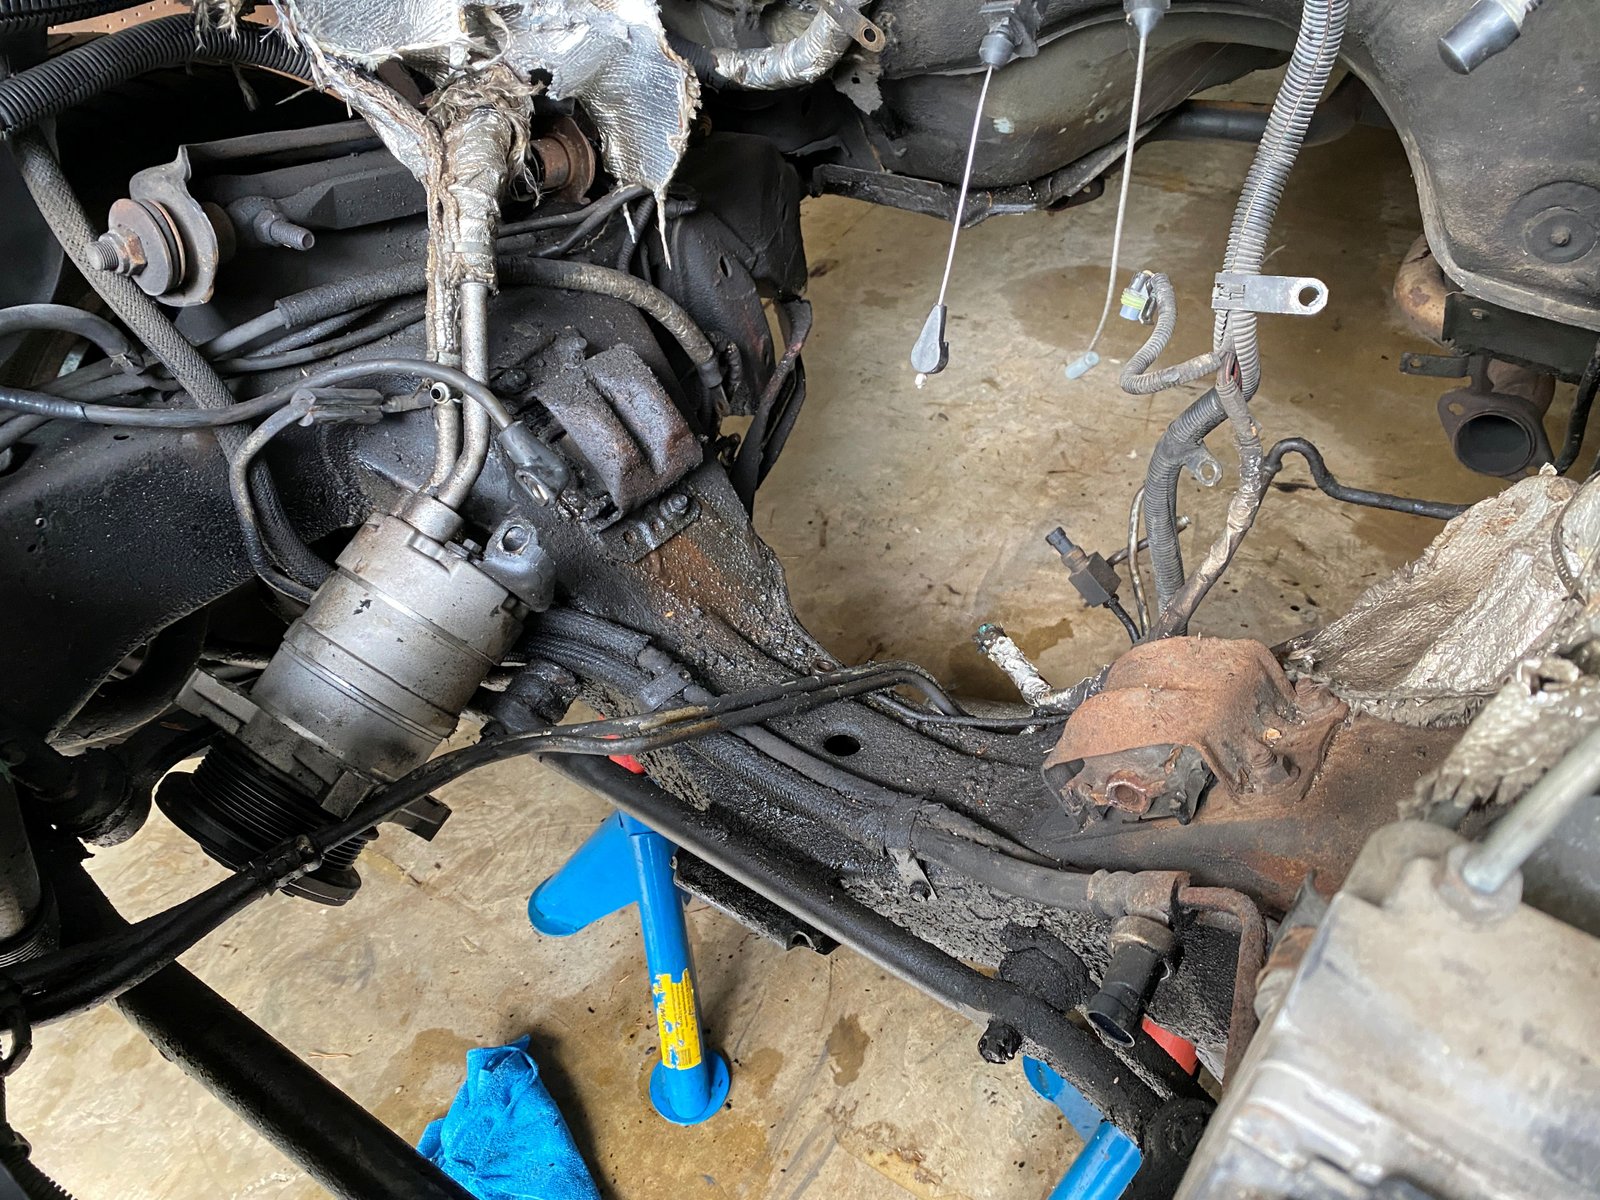
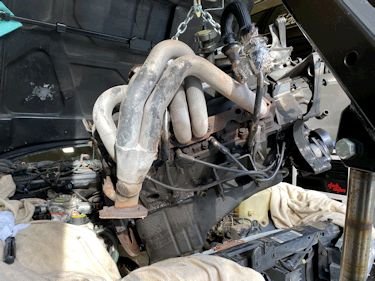
With this style of header I thought that it would be best to
leave them on and pull the engine. It worked well. I'll
install them on the new motor prior to placing the new motor on the
motor mounts.
|
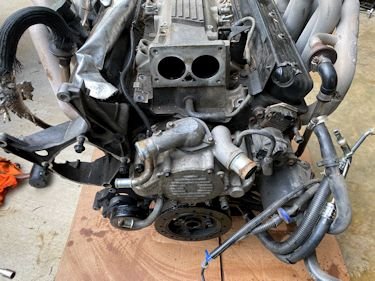 |
I'll try to clean this up as much as possible.
|

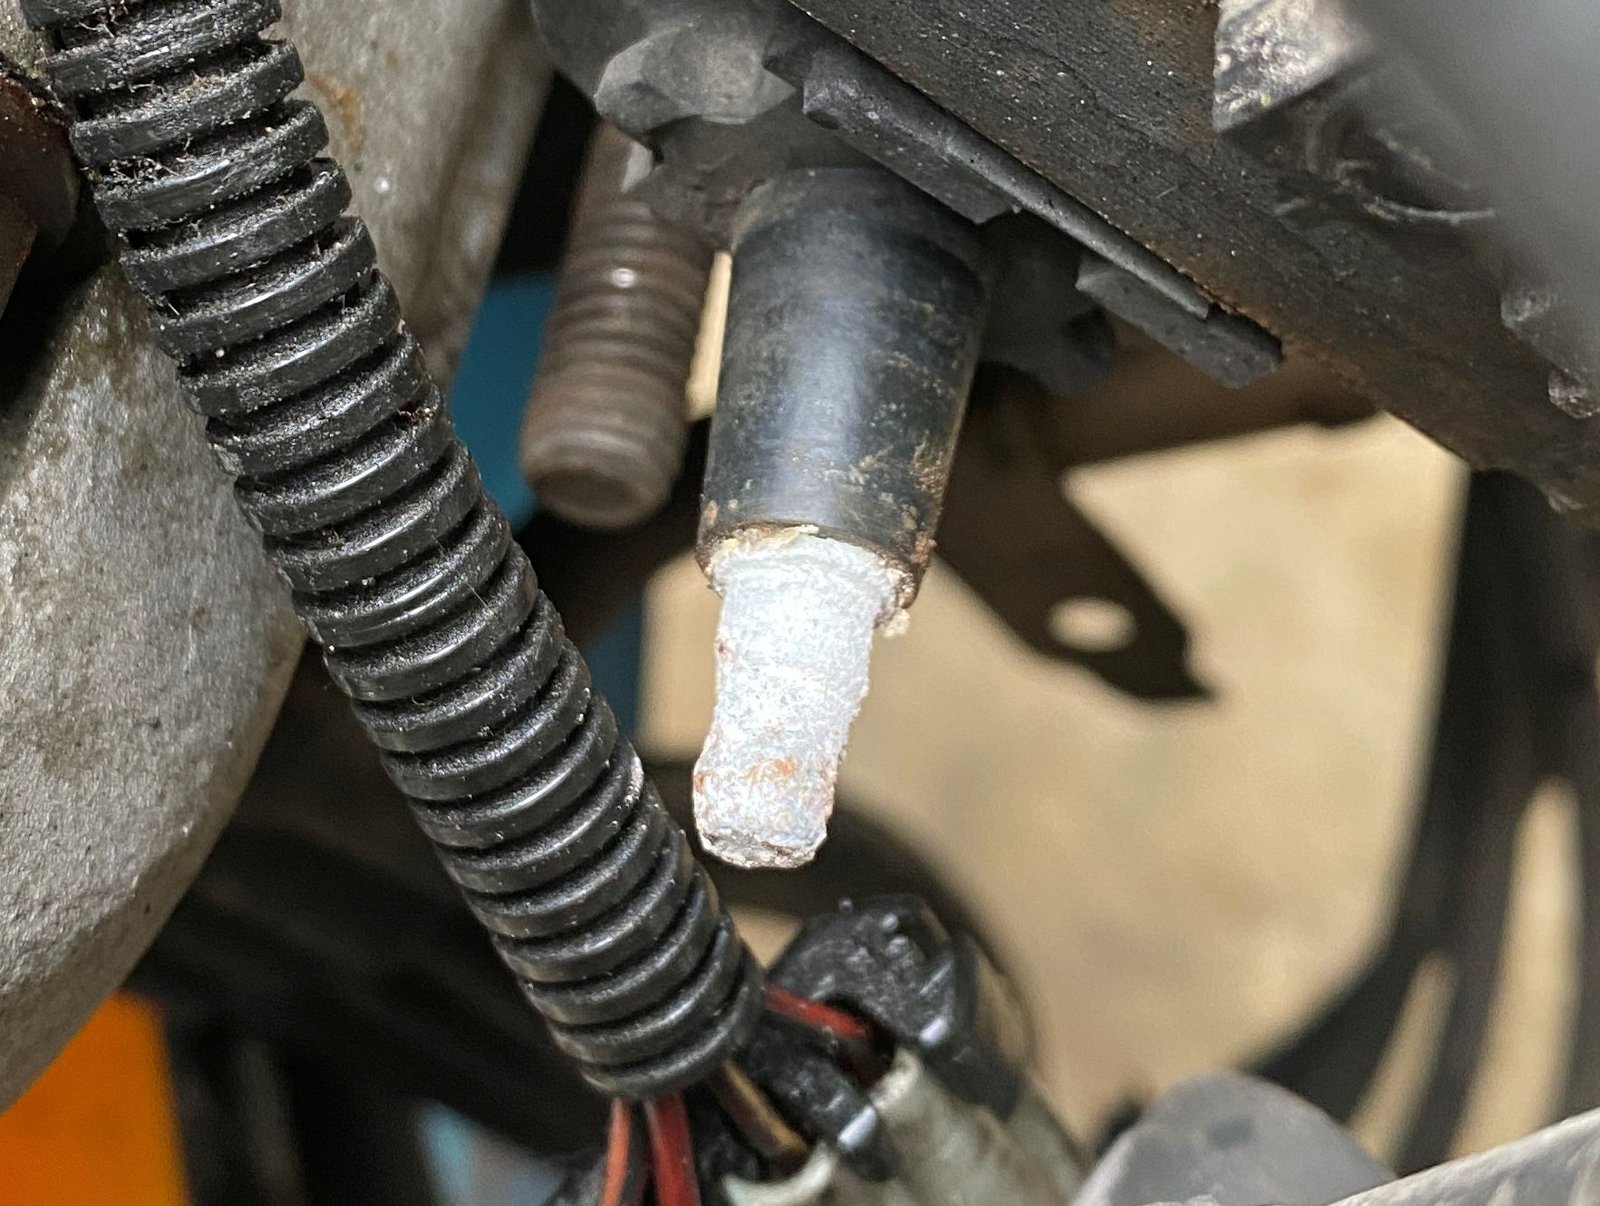
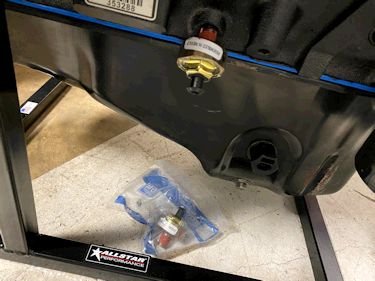
Note that the coil terminal was crusted up. This may
have been the reason the engine was hard to start. The
engine ran fine after it started though. |
|
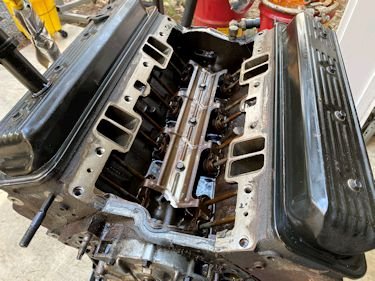
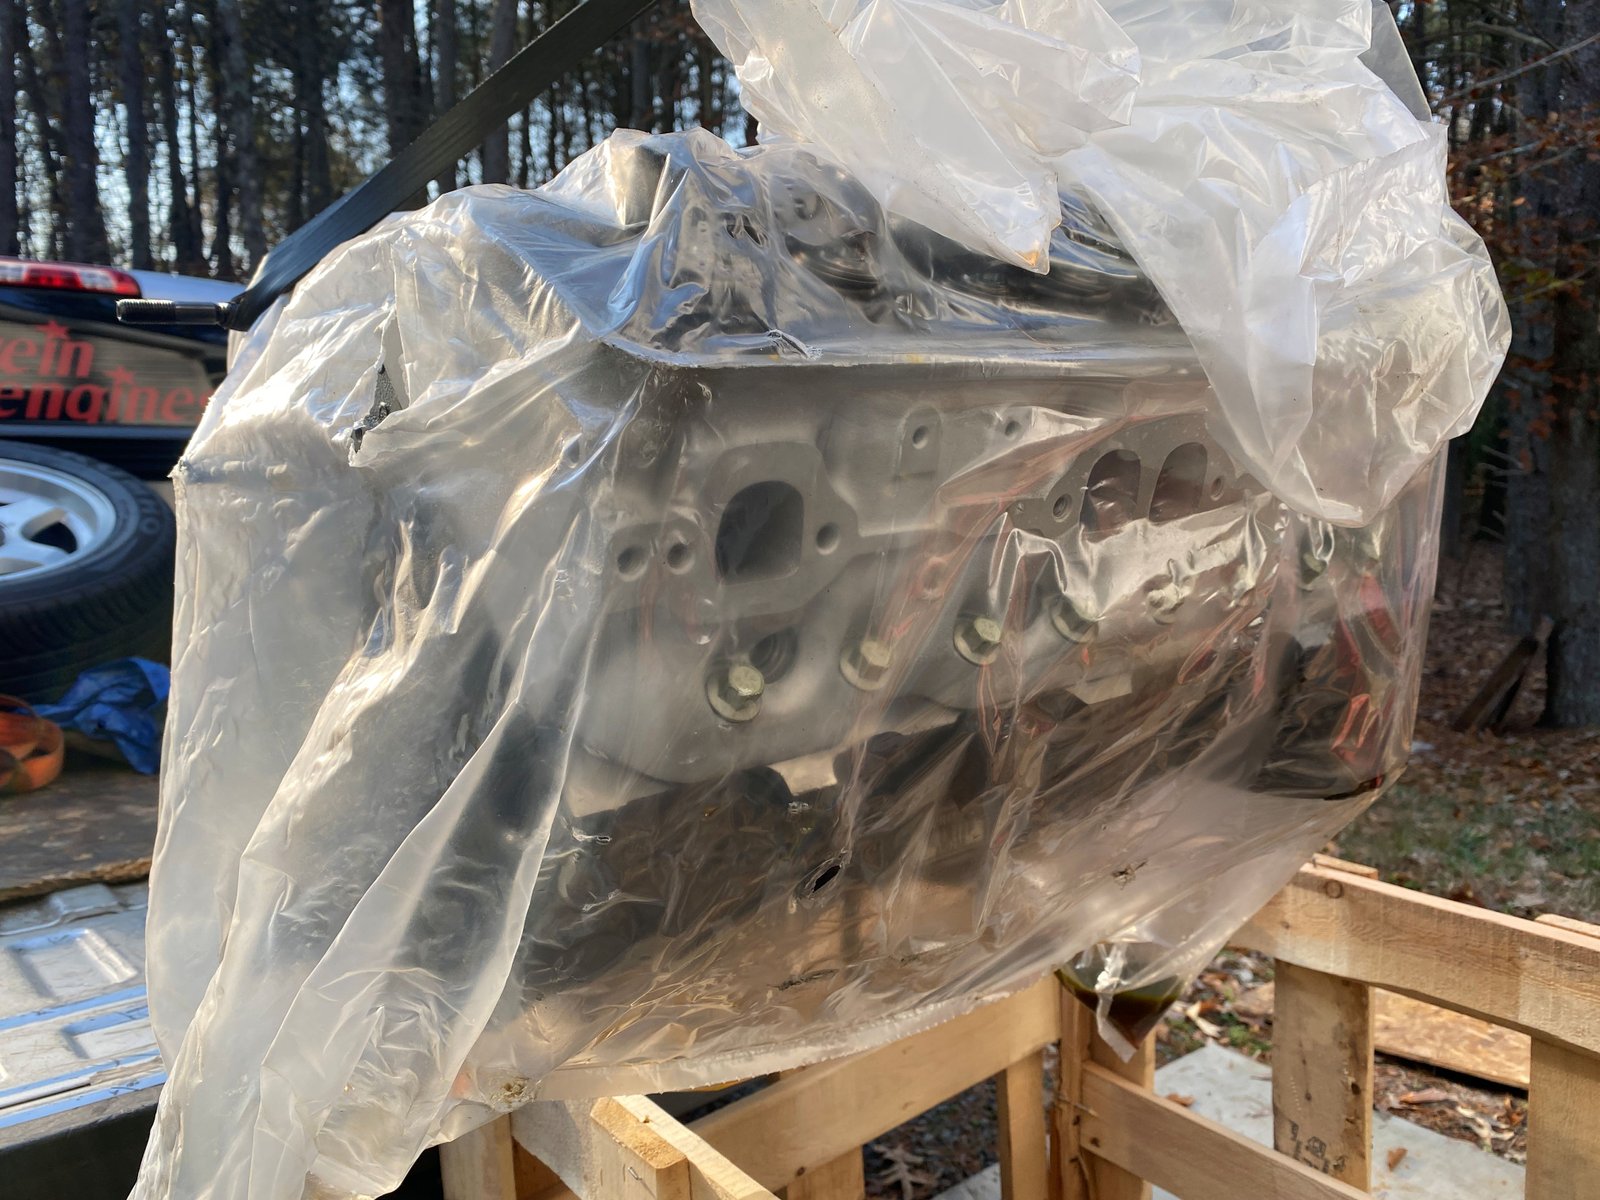
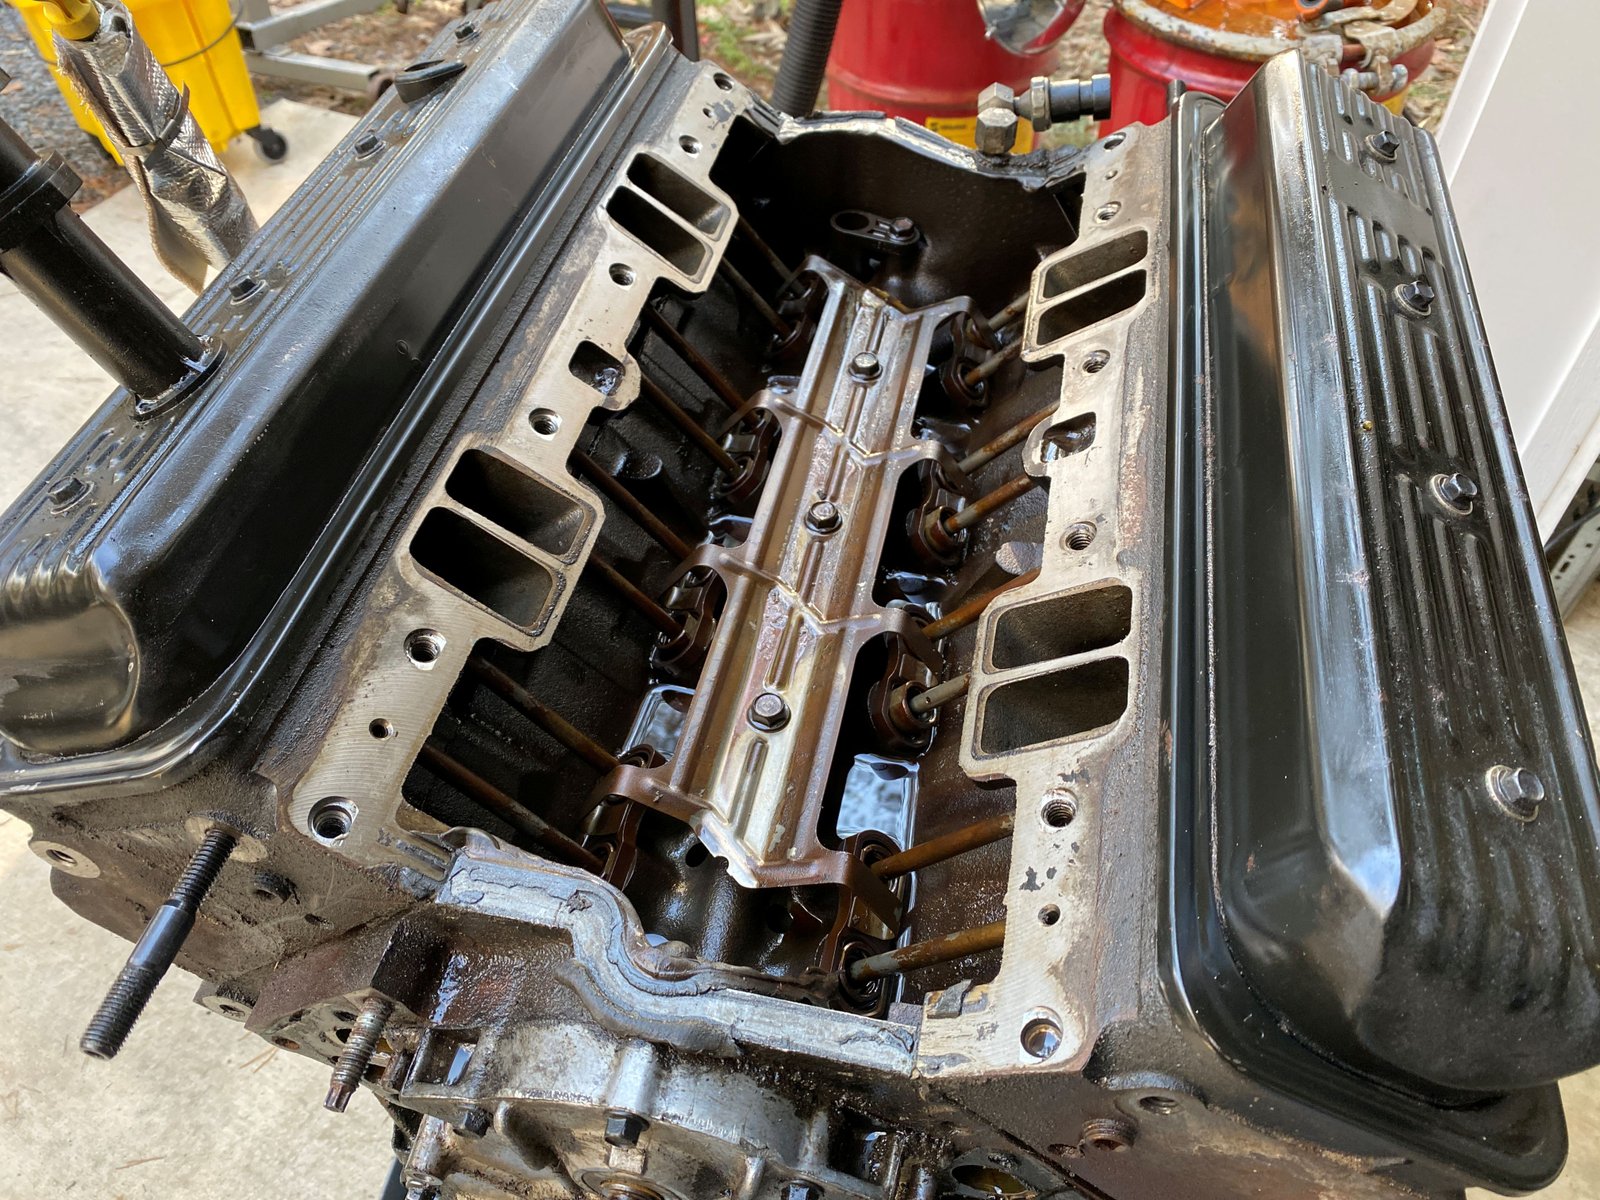
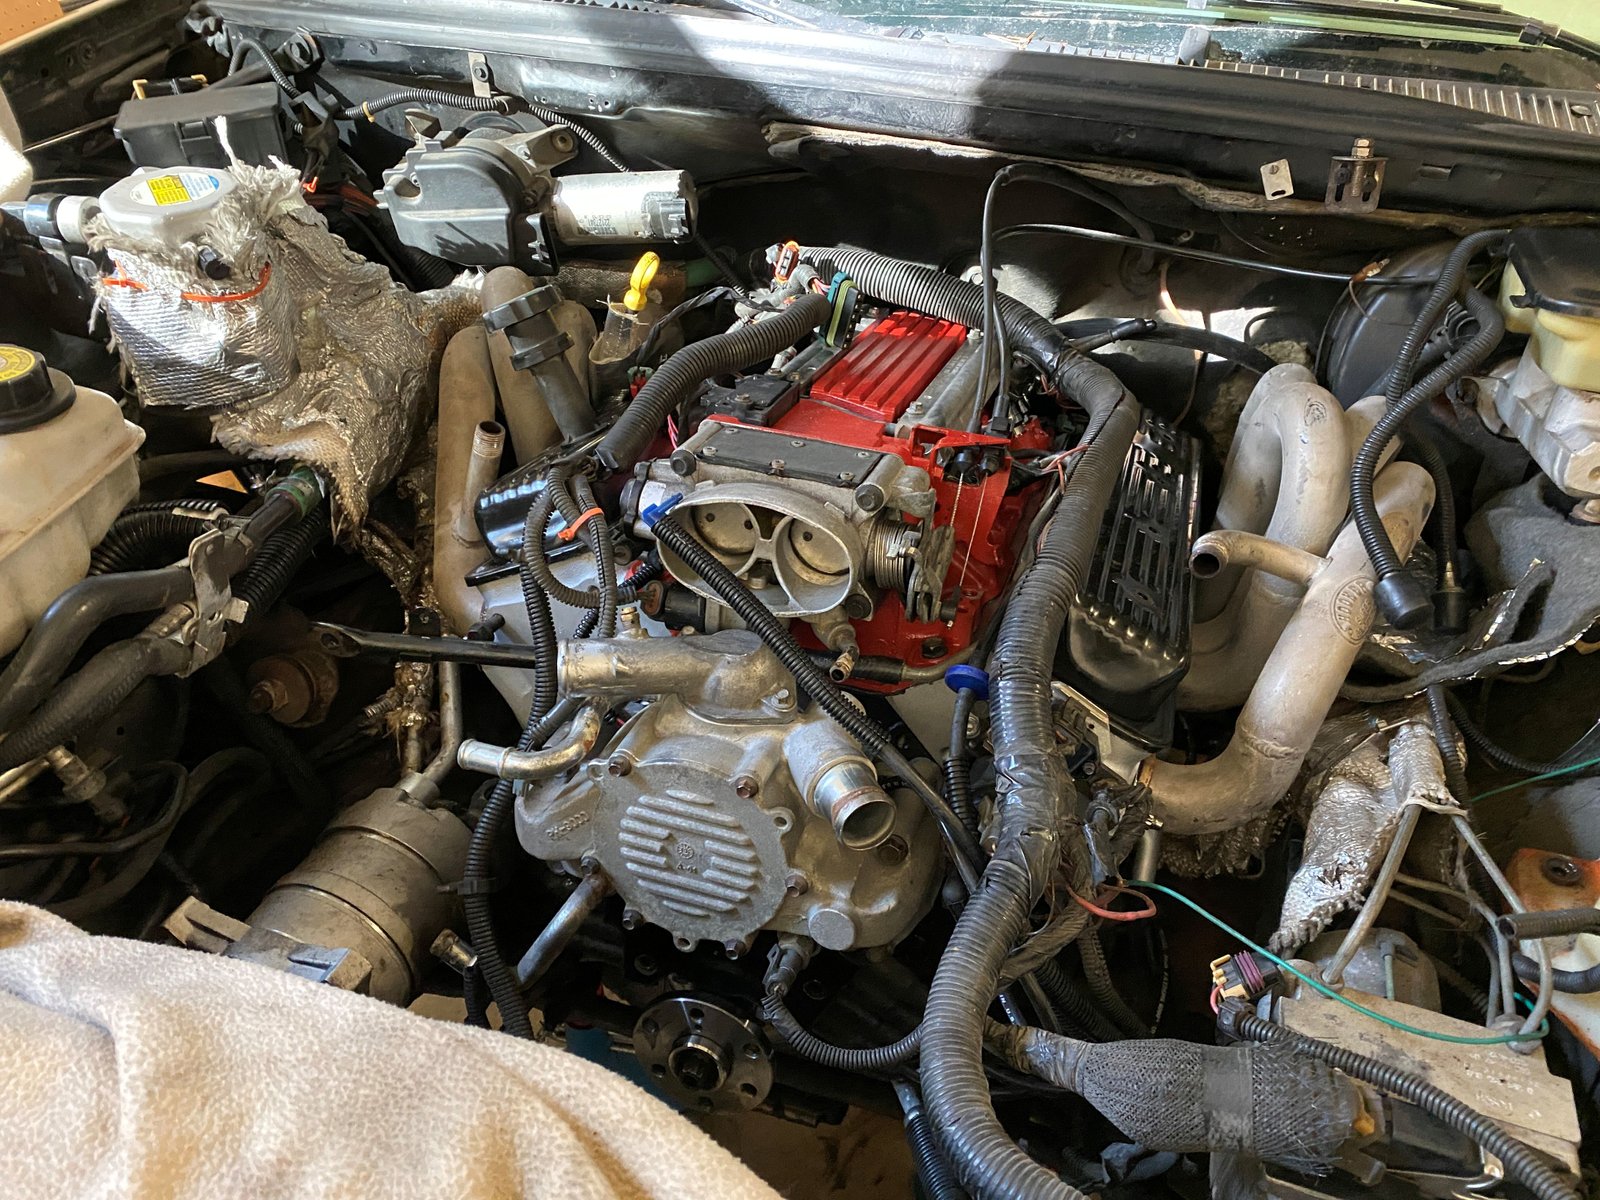
It is quite clean in the intake valley. |

|
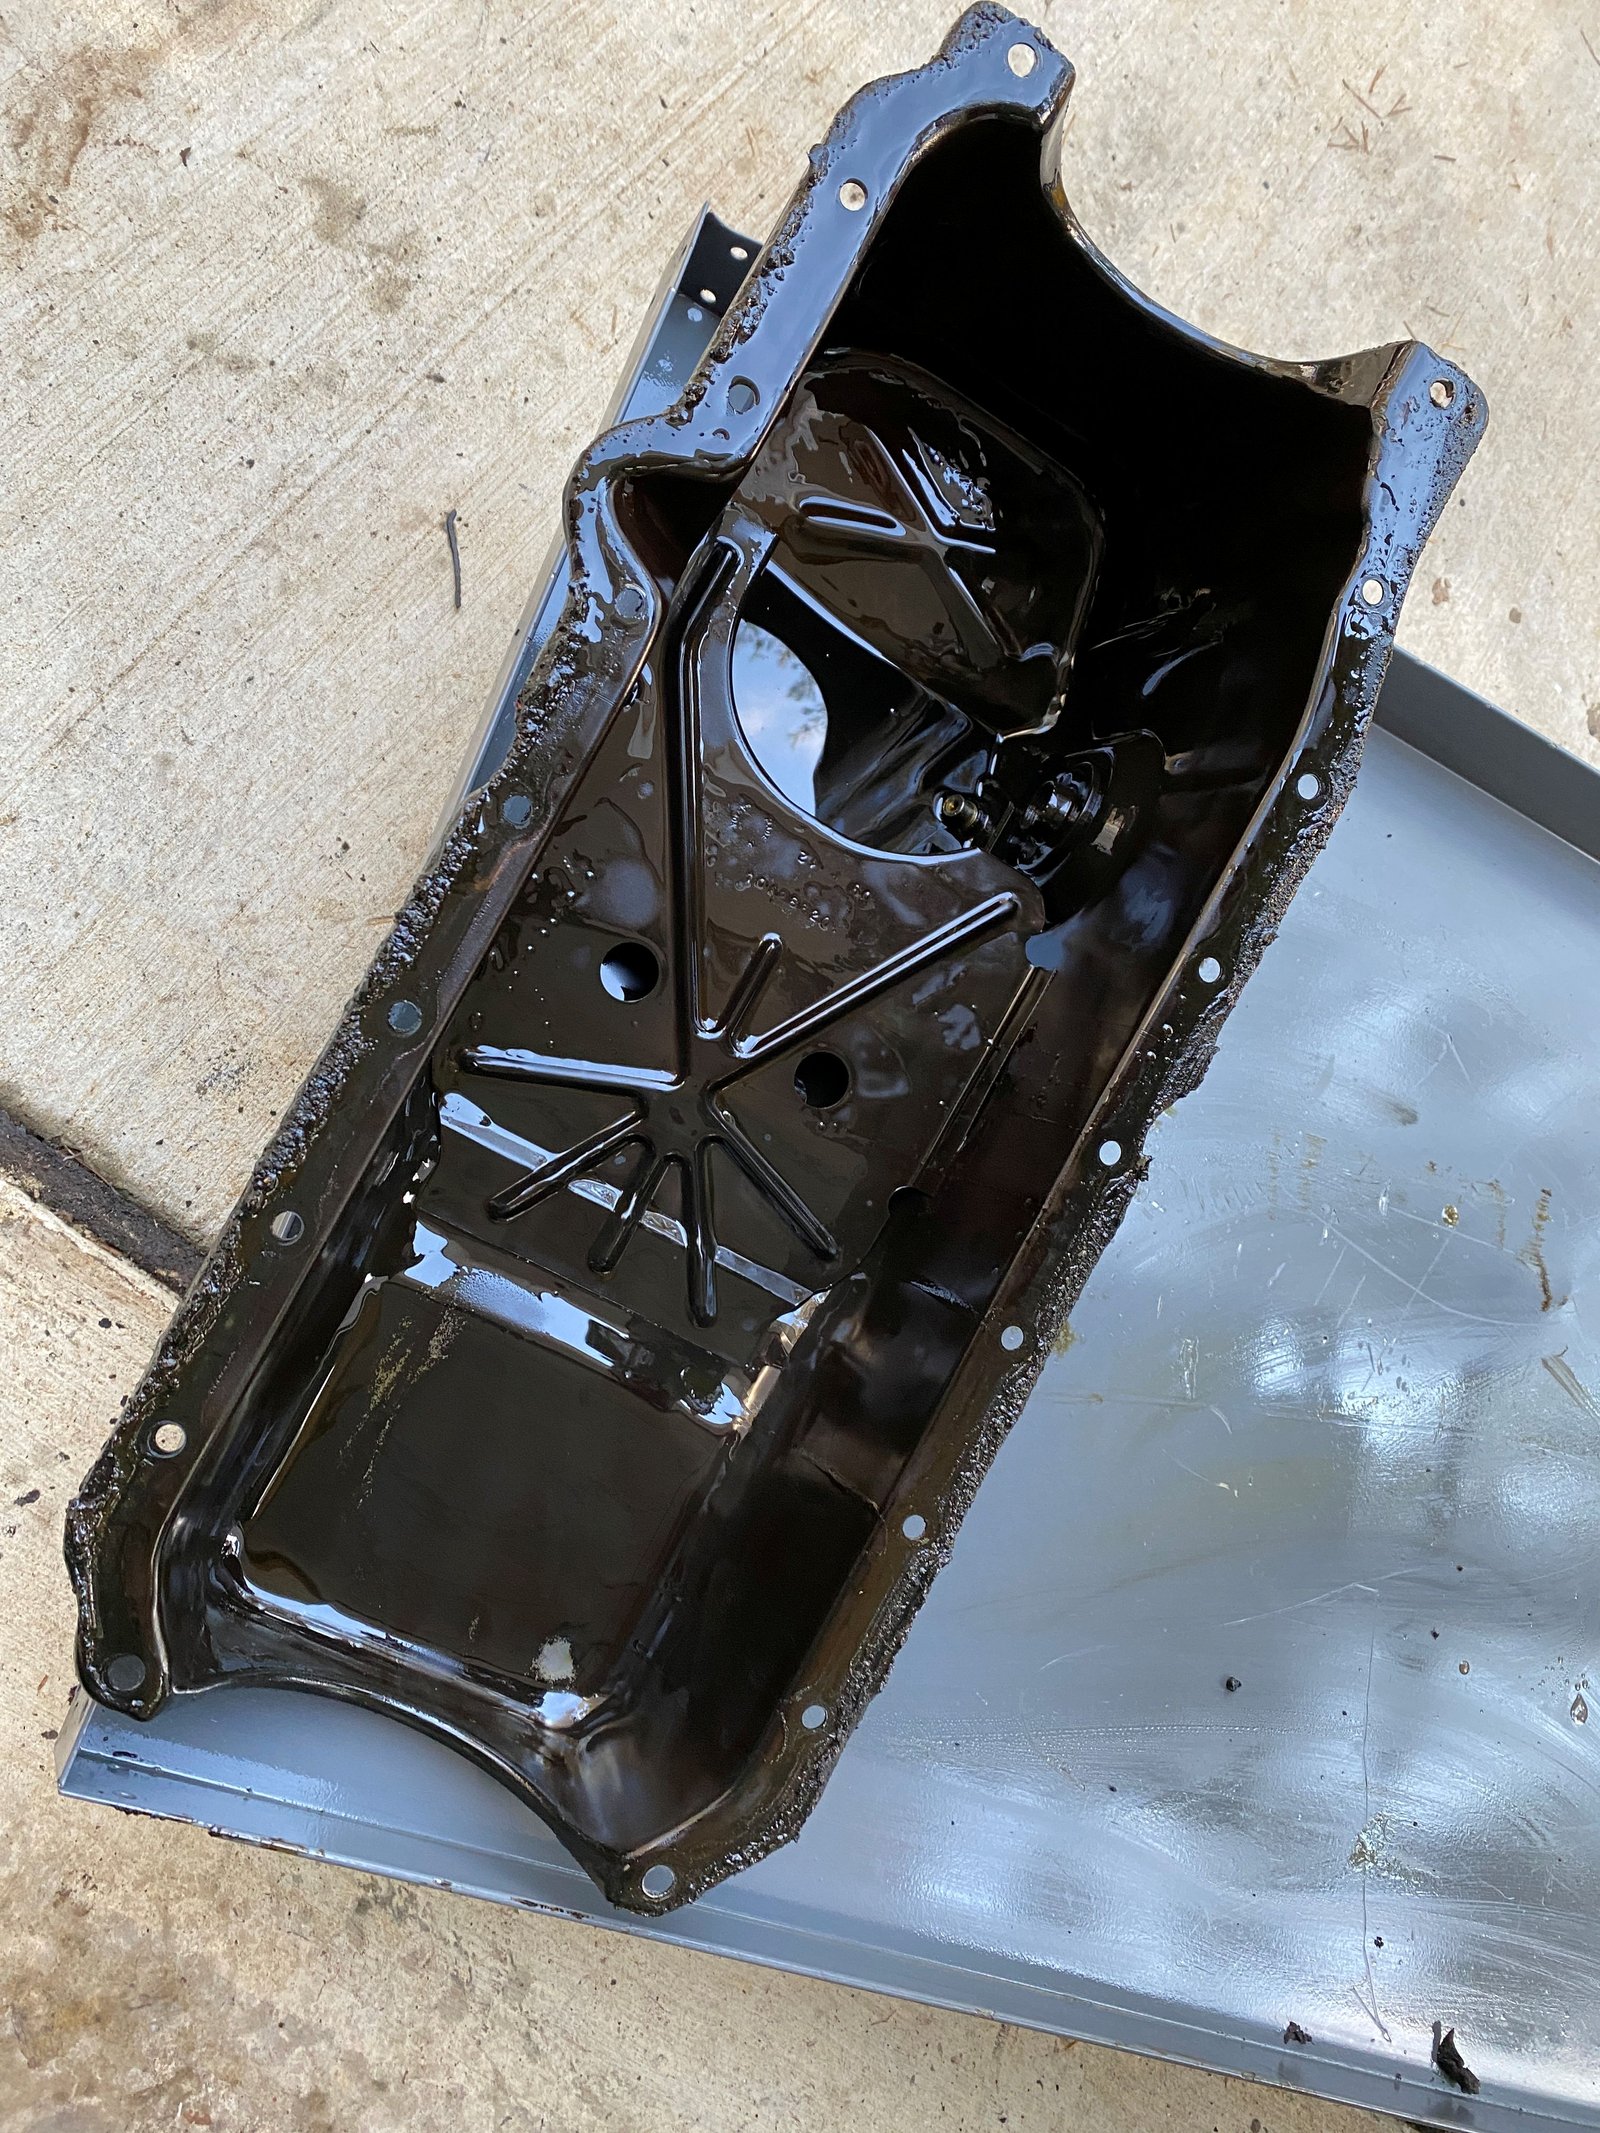
The oil pan was very clean and there is no sign of distress in
the oil. The coolant was pristine and the drained oil was
clean. The next update will show the LT4 camshaft installation to
the new engine and all of the parts transferred from this engine
to the new engine. |
Tried to fit the cam bearing tool in there but ended up having
to take the crankshaft out. I figured I would have to do
that. No biggie.
|
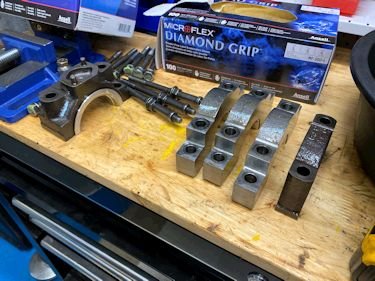
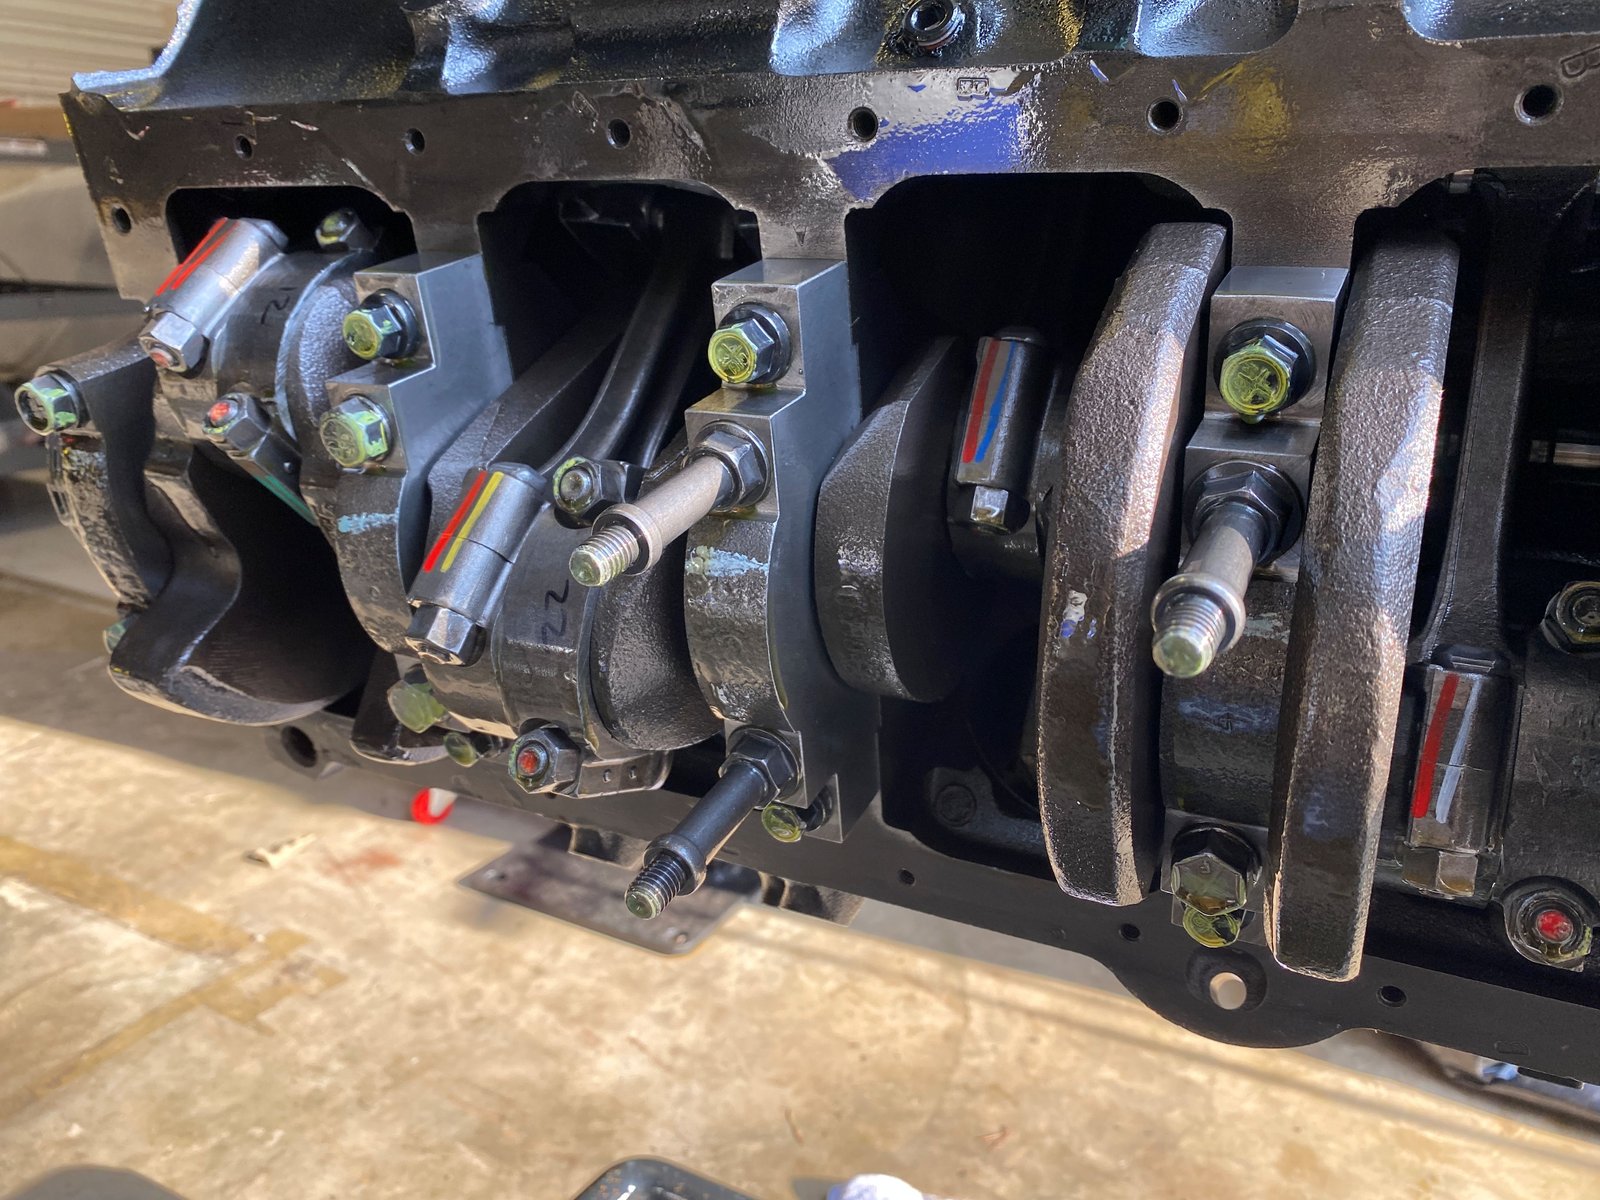
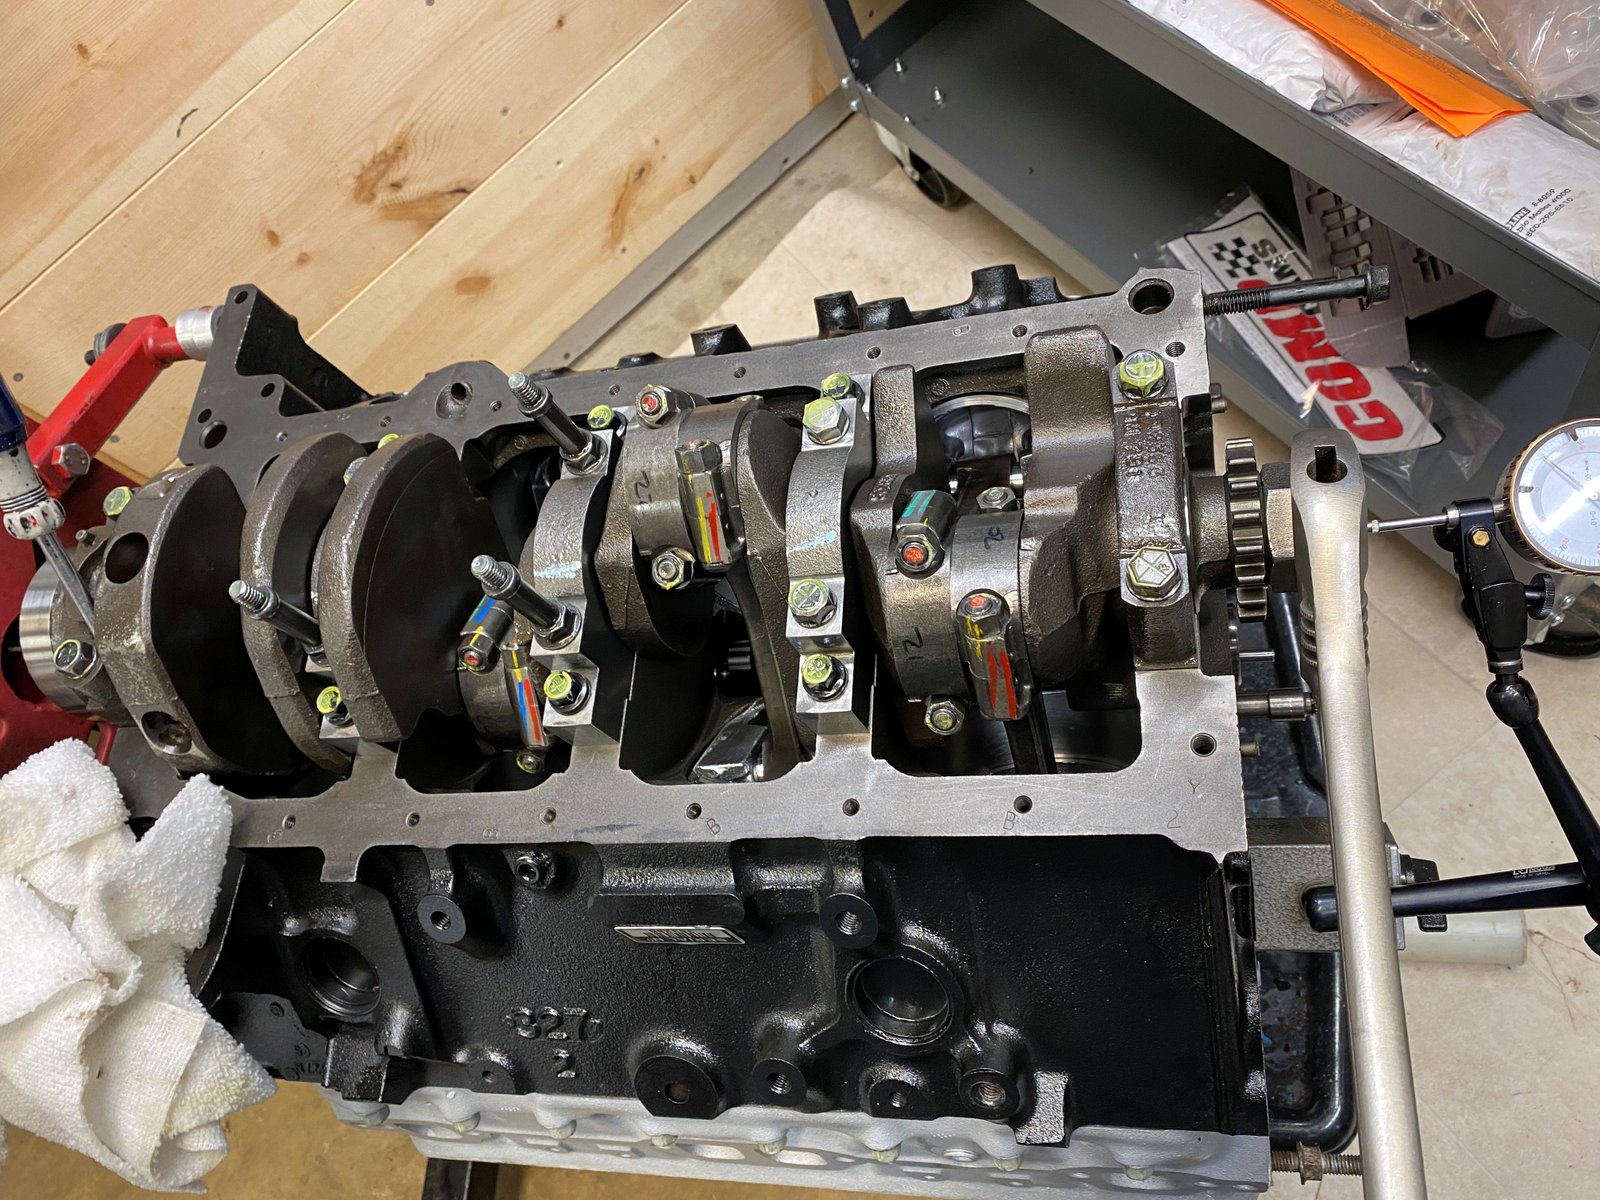
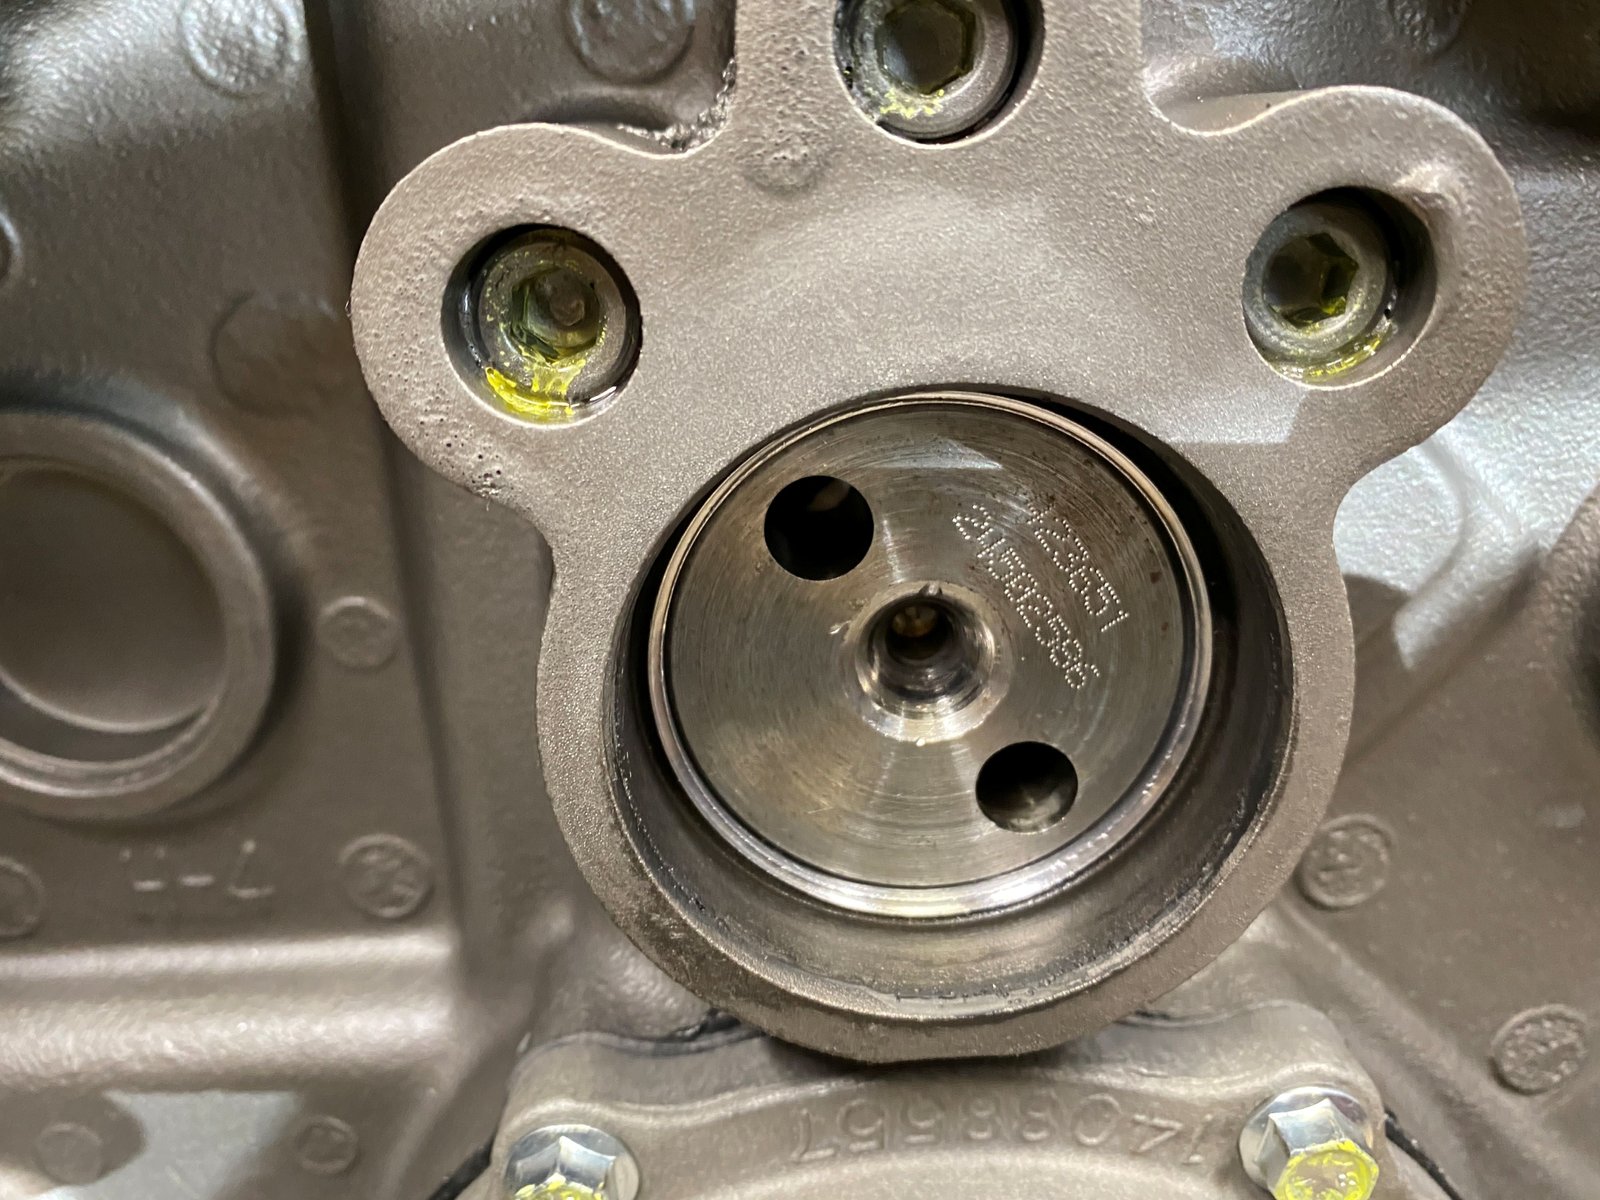
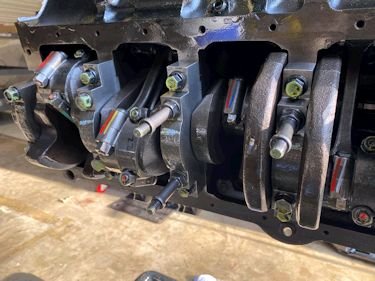
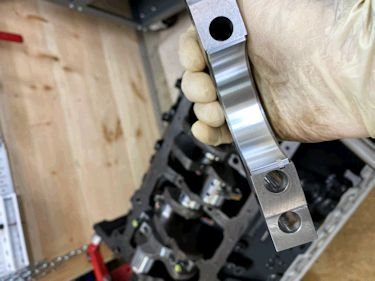
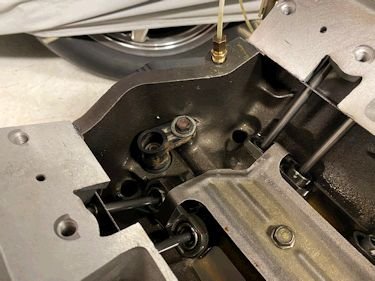
The center 3 main caps are pretty nice. The mains are
ACL brand bearings (.010" under) and the rods are Clevite
(.010" under). |
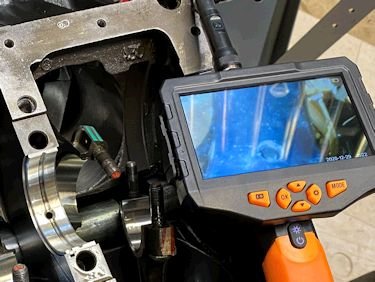
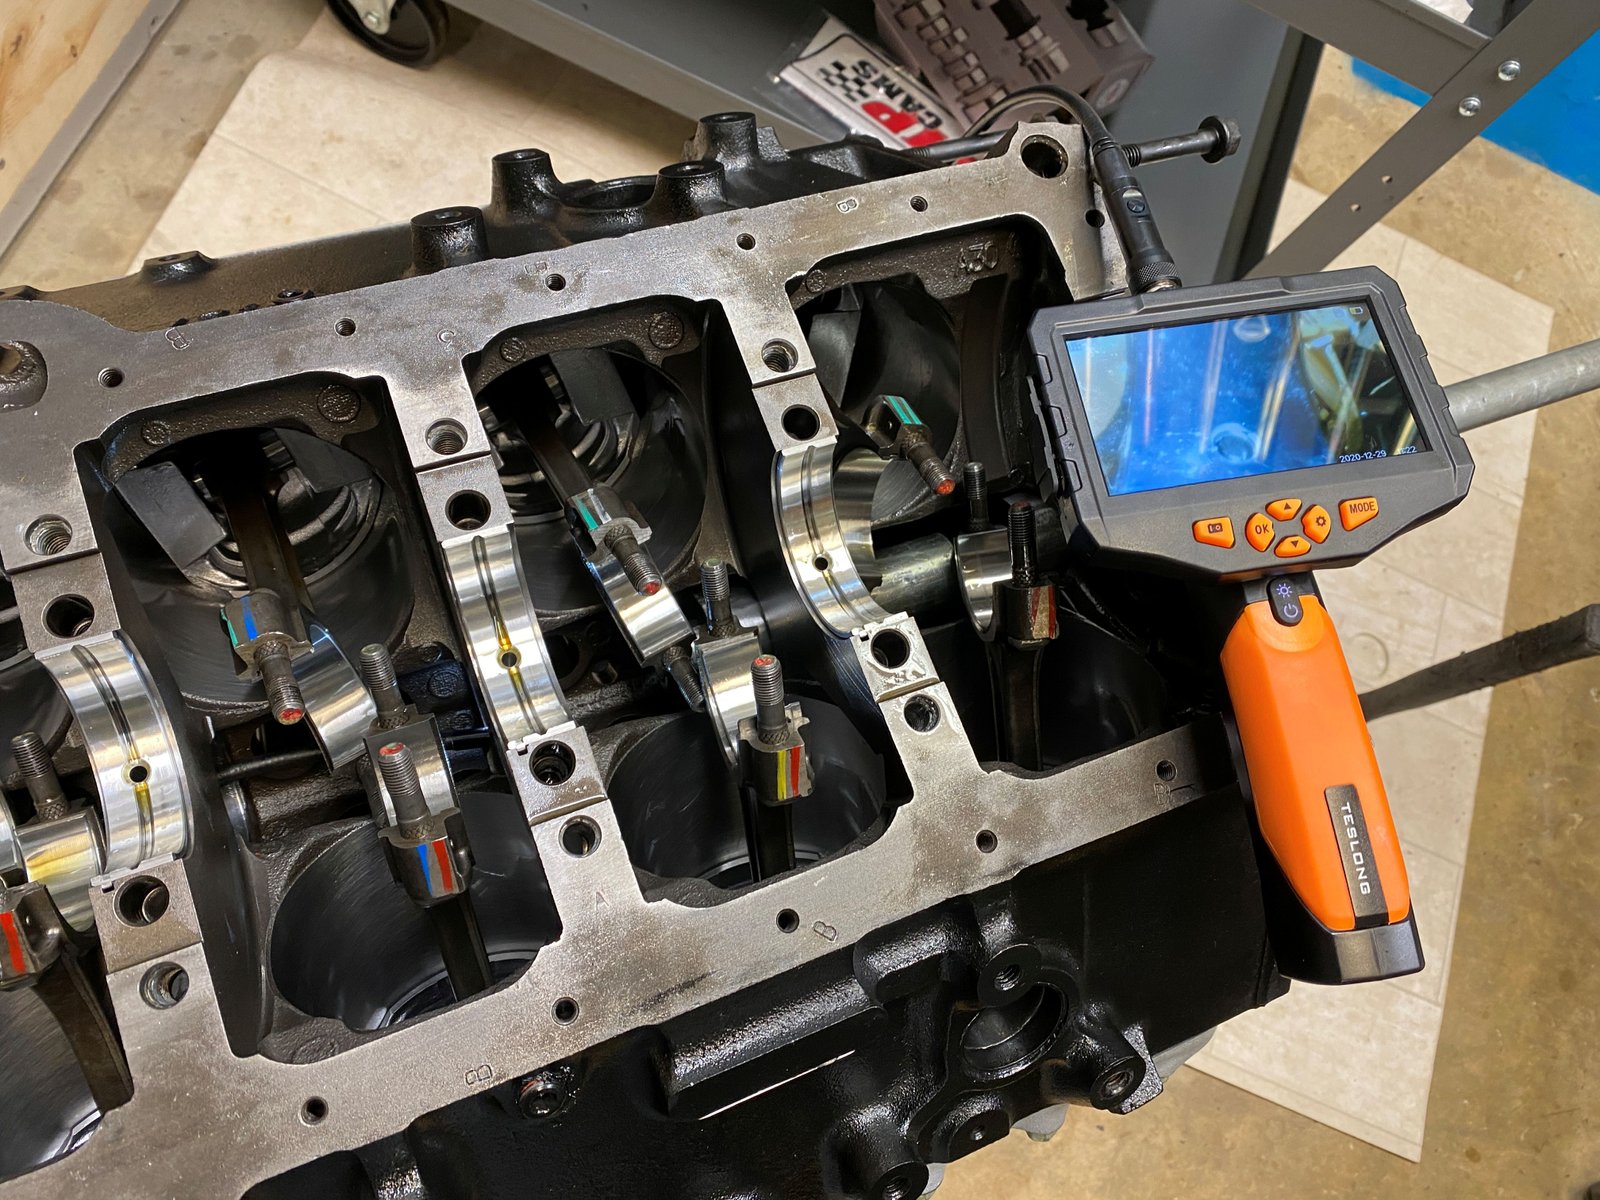
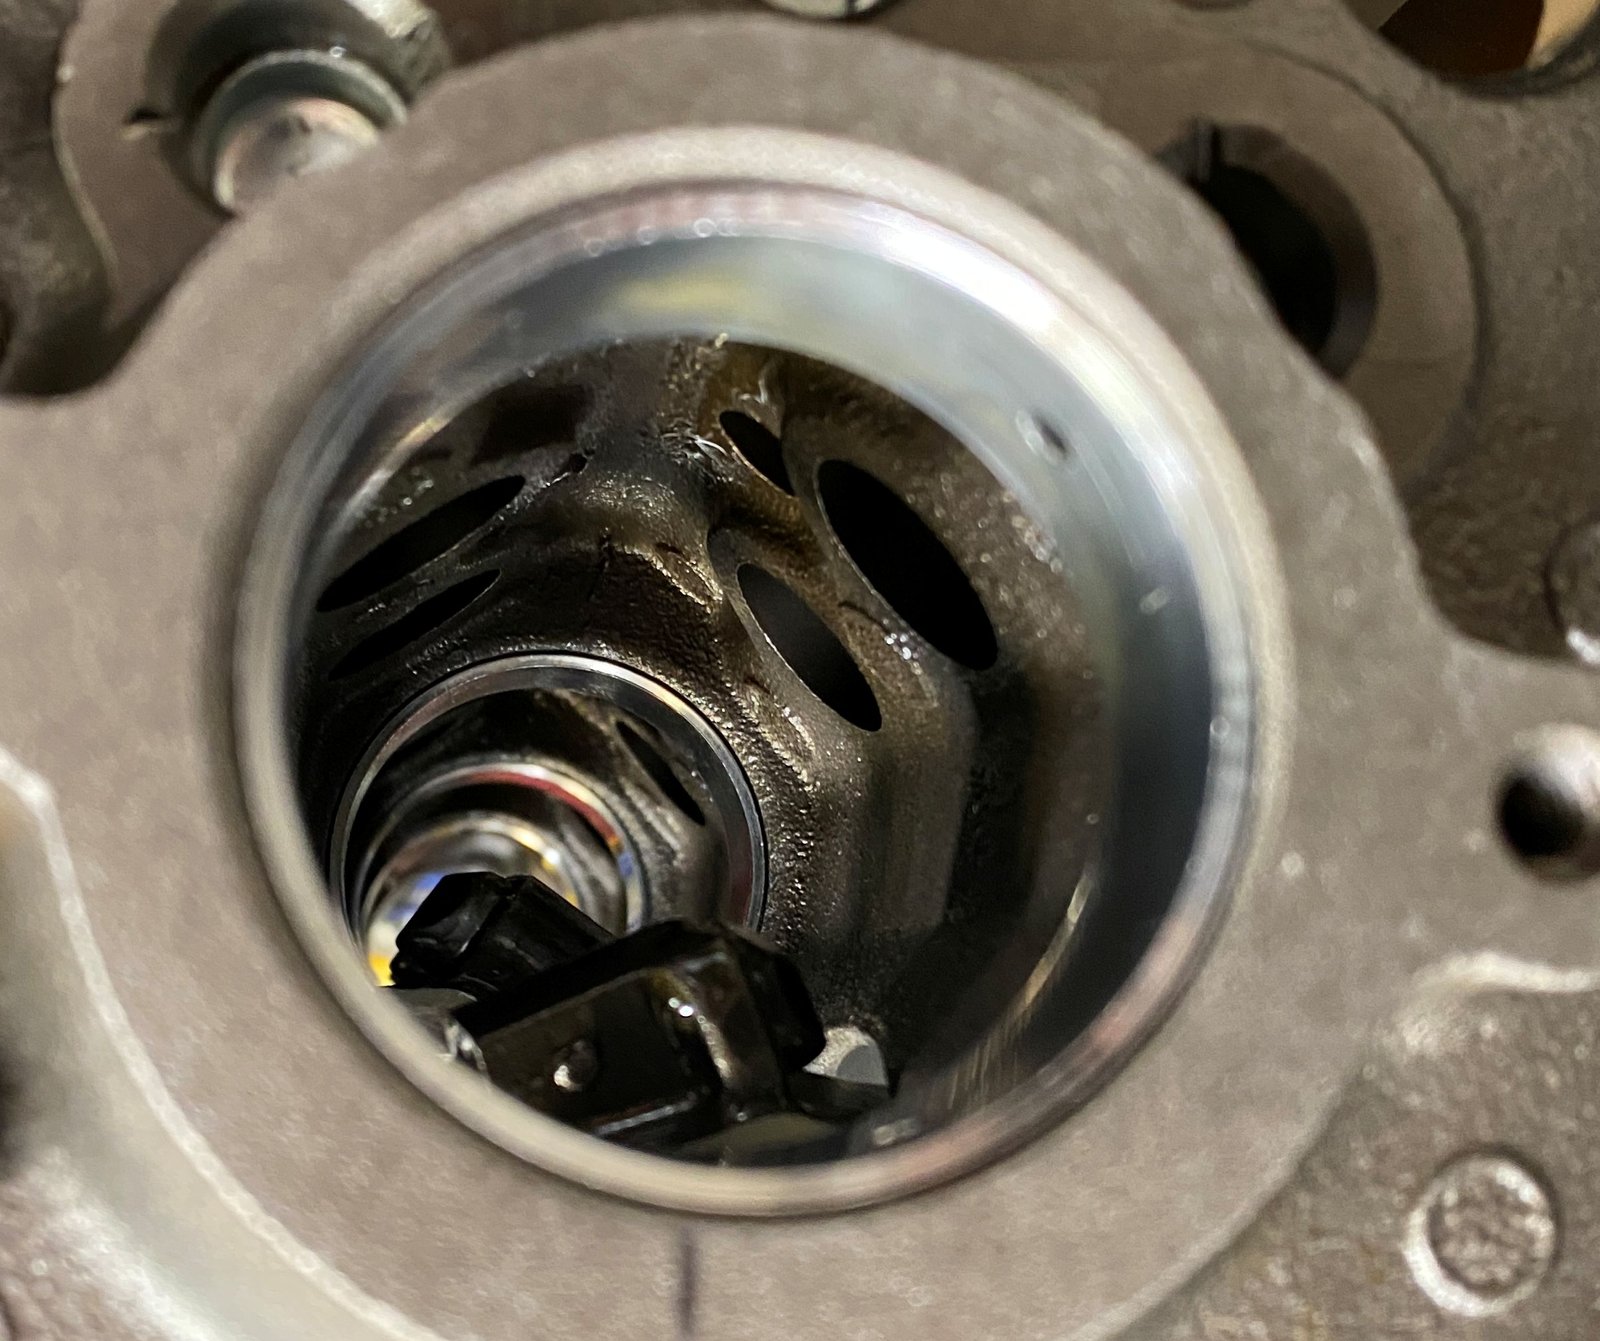
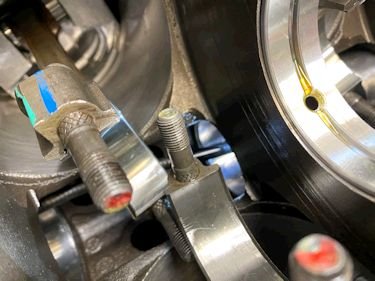
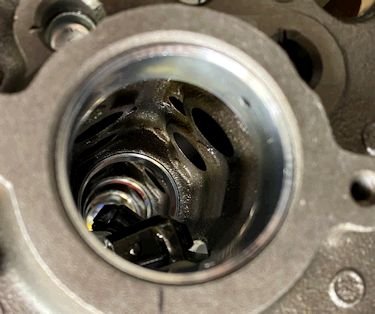
Installing the cam bearing I cannot reach in to see if the oil
hole is aligned with my allen wrench go-no-go. The boroscope
comes in handy.
|
See the boroscope? |
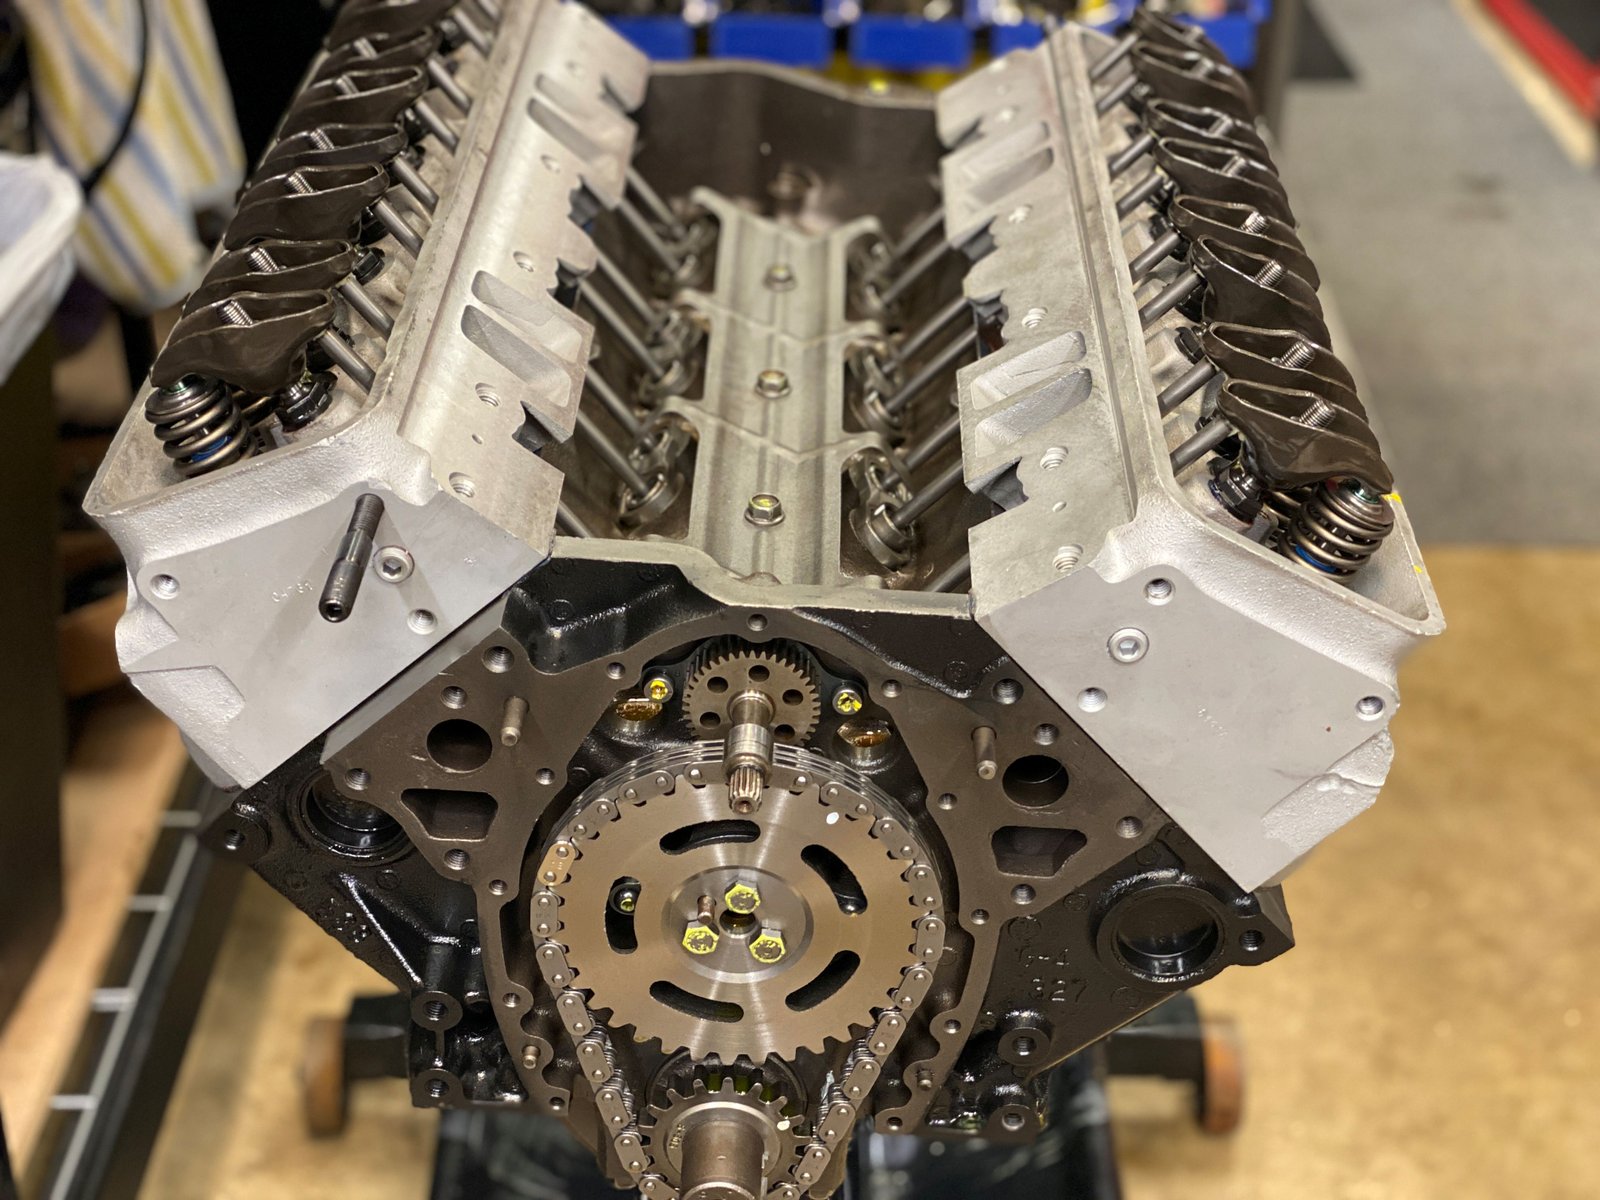
All cam bearings in. They went in wighout a hitch.
They are the Durabond brand.
|
ACL main bearings. |
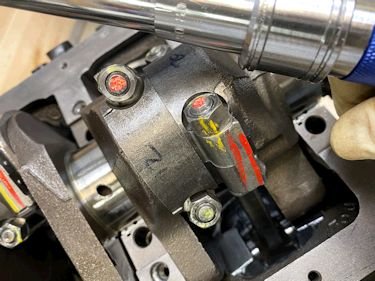
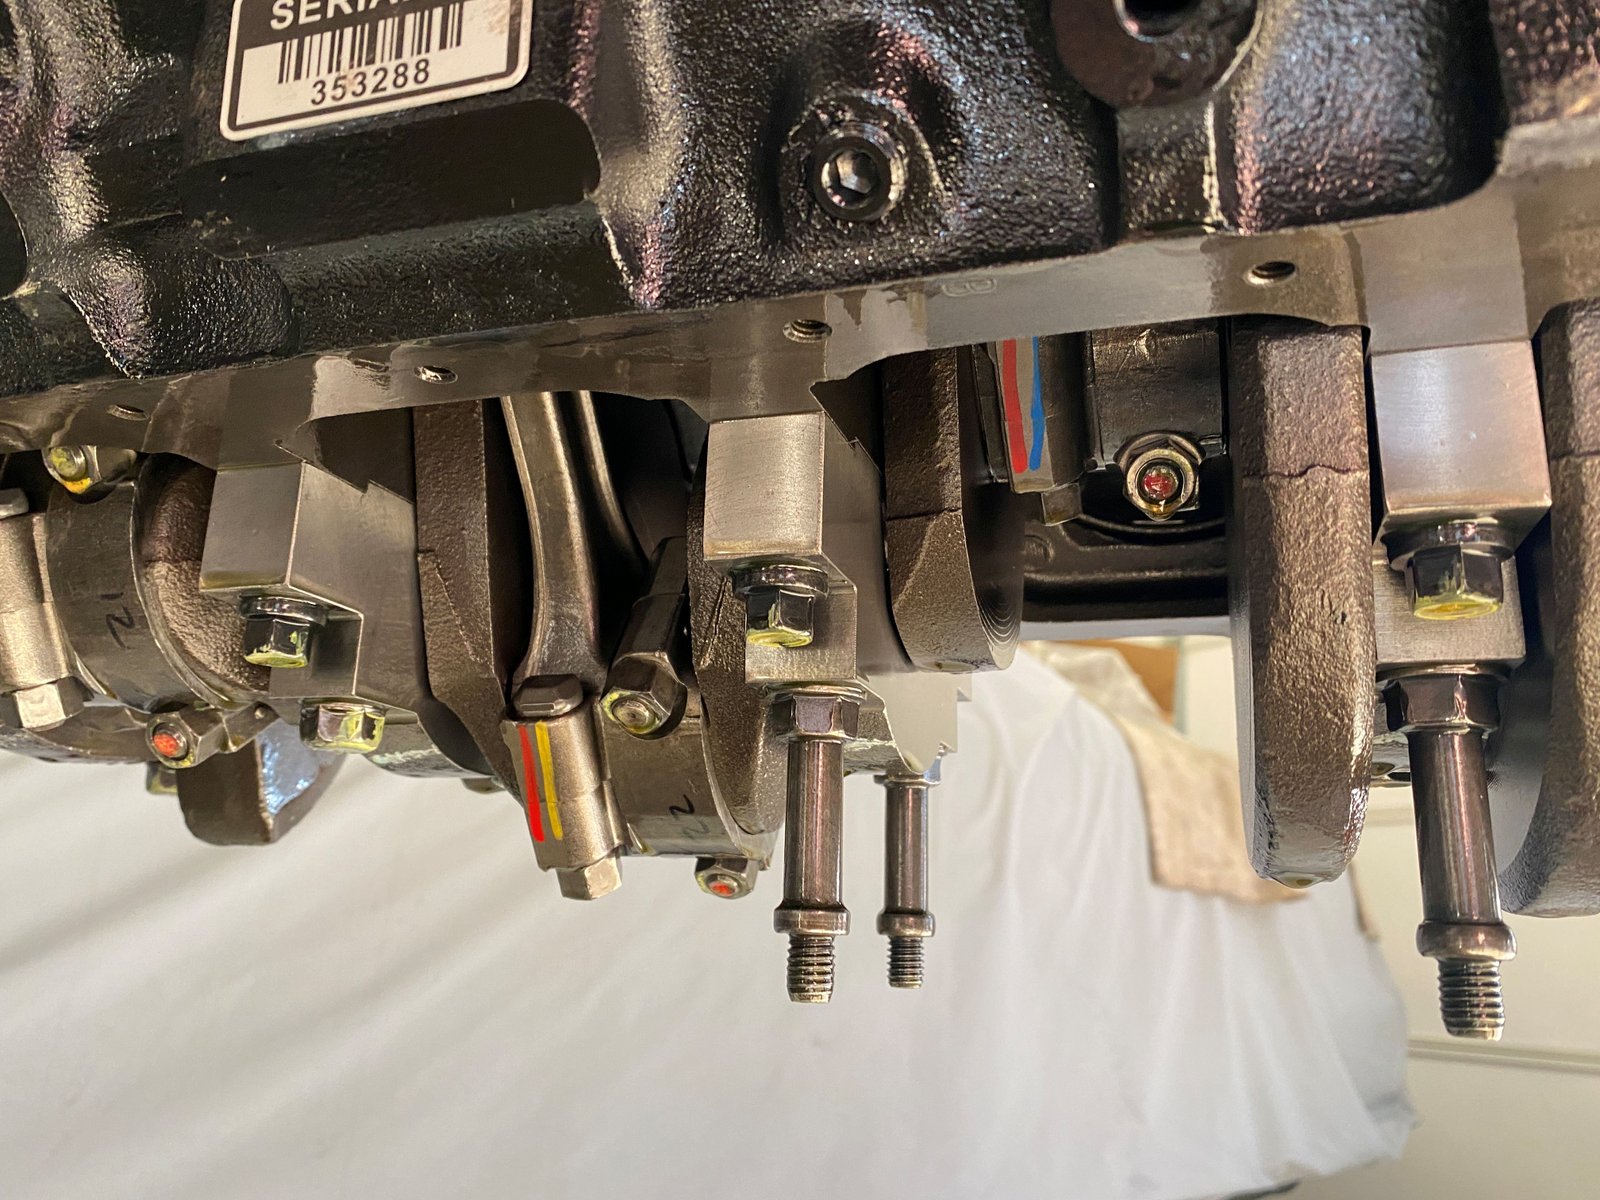
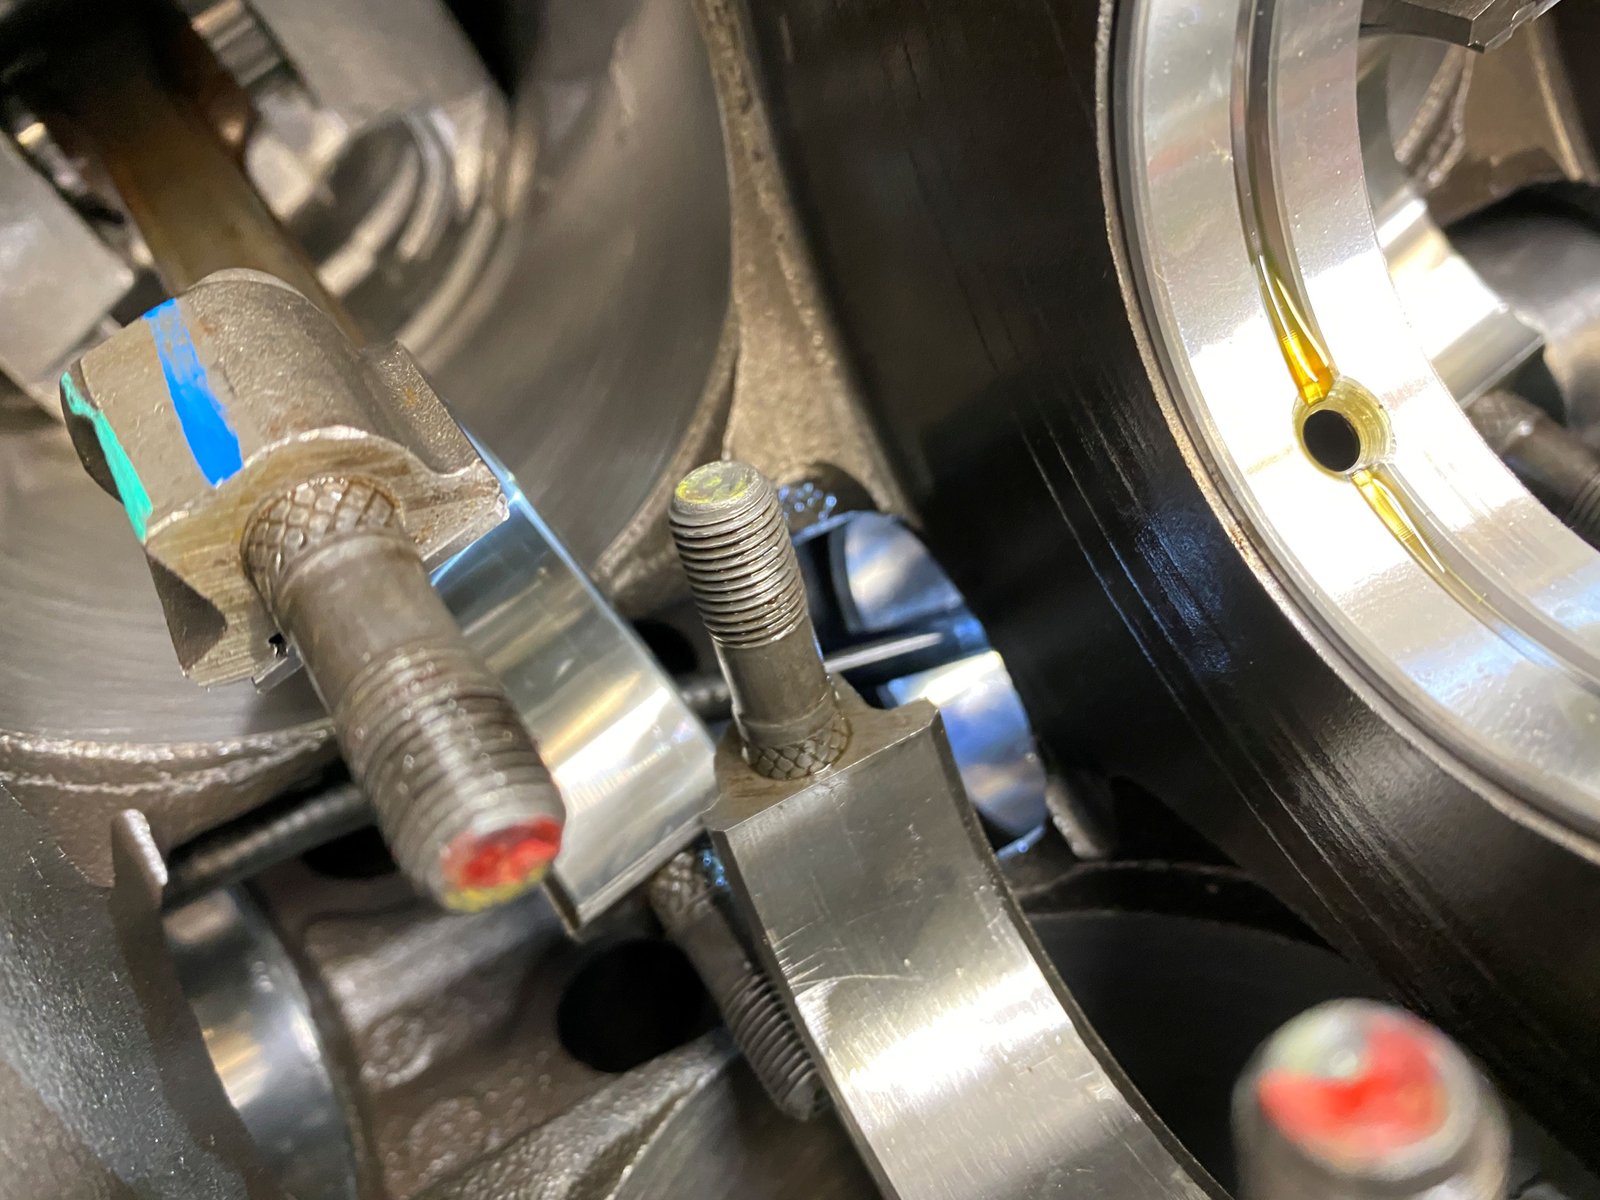
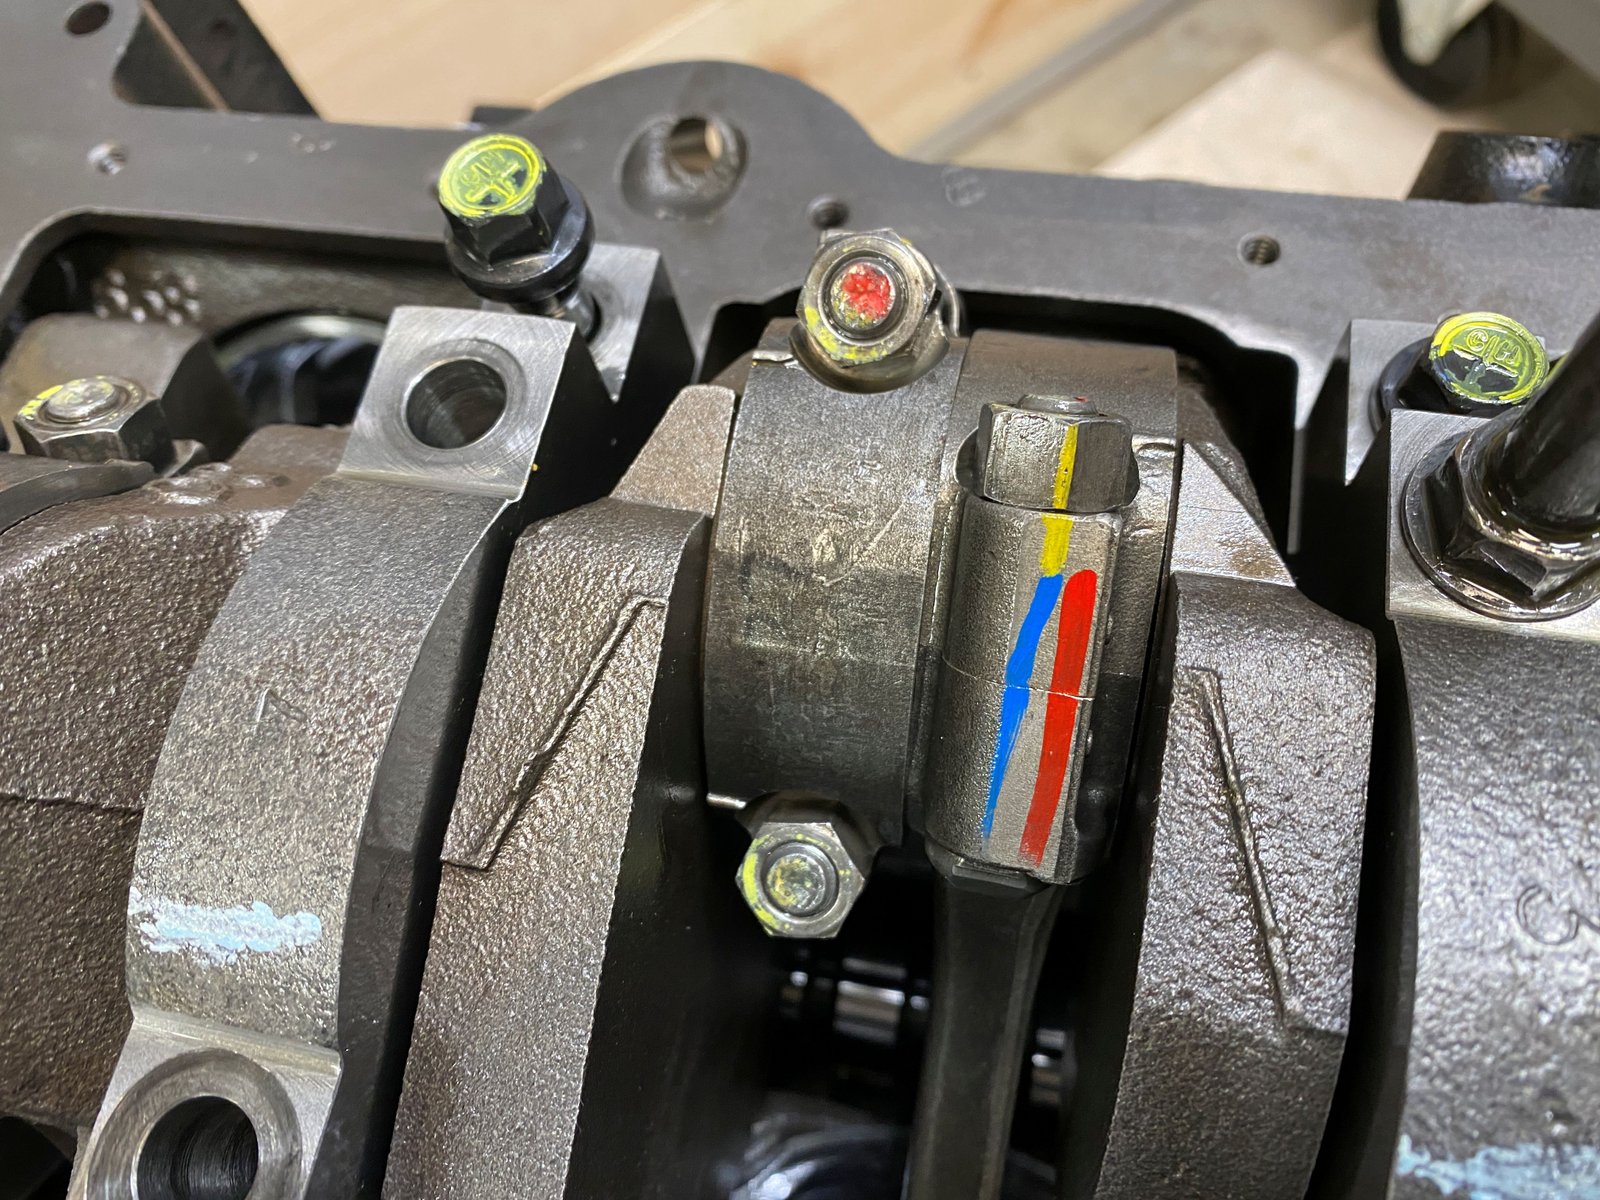
I made sure to mark the rod bolts prior to loosening. I'm
sure that Blueprint did the 20ft-lb then 45* tightening sequence but
you never know. I set my torque wrench to 45ft-lb and that
matched the marks perfectly.
|
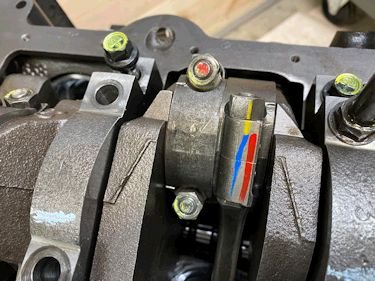
The yellow is my match marks. |
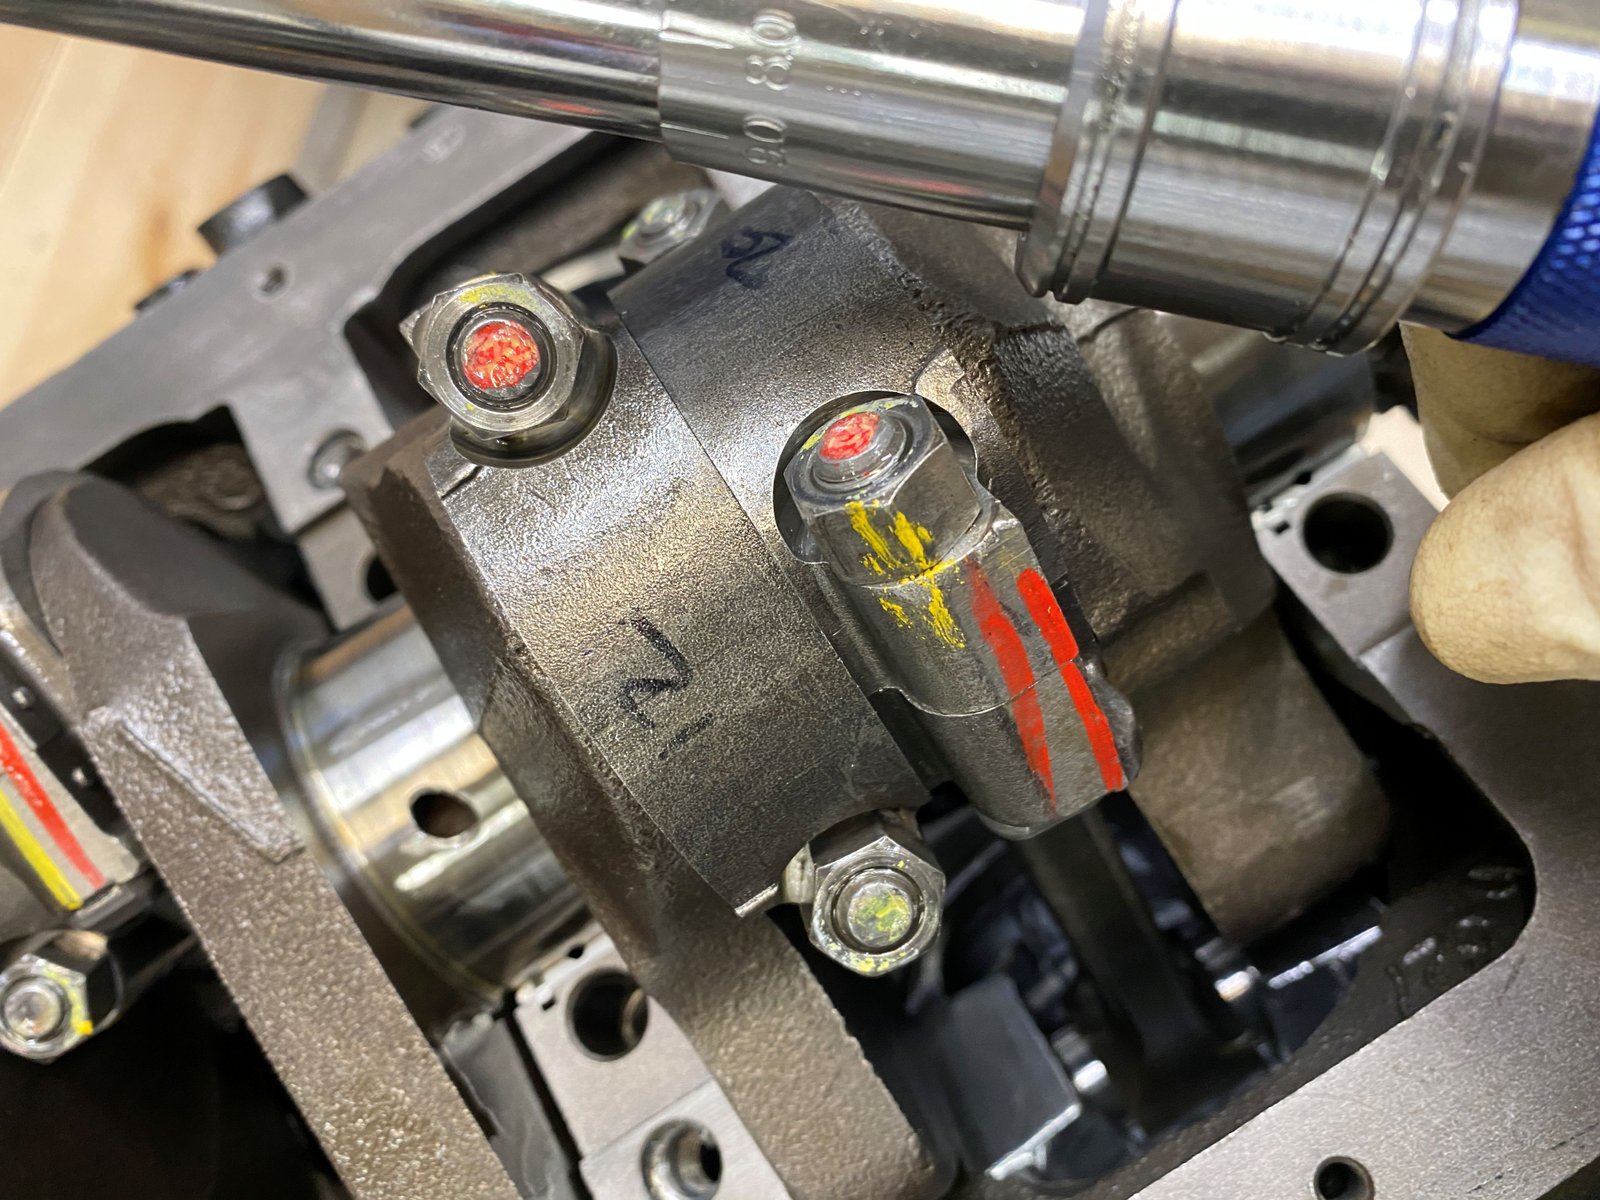
Main bolts to 77ft-lb
|
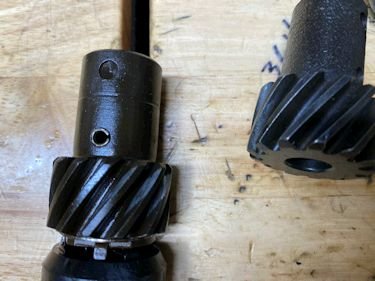
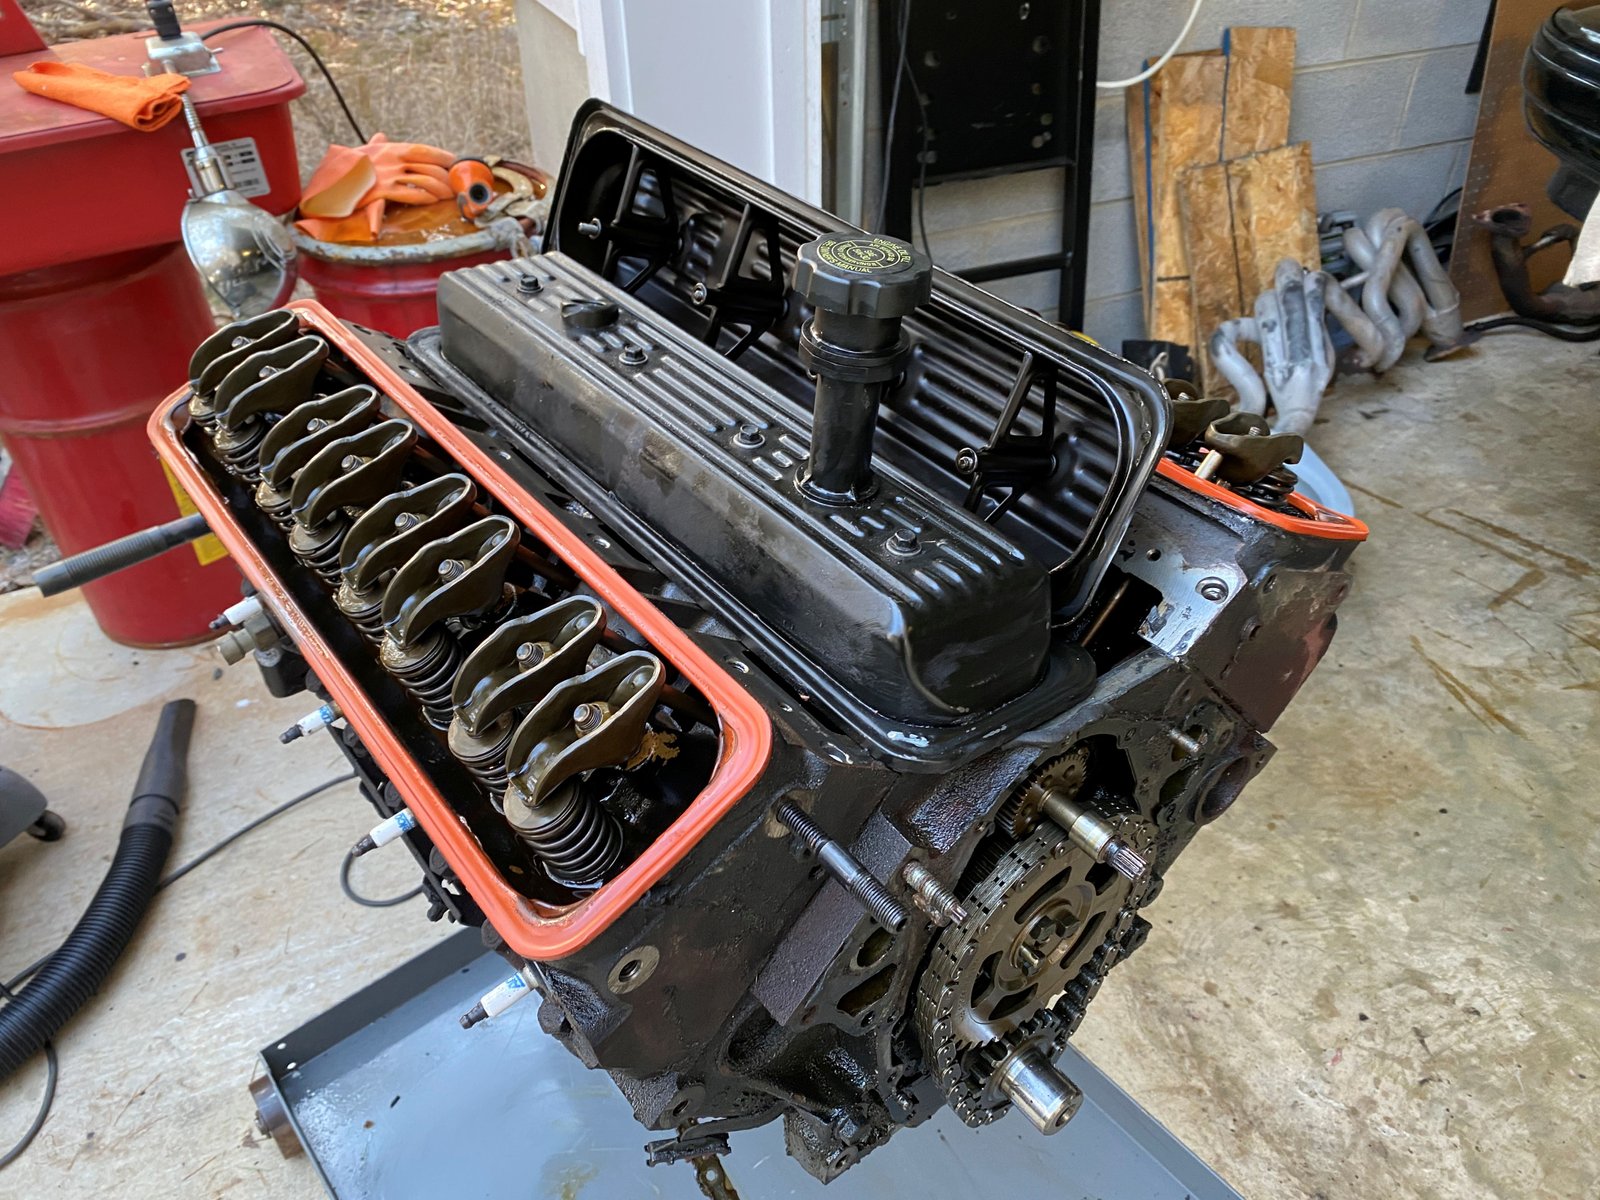
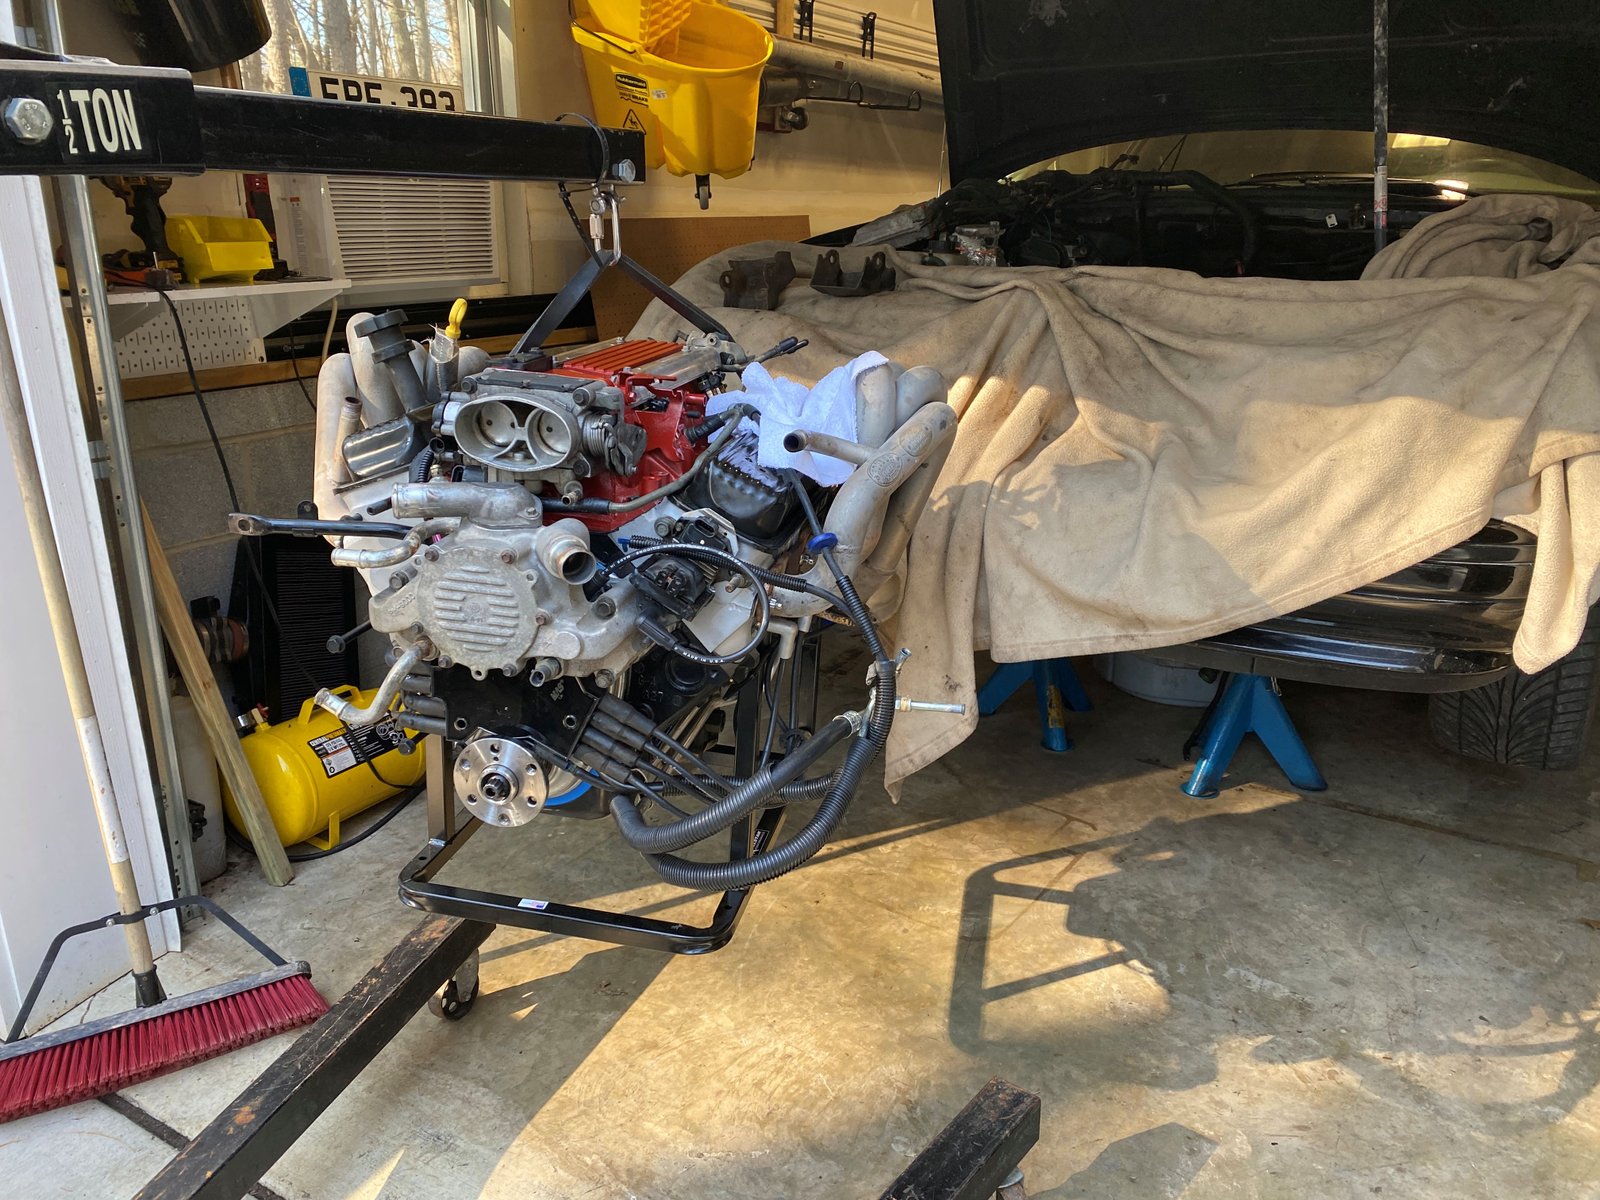
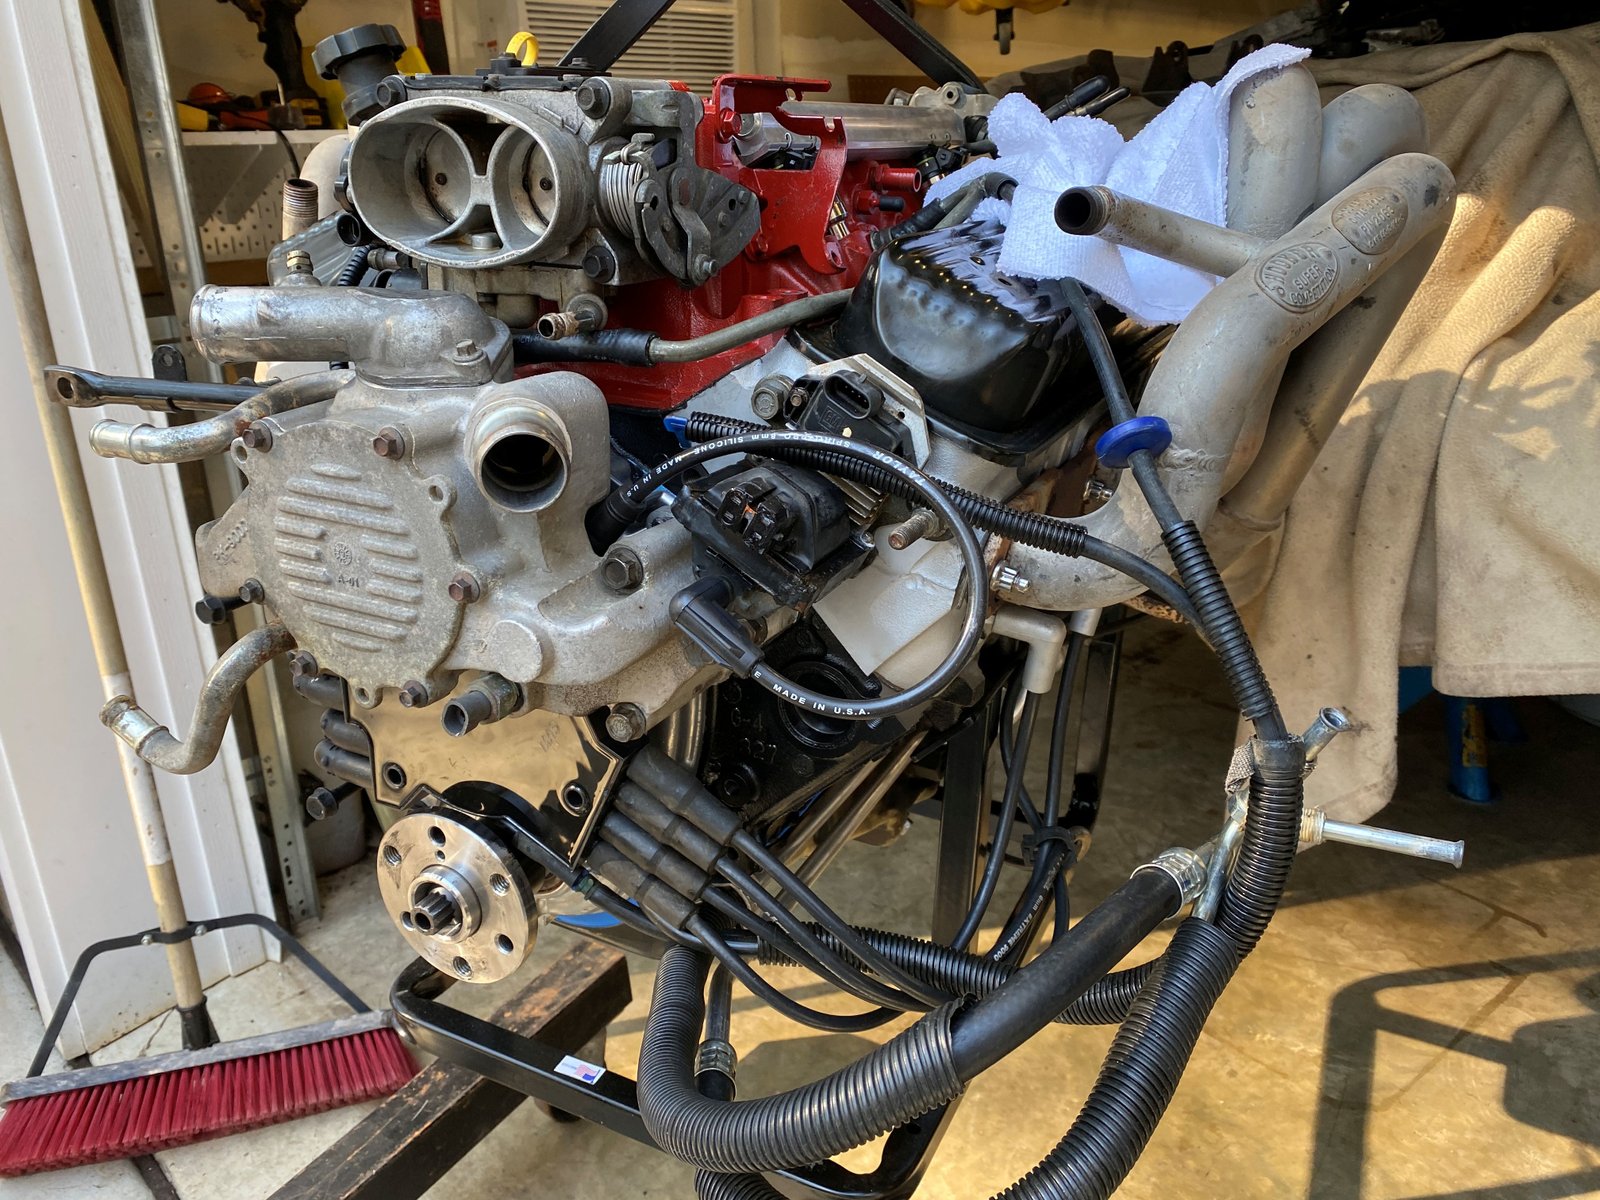
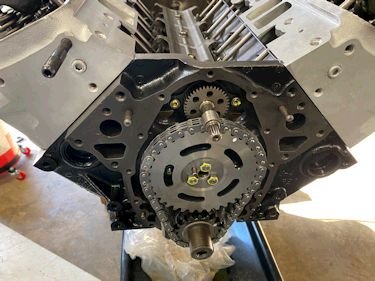
Now it is time for transfer of core parts. The oil pump
drive from the old motor is worn. I'll put in a new AC Delco
gear (on the right). |
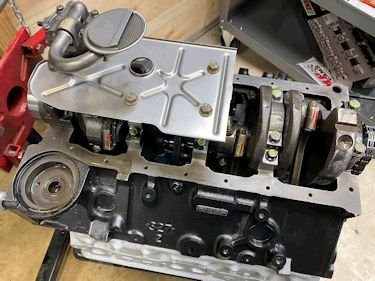
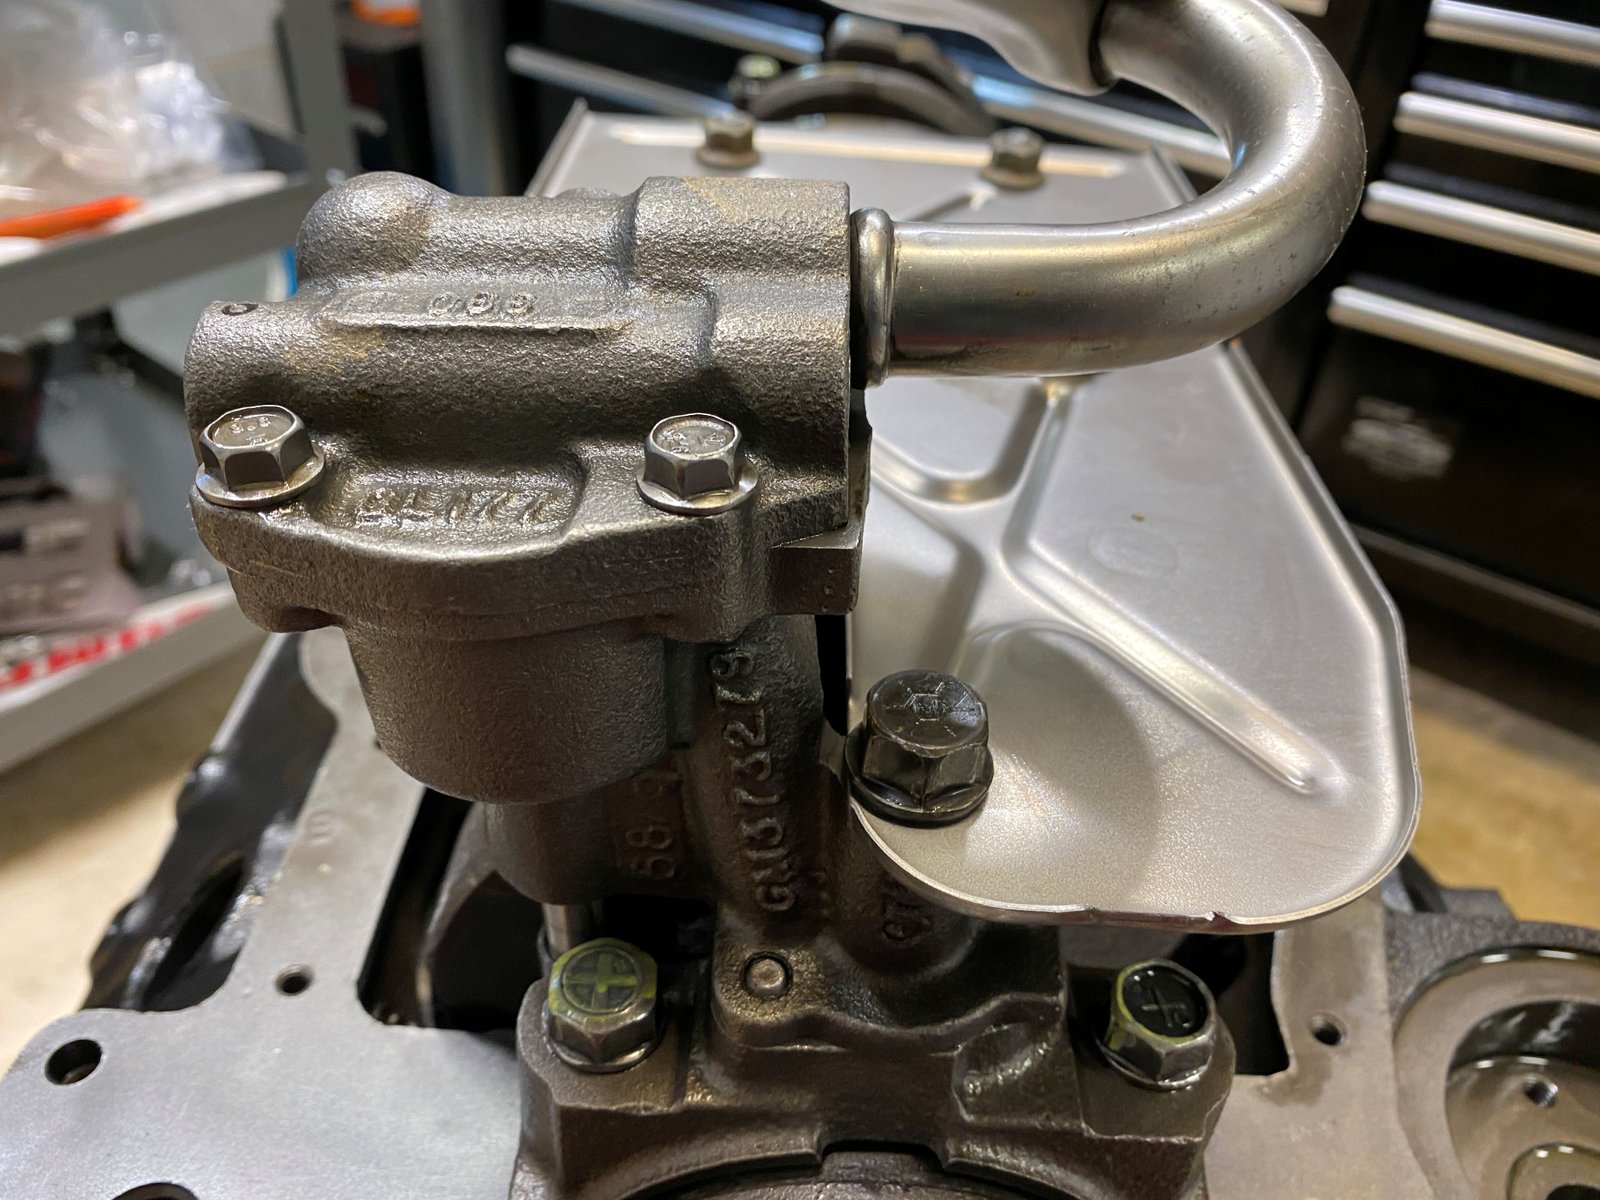
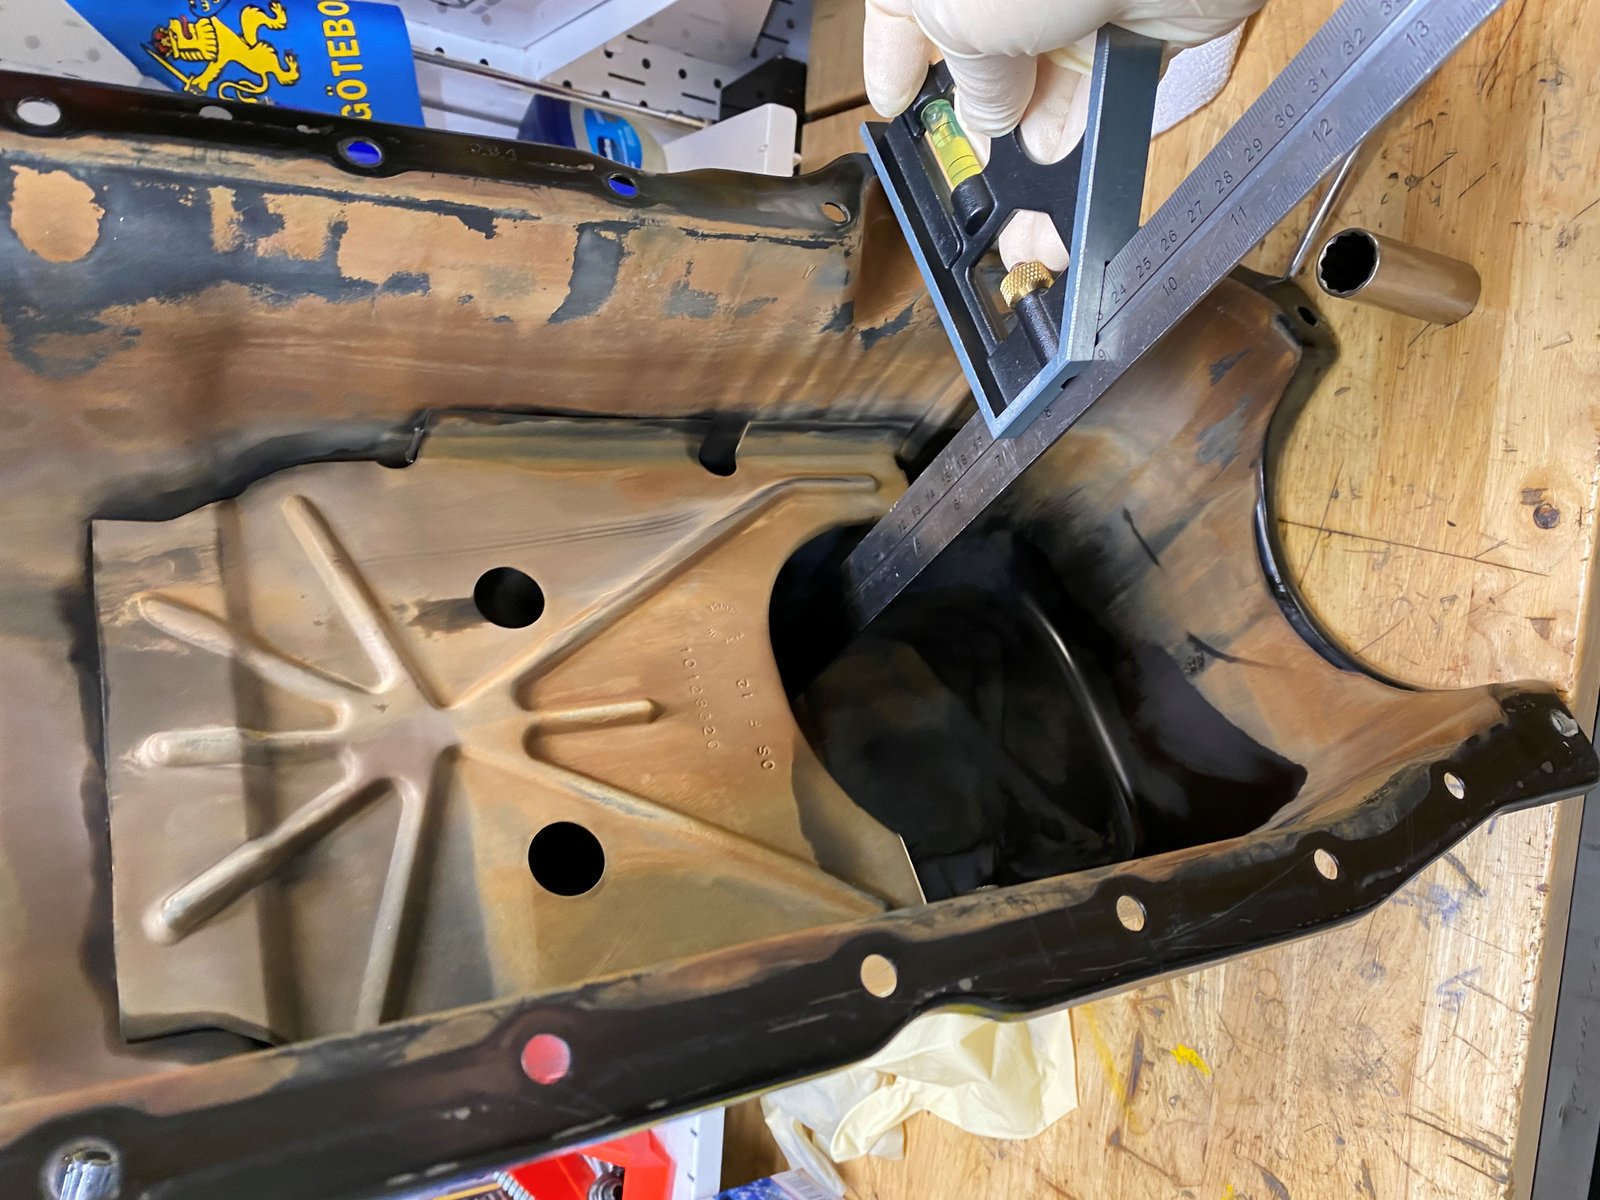
I installed a GM Impala SS oil pump and new windage tray.
|
 |

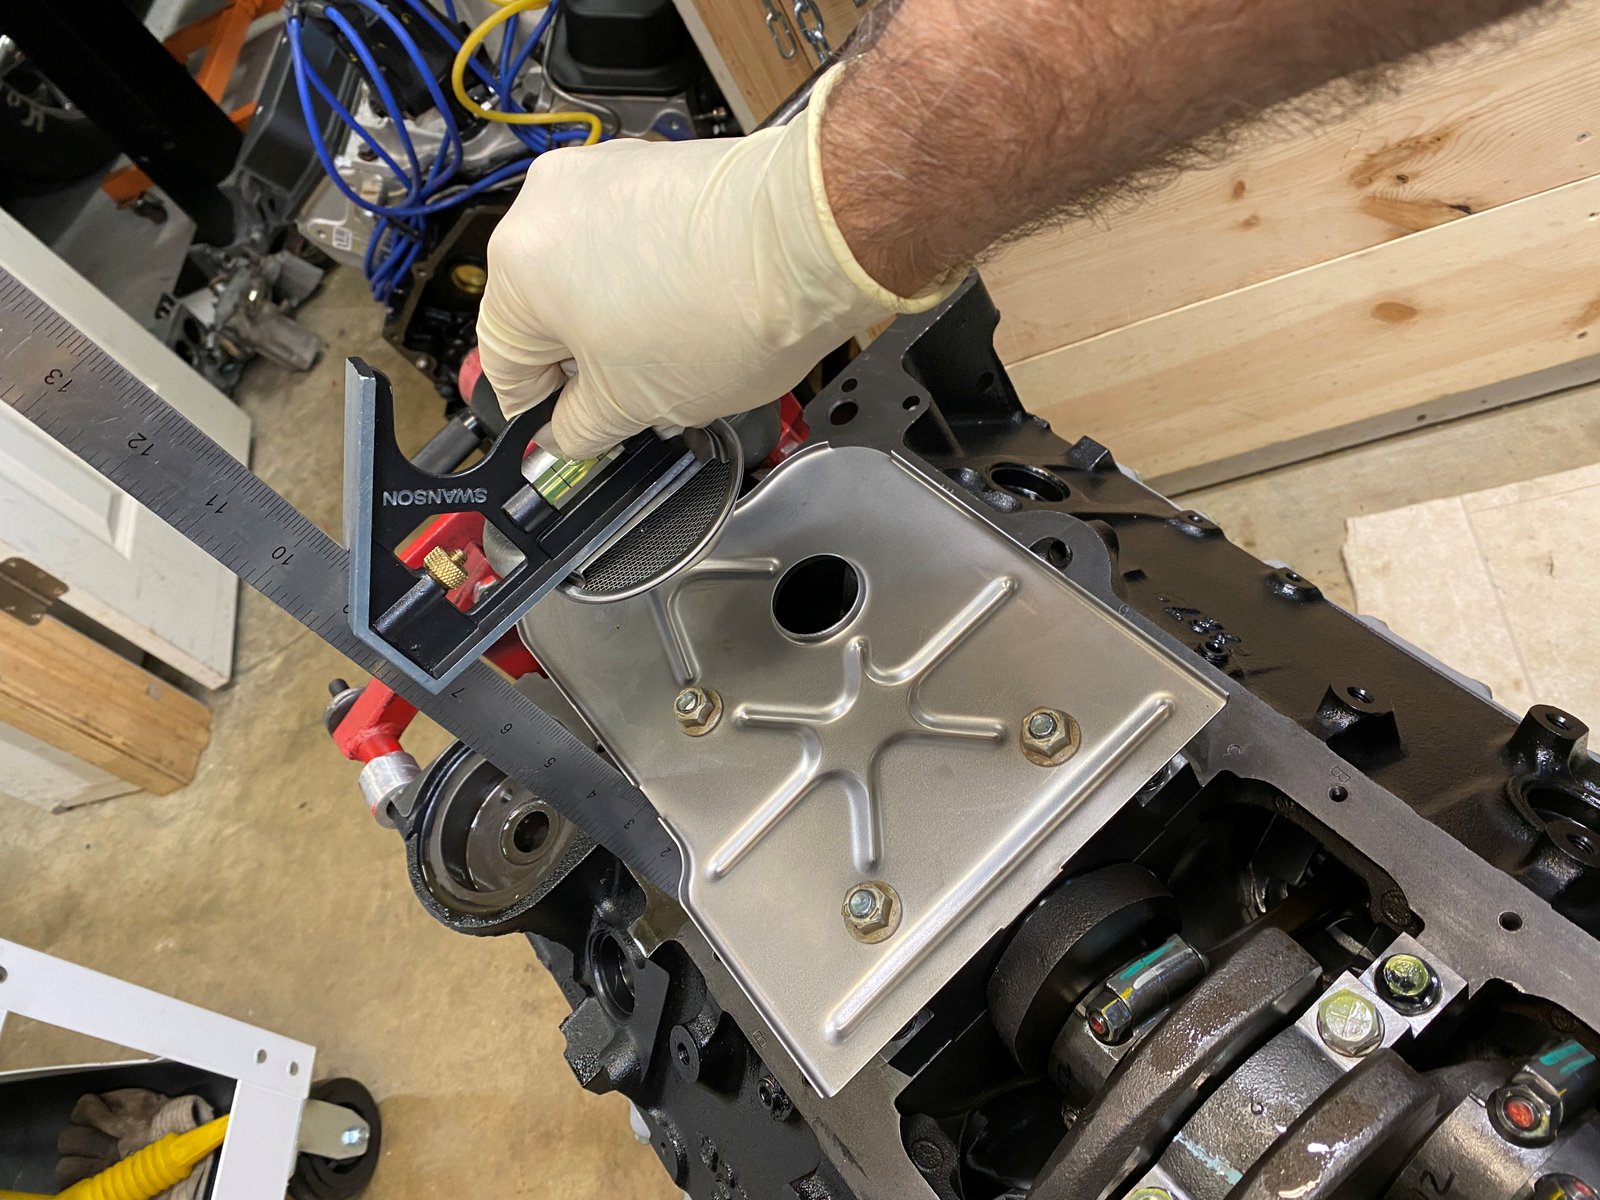
Pickup at 3/8" clearance.
|
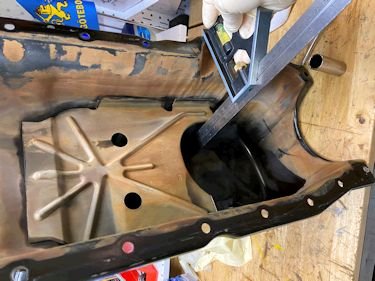
The oil pan is "clean". The brown film is part
of the pan now. It is from 25 years of engine oil. |
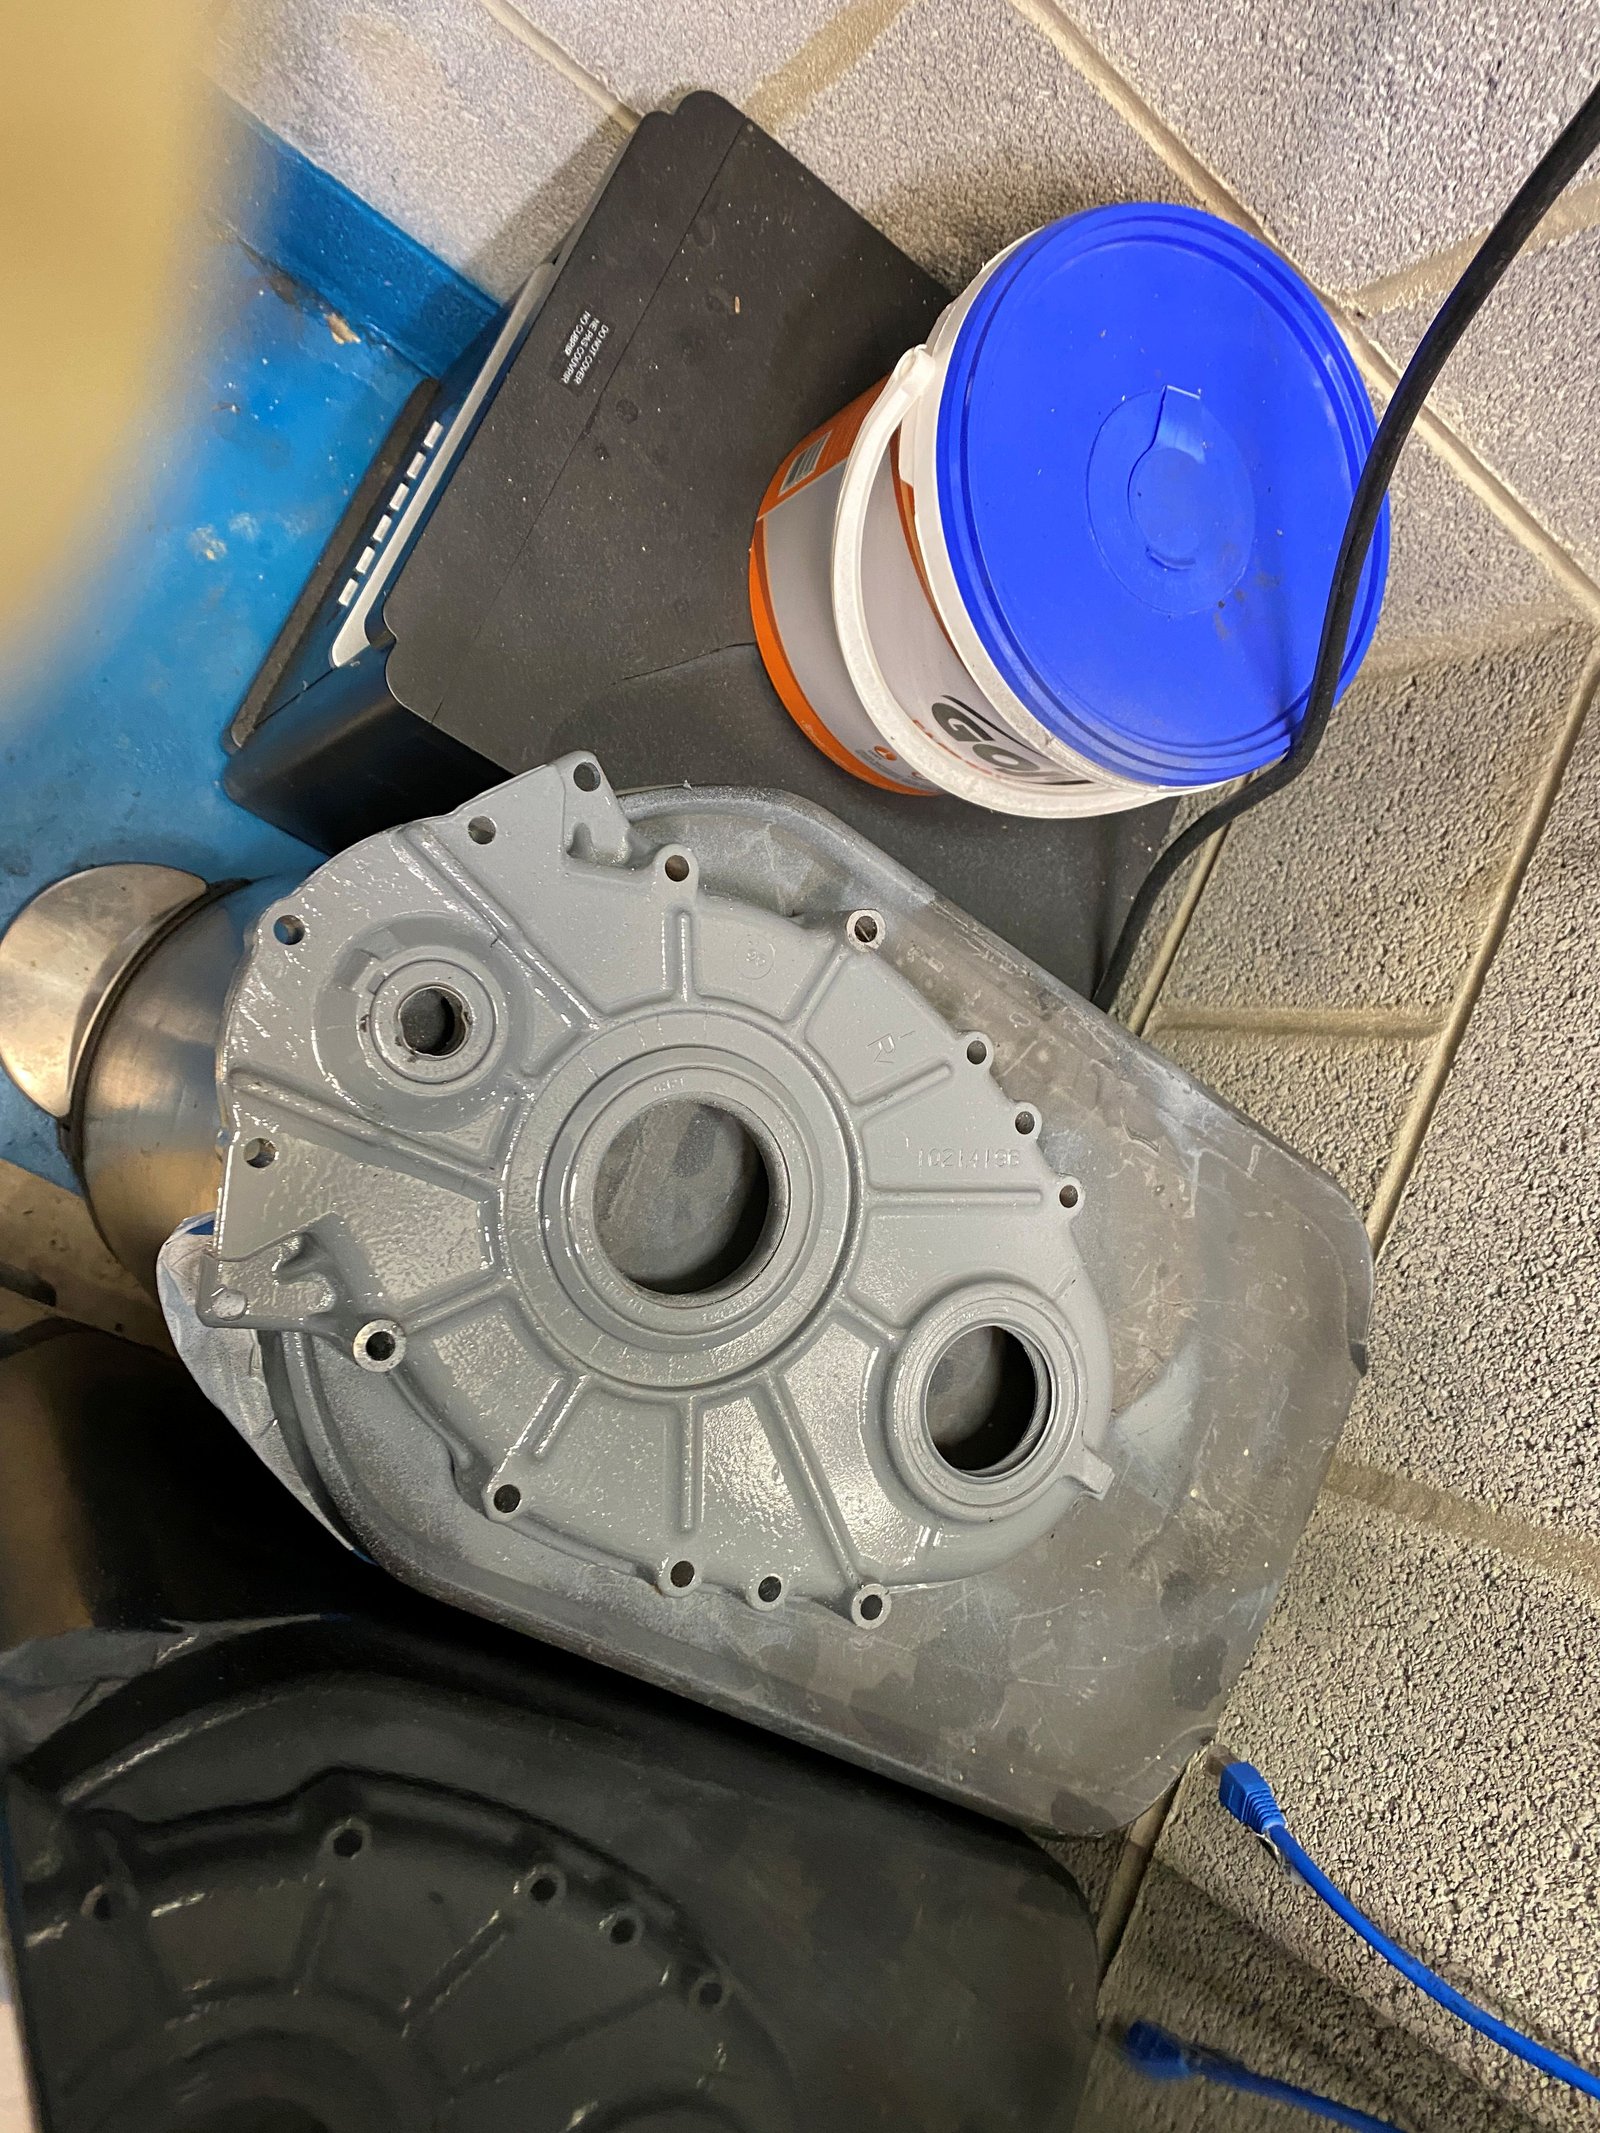
Cleaned up and painted the old timing cover....BUT...
|
Somehow I messed it up when I had it on the belt sander. |

I'll replace it with one of my very nice powder coated timing
covers.
|
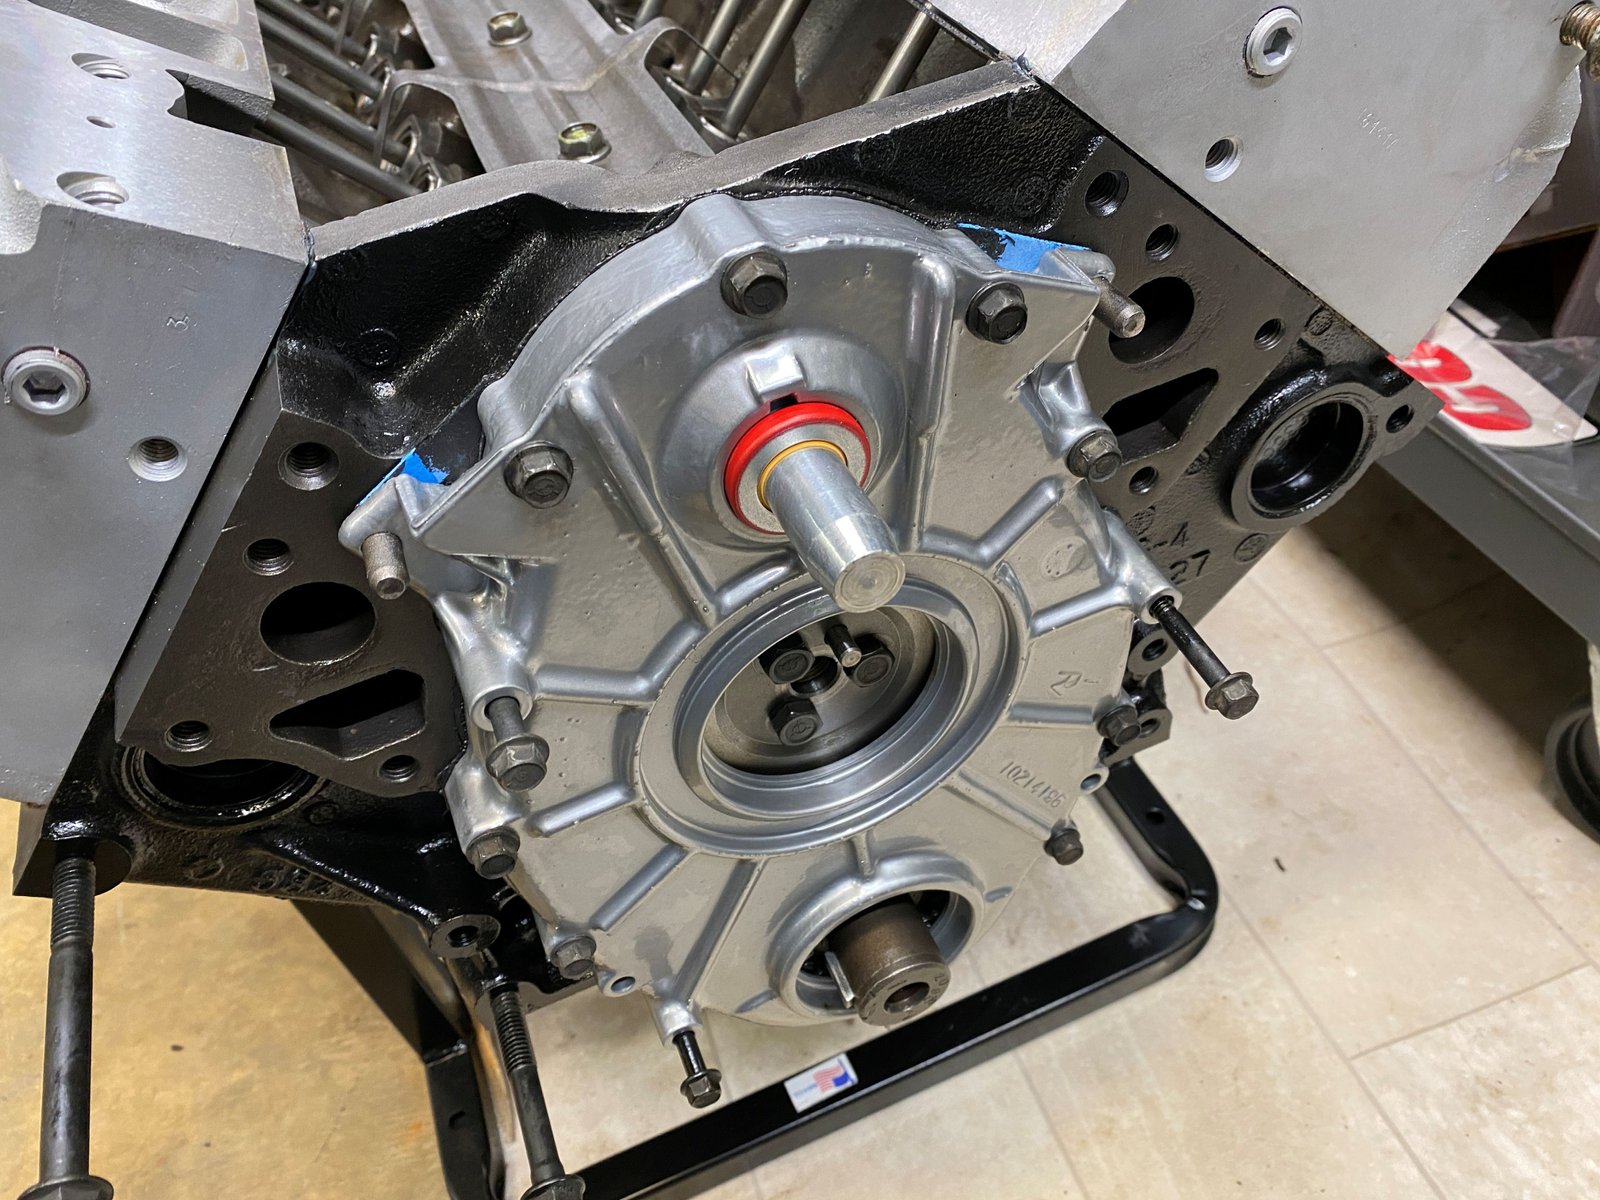
I have a nice tapered tool to allow for a good installation of
the water pump shaft seal. |
One last photo of the LT4 Hot cam serial numbers.
|
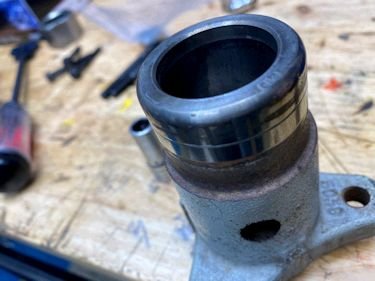
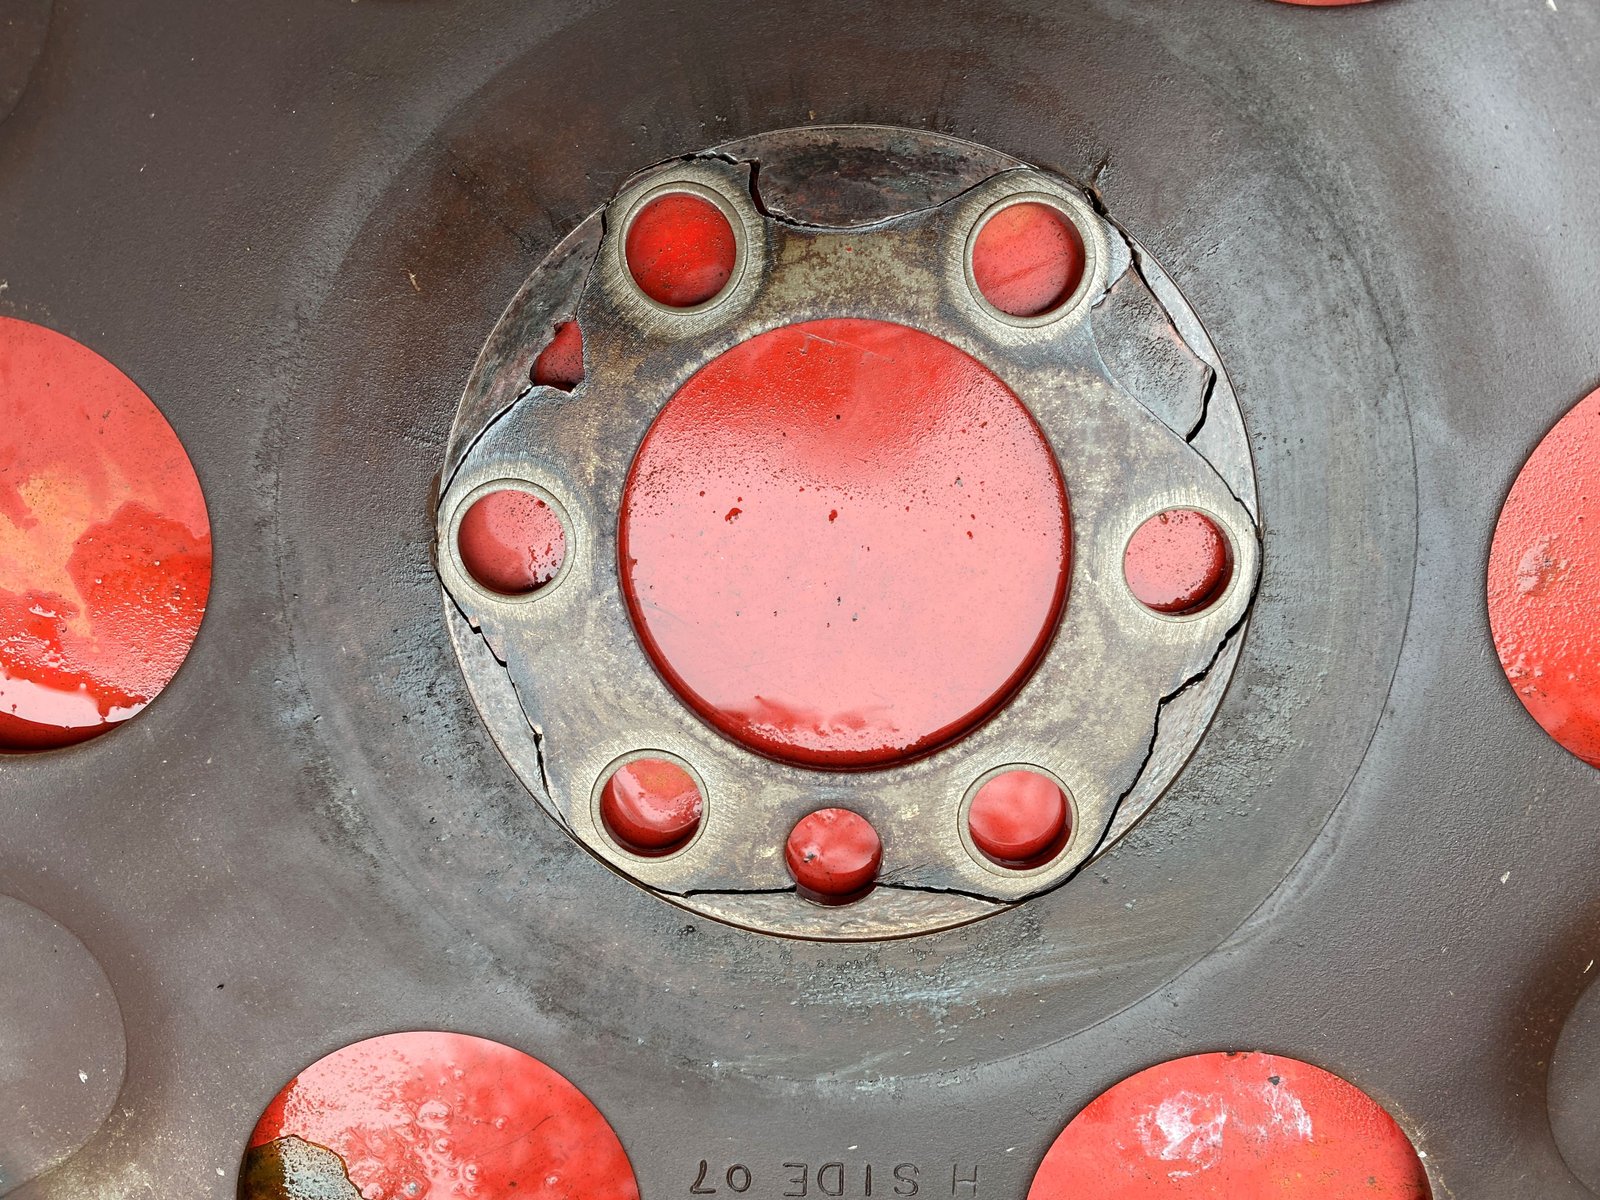
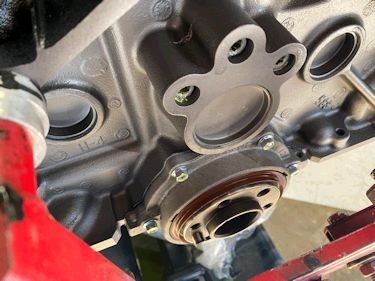
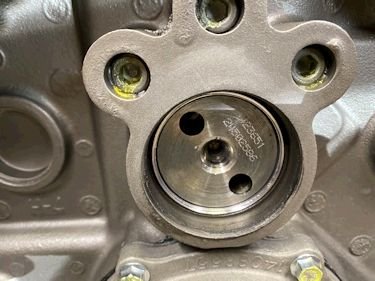
This is the stock hub that has a groove worn into it from
years of service. This cannot be re-used. |
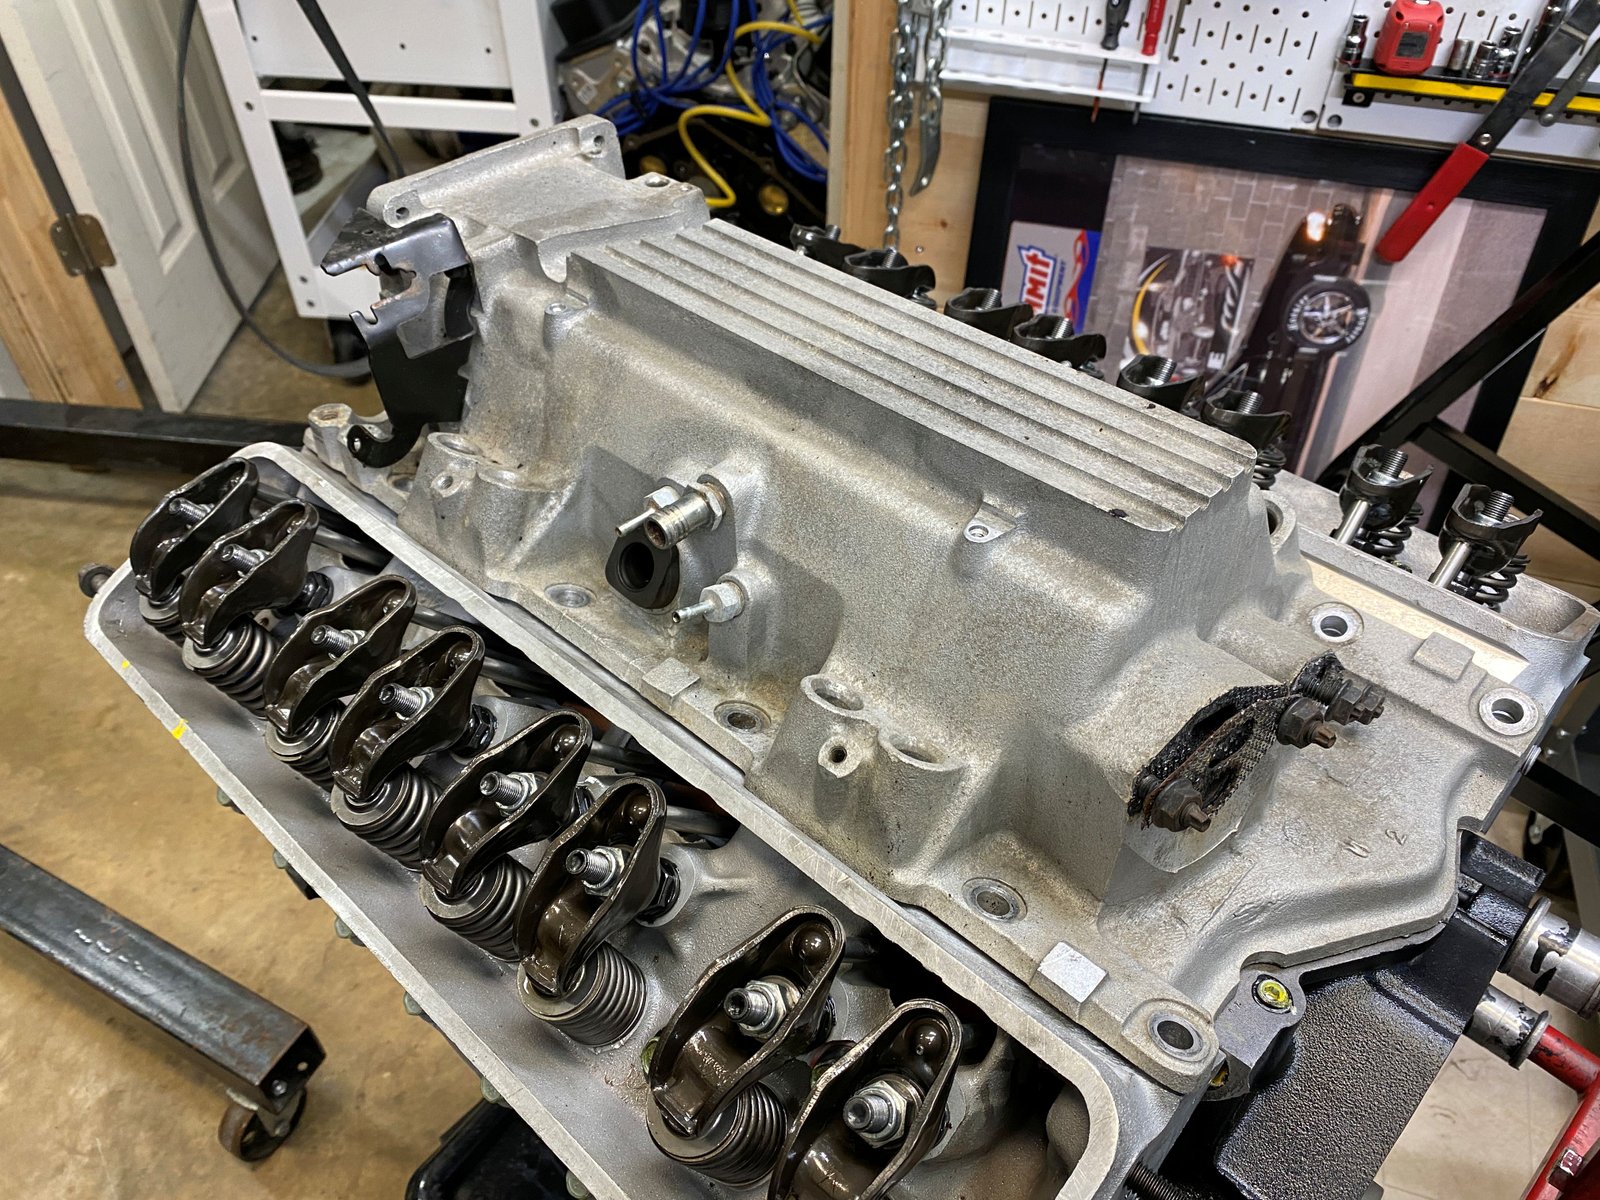
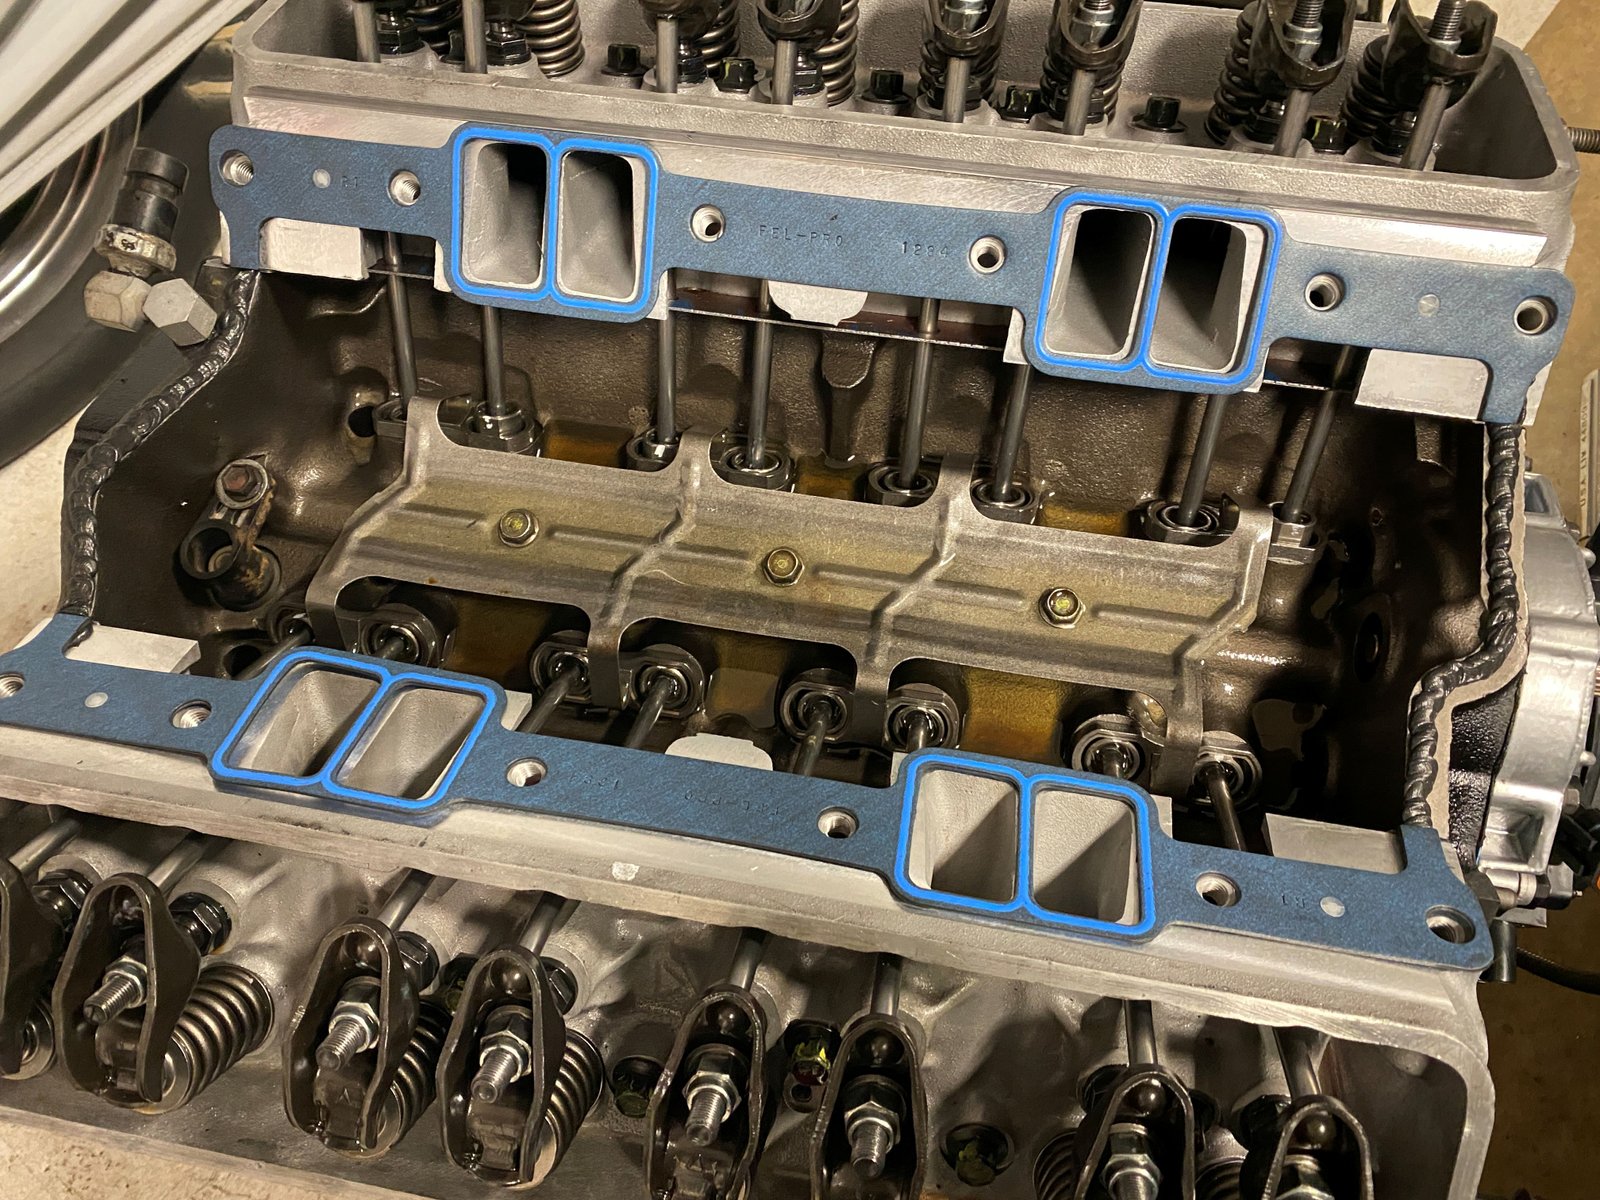
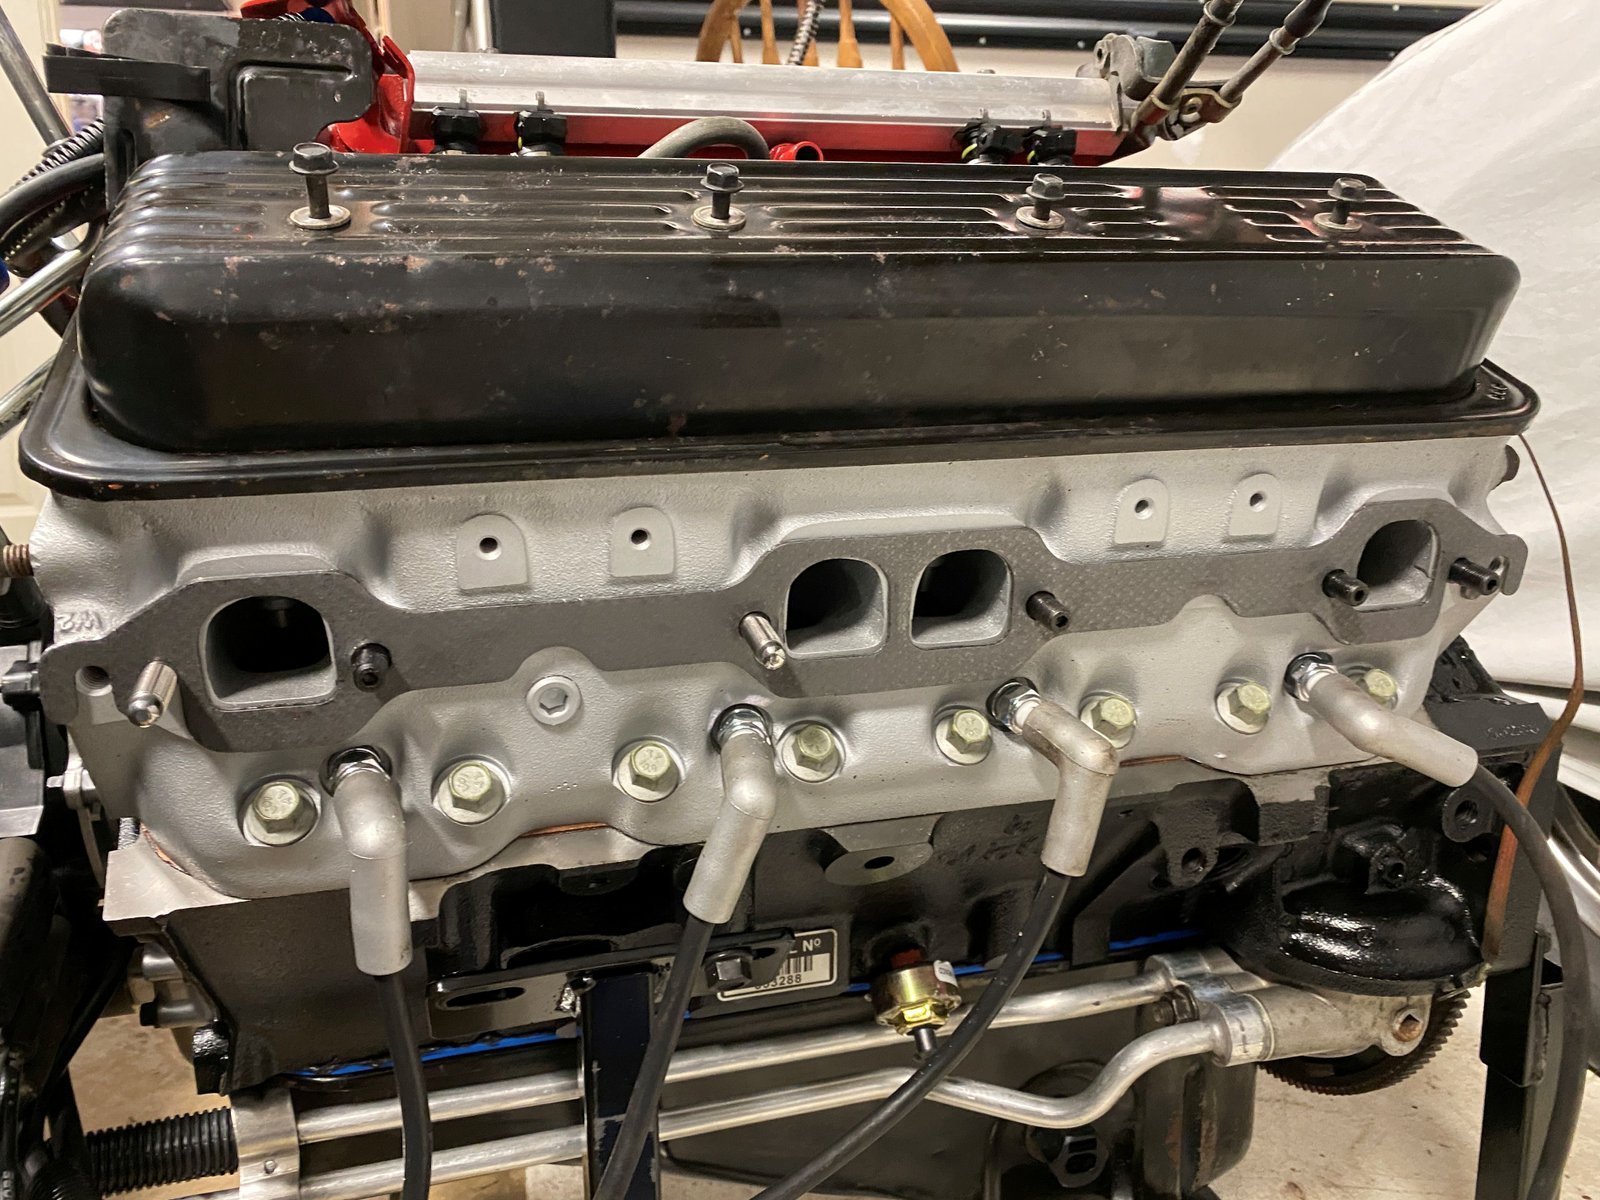
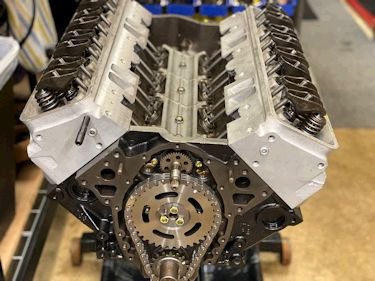
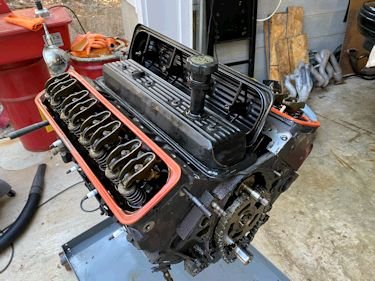
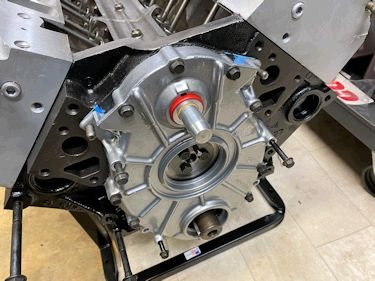
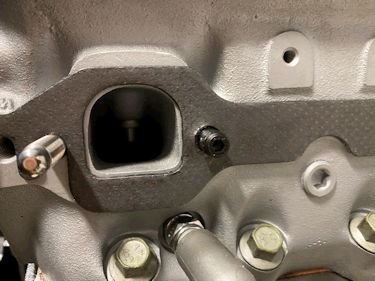
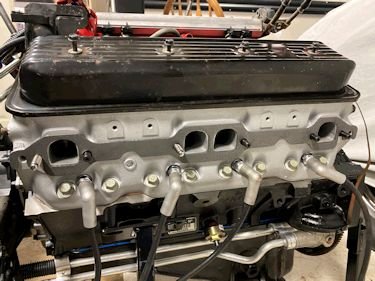
Intake manifold has been set on the engine to check for
fitment. All is good.
|
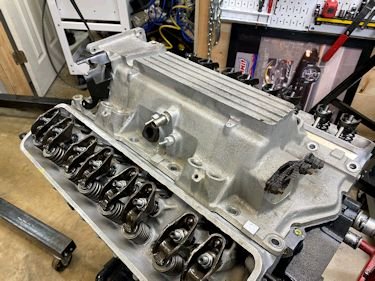
The intake will be painted prior to final installation. |

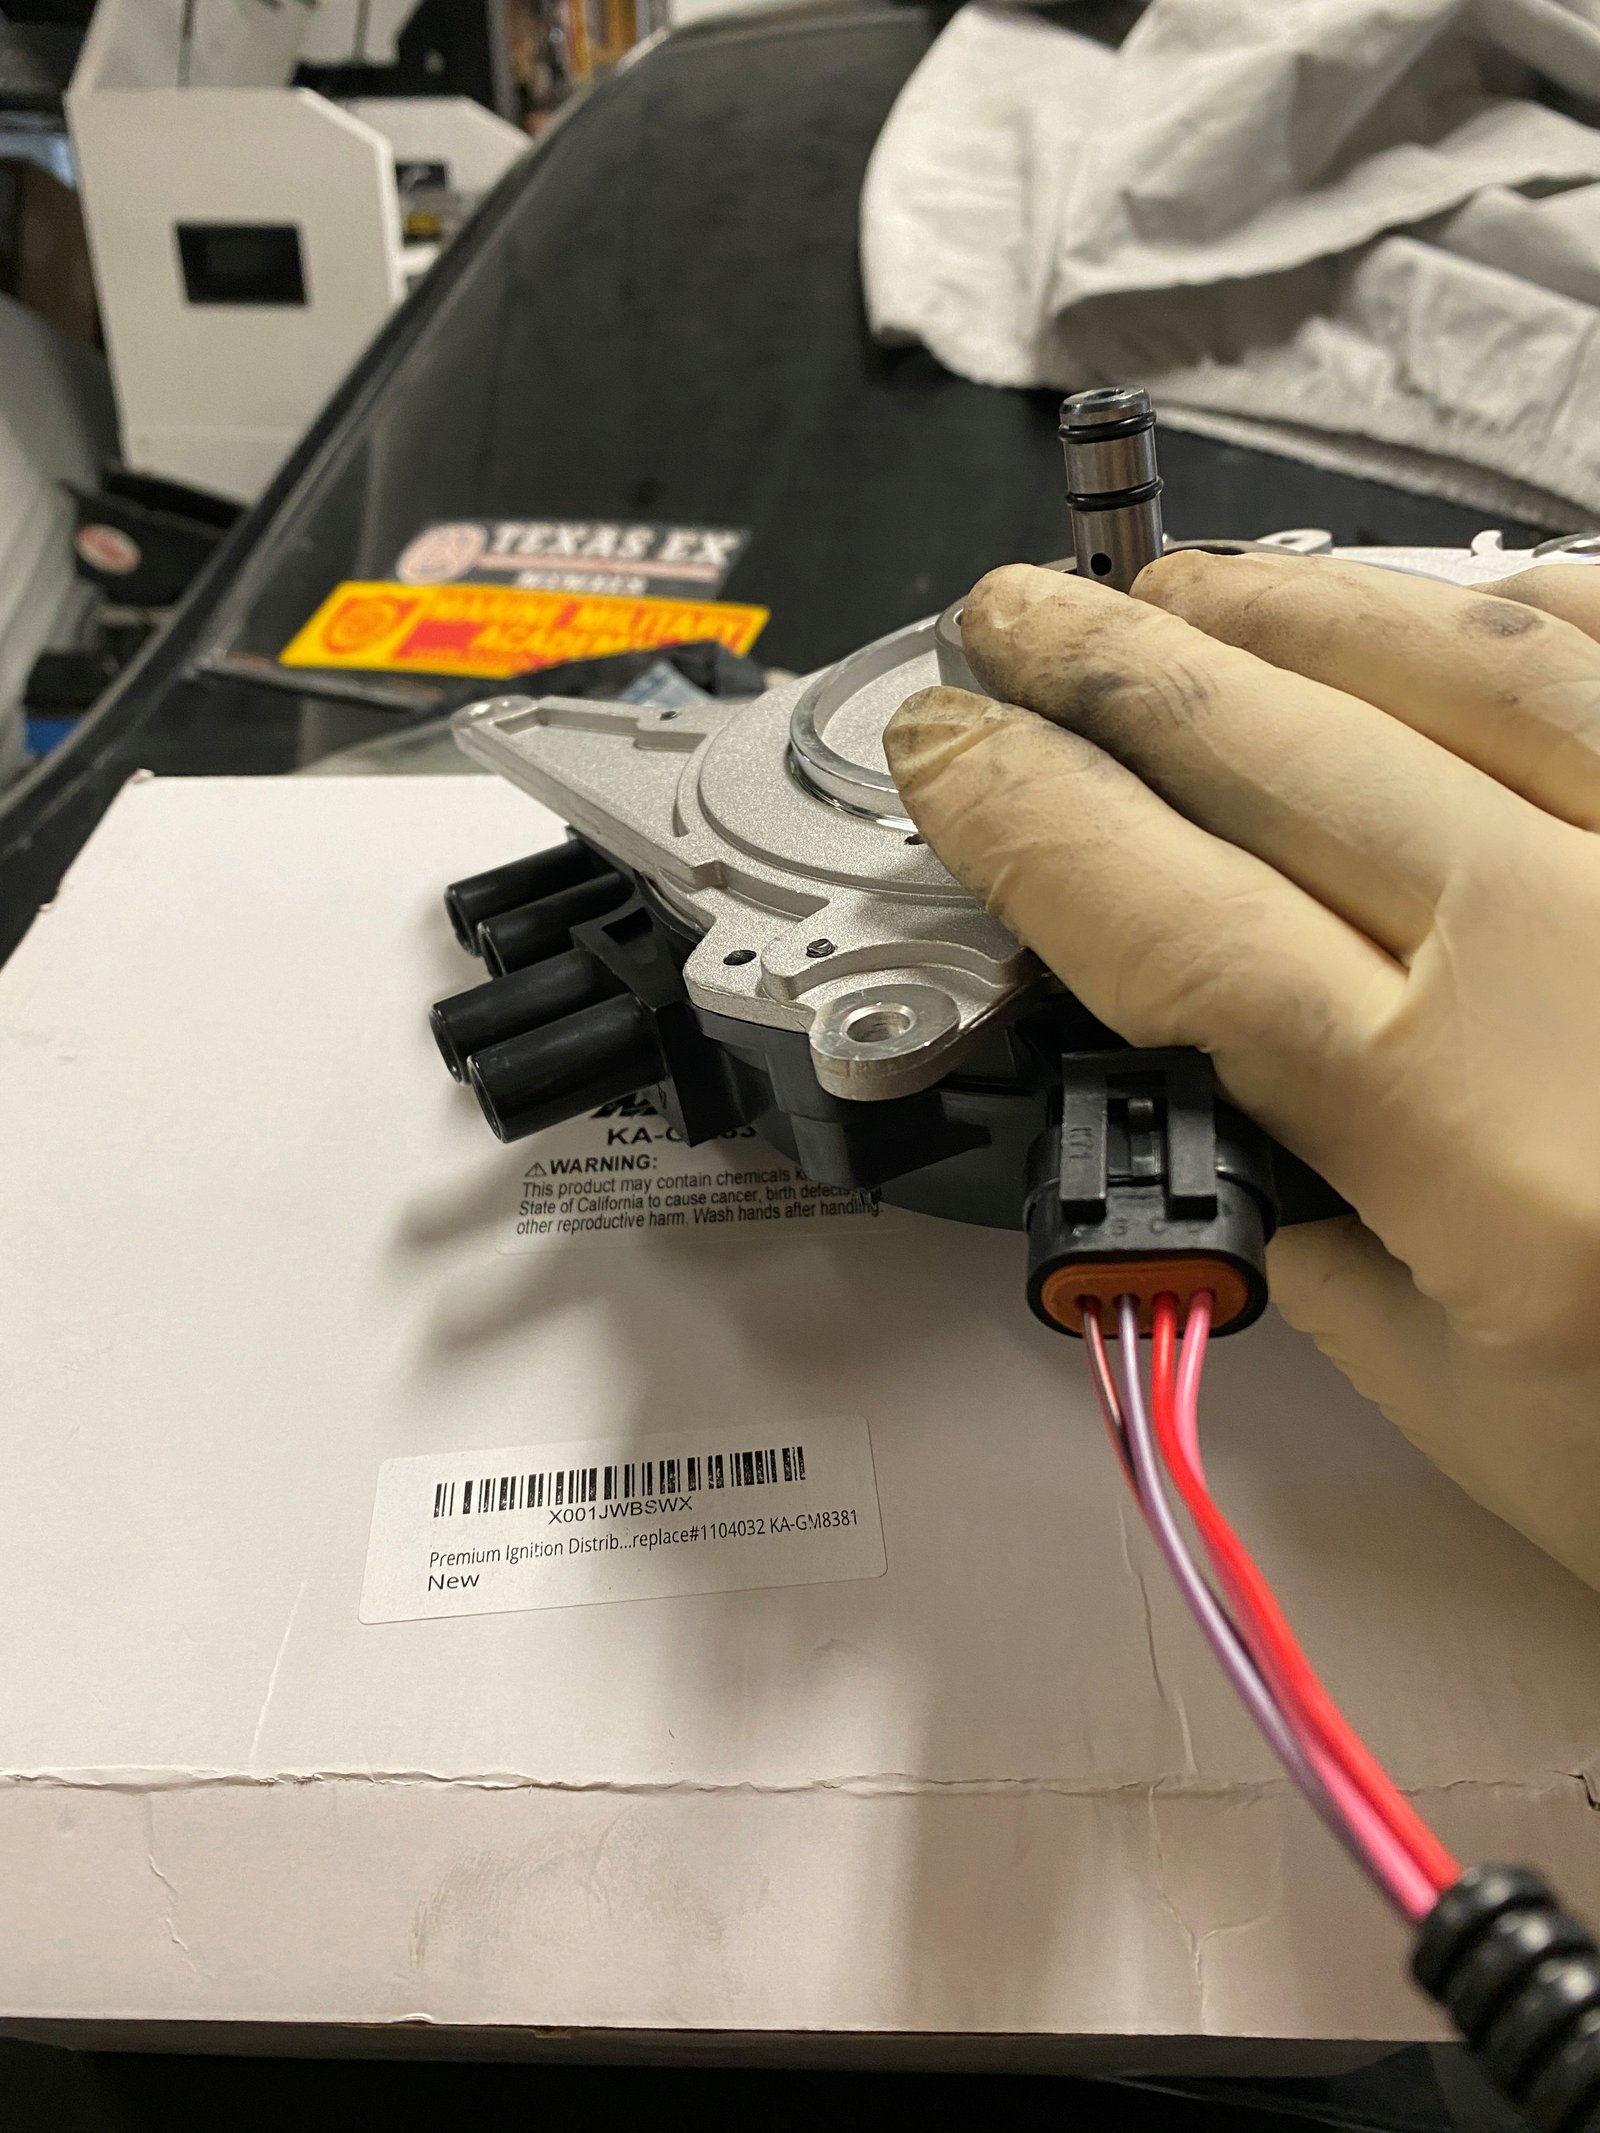
Photo of the new Amazon sourced Opti-spark for my records.
|
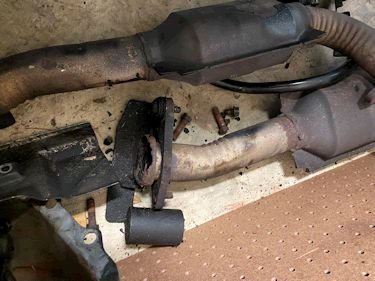
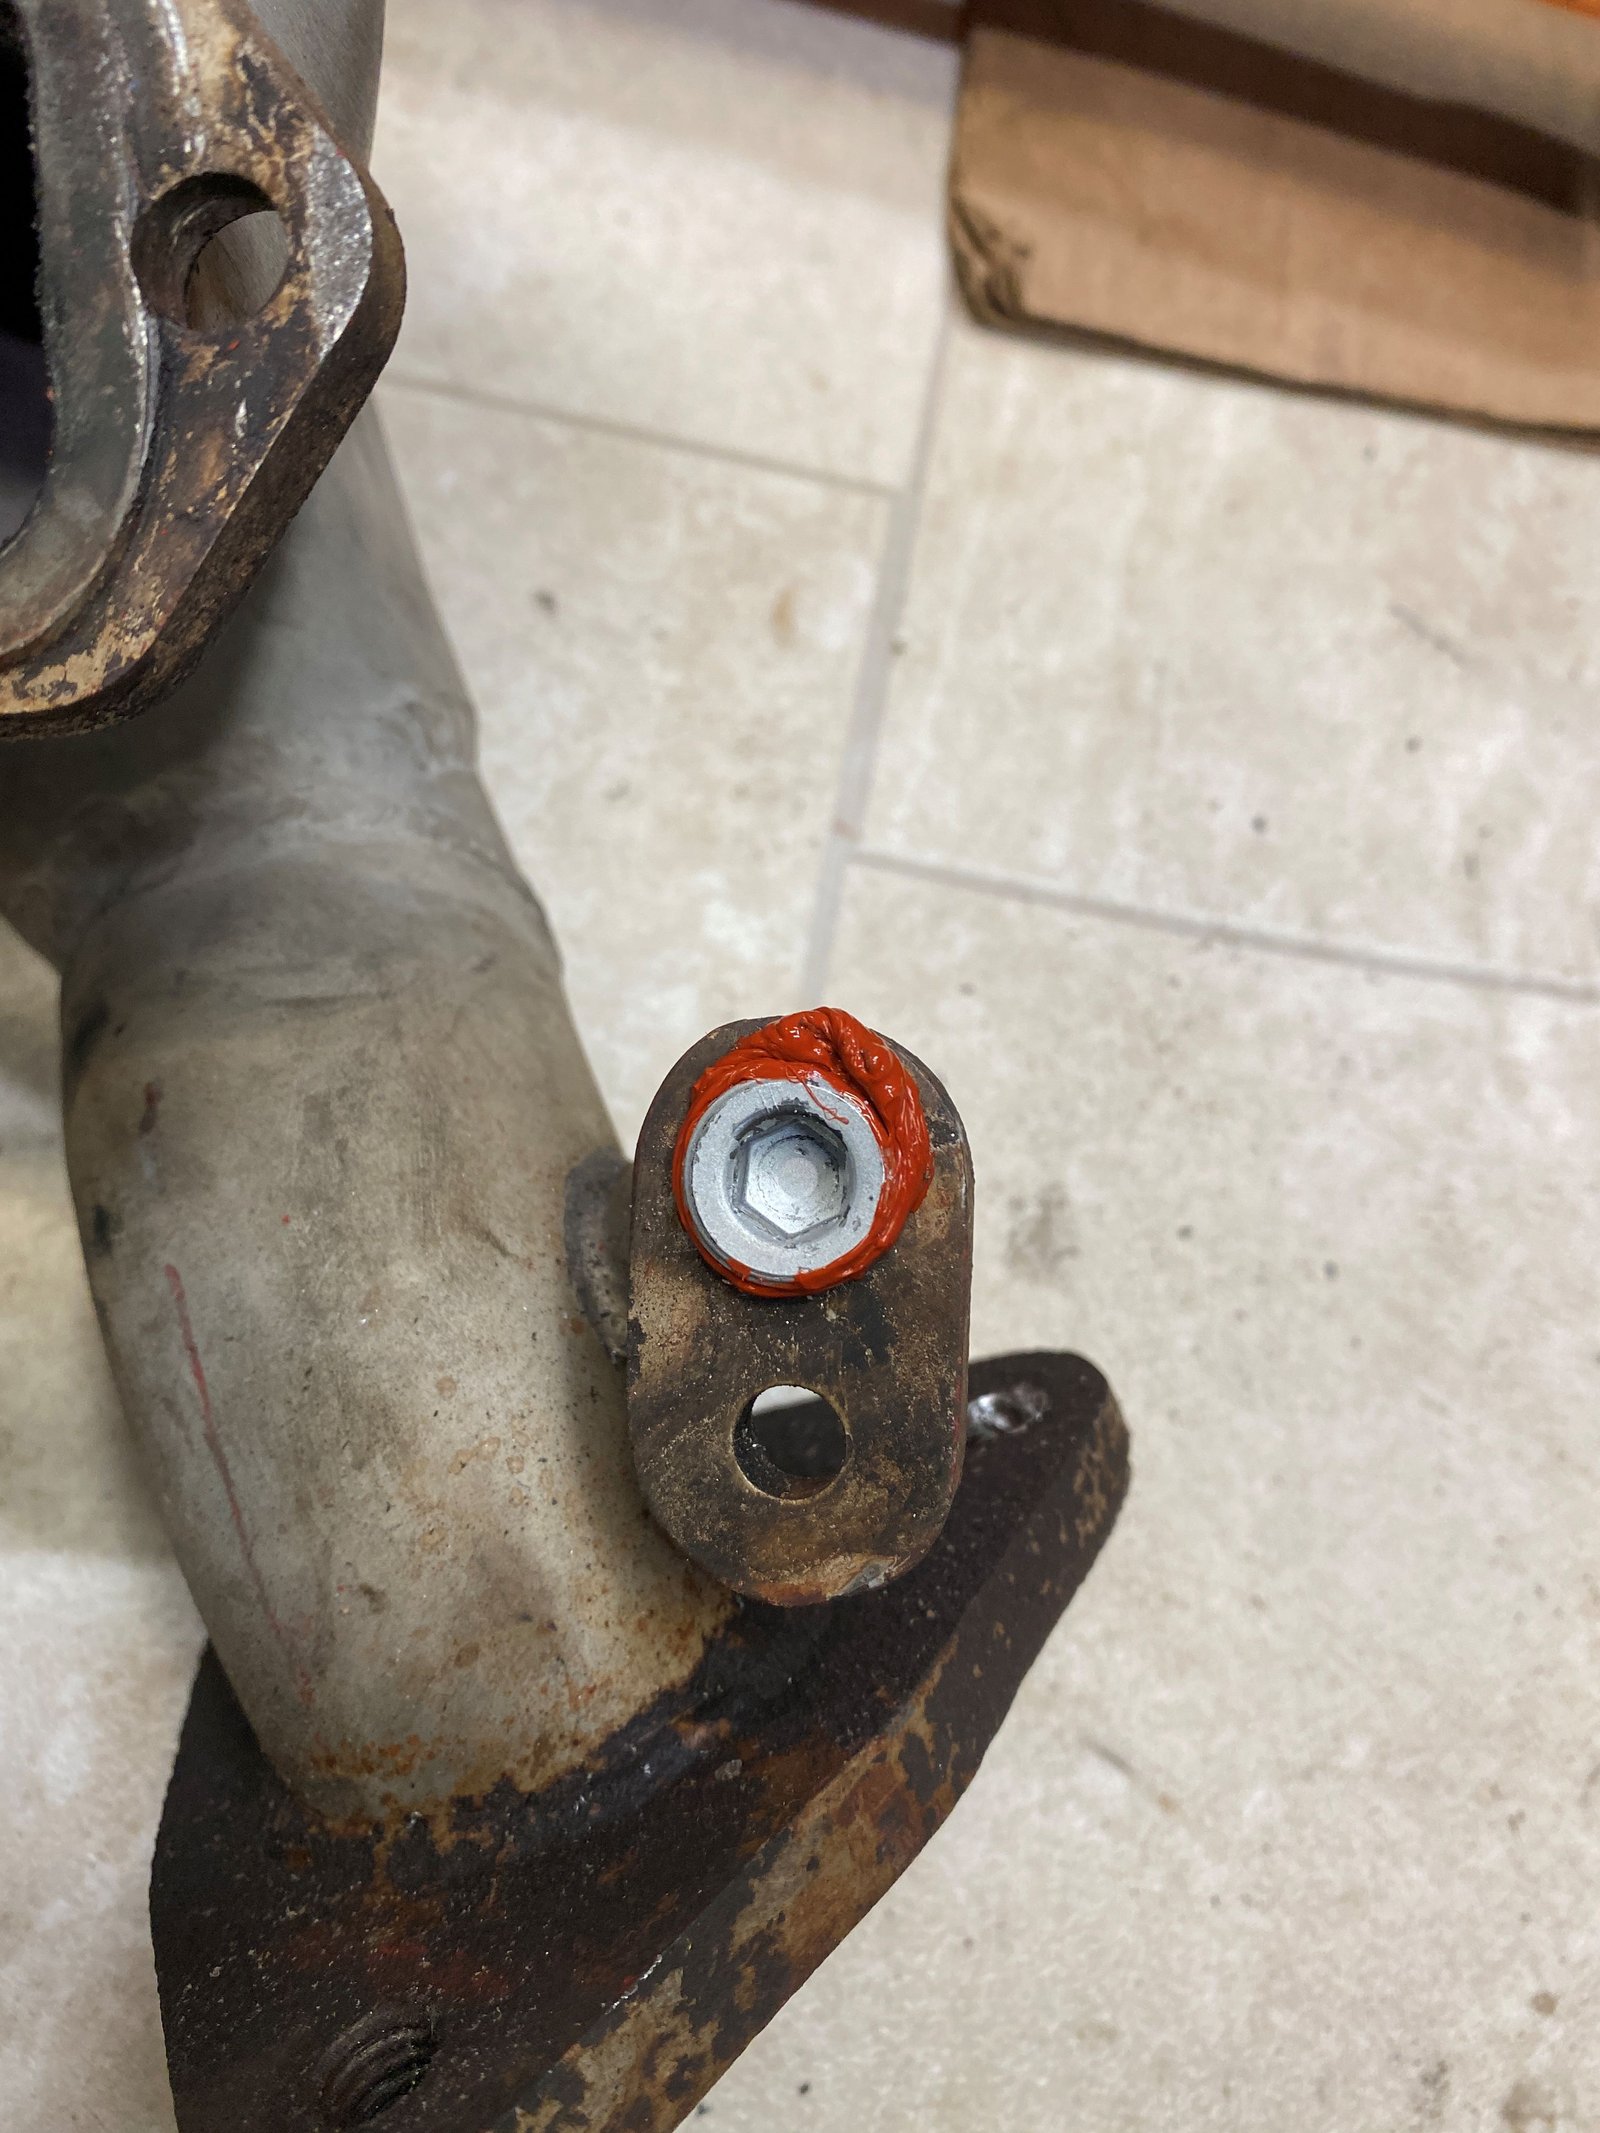
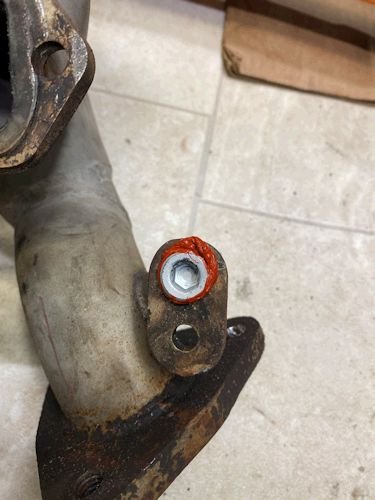
Just noticed the stock catalytic converter rusted flange. I
have a few good cores up in the attic. |
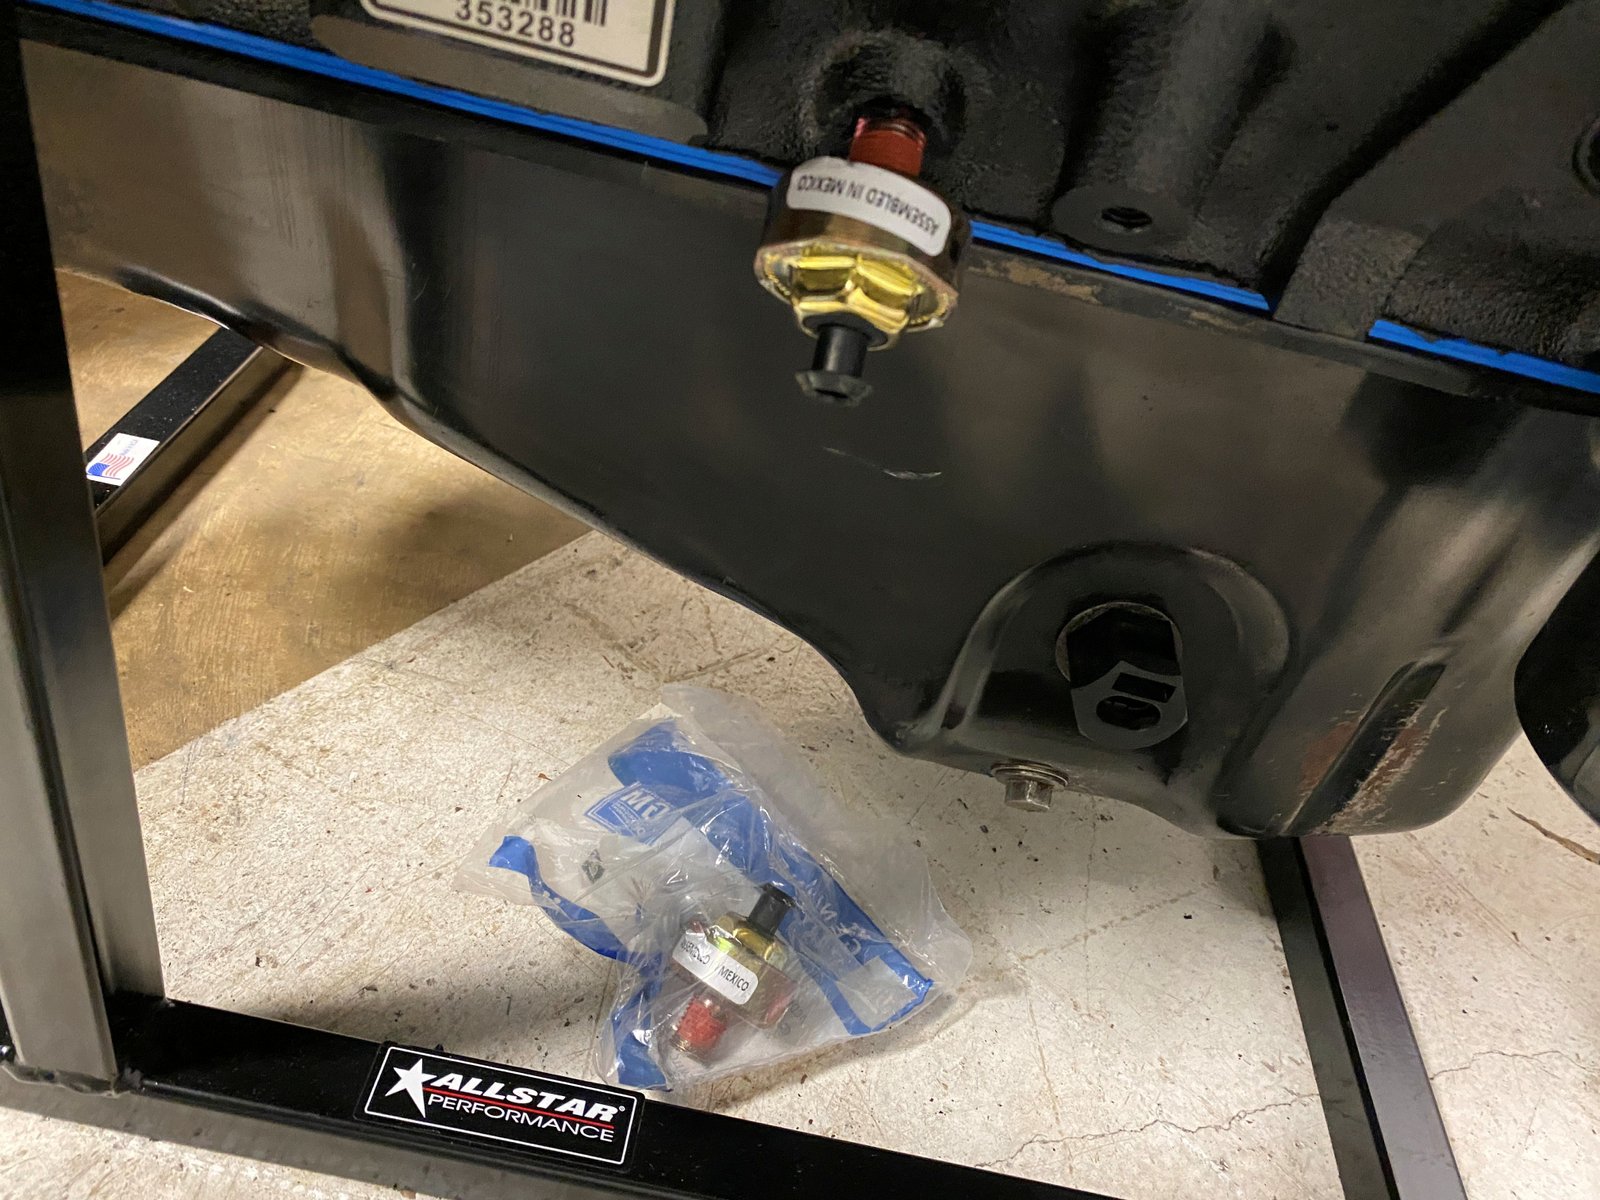
Brand new AC Delco knock sensors.
|
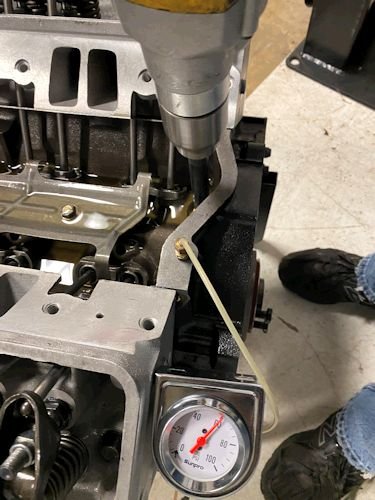
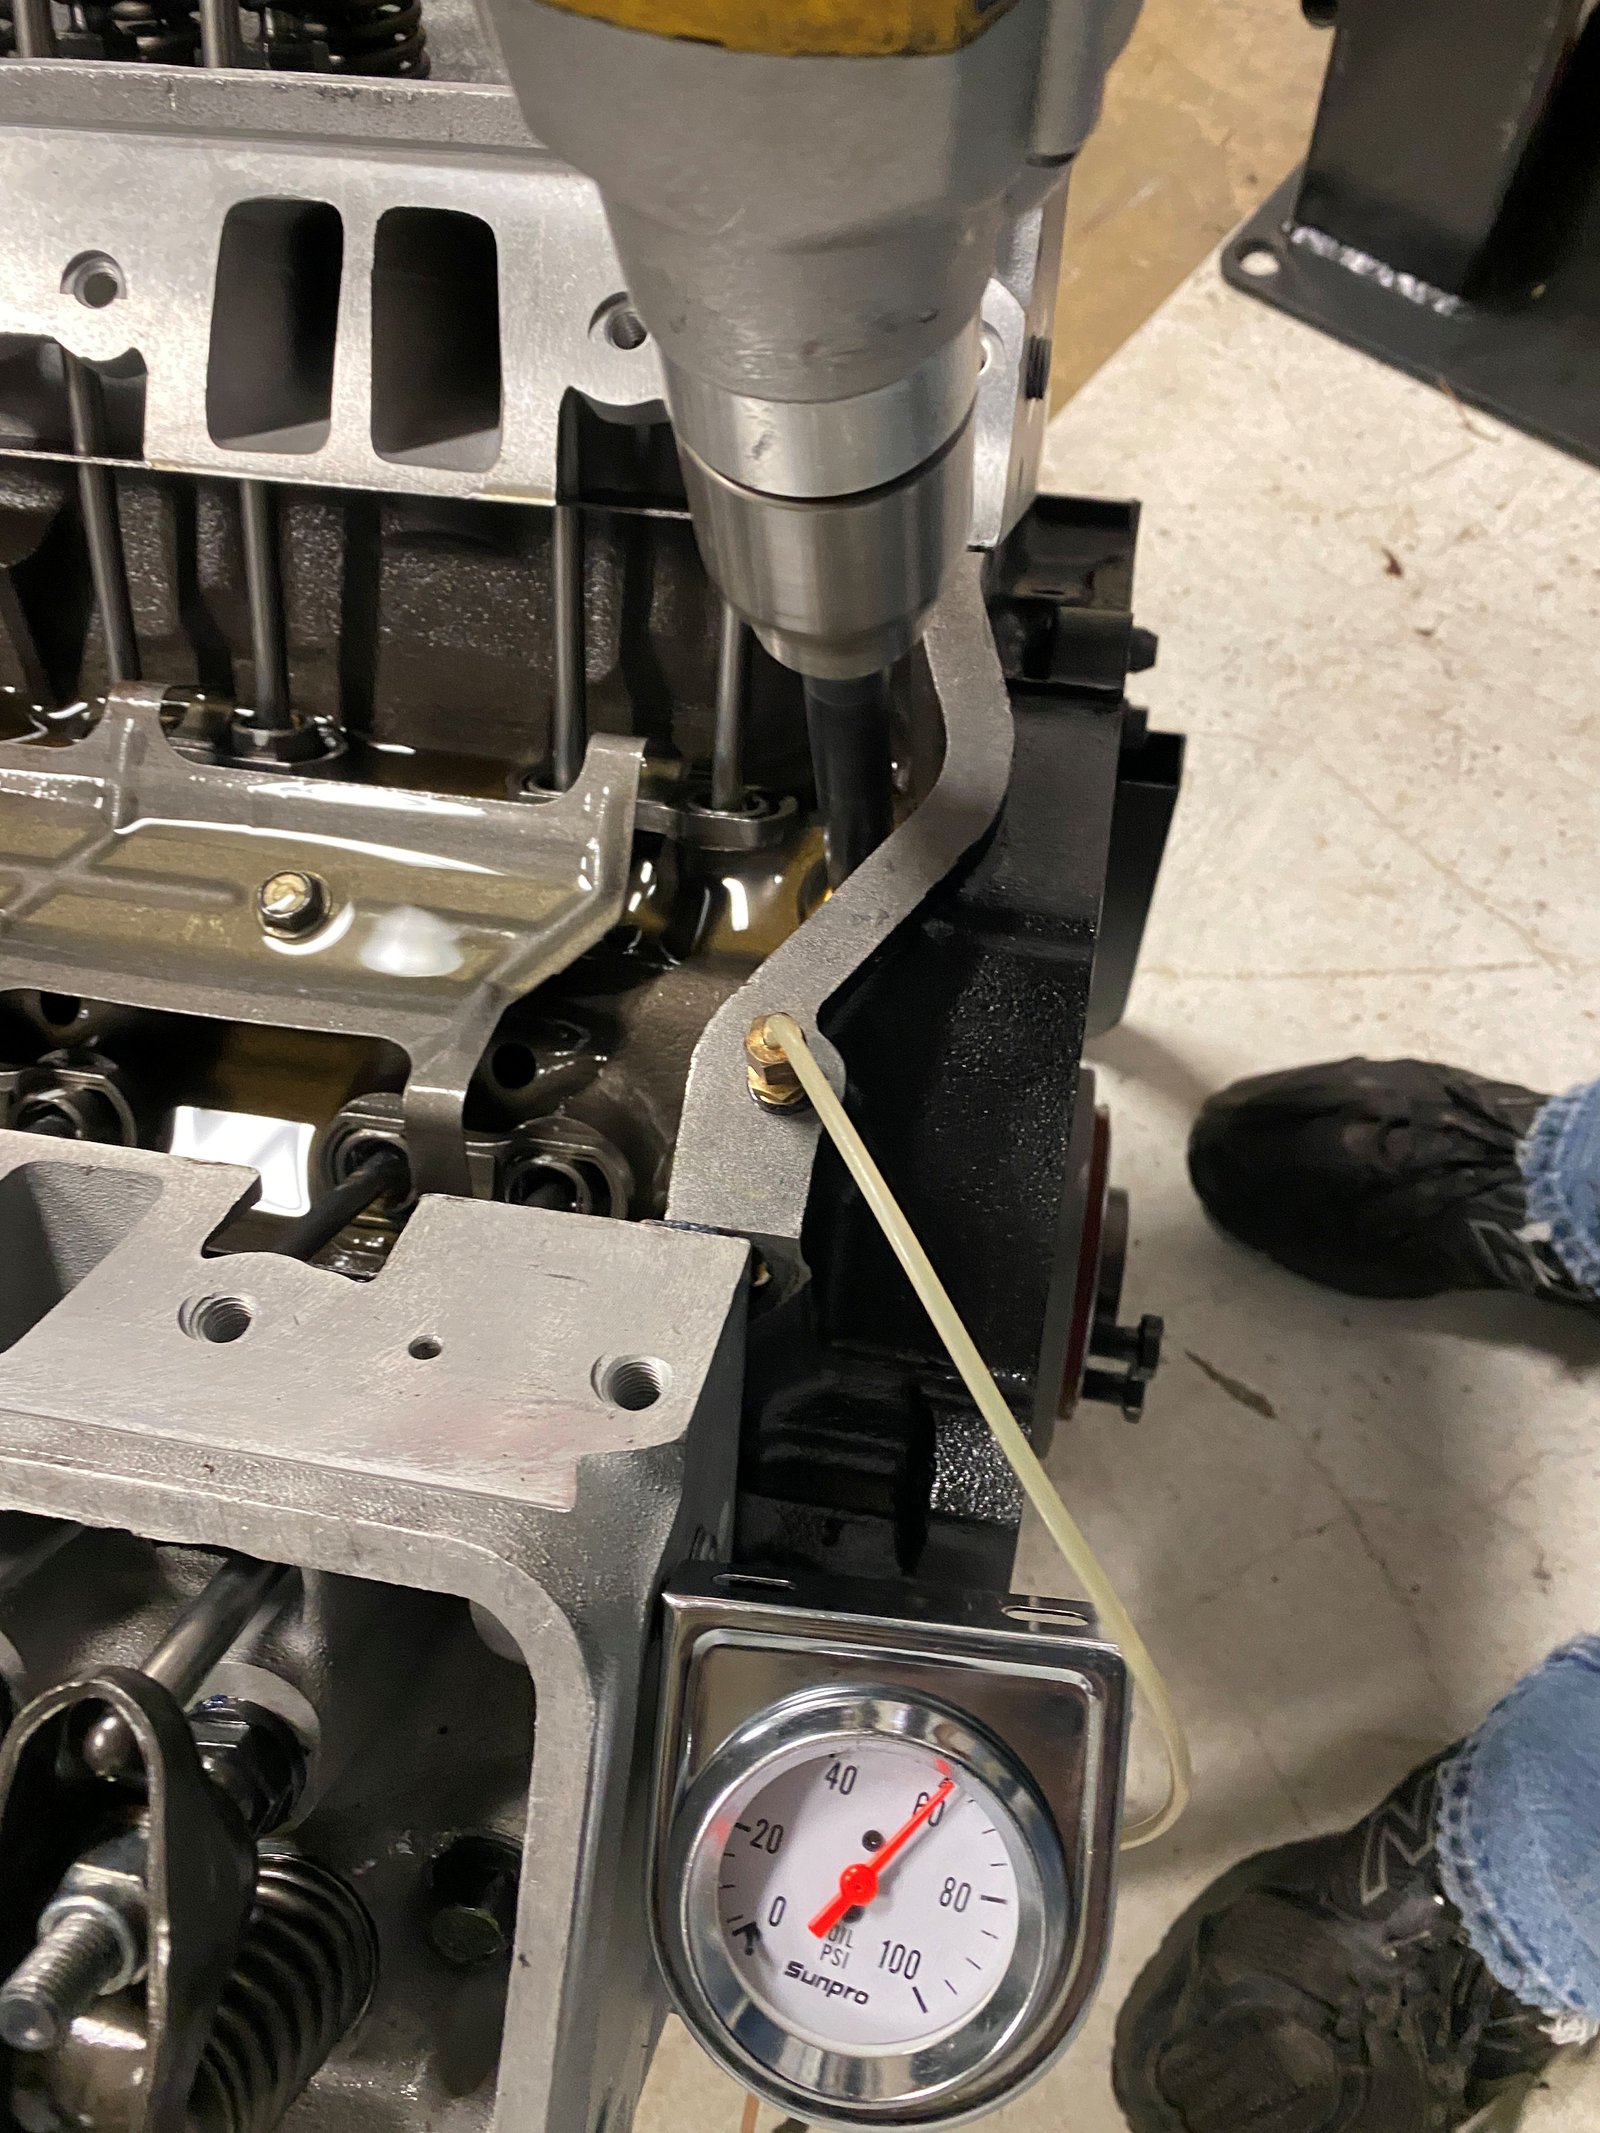
Oil system test. 60 psig is good for stock-ish
engines. This is a stock oil pump for Impala SS. |
Cleaned up oil pump drive with new gear.
|
FelPro intake manifold gasket |
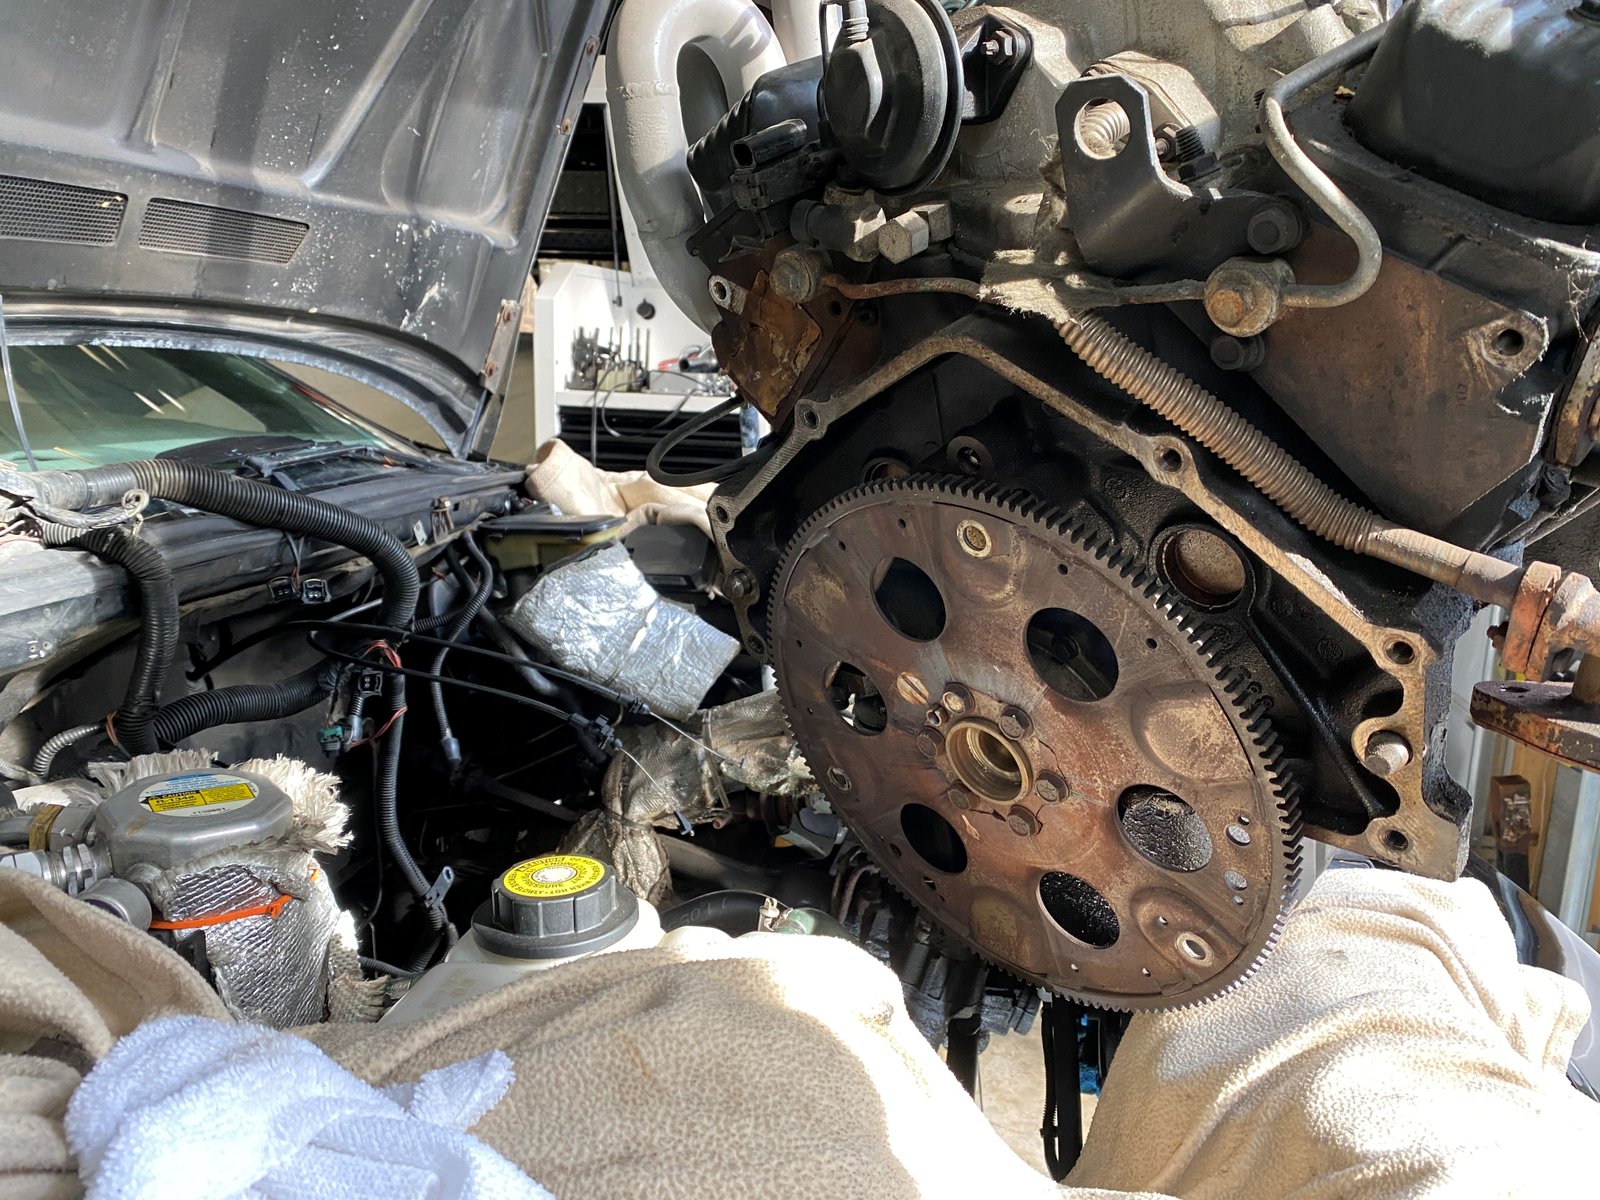
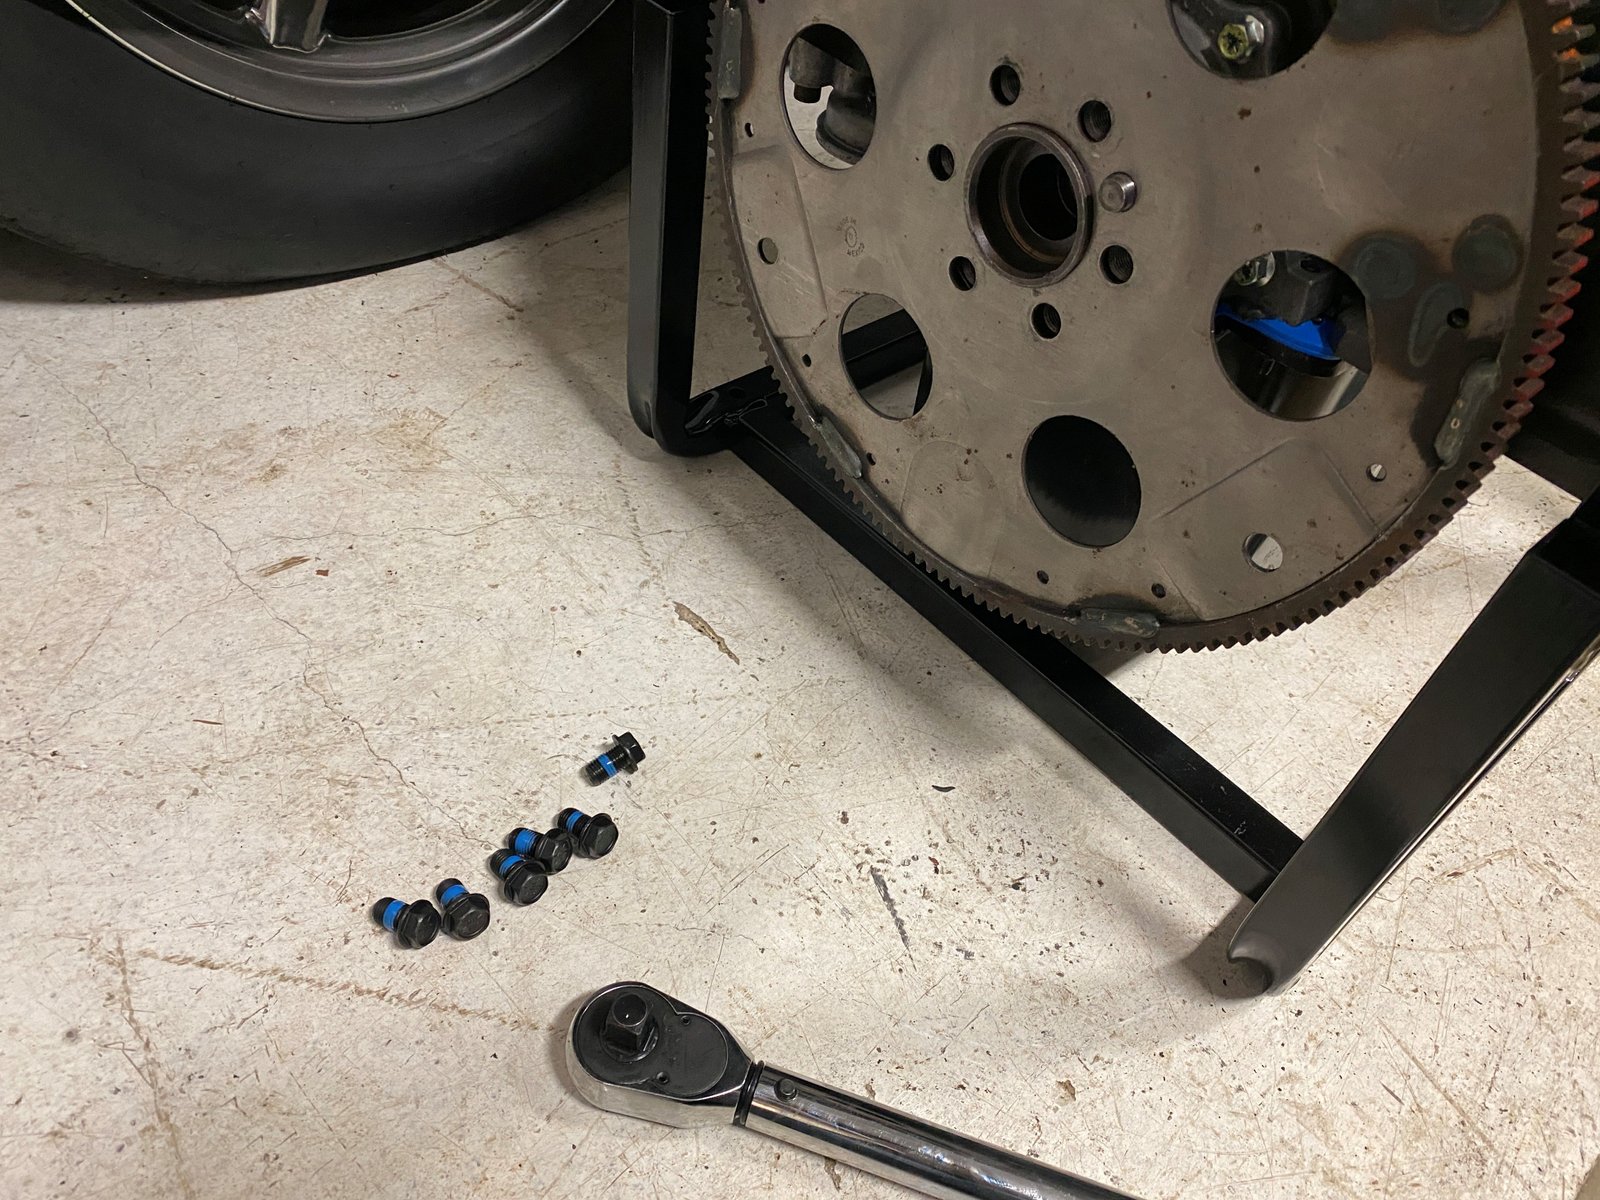
Just now noticed the busted stock flexplate.
|
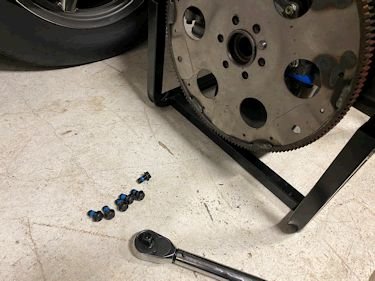
This is a replacement stock style flexplate from SCAT. |

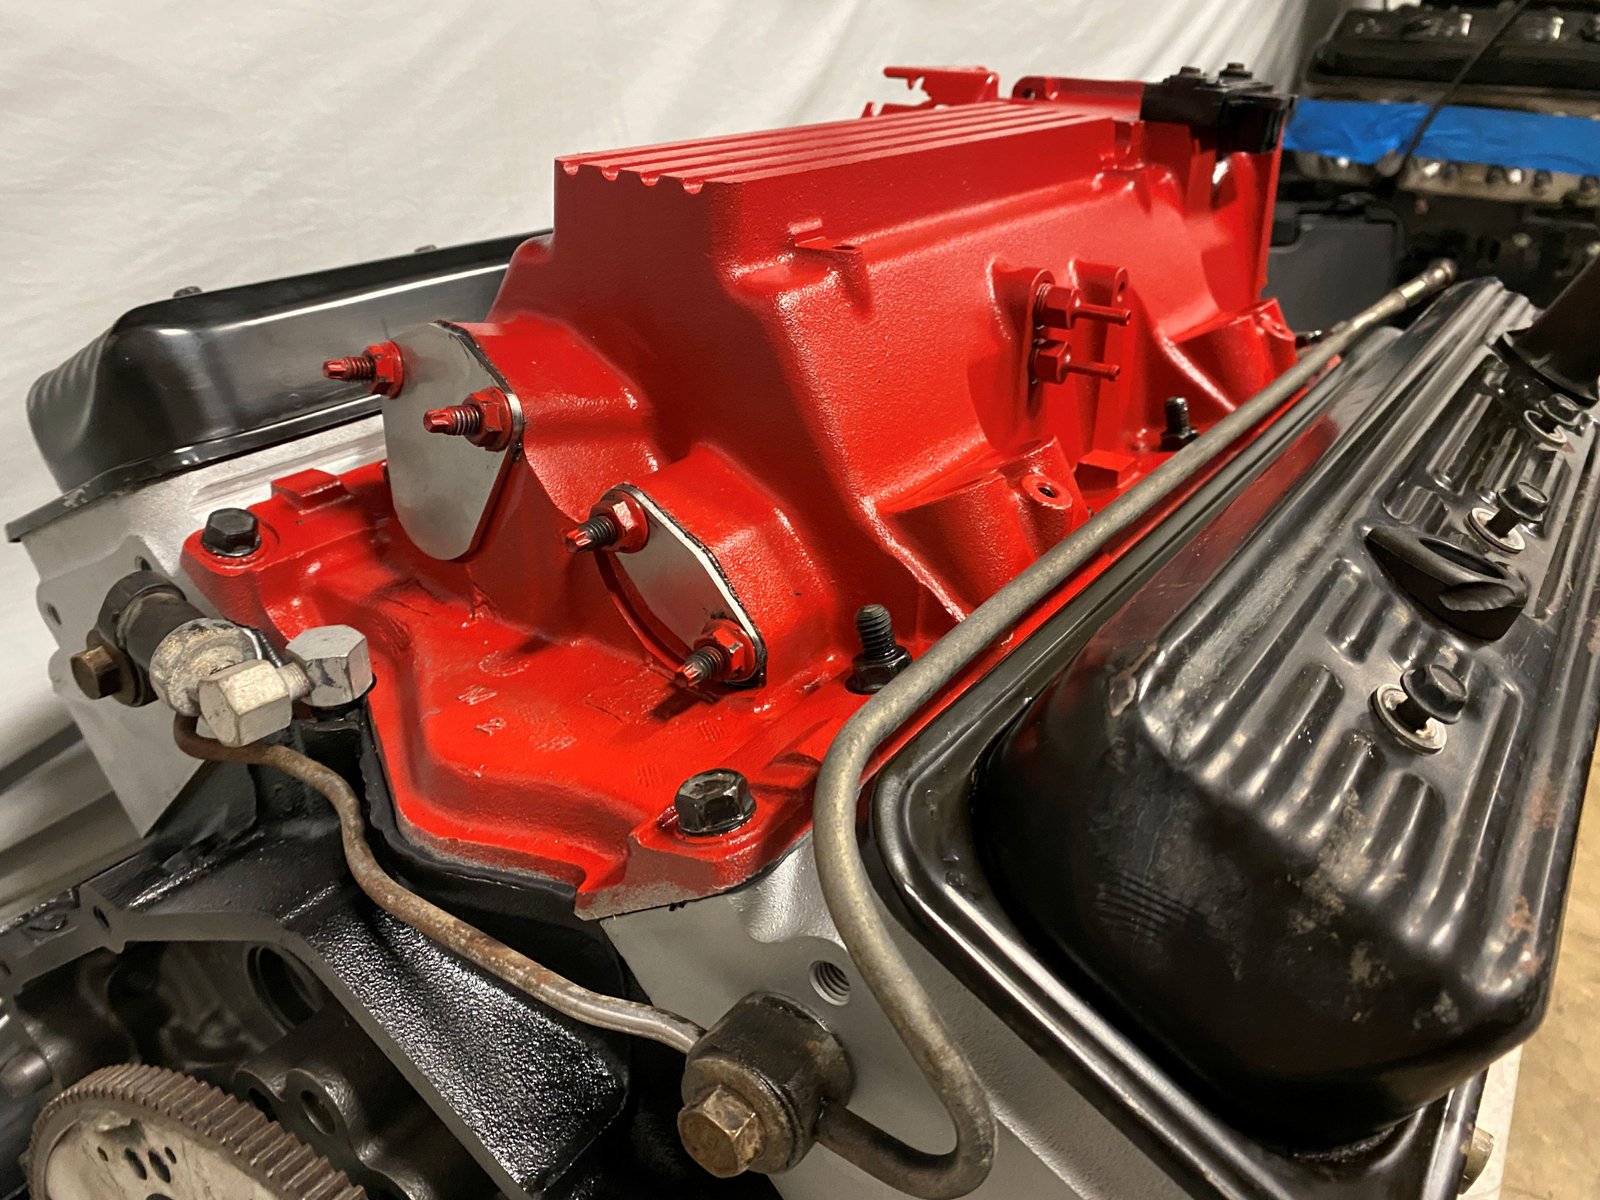
Since the LT4 Corvette does not have EGR and the LT4 hot cam is
installed...I deleted the EGR and capped of the ports with these
inexpensive plates.
|
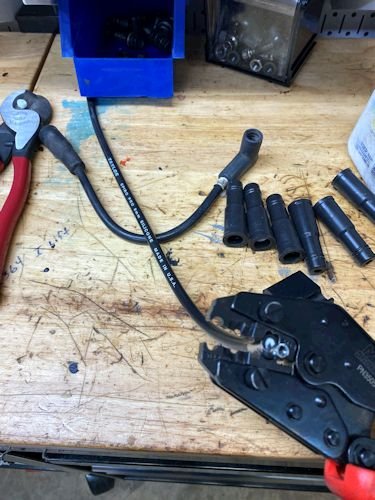
The coil wire was corroded and so I made a new one from my bulk
Taylor wire kit. |
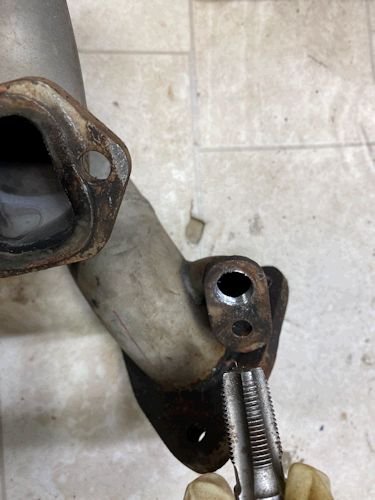
The passenger side header needs to have the EGR port capped
off. I tapped the hole to fit a pipe plug.
|
 |
That's it for today.
|
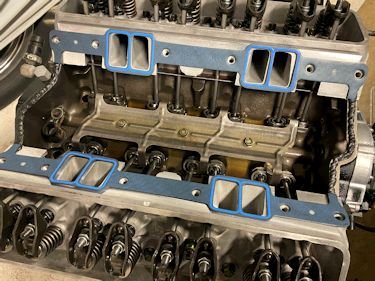
Next day: I was impressed at the port matching of this
exhaust manifold gasket. I do not recommend them for ported
heads but these fit stock LT1 heads perfectly. SCE brand
#411187. I bought them as a 10 pack. |
Oil cooler lines on. I don't install the oil filter until the engine
is in the car. The filter gets dented many times if it is on
the engine during the installation.
|
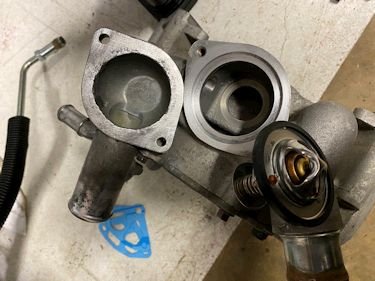
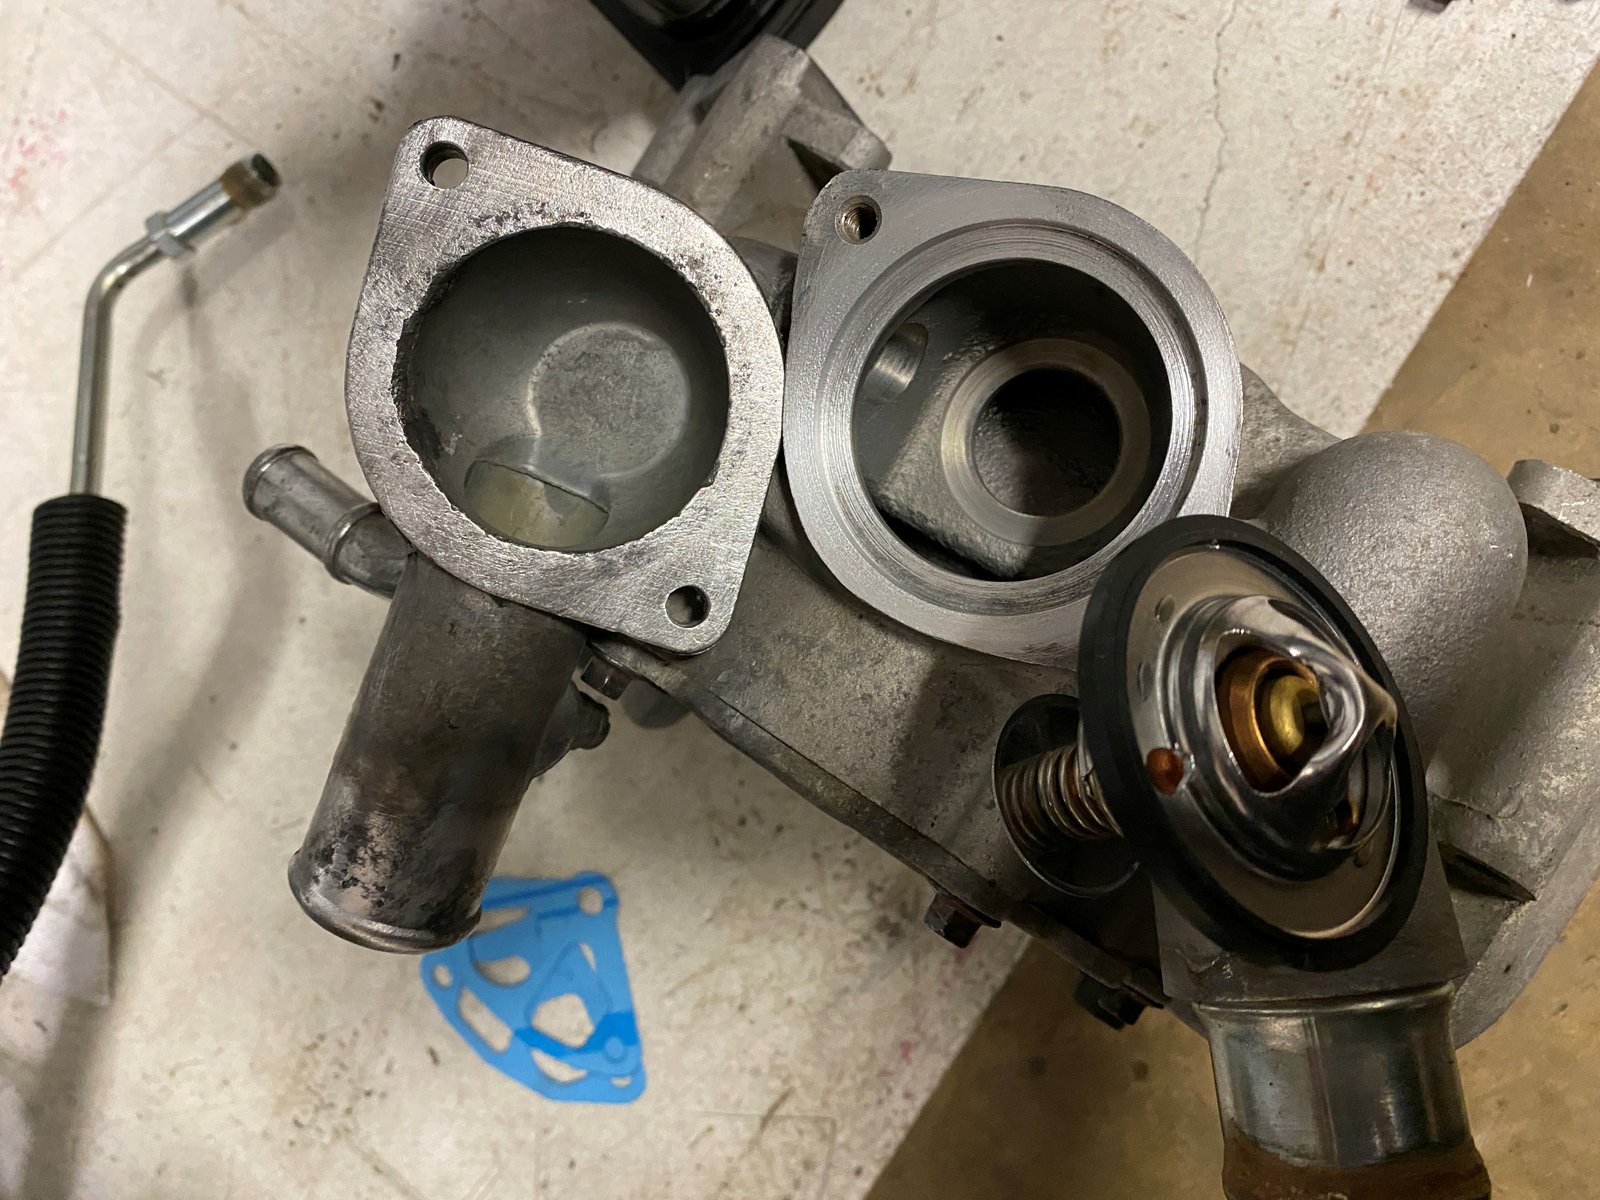
Also cleaned up the thermostat housing and put in a Hypertech 160F
thermostat. |

What else can I put on the engine prior to hoisting into the engine
bay?
|

The throttle body can go on but I cleaned it up prior to
installation. The idle air circuit especially needs a de-gunking. |
|
 |
|
Prior to installing the accessories
and water hoses and other things, I make sure to start the engine
(for a very brief moment). I make sure the fuel lines don't leak
and that all the oil cooler fittings are installed. Then I
try to start the engine.
Well......the engine would not start. 1st impression is that
it is not getting spark. Time to troubleshoot. My
hunch is that the new and low cost Amazon optispark is bad.
Check back for more updates.... |
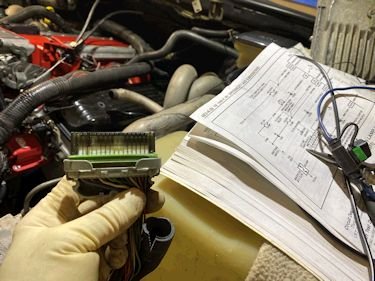
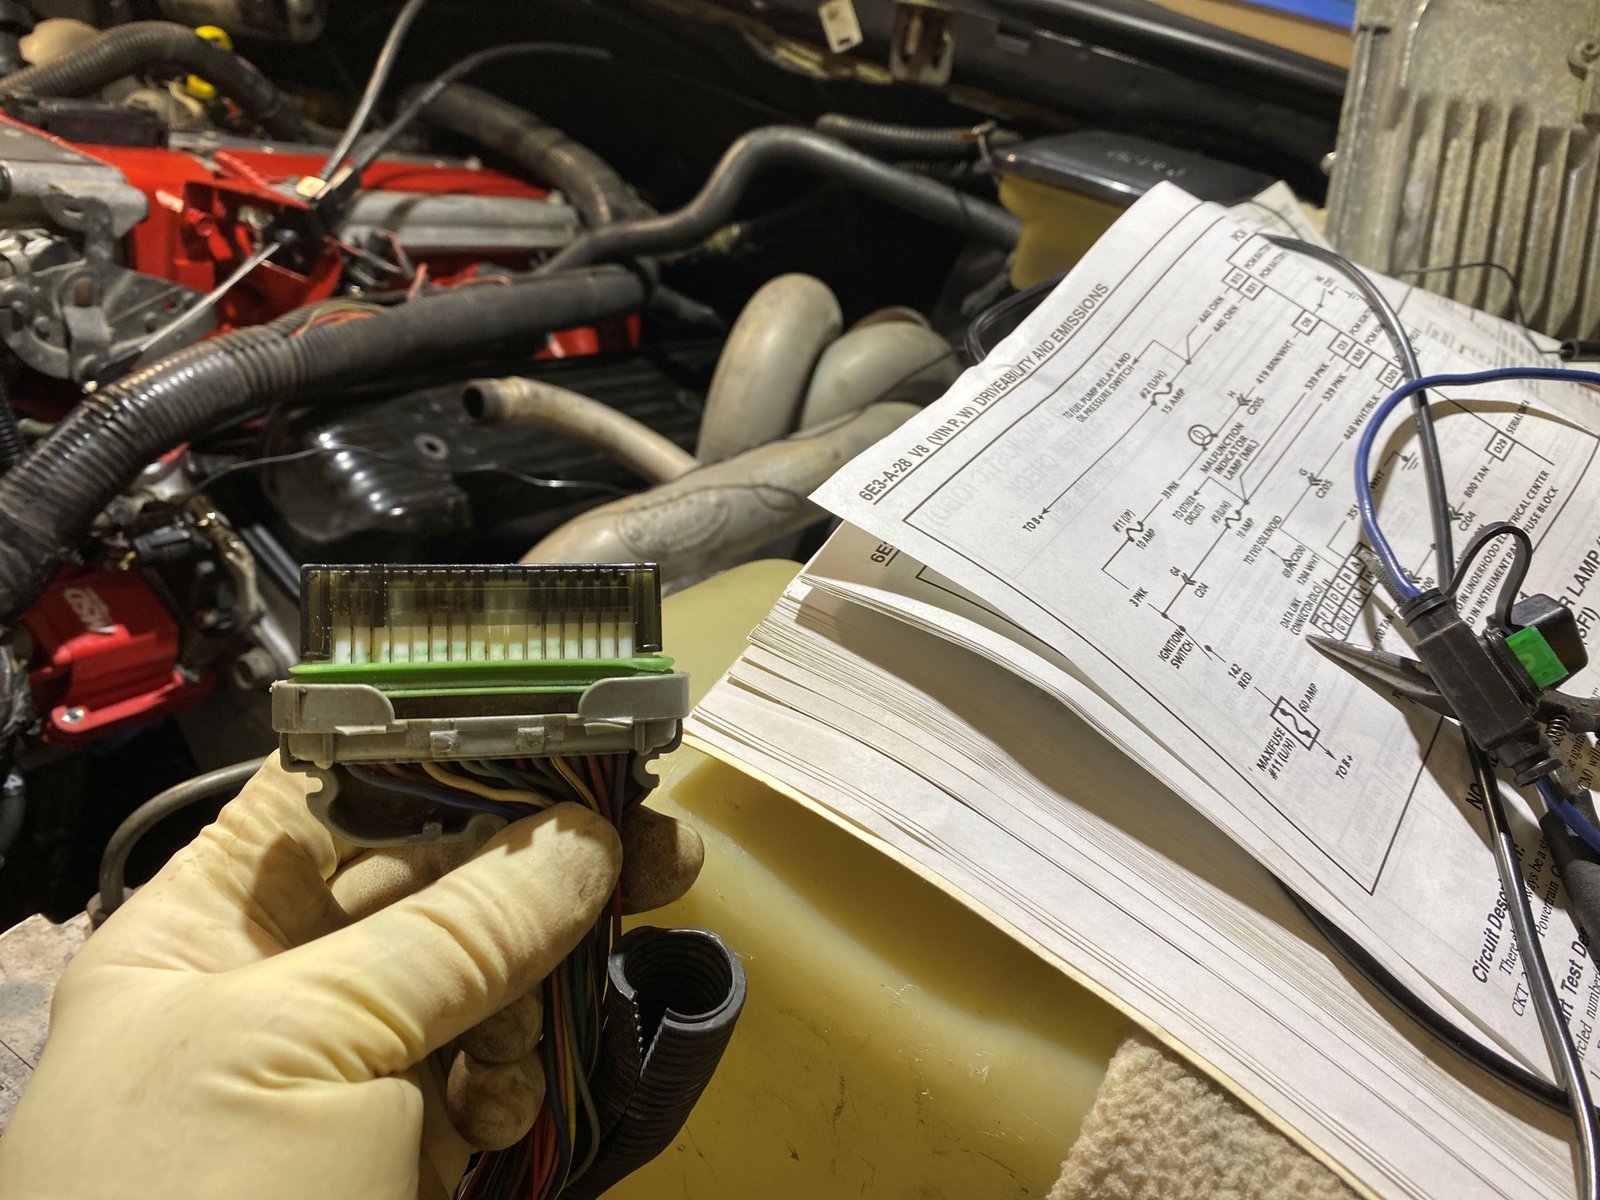
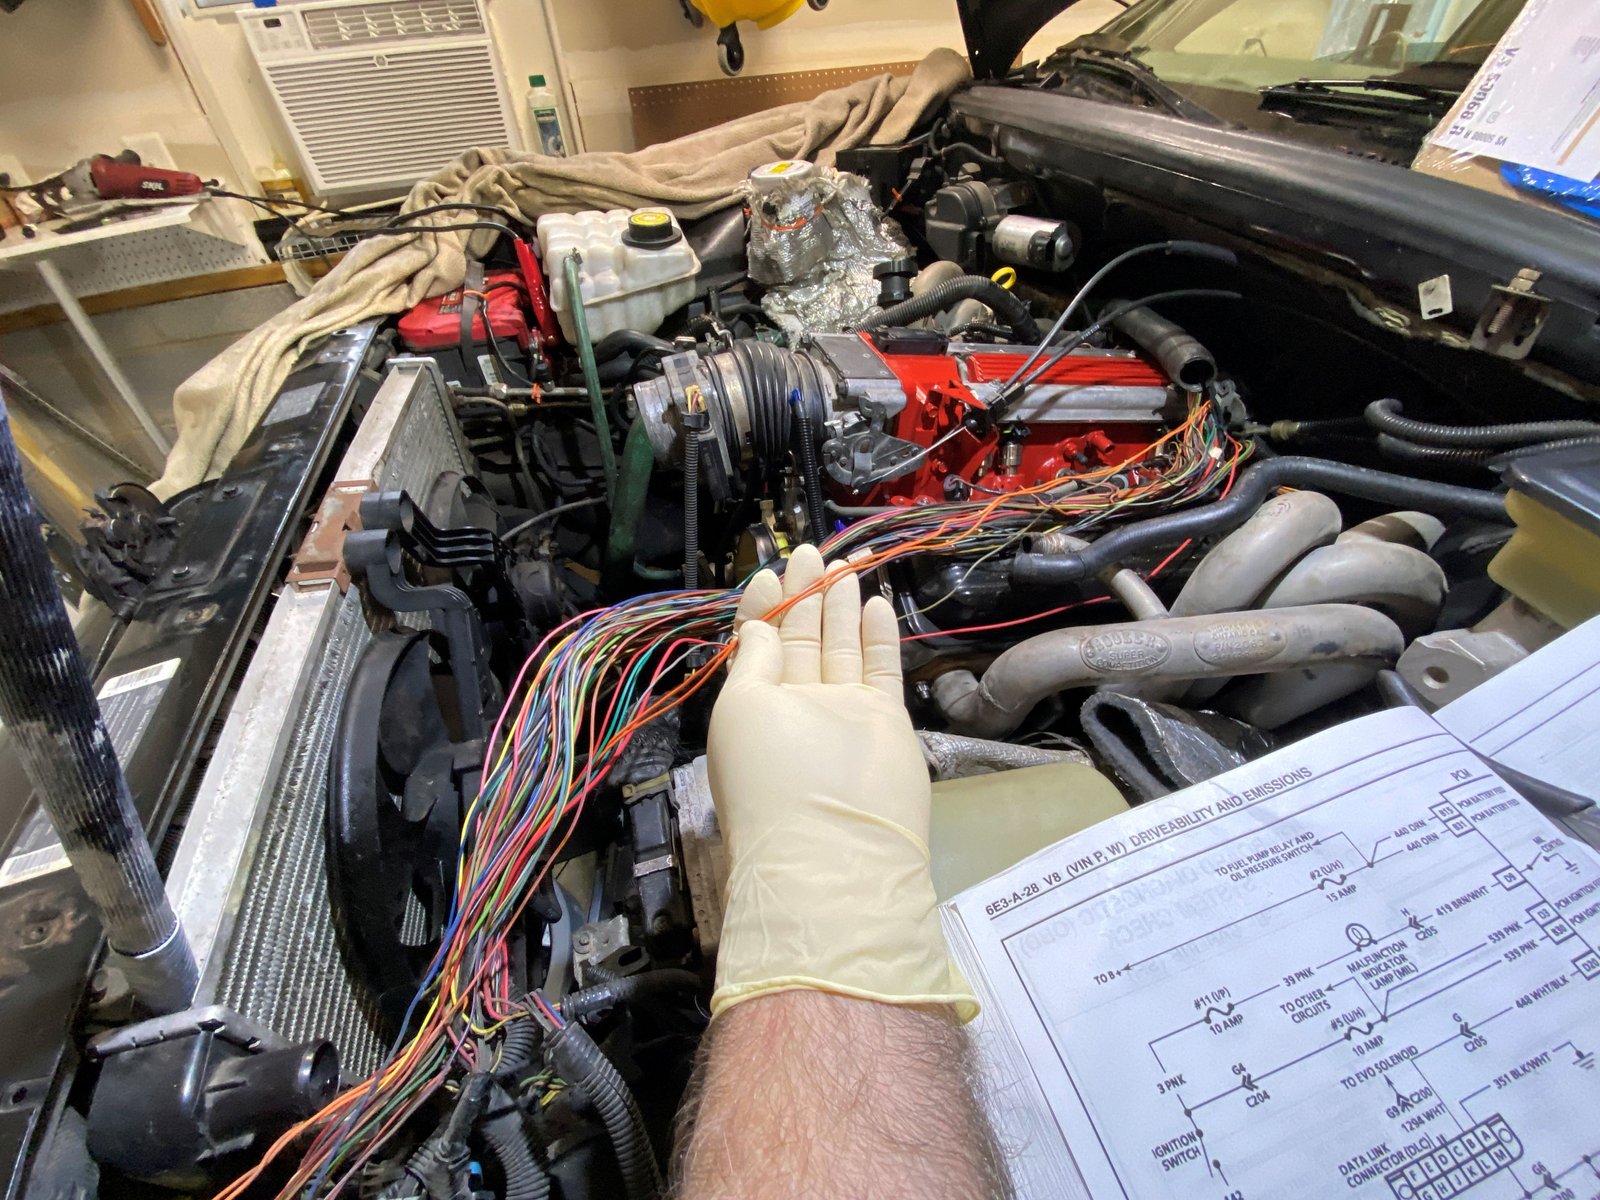
PCM power is good
|

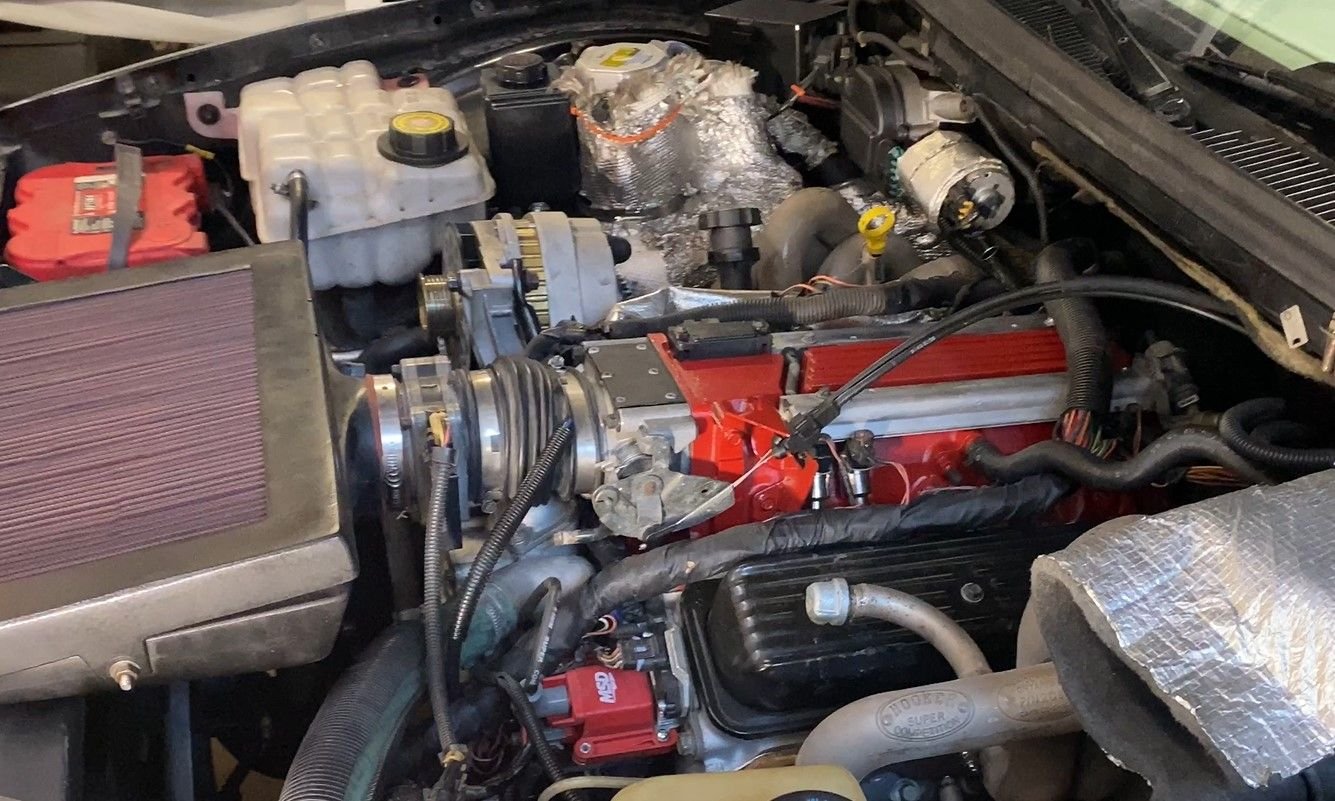
All of this wiring is good. The hard start was fixed by
replacing the coil and the ignition module. She runs well
with no transmission and up on jack stands. |
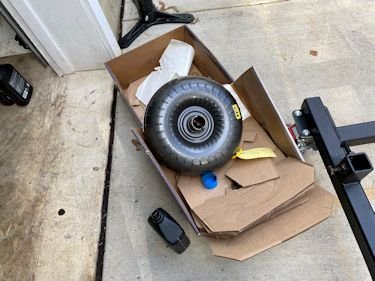
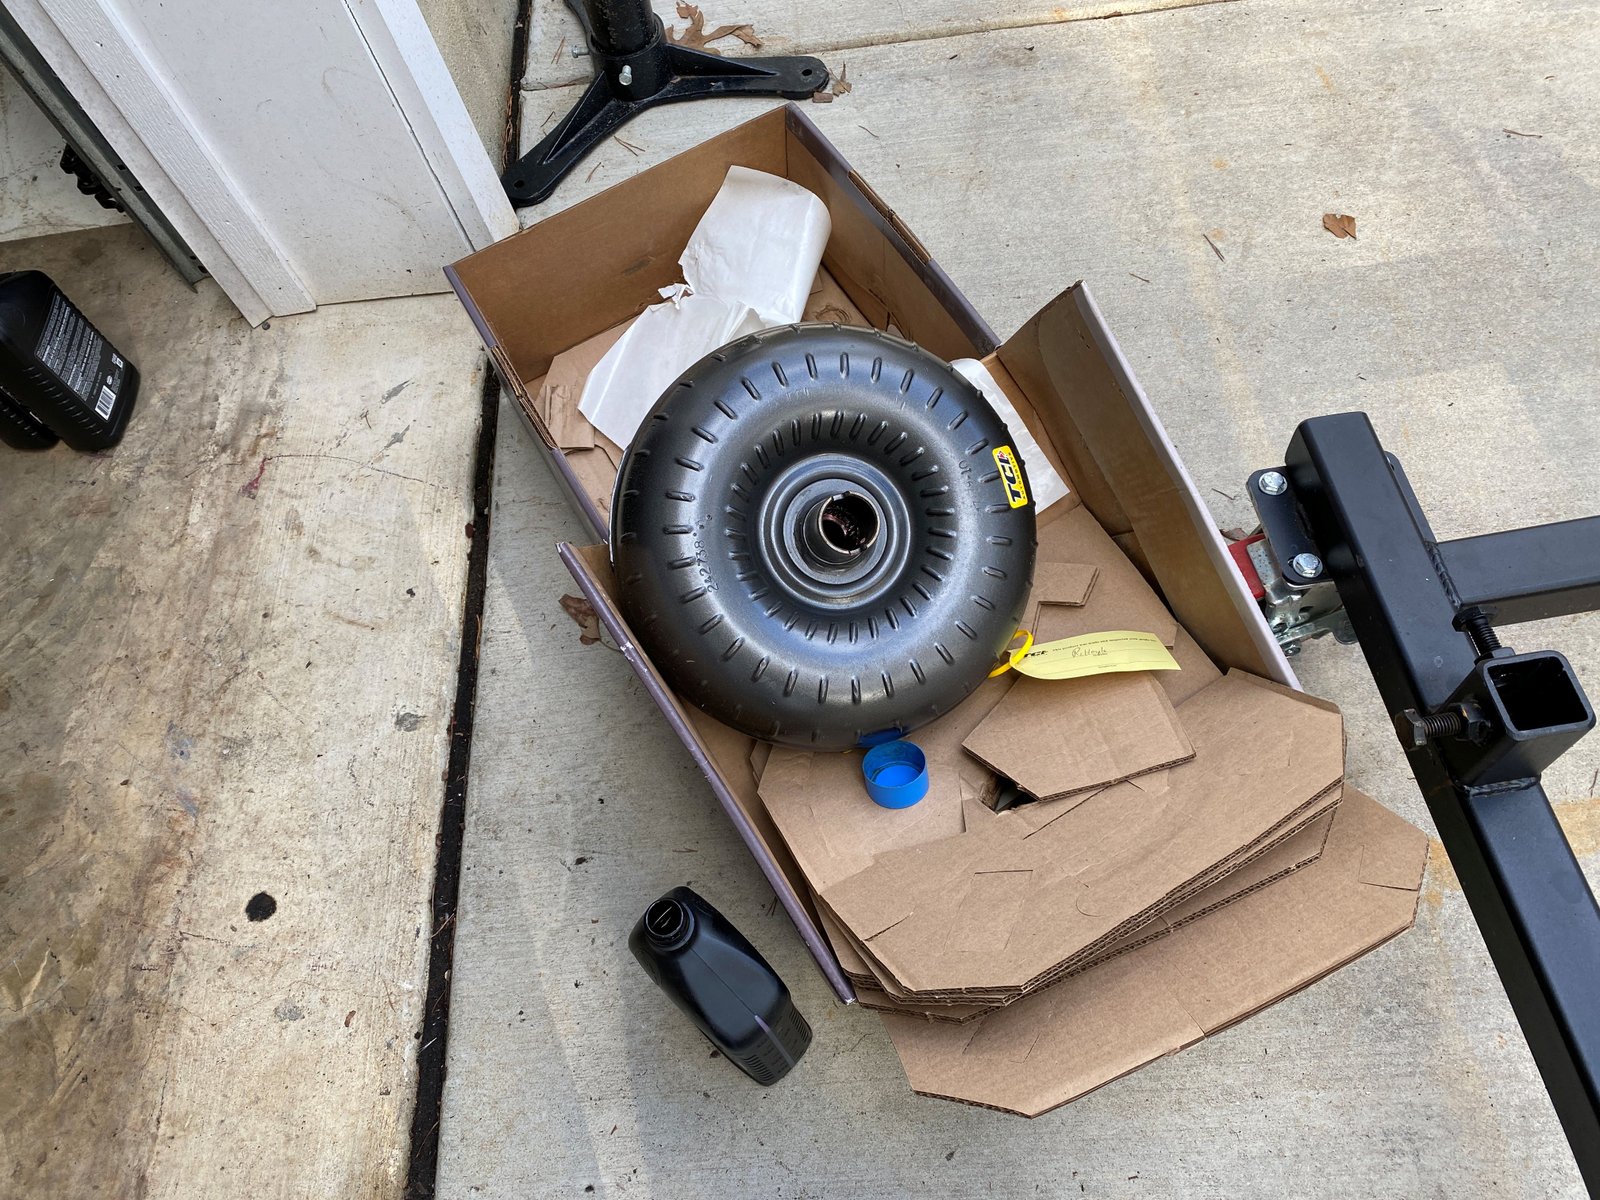
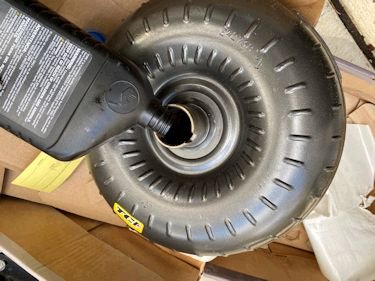
New TCI torque converter
|
 |
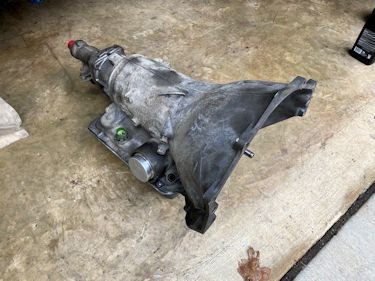
Rebuilt transmission
|
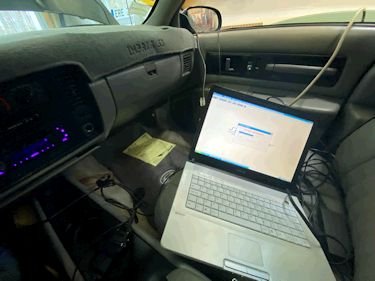
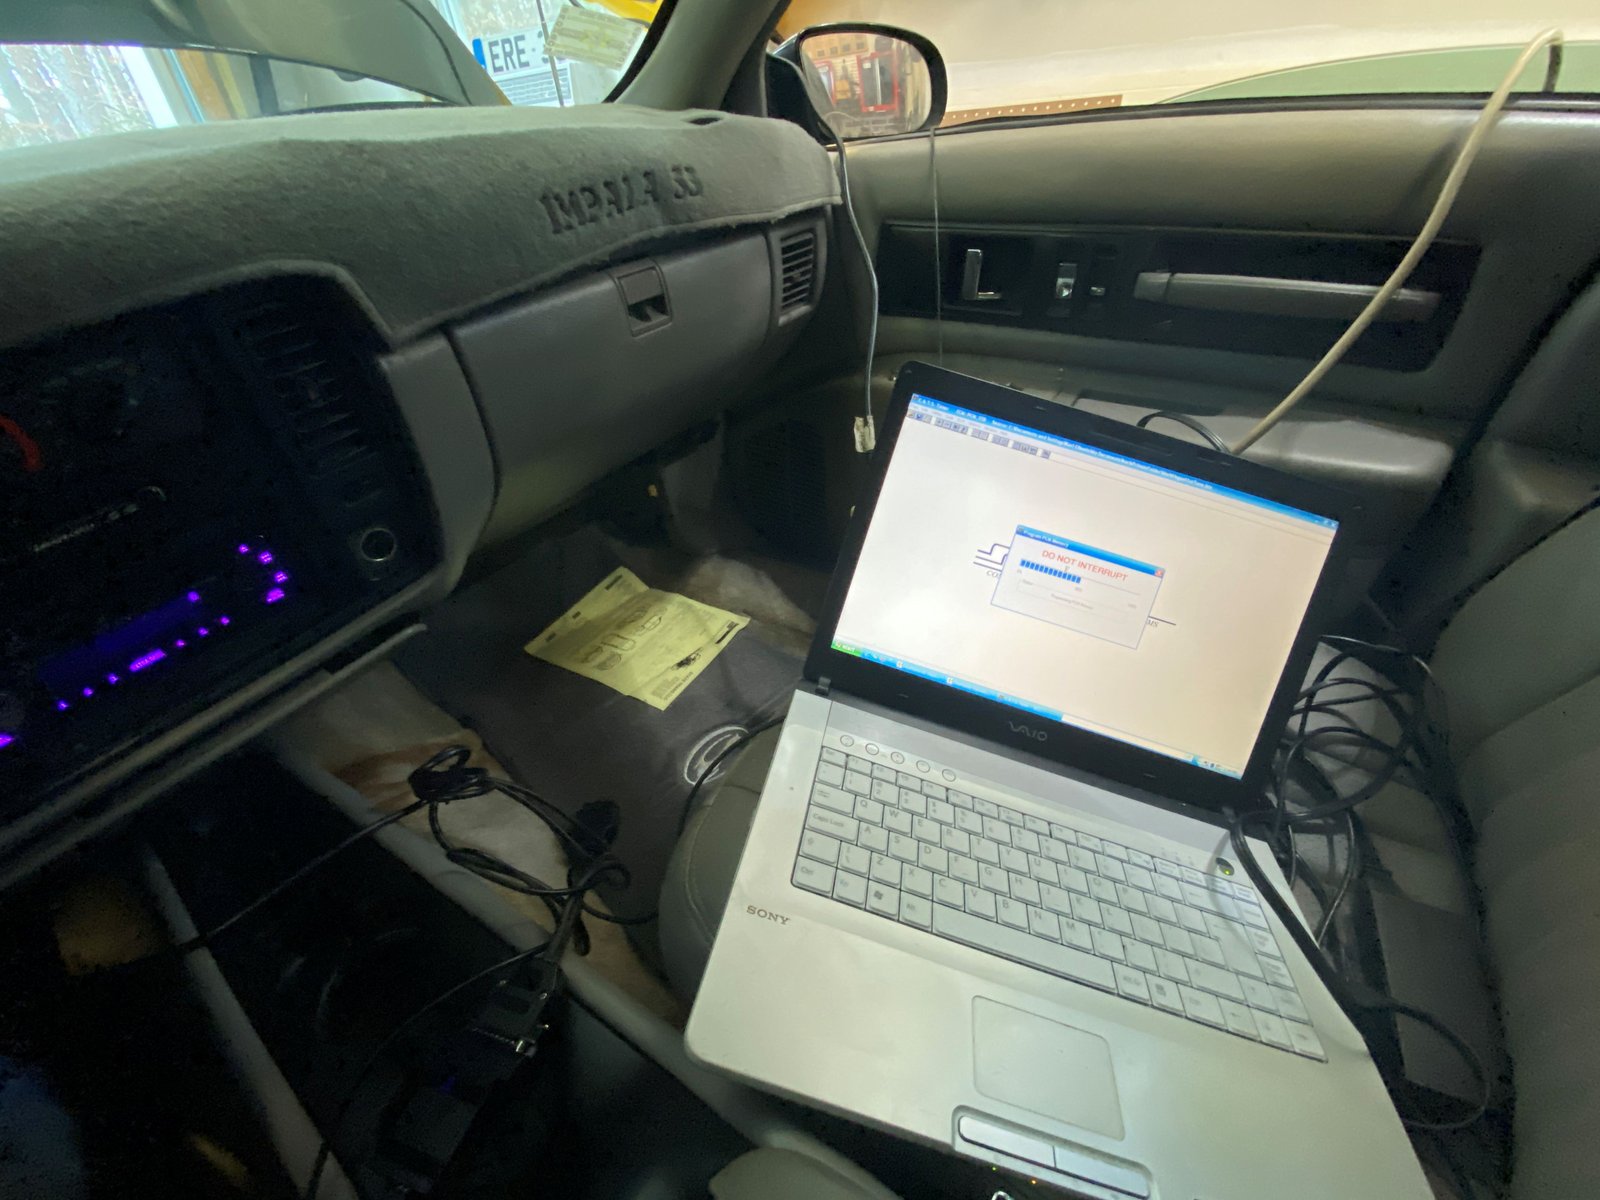
1st tune |

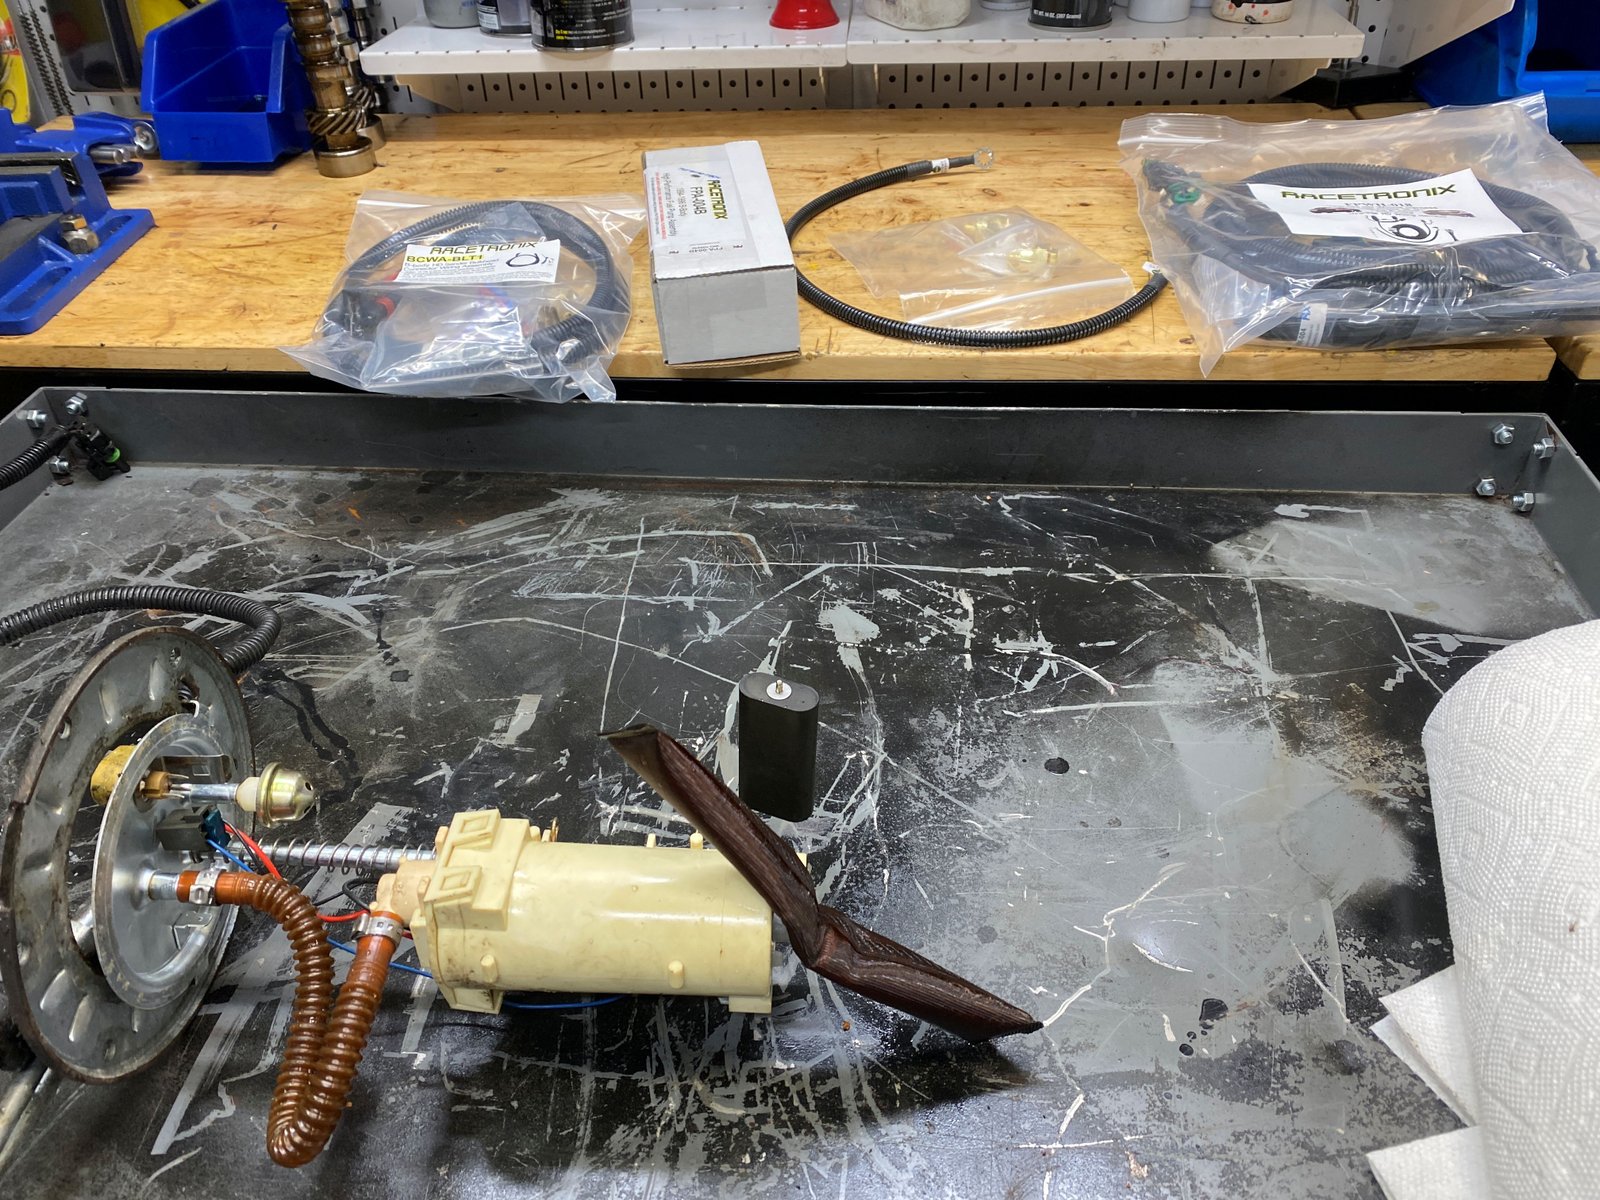
Fuel system is not able to make enough pressure. New pump and
wiring harness on order from Racetronix.
|
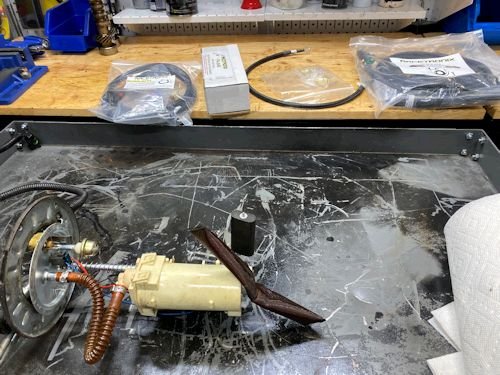
Racetronix kit has arrived. Here is the old stock pump on
the cart. |
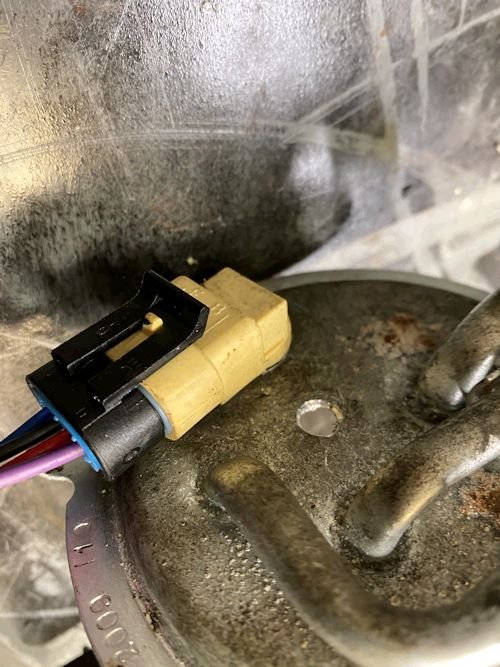
Racetronix new bulkhead wiring.
|
Additional ground and the other side of the bulkhead wiring. |
The beefy Racetronix bulkhead wiring.
|
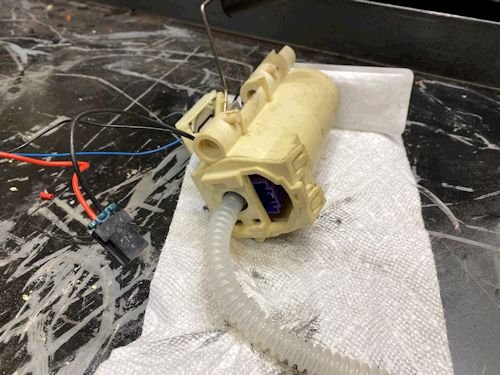
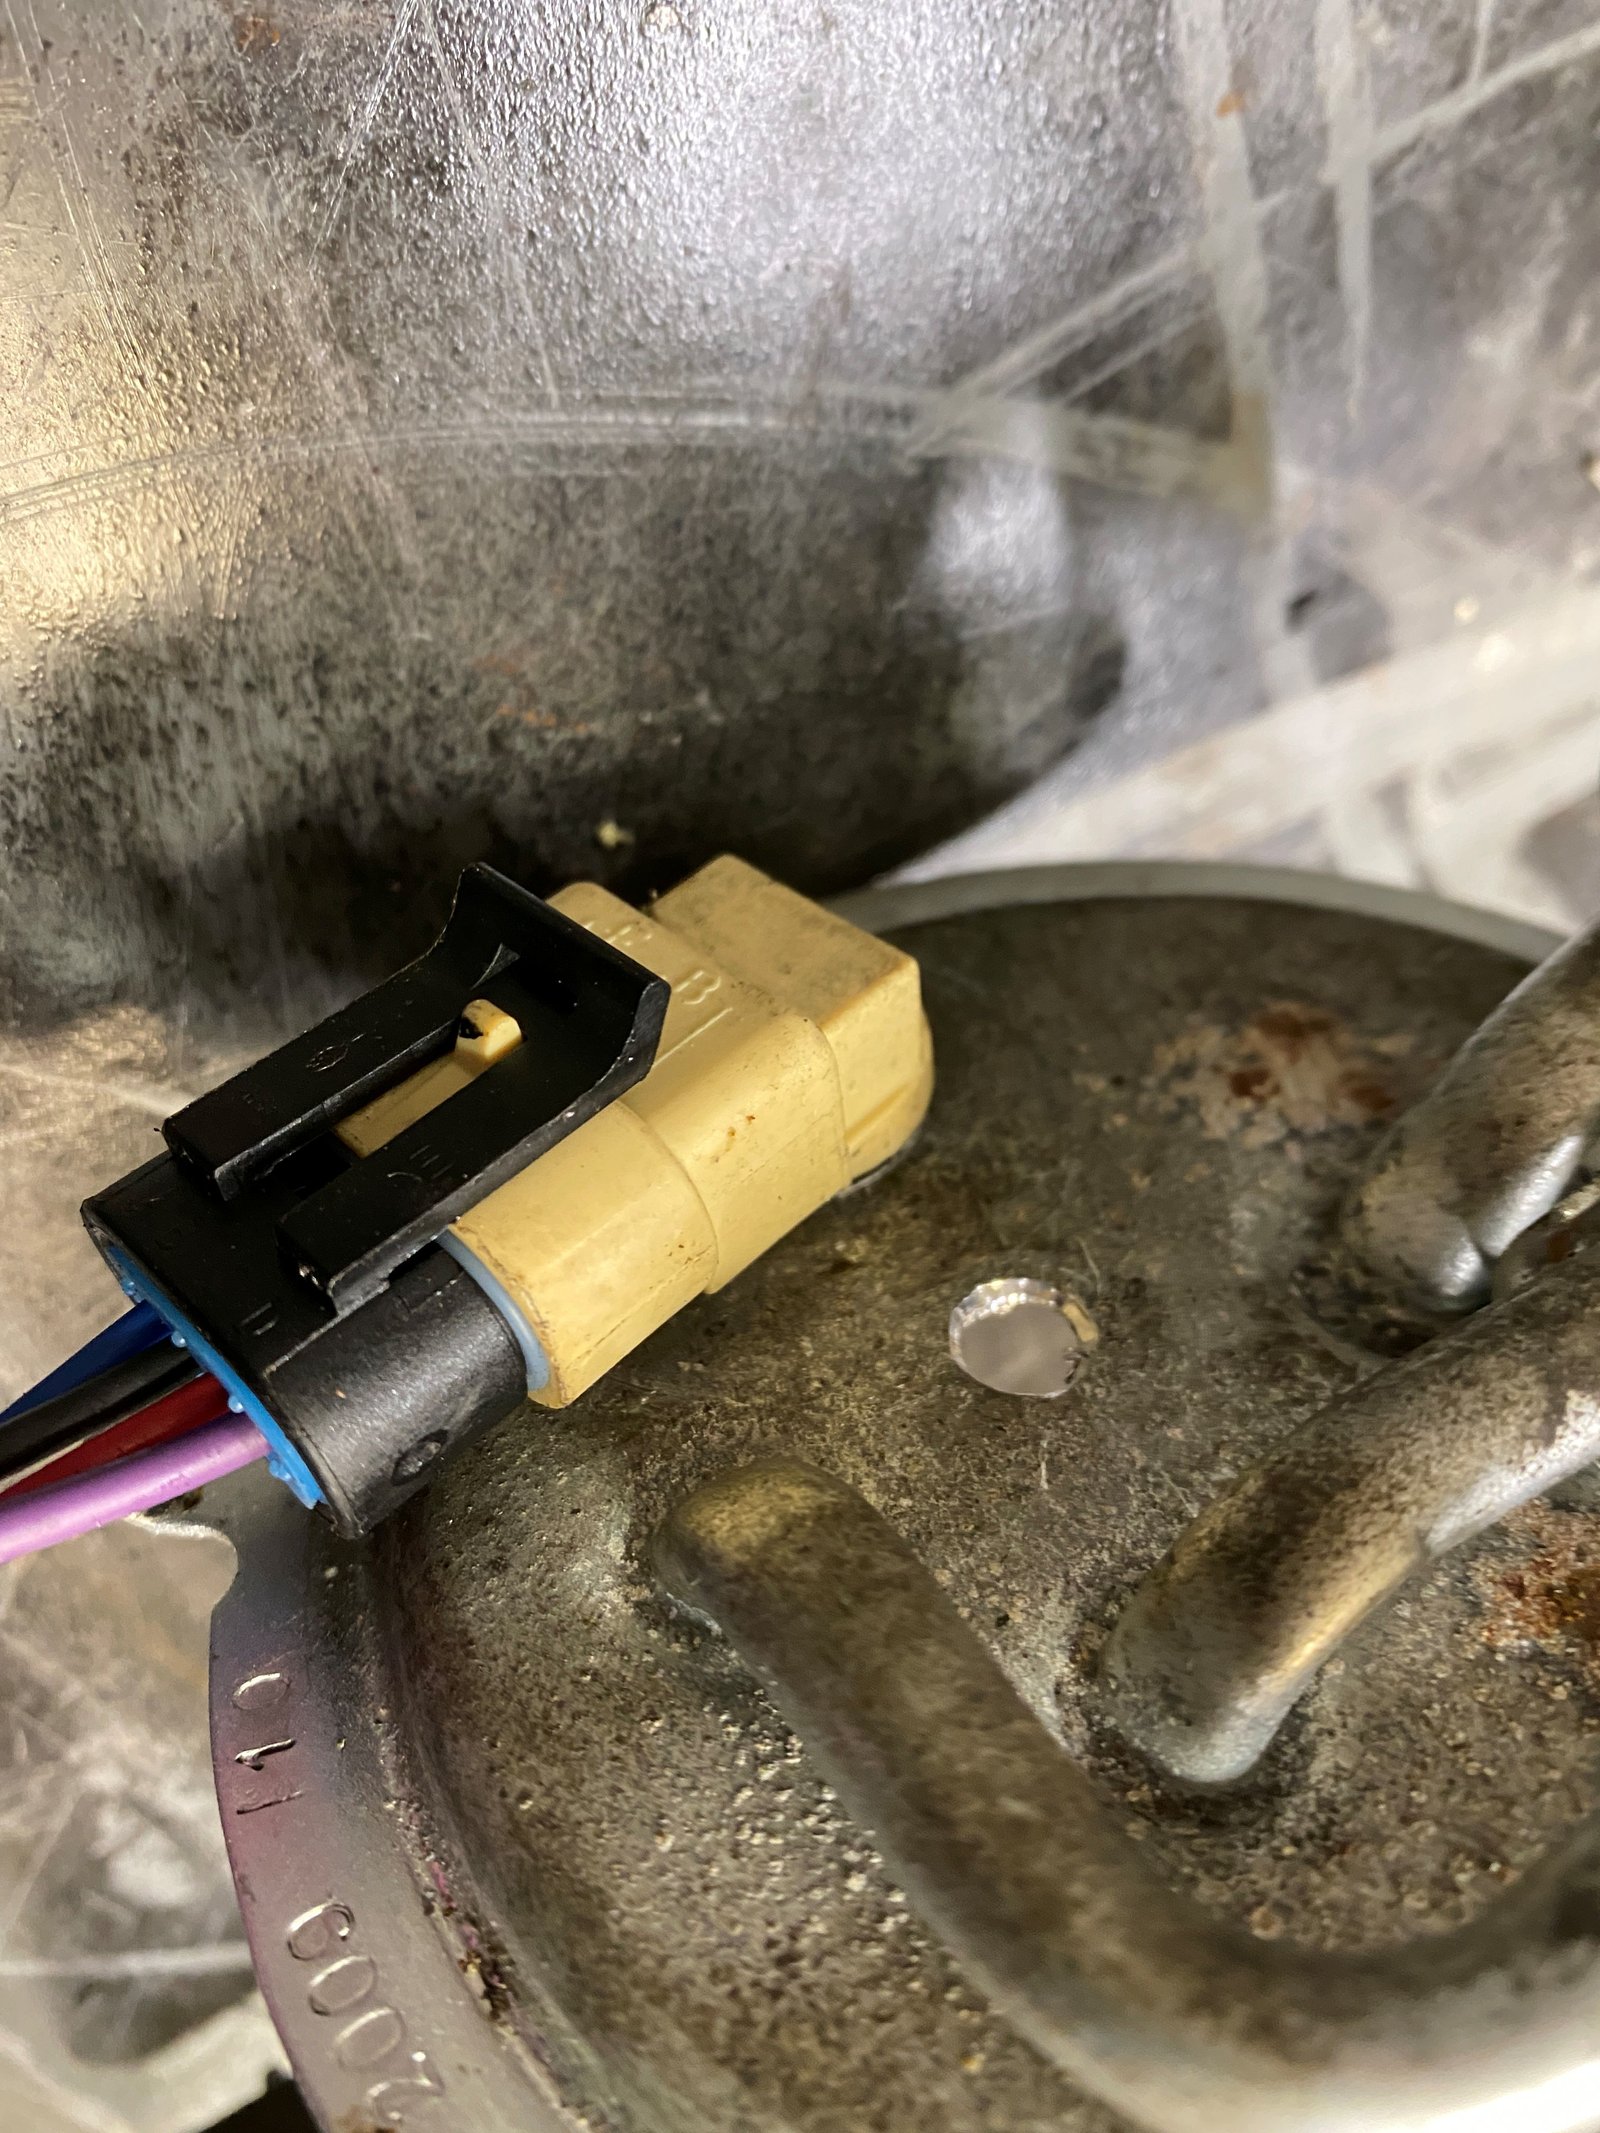
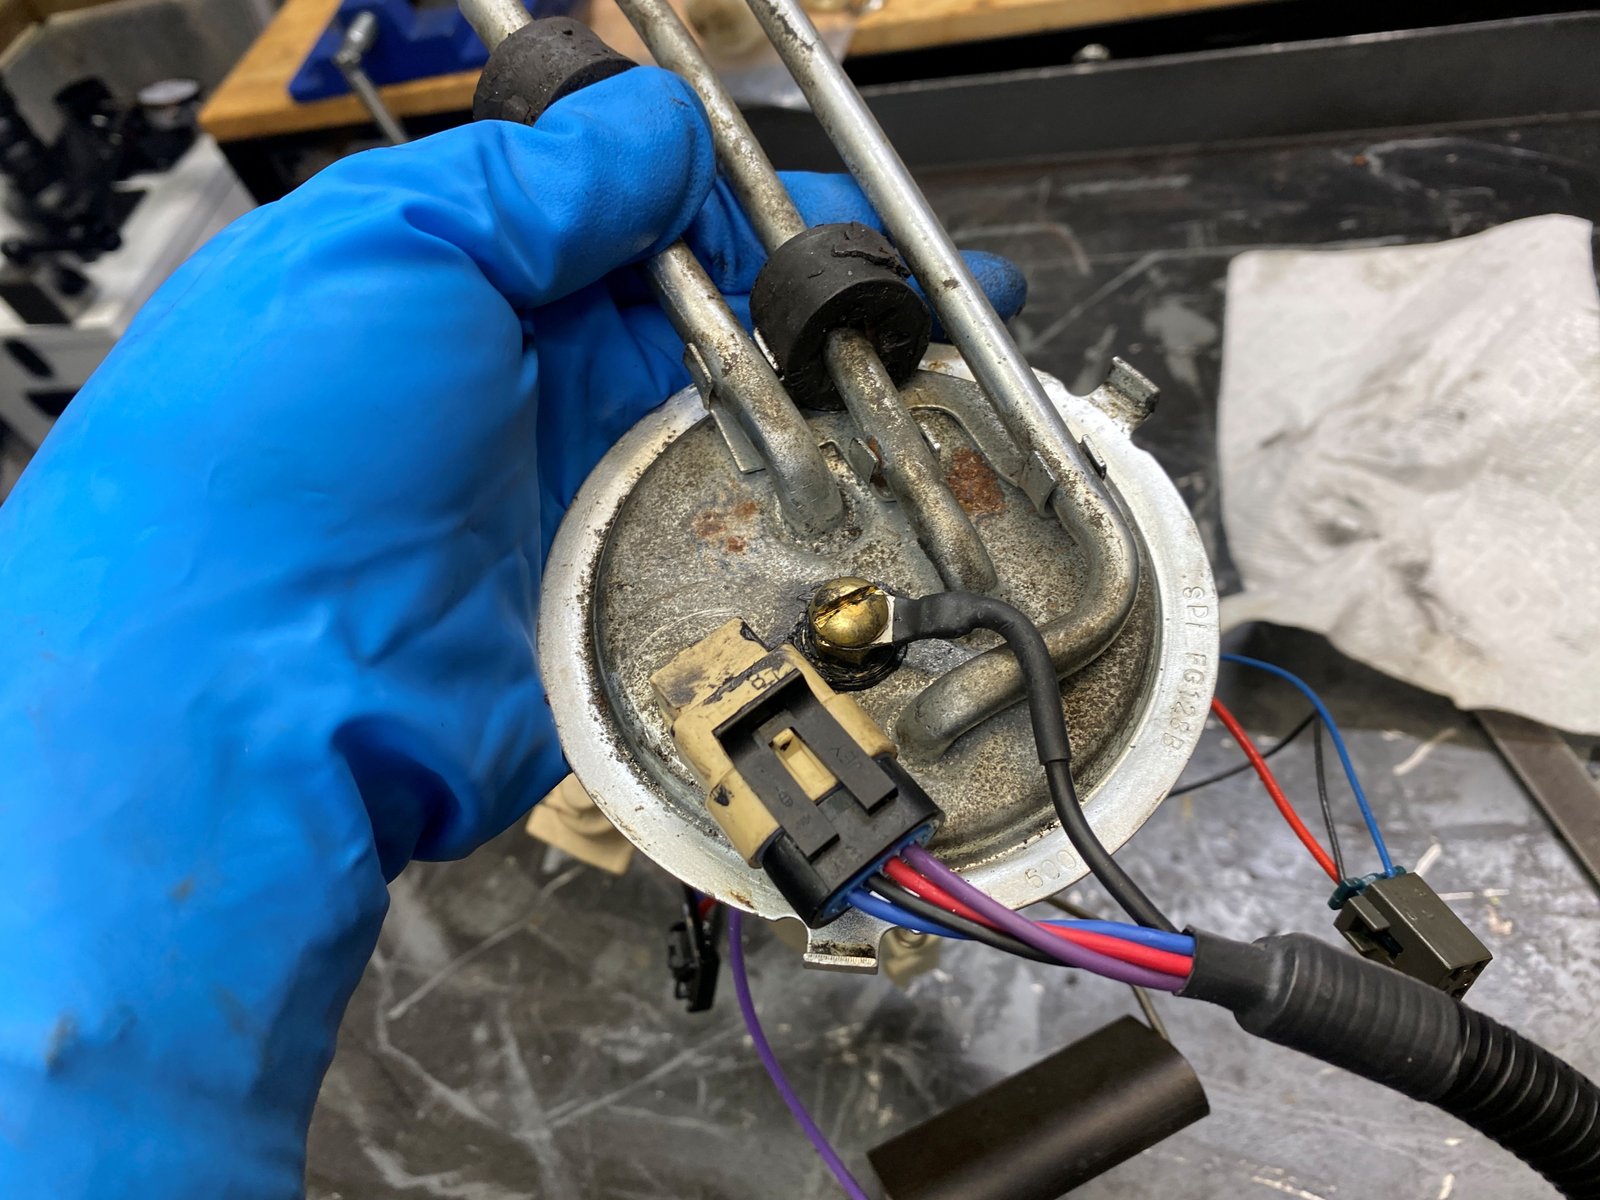
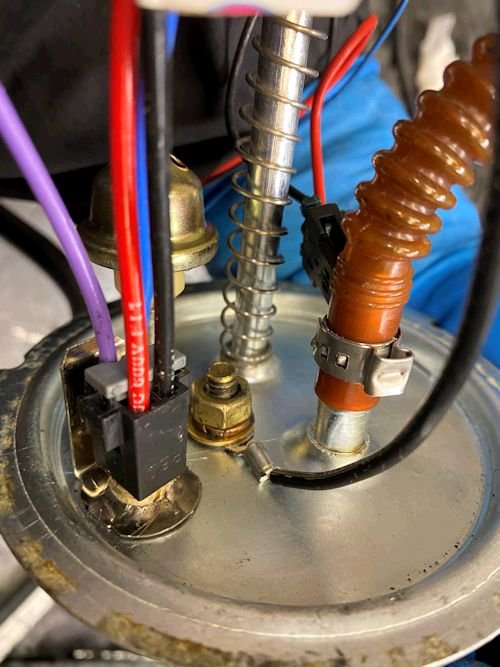
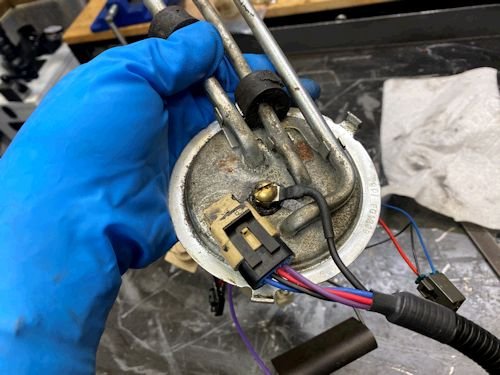
Walbro 225 lph pump inside the stock pump holder. |
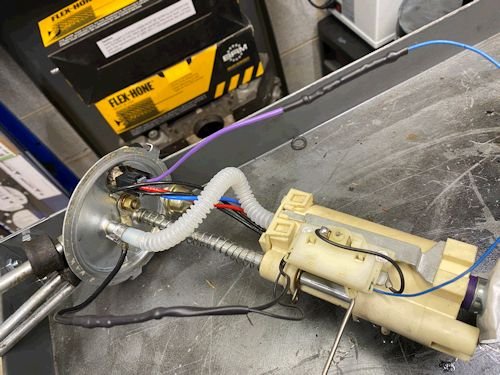
Ready to put back into the fuel tank.
|
Pressure at the fuel rail in now
perfect. |