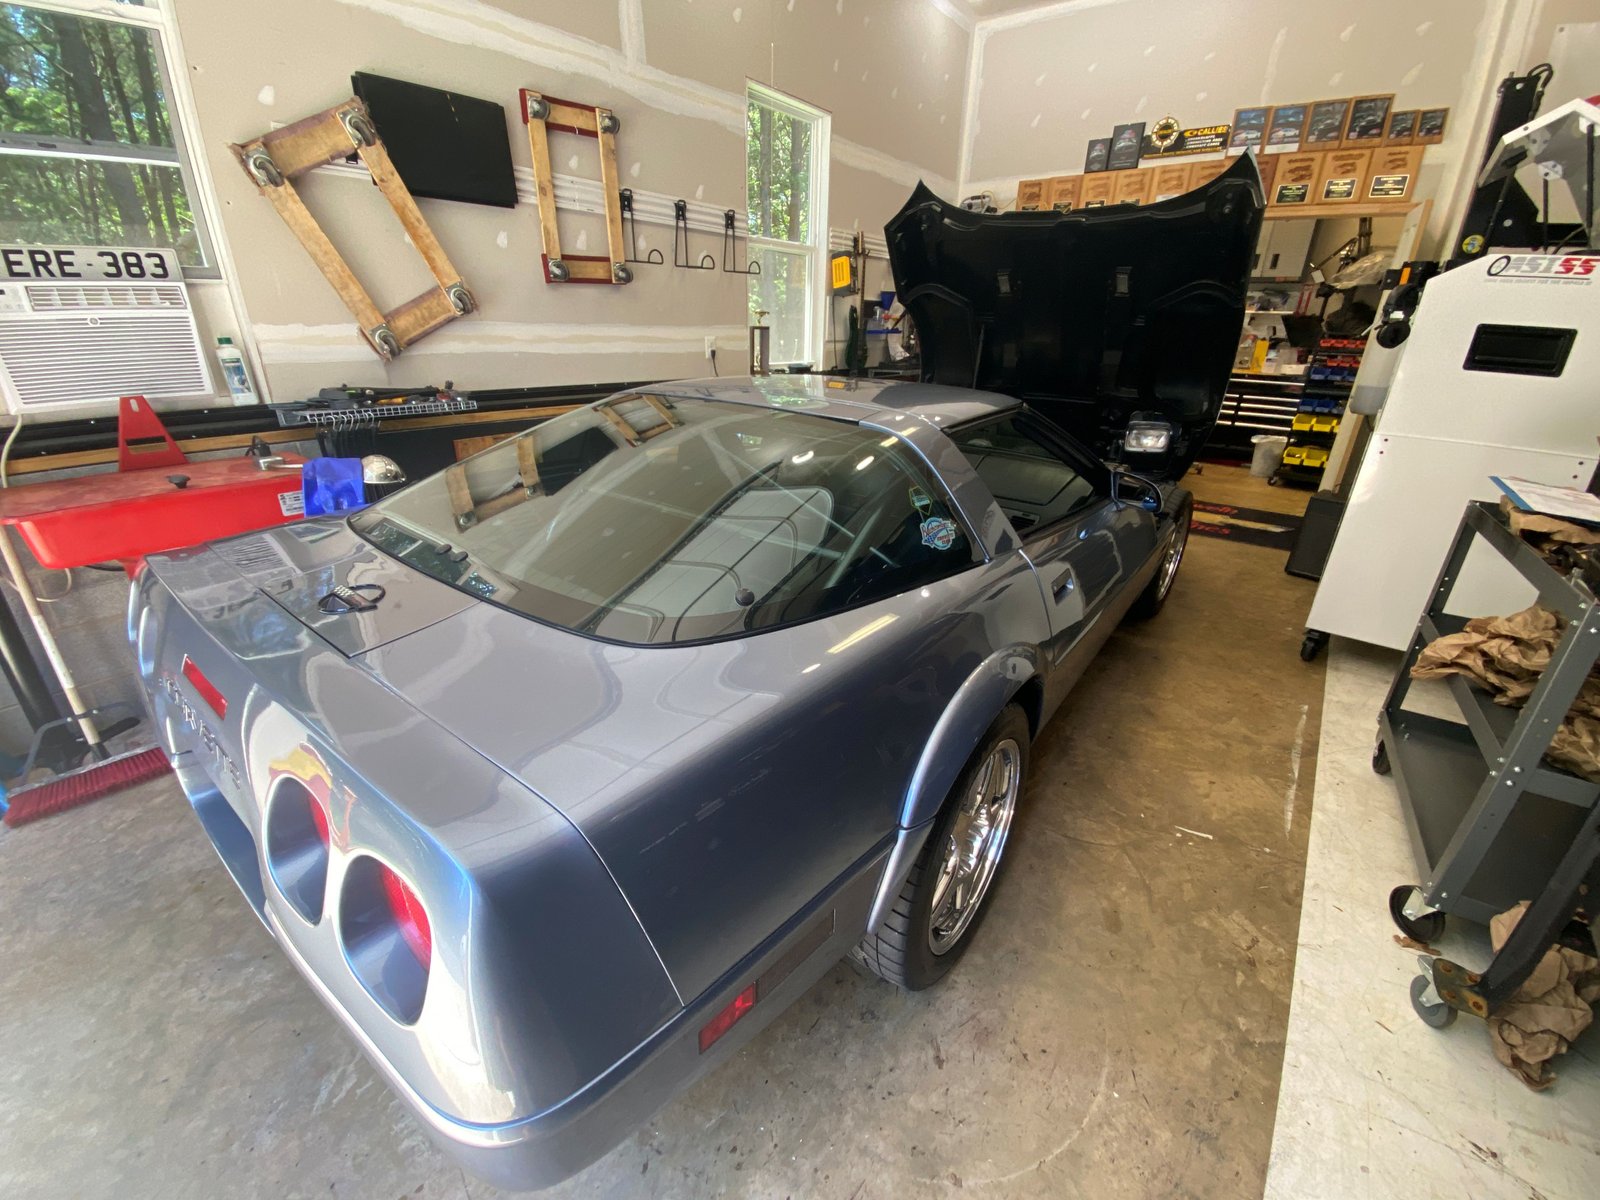
ERE-383 #107 for 1994
Corvette
Inspection/rebuild of current 383LT1
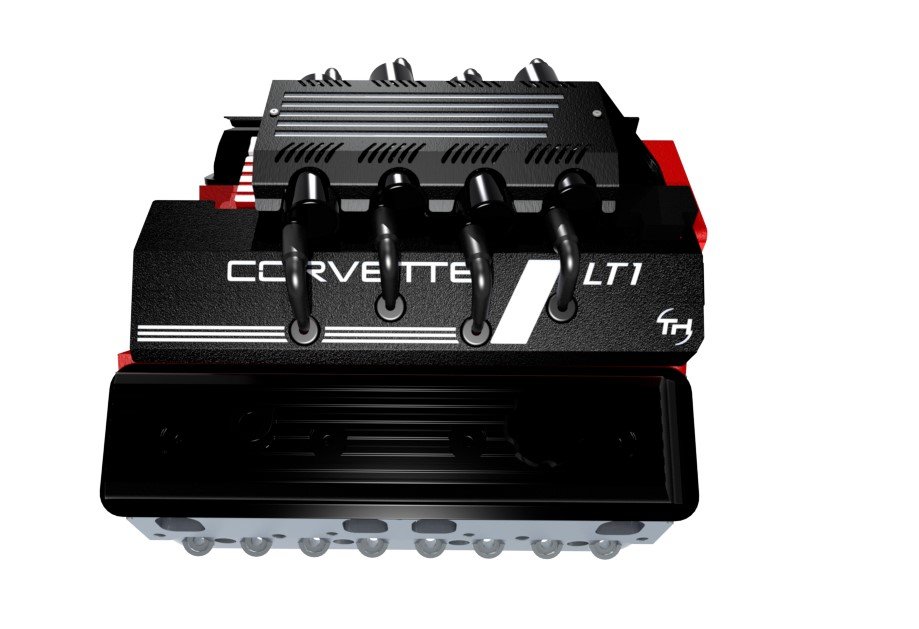
Installation of TorqHead
Currently the engine runs well but the owner is chasing a
vibration from 3000 rpm and above.
It's a good time to start fresh and re-do the clutch and look
over the engine and check the rotating assembly balance.
I'll be doing the tuning after installation of the Works!
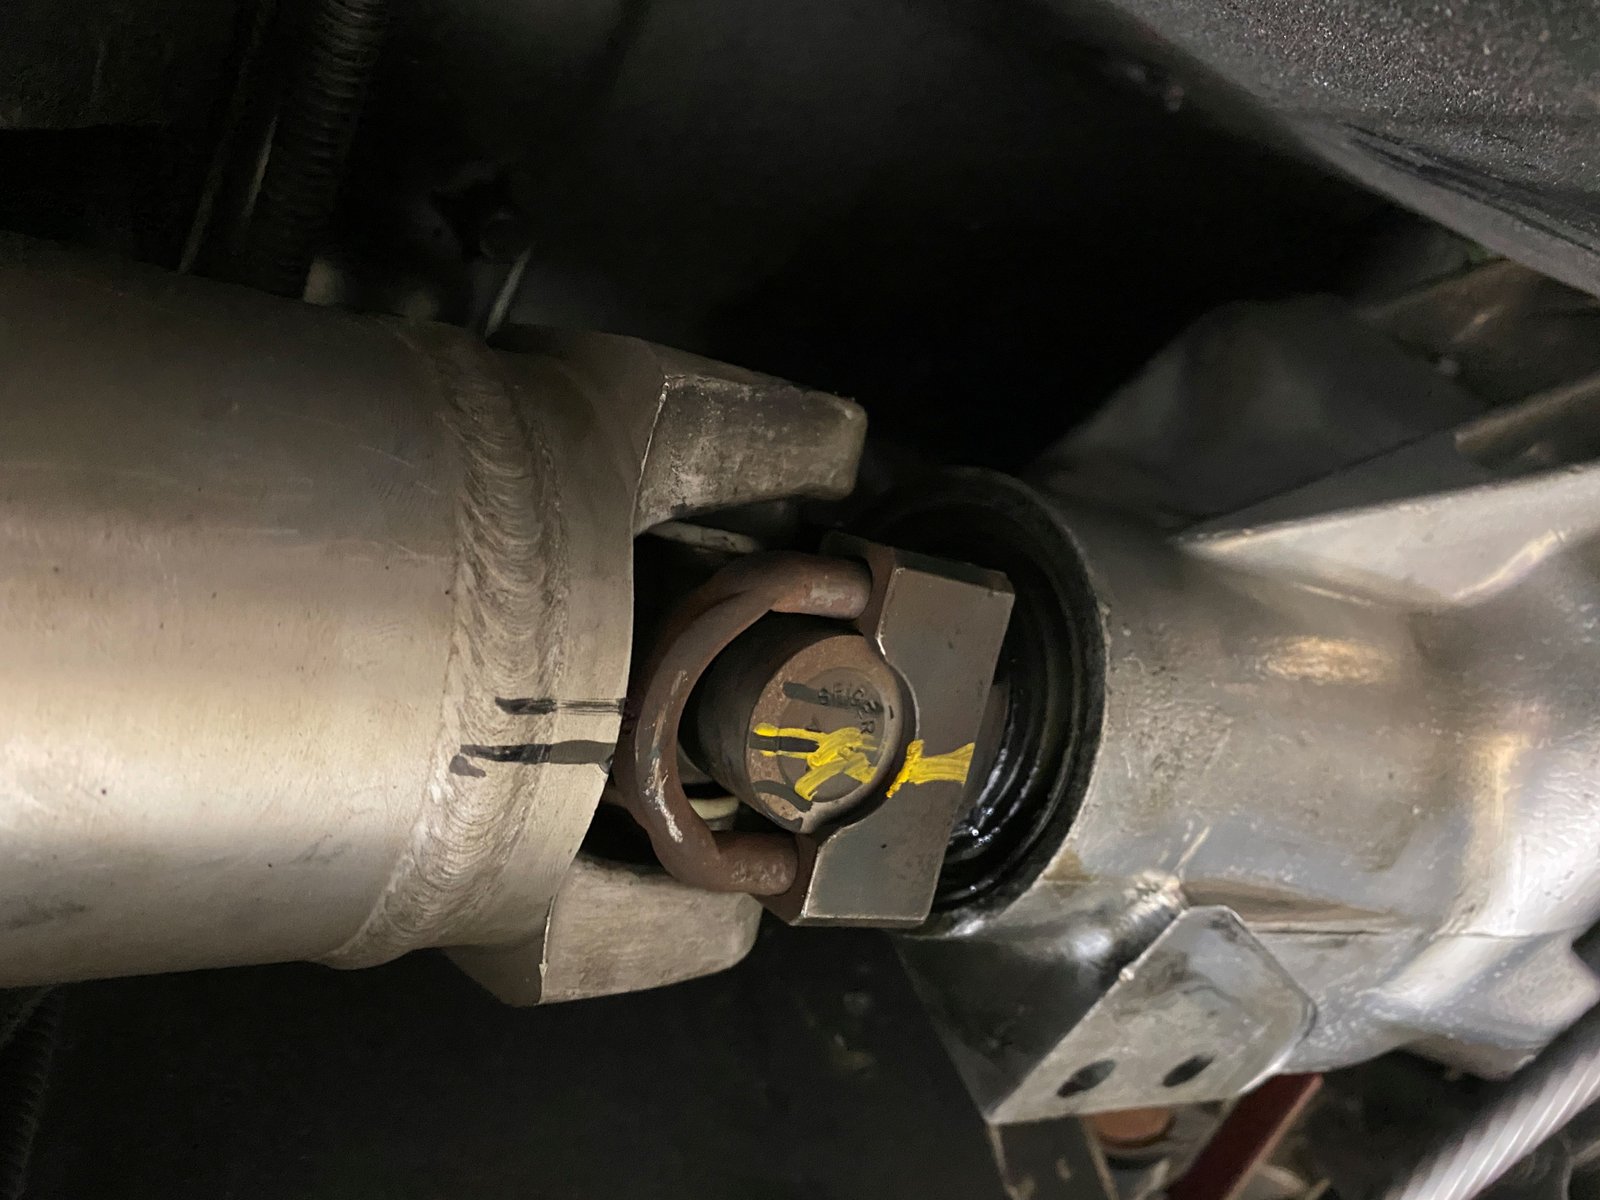
The Corvette Helms shop manual said to match mark the drive
shaft and pinion yoke. I'm doing the engine/trans removal slow
and methodical. I've never worked on an LT1 Corvette before
and the school of YouTube has nothing for LT1 Corvette engine
R&R. The shop manual is good but it may not have
short-cuts.
I could not get the pin out of the shifter and so it will stay
on and just go through the hole.
There was just enough room.
ZF 6-speed is out.
Will work on getting the engine hoisted out tomorrow.
The bell housing is out, (no photo).
A few days later: Engine is out.
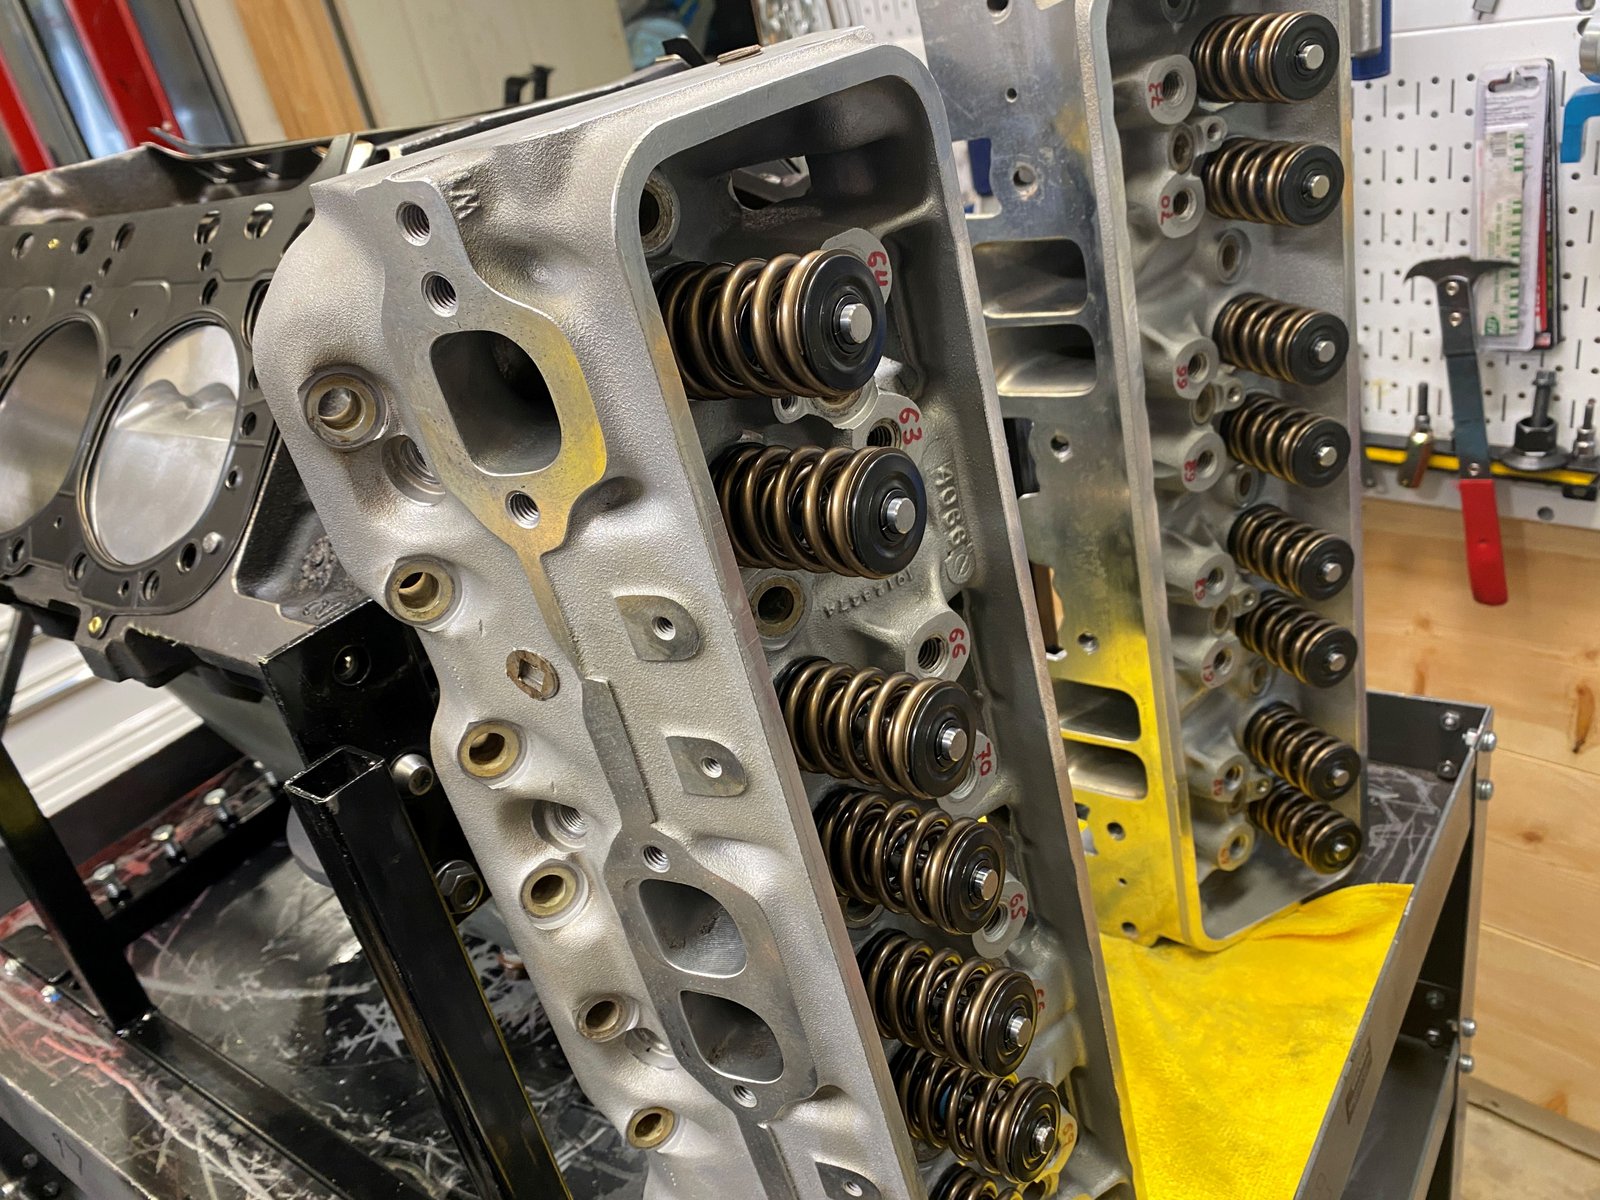
Looks OK. The intake ports are oily. It would be
ideal if there were no oil in the intake runners.
Rockers set up pretty nicely. The guide plates don't
align the rocker tips to the valve tips very well but they work
well enough.
See here how the rocker tip is way off center. Usually
this has no effect on valve guide wear and no effect on
performance.
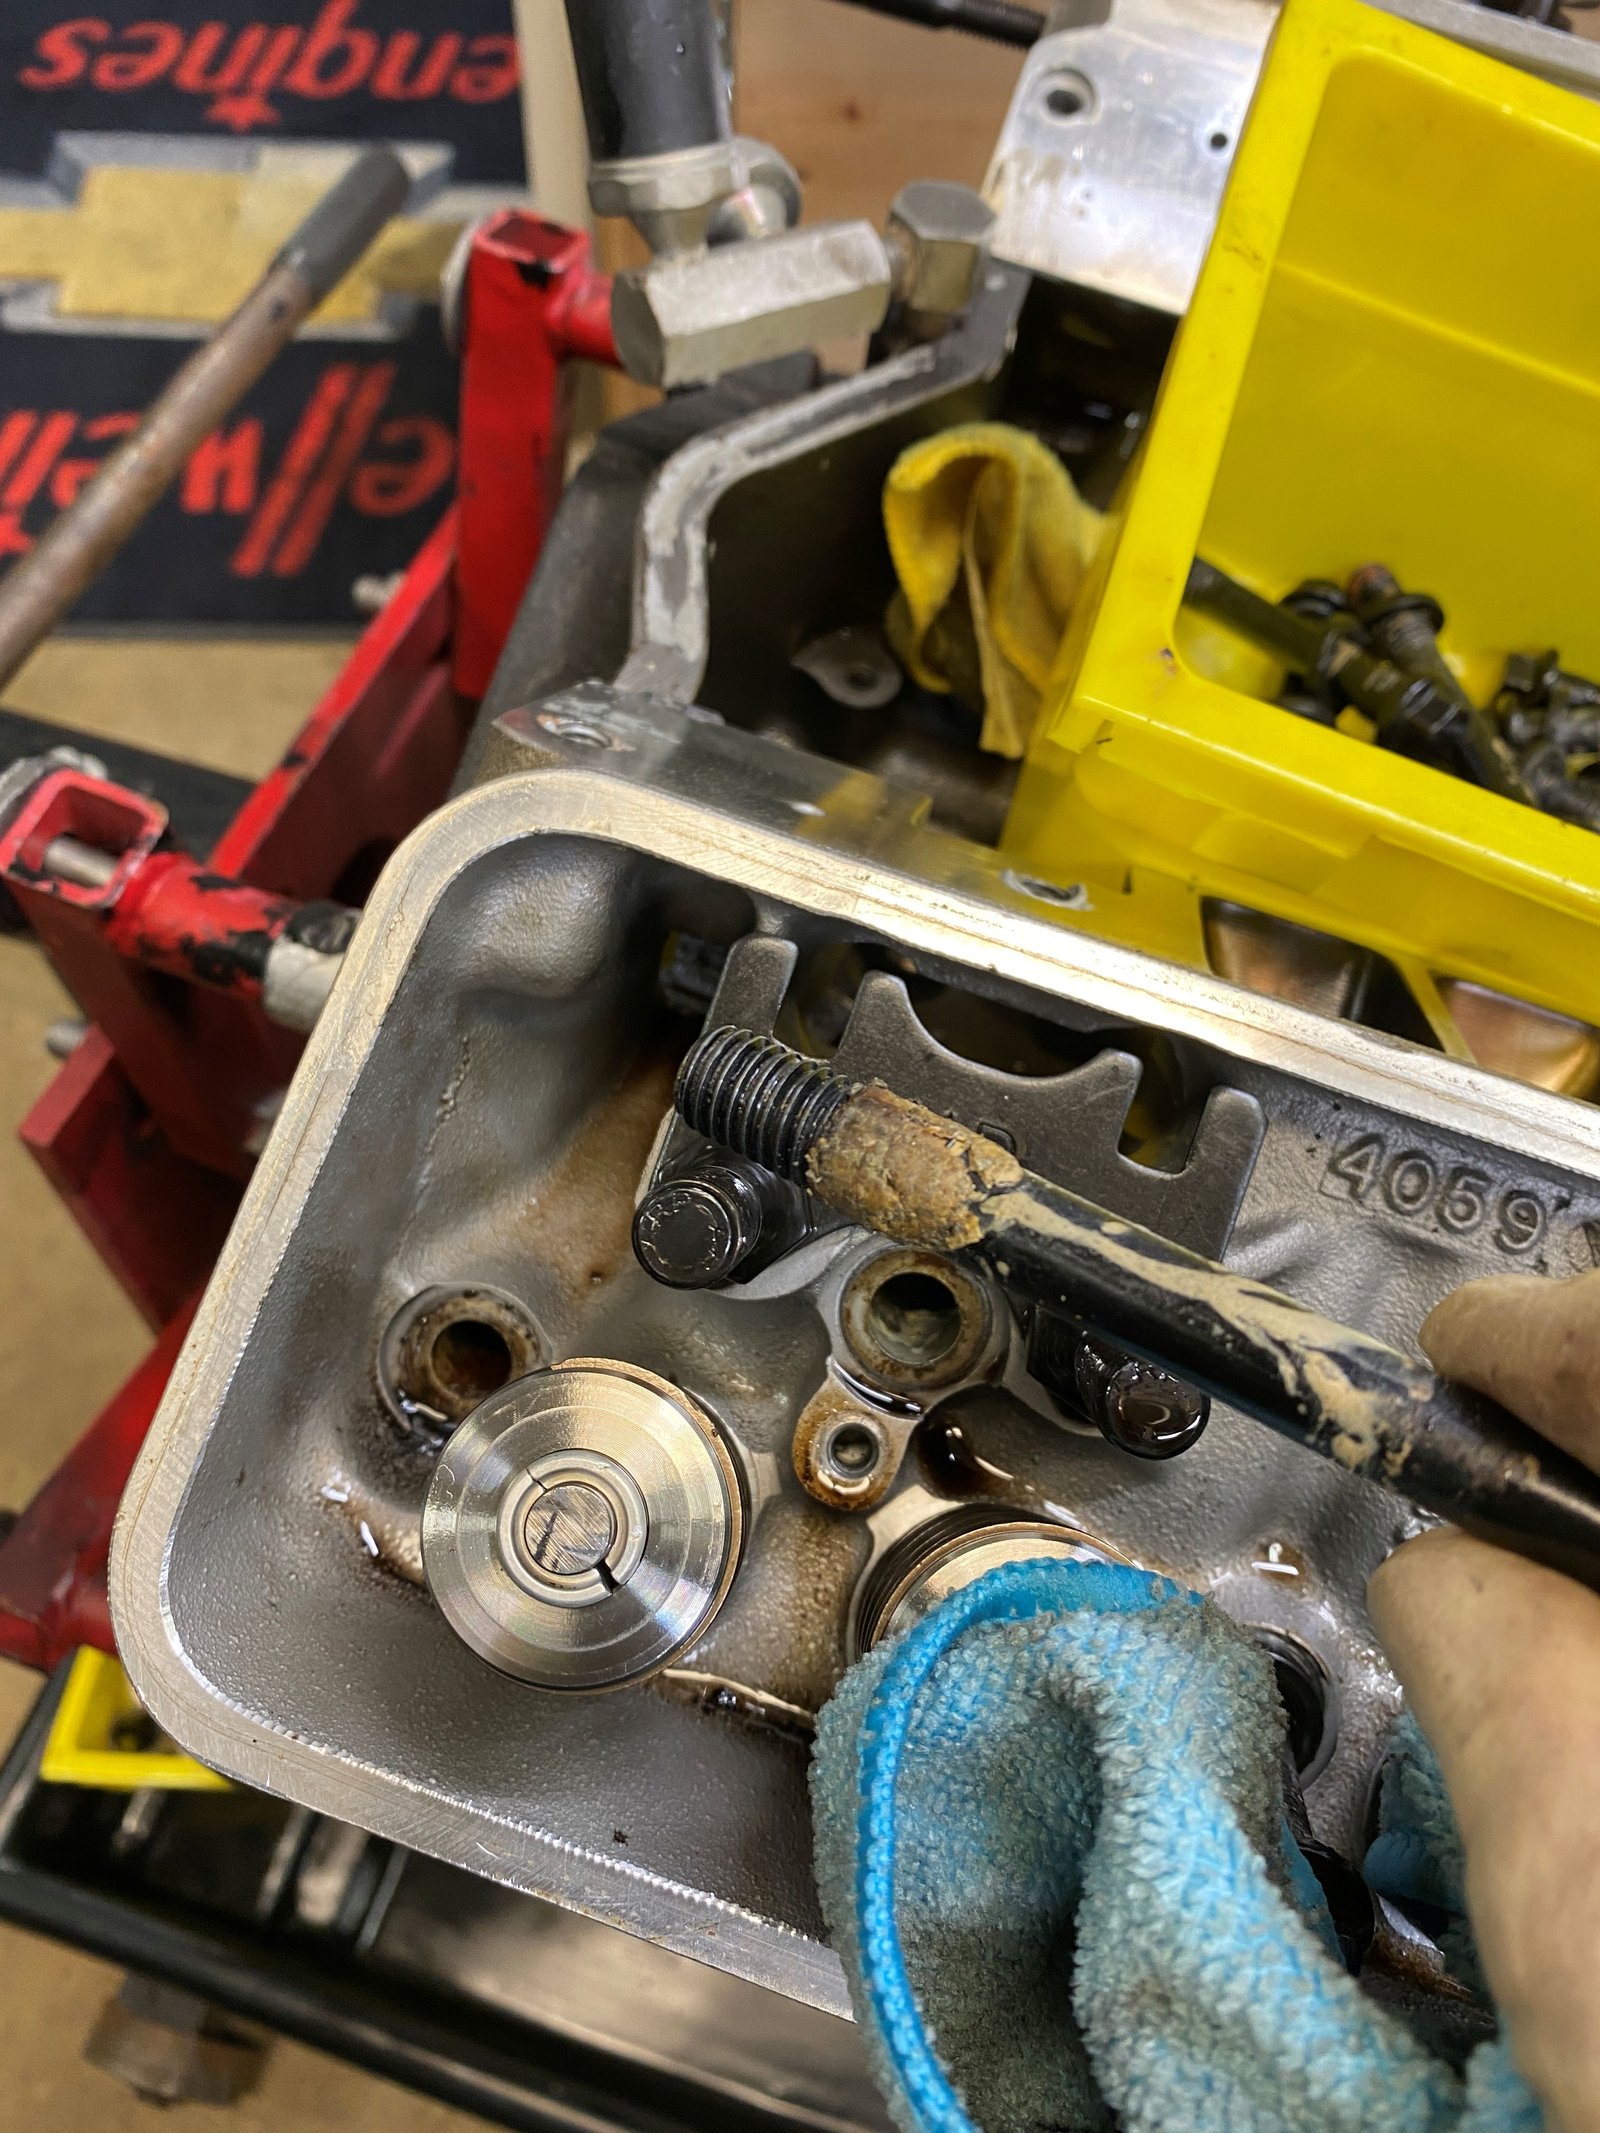
Many of the head bolts have a thick coating of some type of
sealant. It's not normal. Was it to stop coolant leaking
from the stud?
The heads are well used and nothing out of the ordinary is
visible.
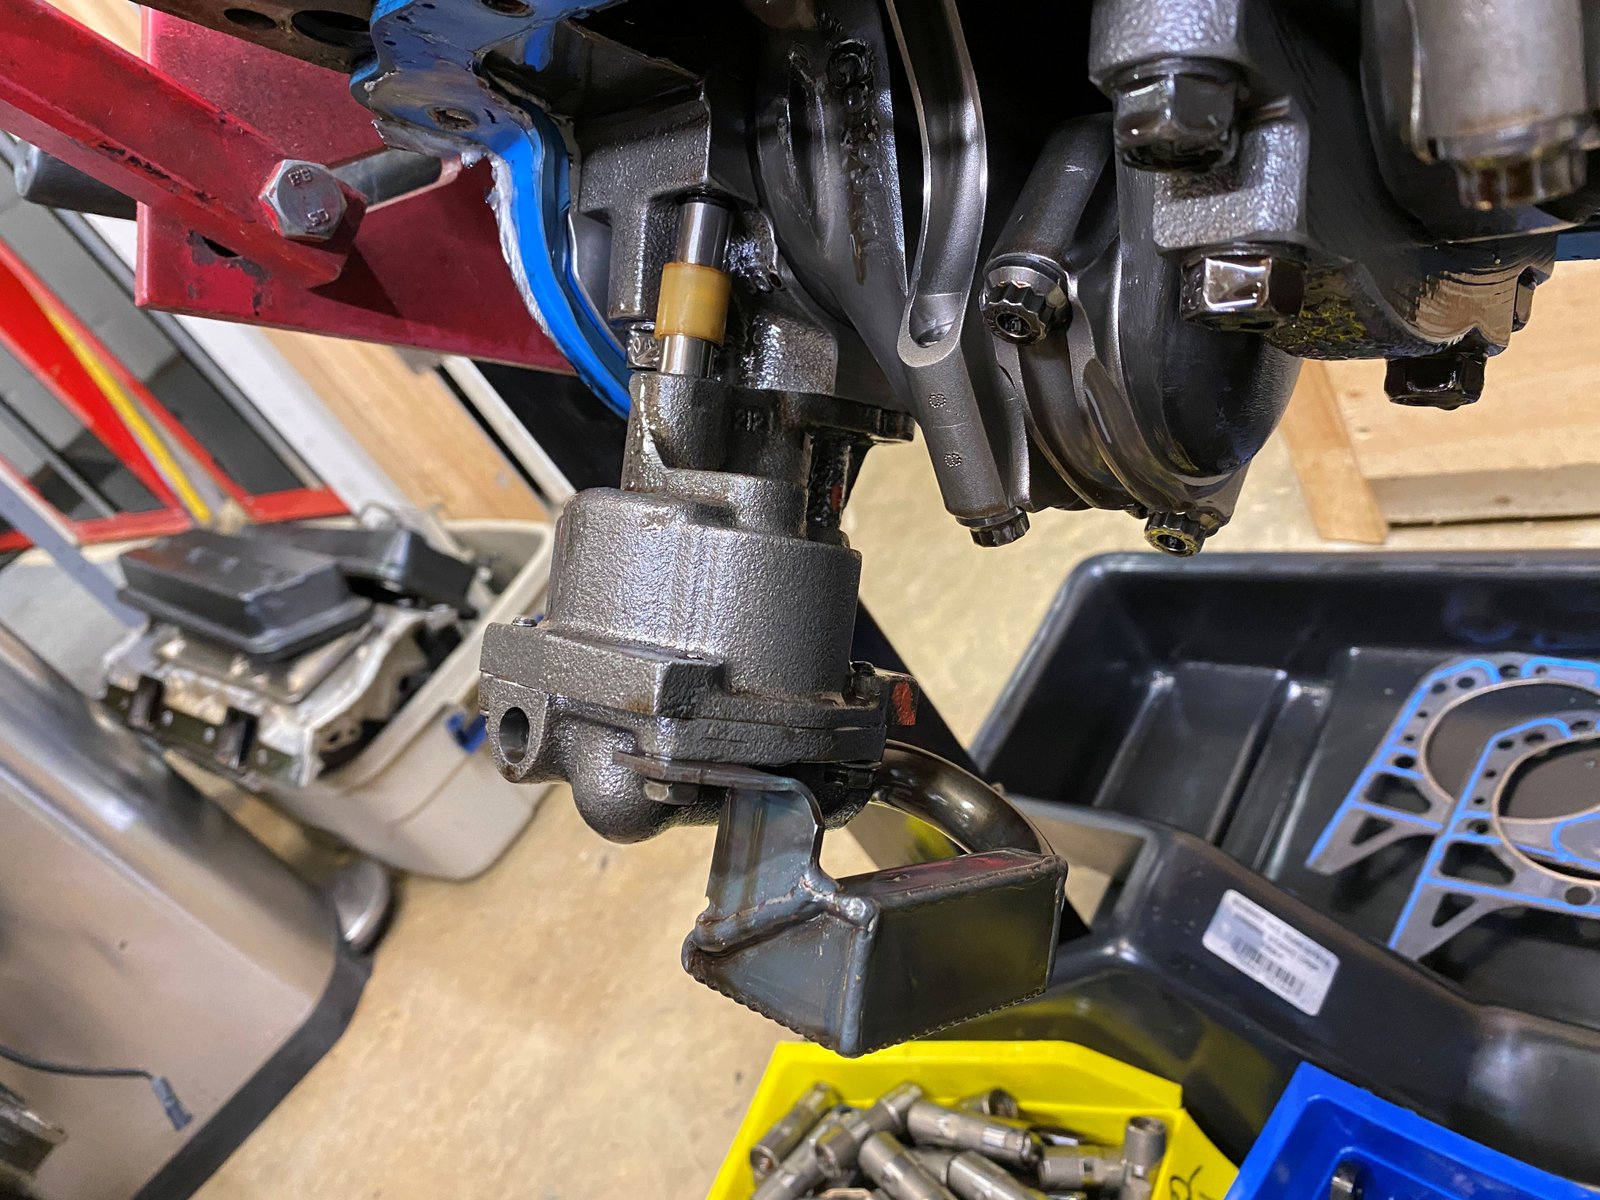
Stock GM oil pump. These are hard to beat. Very
good quality.
The aftermarket oil pan has a bit of a built in windage
tray. The oil pan bottom is good. There is no metal or
other grunge in the oil.
Cloyes extreme timing set.
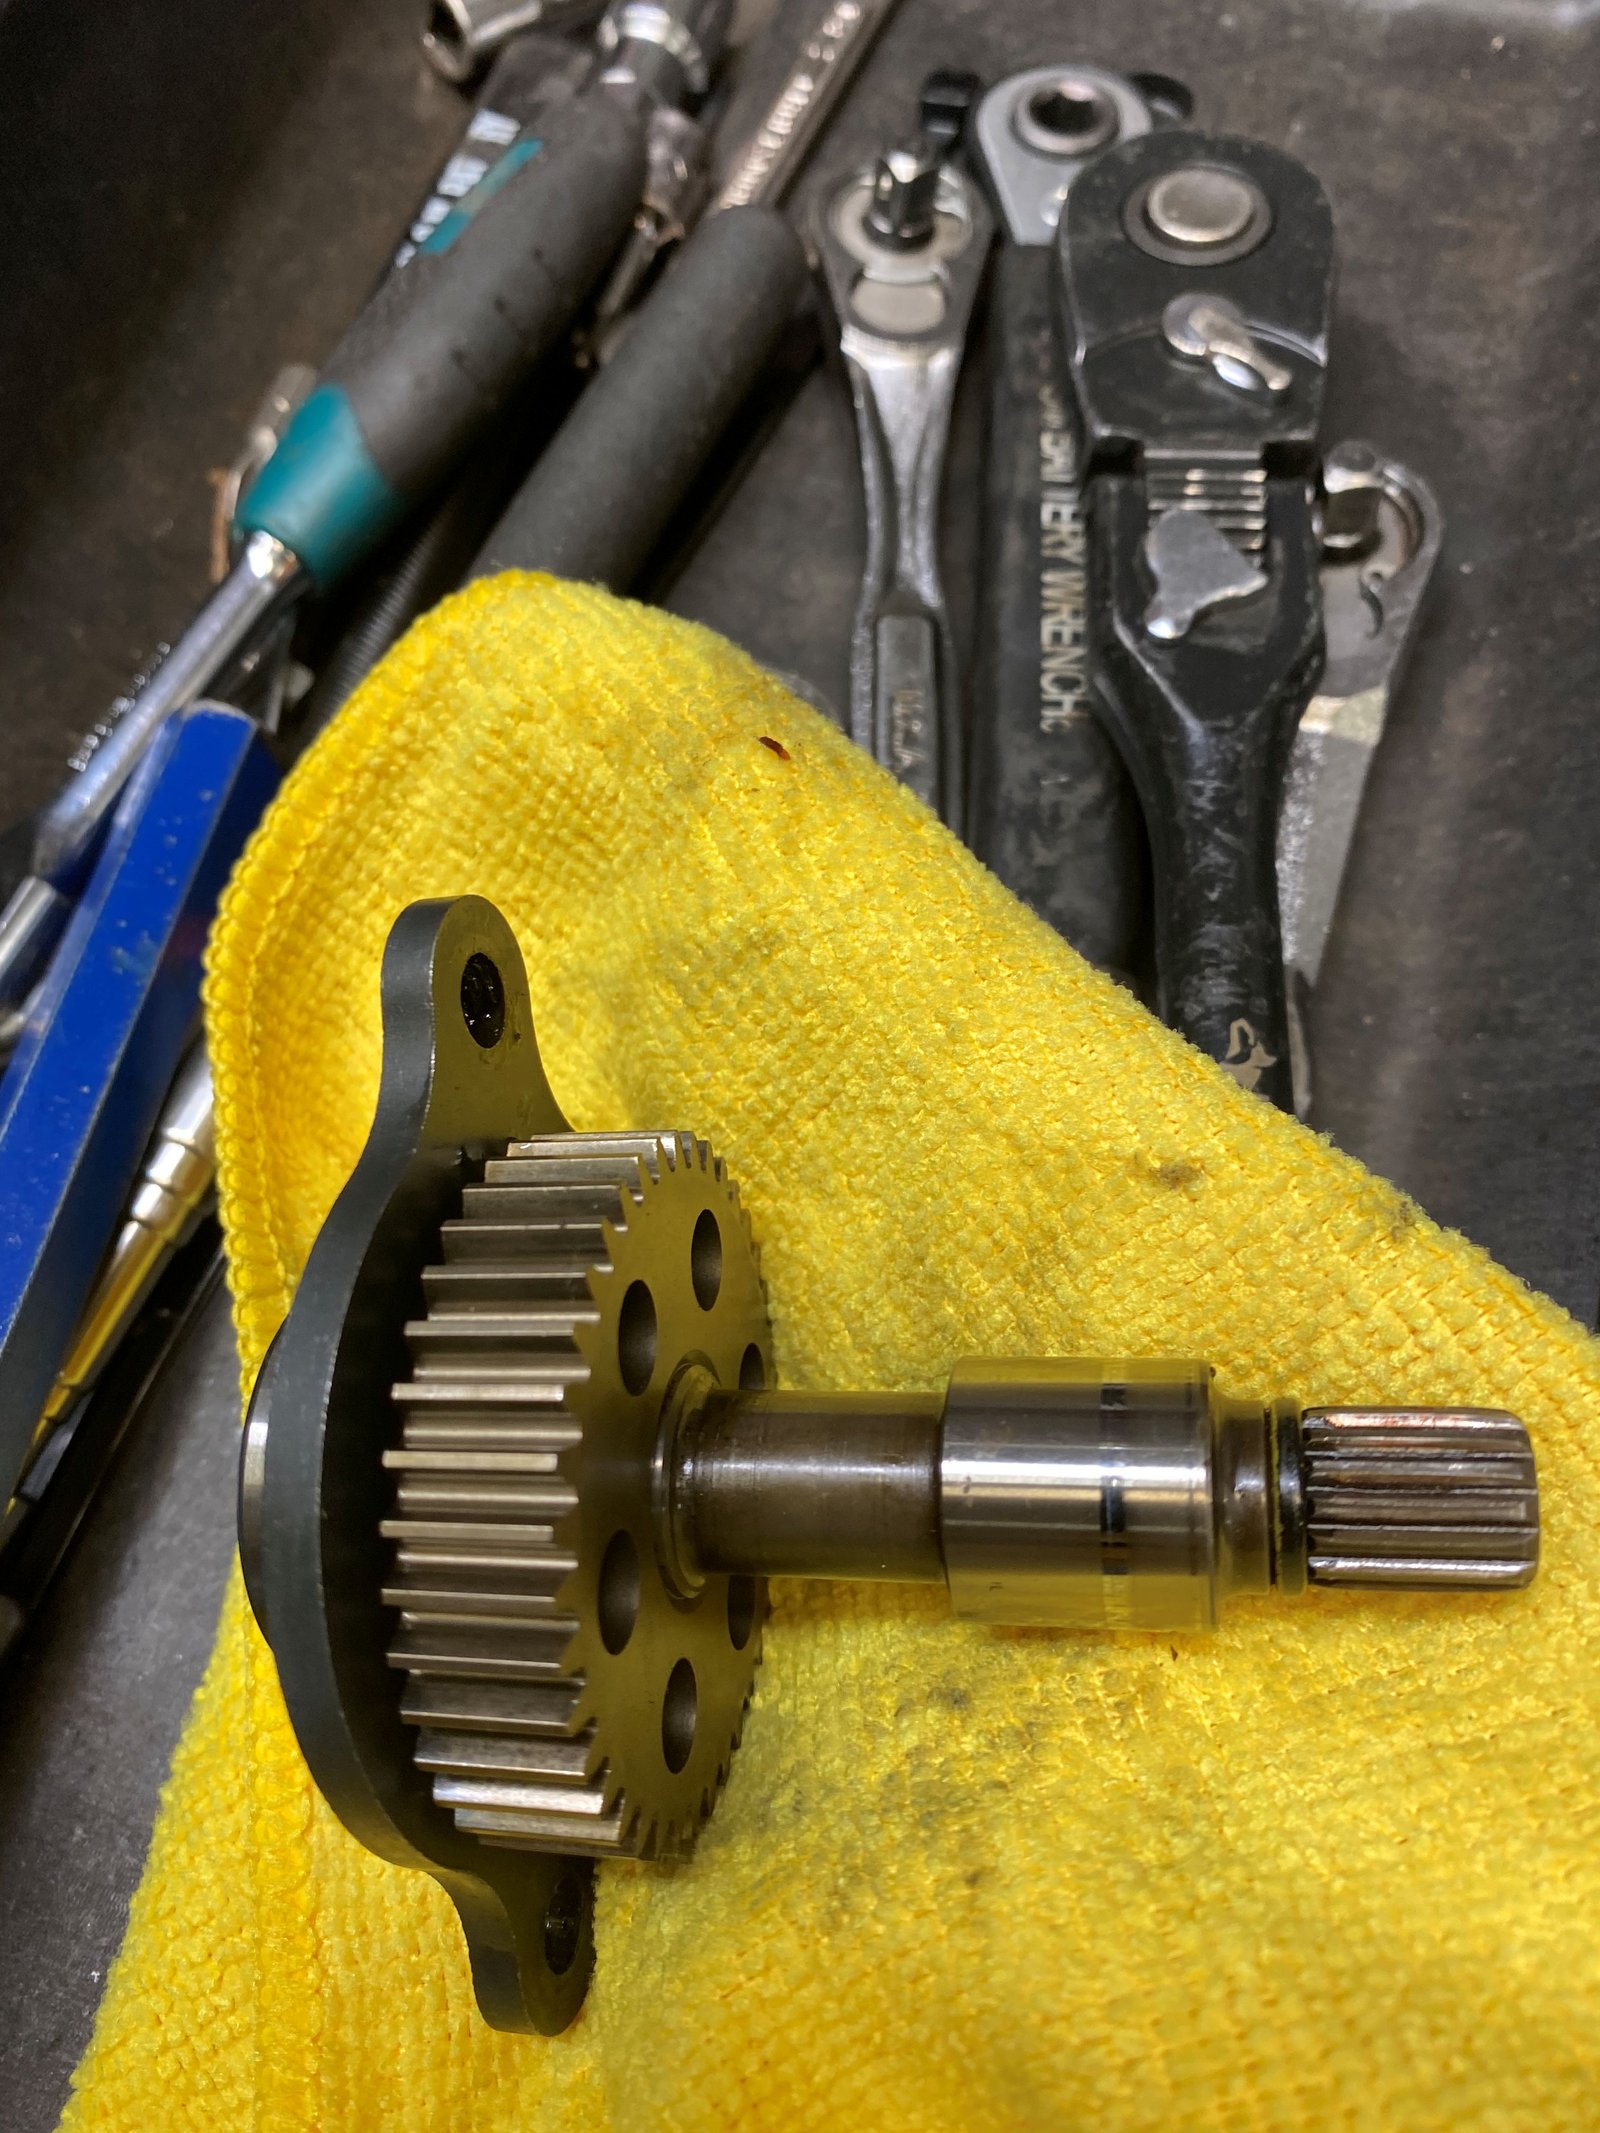
Just wanted to point out that this is the stock LT1 water pump
gear sprocket. The Cloyes extreme timing set has a gear
included that should be swapped out with the stock gear.
I'll do that for the re-assembly.
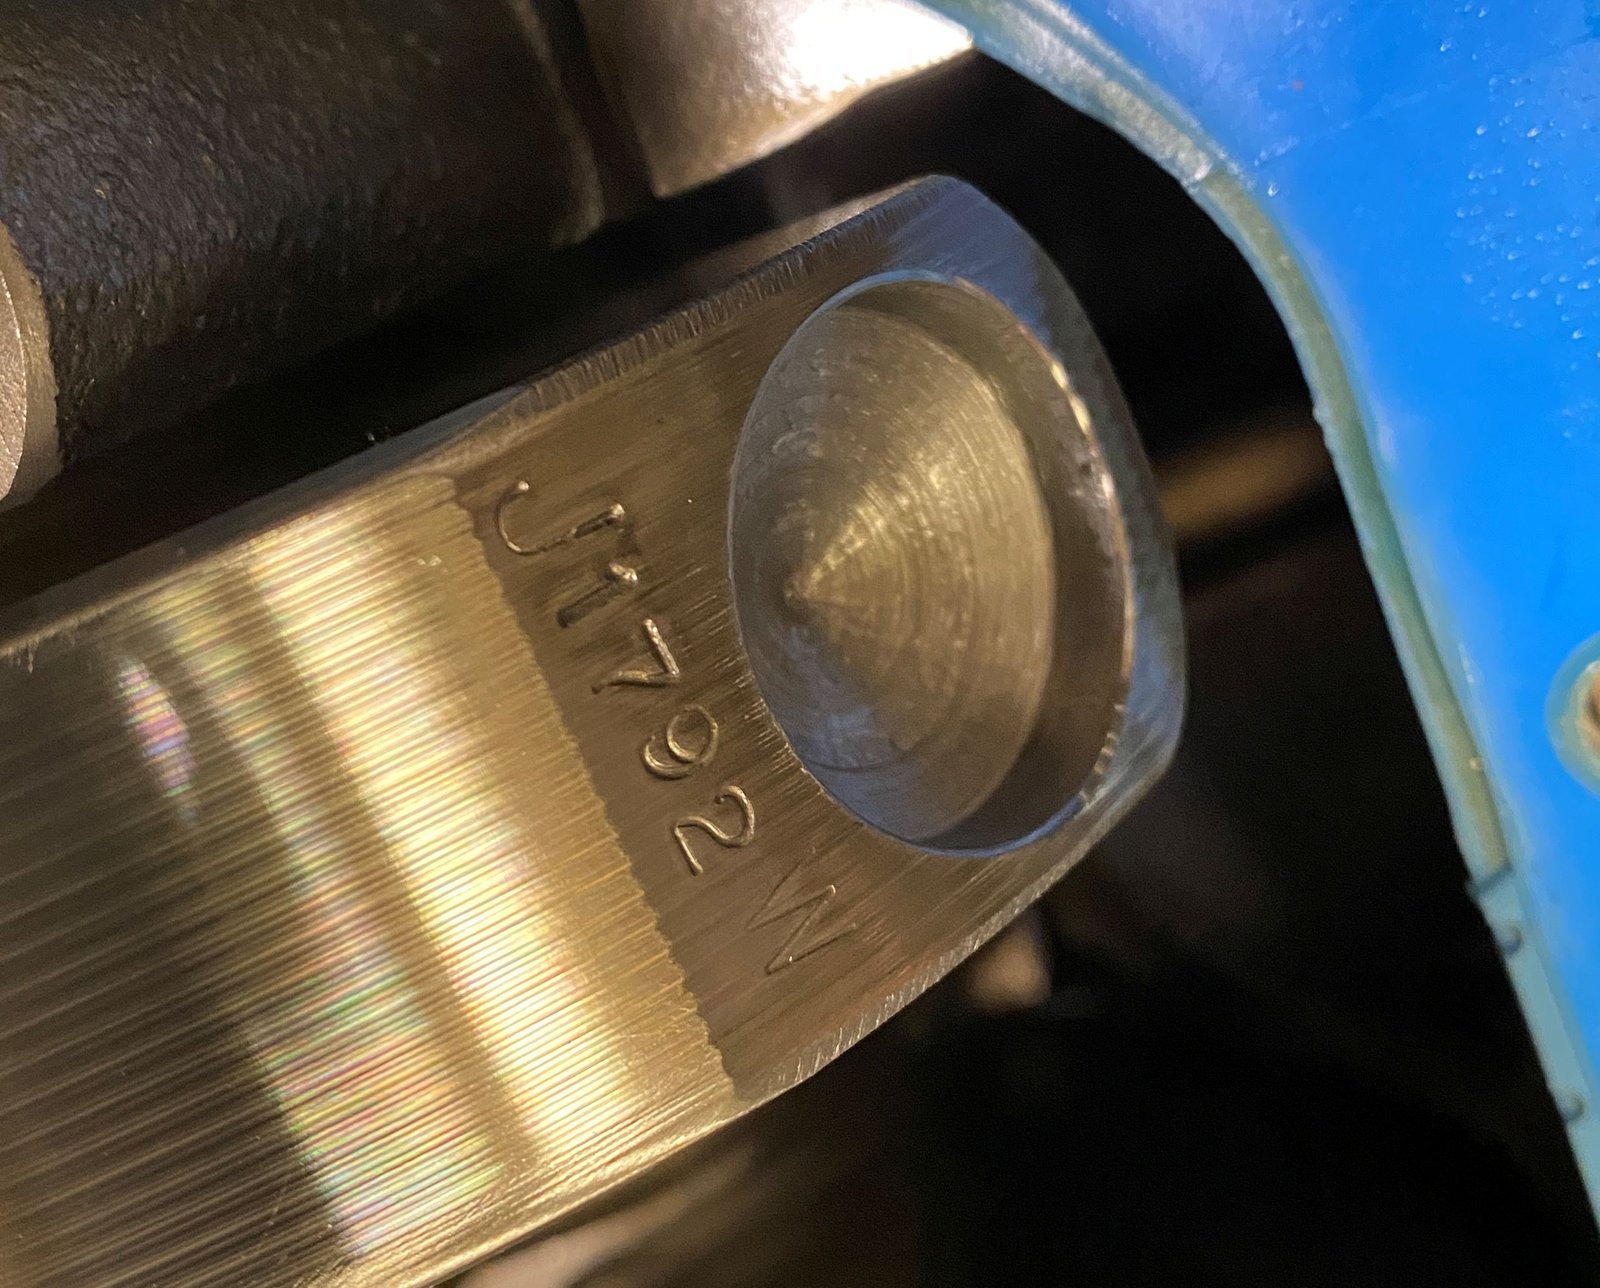
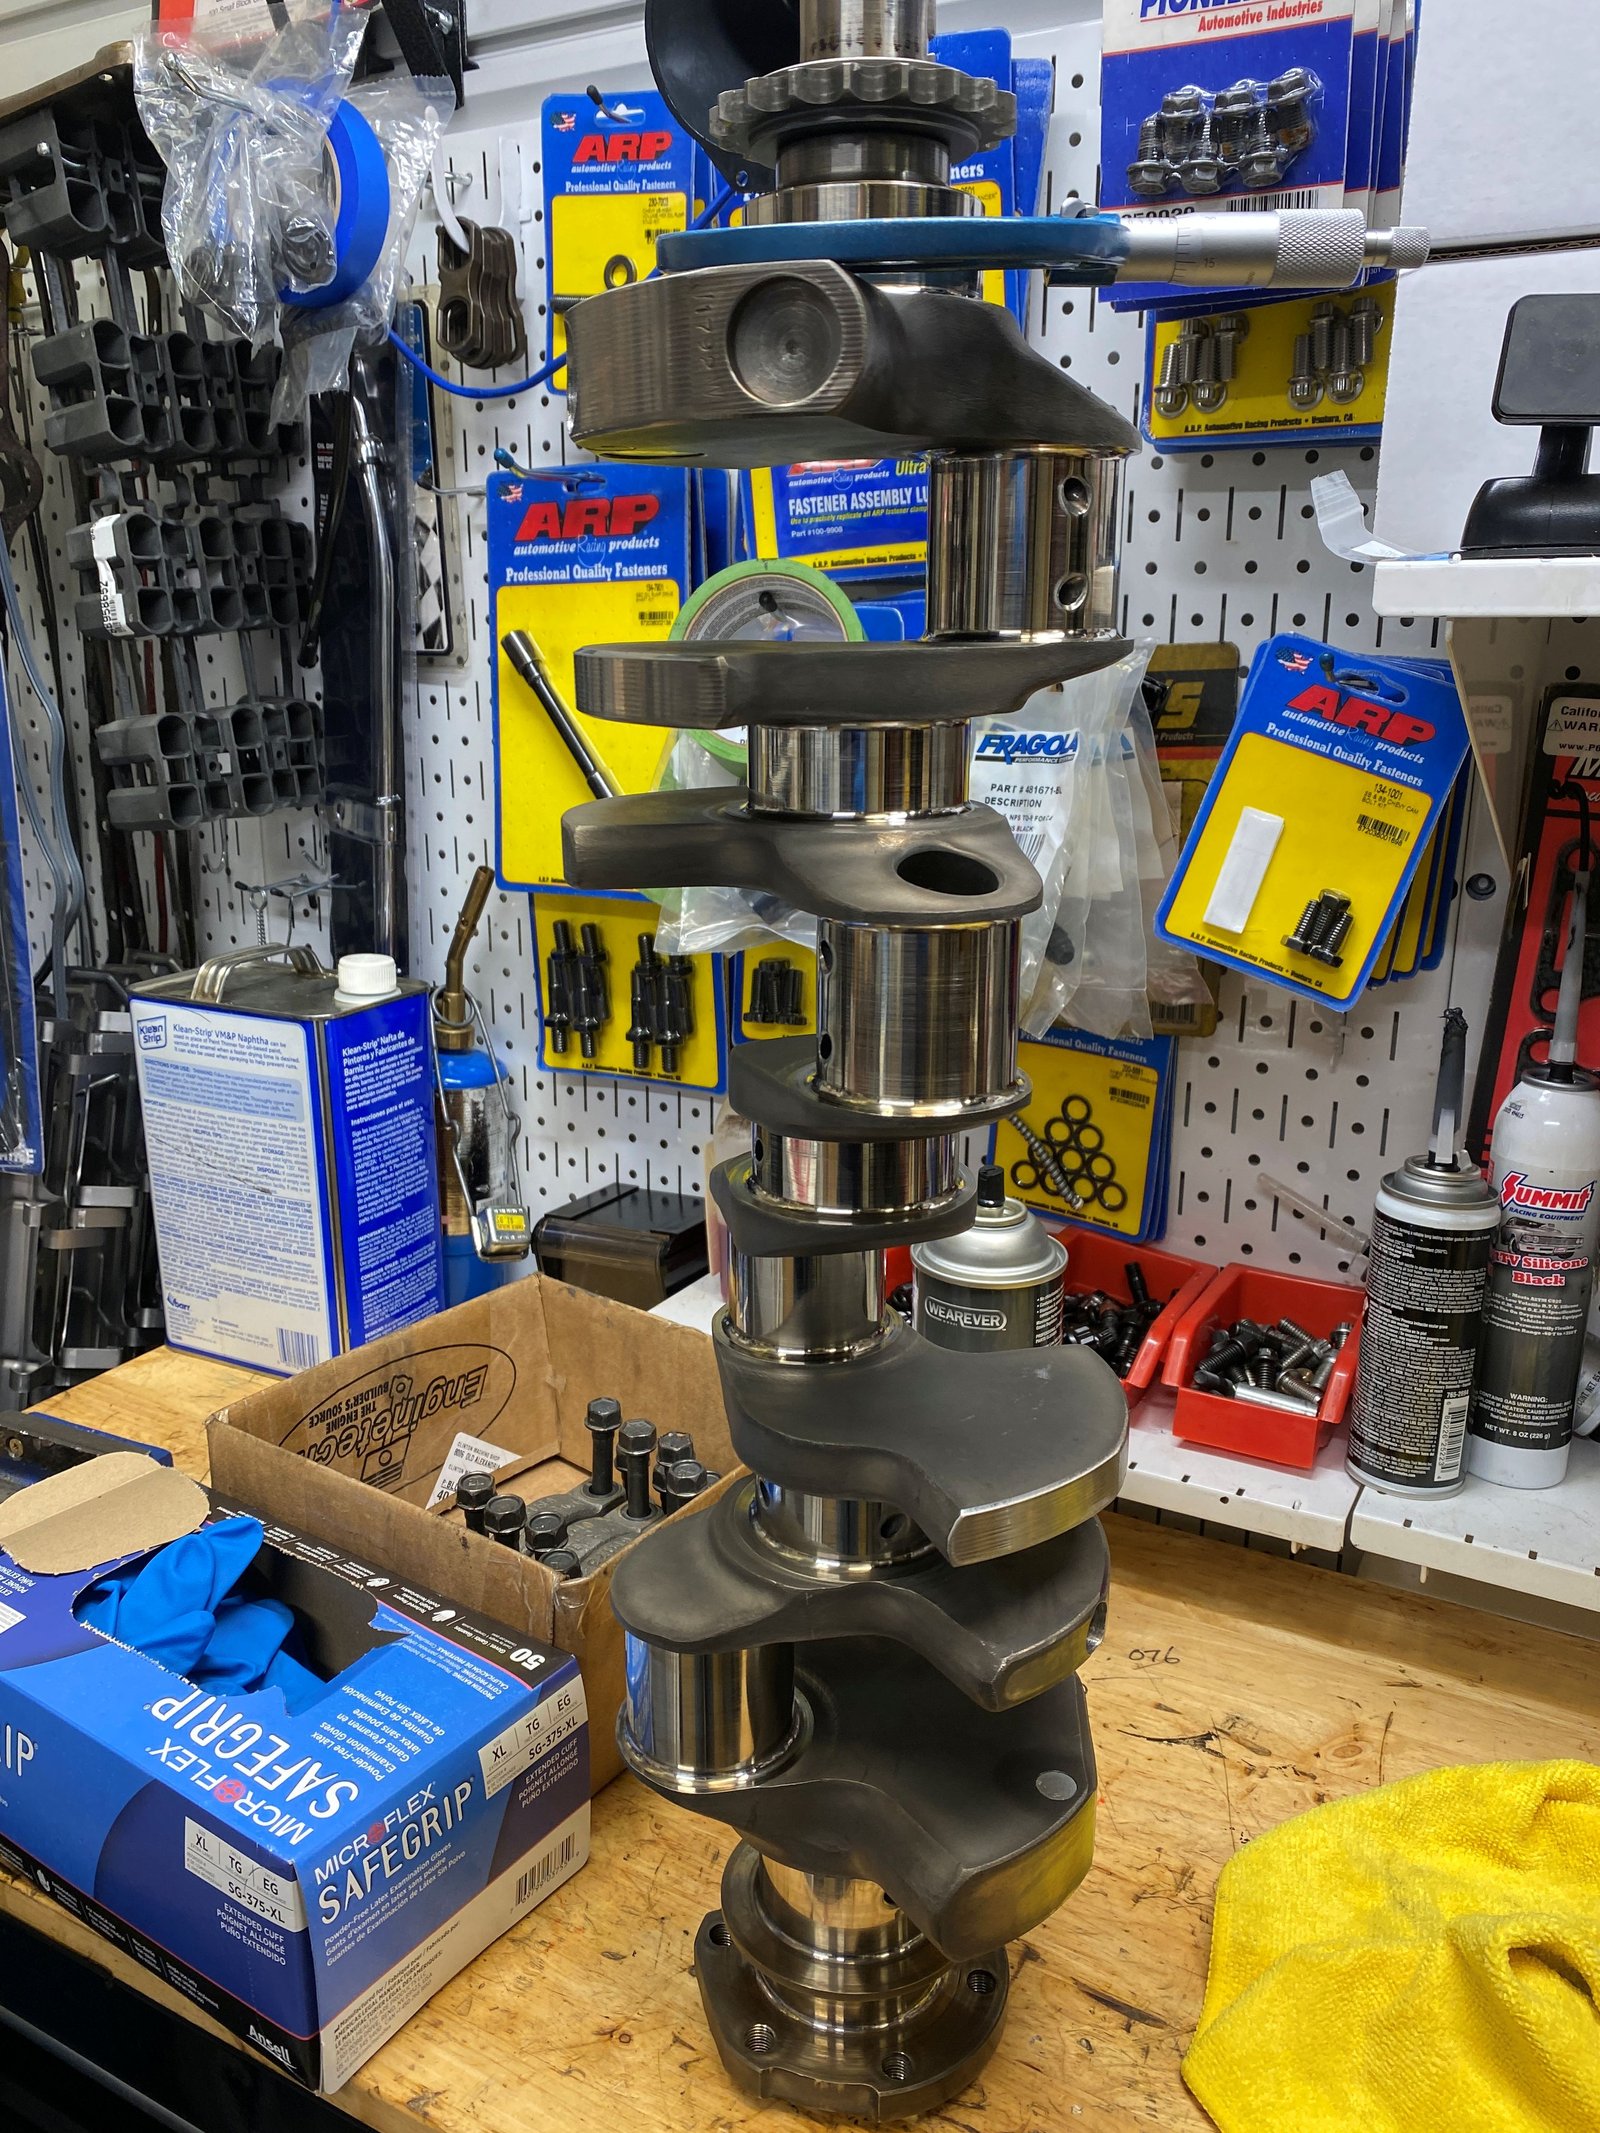
Callies Compstar crankshaft. The crankshaft is a 2-piece
rear main type. Here is the balance bob-weight, (1792g).
Nice bottom end. The Corvette 4-bolt stock mains and
stock main bolts. They are nice for mild hot rodding.
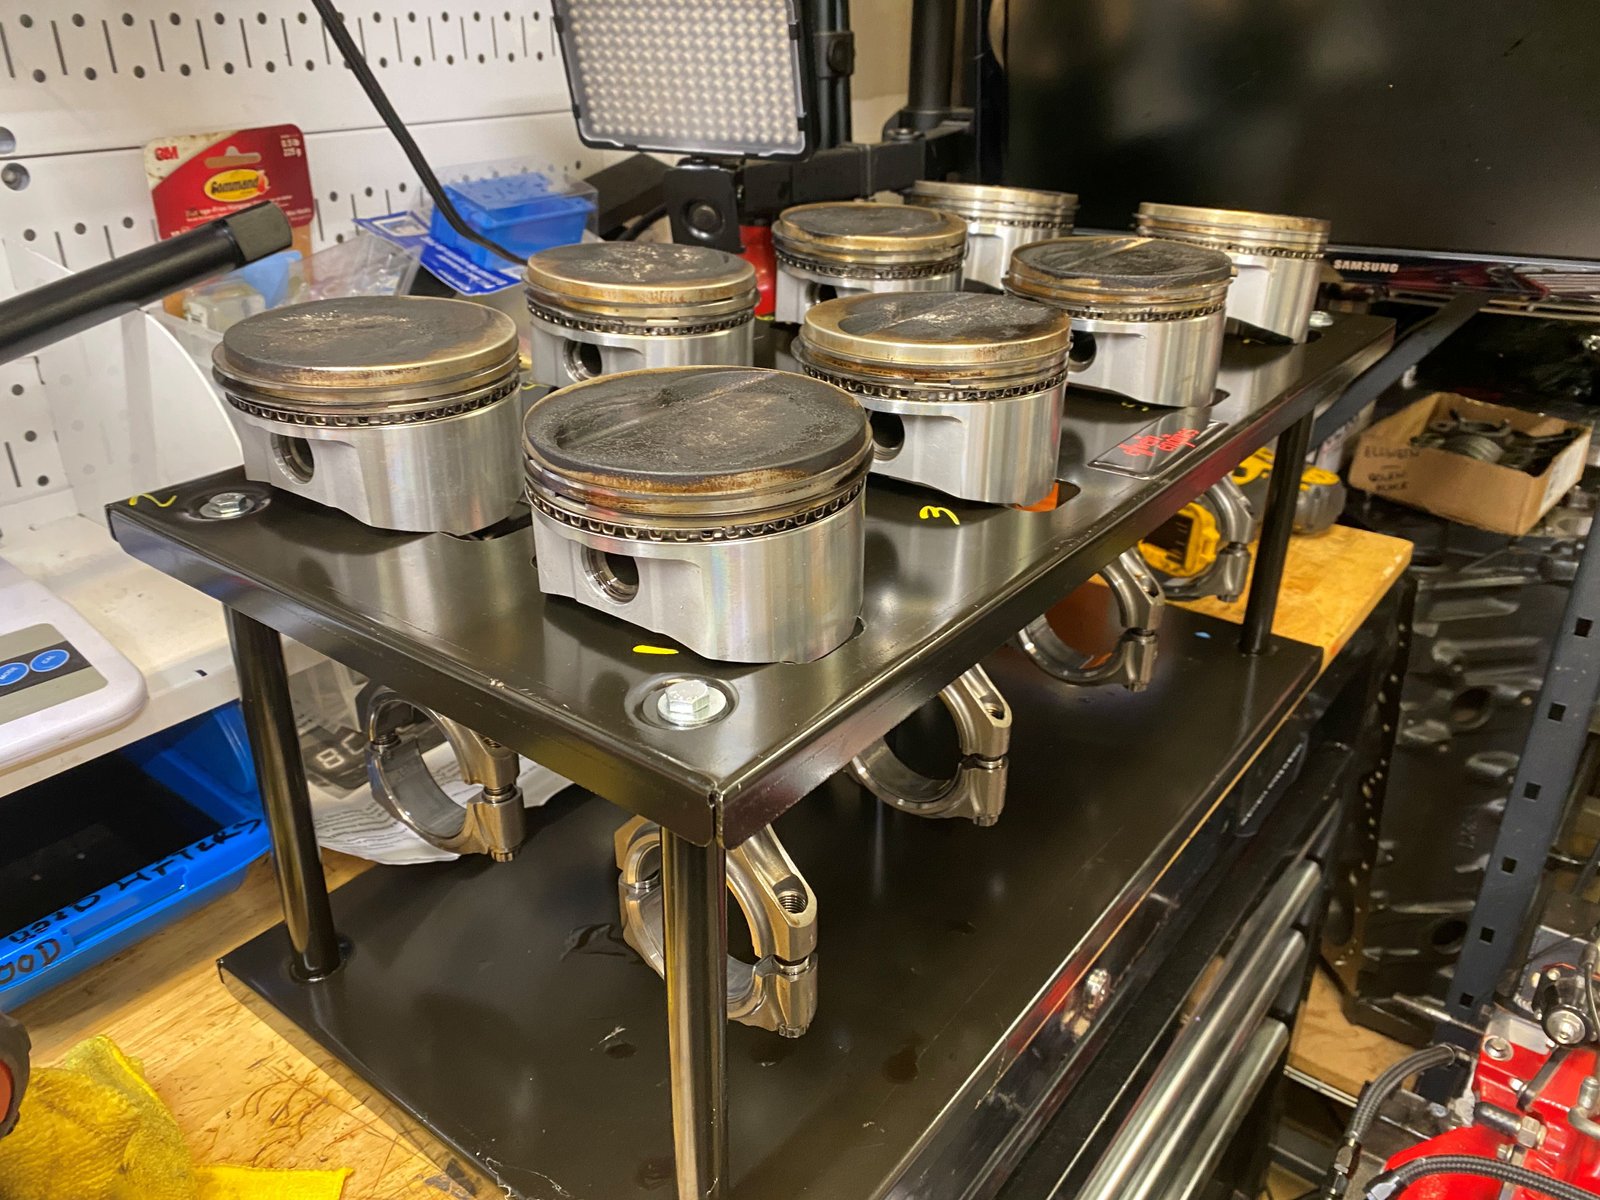
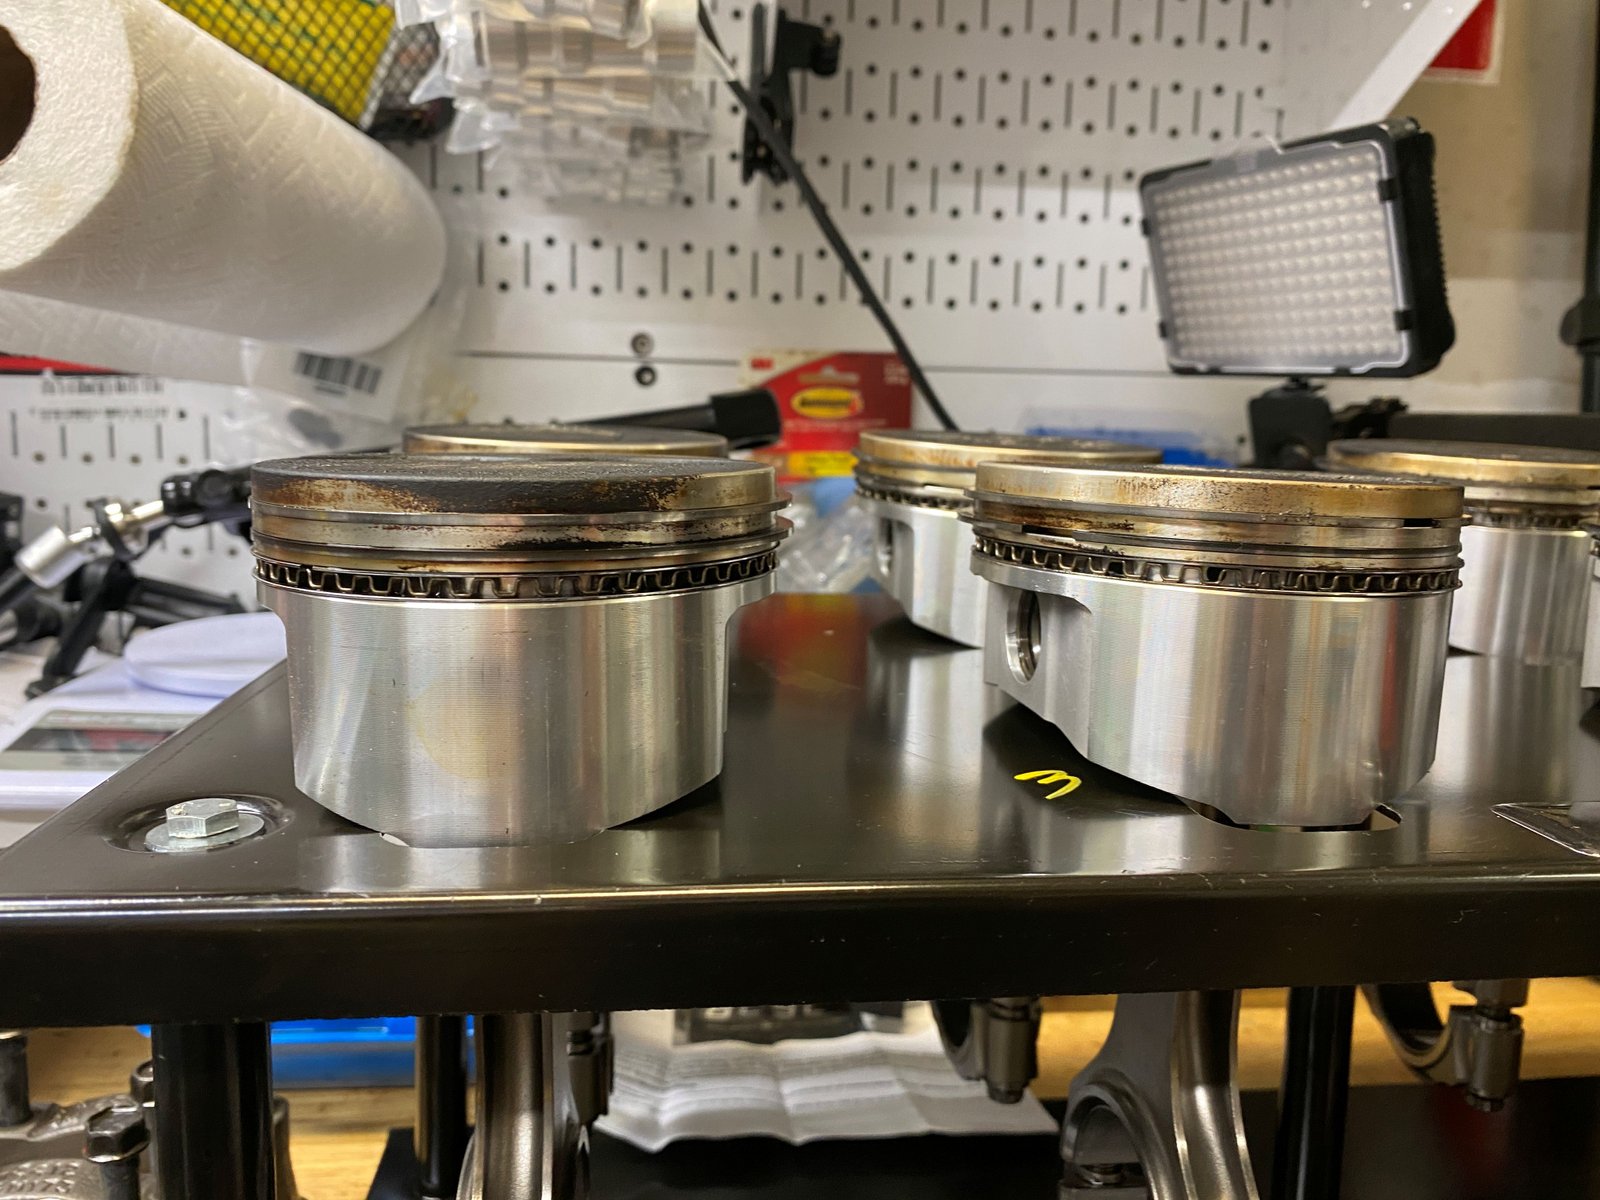
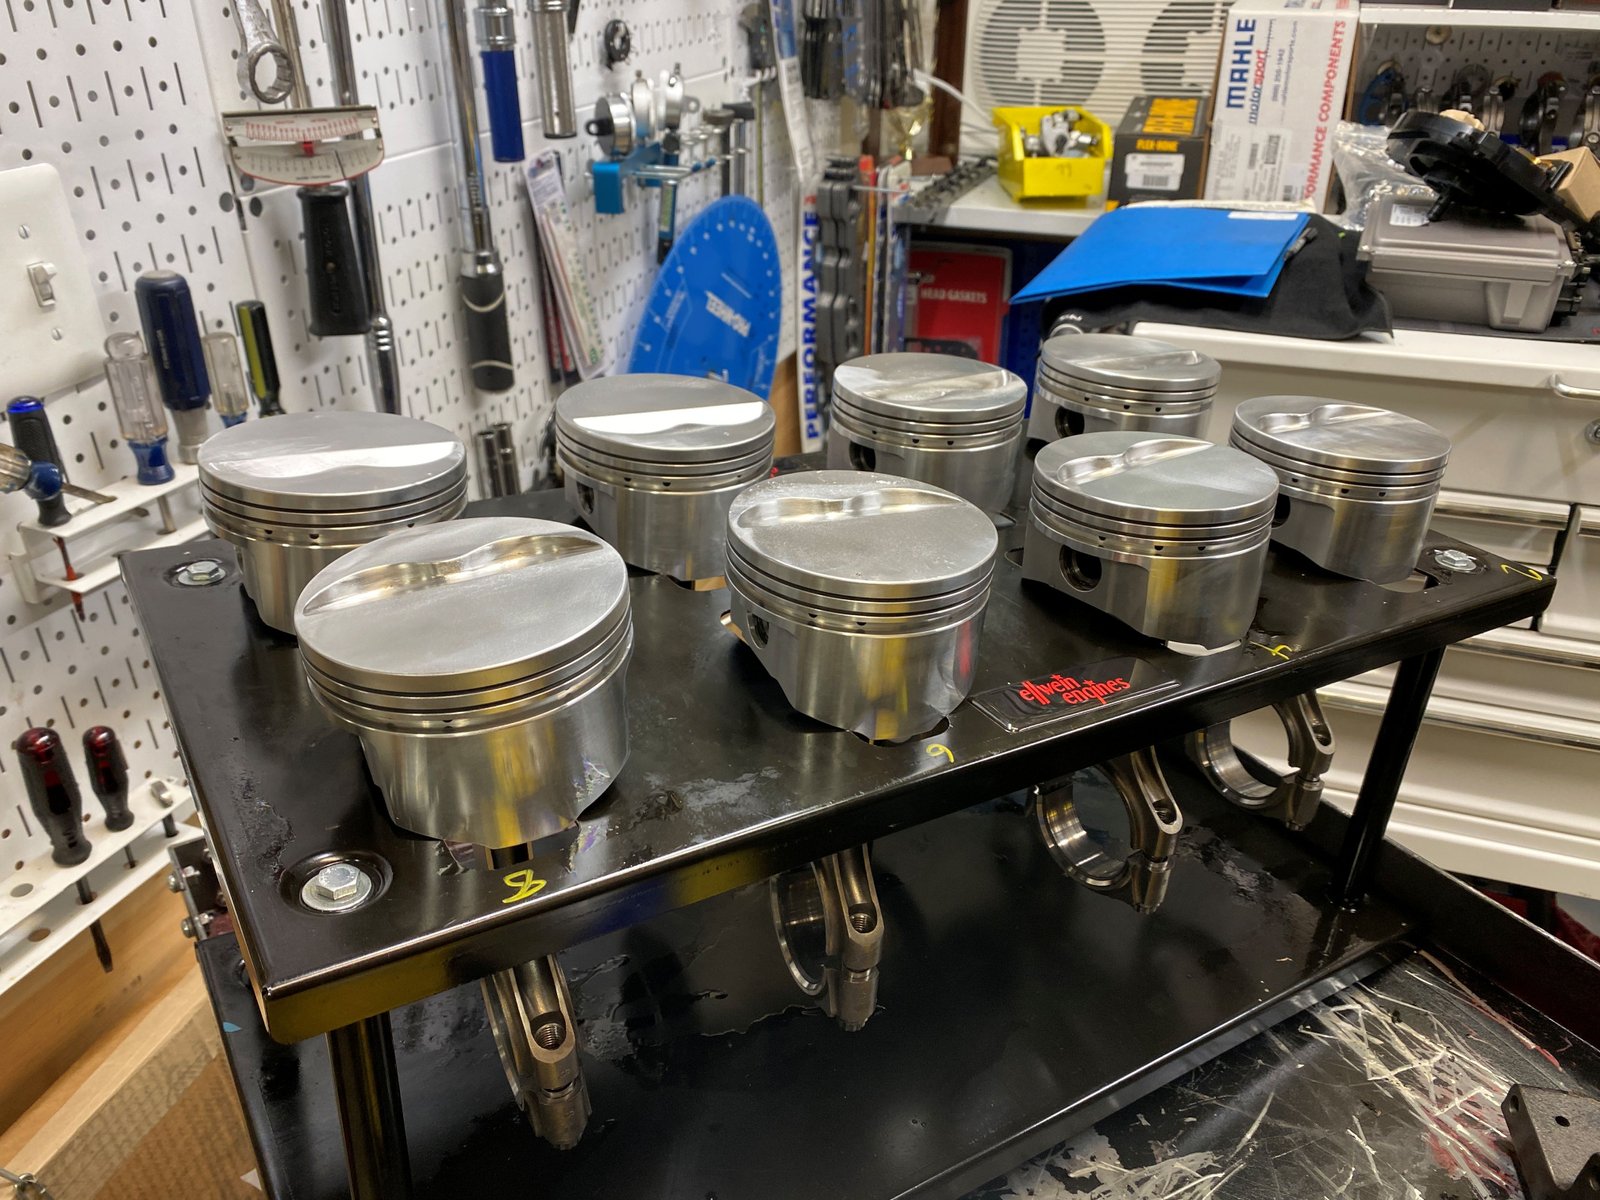
These are 5.7" Callies Compstar connecting rods and SRP
flat top pistons. The pistons are in GREAT shape! Yes
there is a lot of carbon on the piston tops but all else looks
really good.
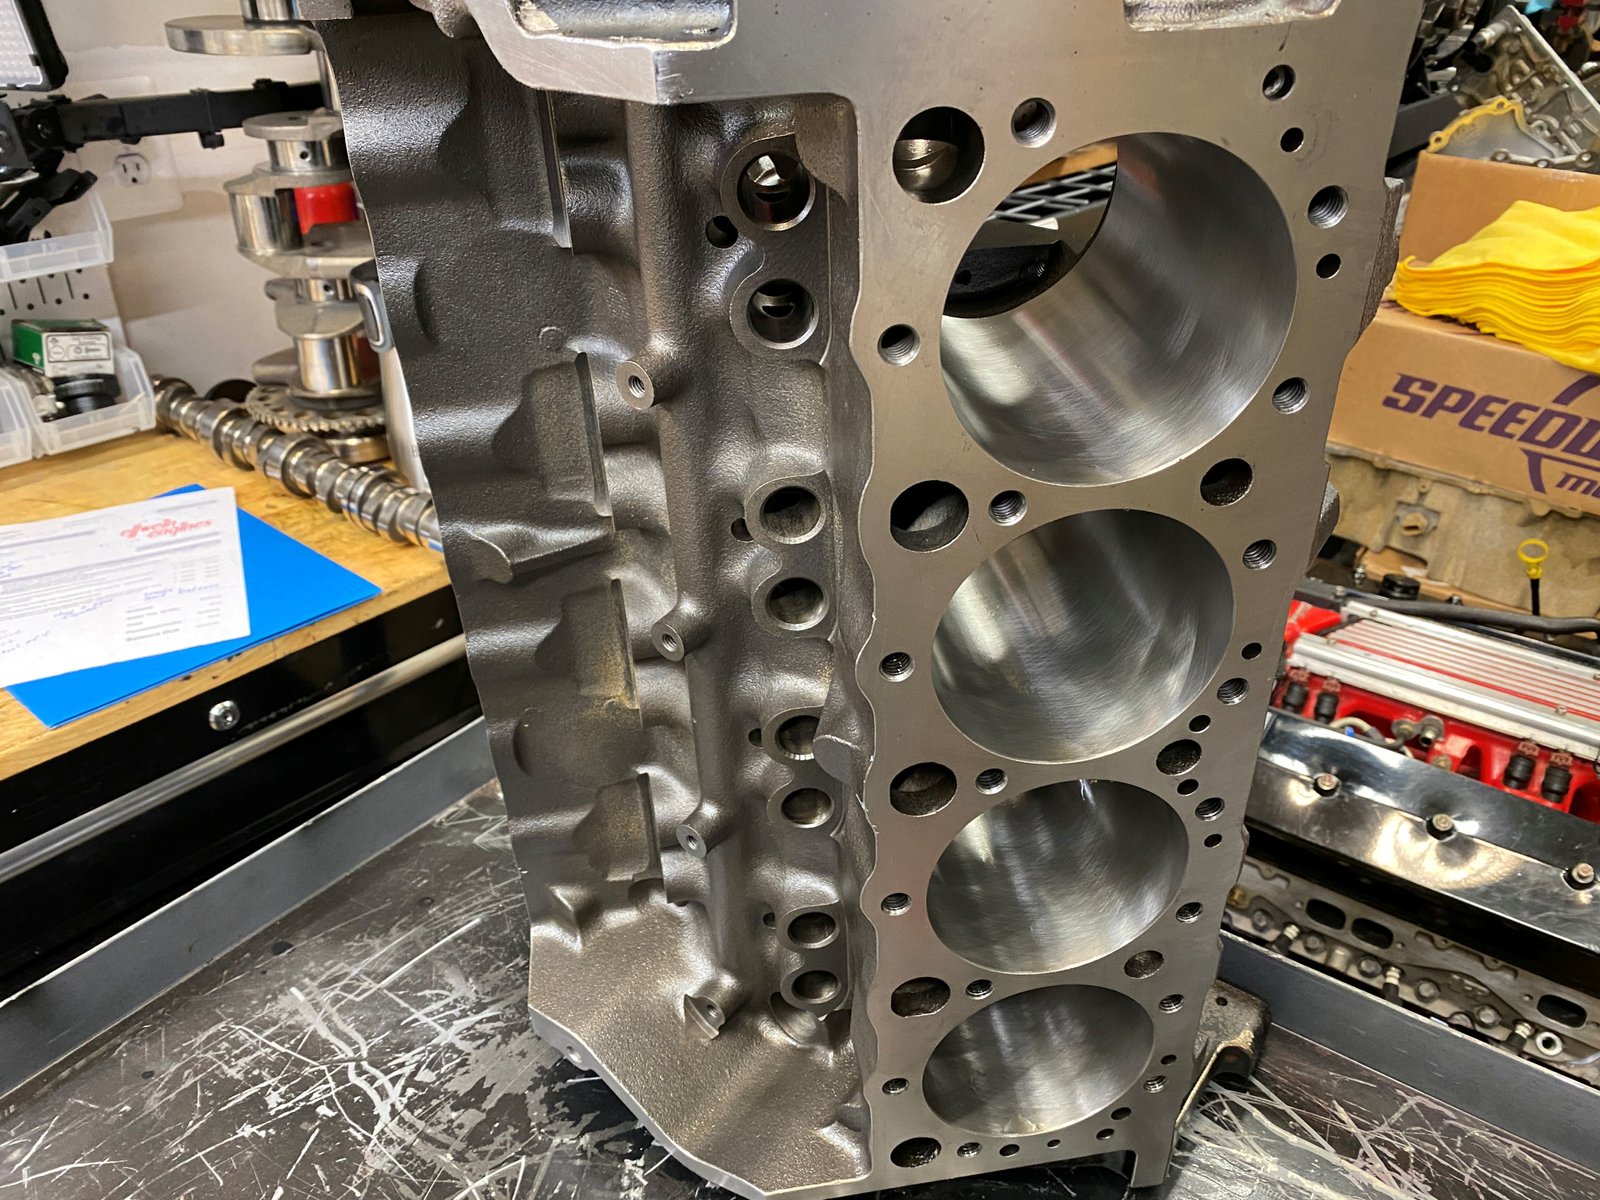
A note to the
engine builder: This is a very good build. The block
work detail is most excellent. Every sharp edge and corner
is hand smoothed. Excellent choice of parts too.
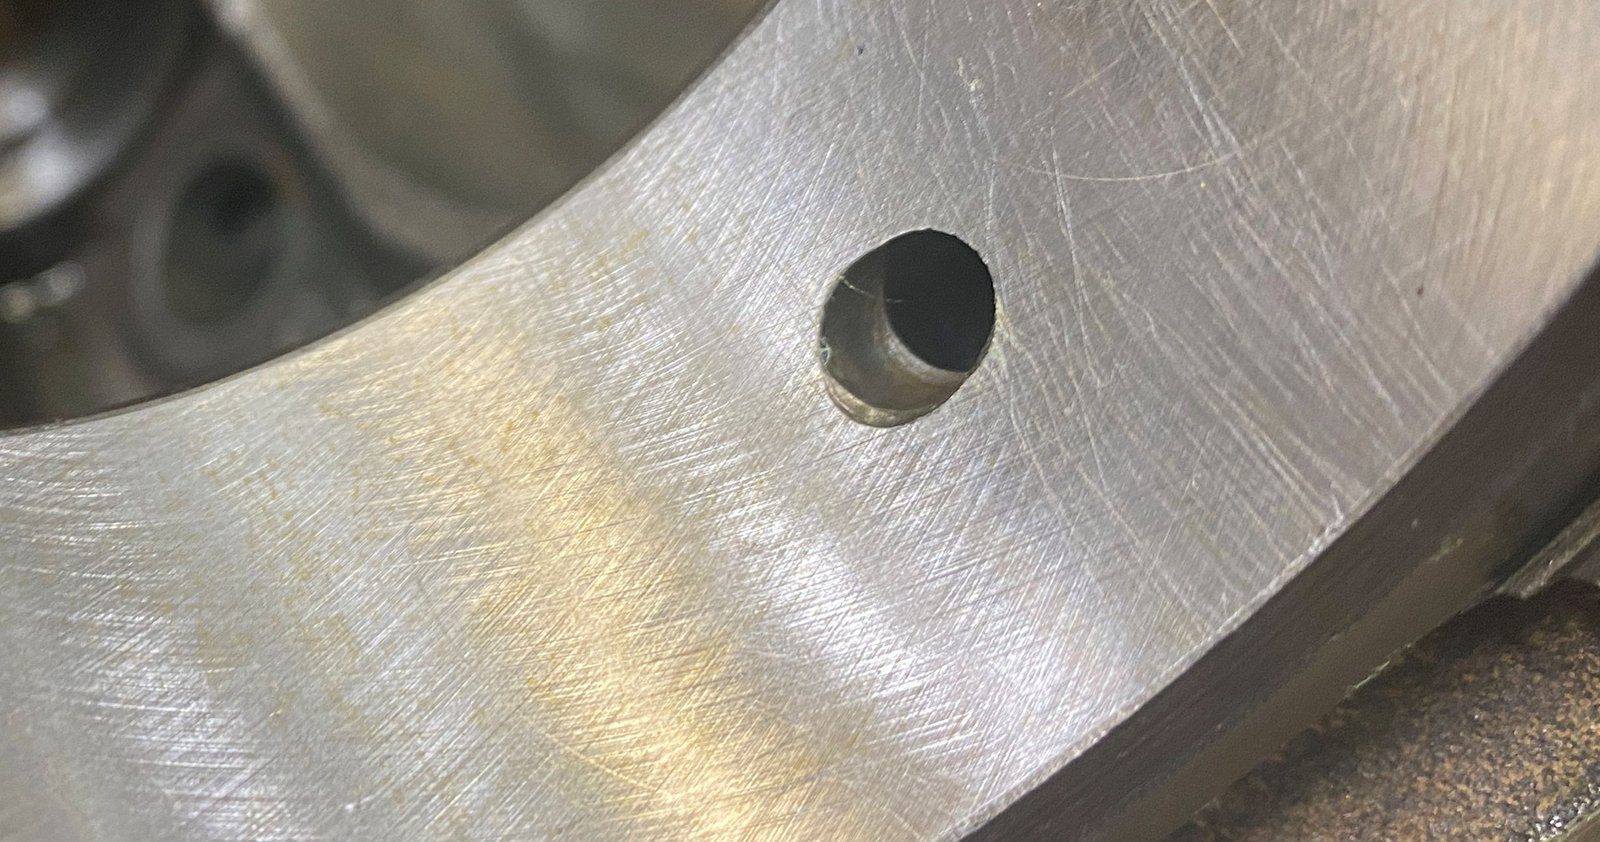
The main and rod bearings are ACL brand. Callies used to
include the ACL bearing in their Compstar Speedpack rotating
assembly kits. The bearing oil hole does not line up with
the block oil hole.
Piston skirts are in super good shape.
No oil weep holes. No harm no foul.
Main bearings are worn a bit. They may not have had
enough clearance.
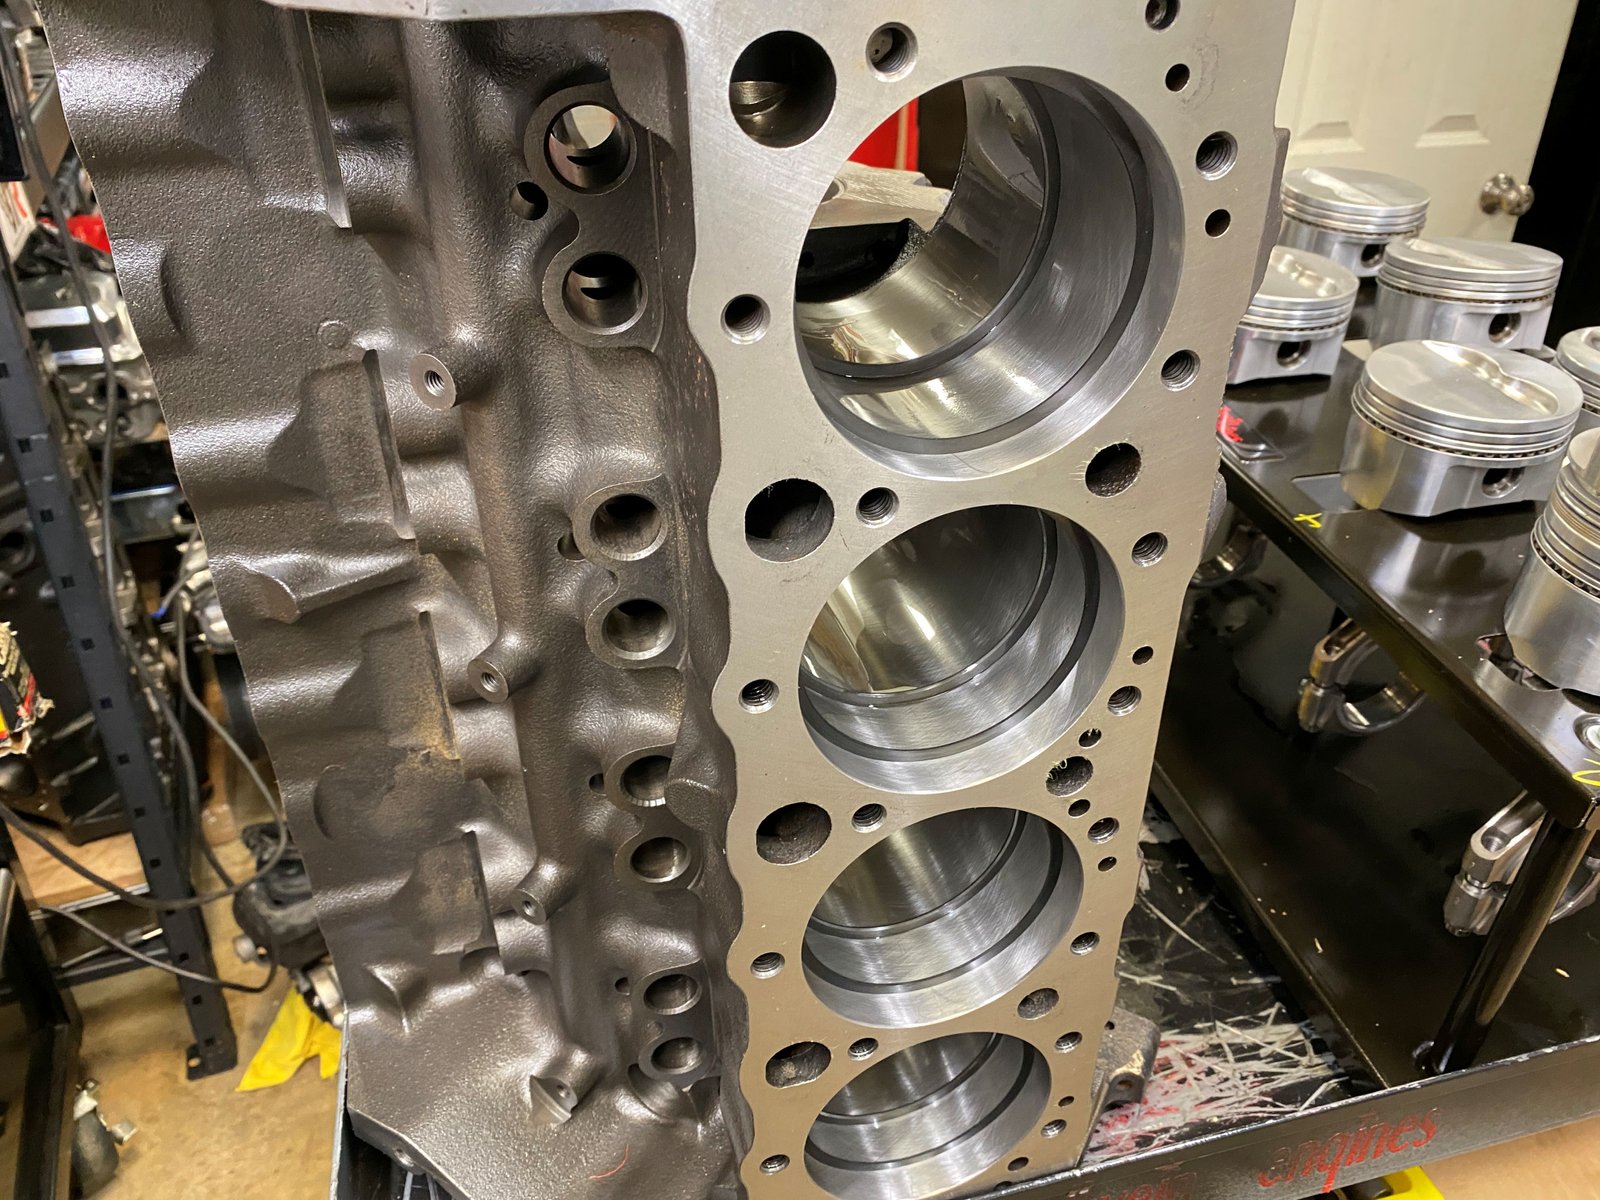
Finally time to reassemble
Block had a basic clean and torque plate hone and square
decking at Clinton Machine.
Crankshaft was balance checked and also polished. The
mains are all 2.4480"
The block is "clean" from the machine shop but it
will need a final cleaning just prior to final assembly.
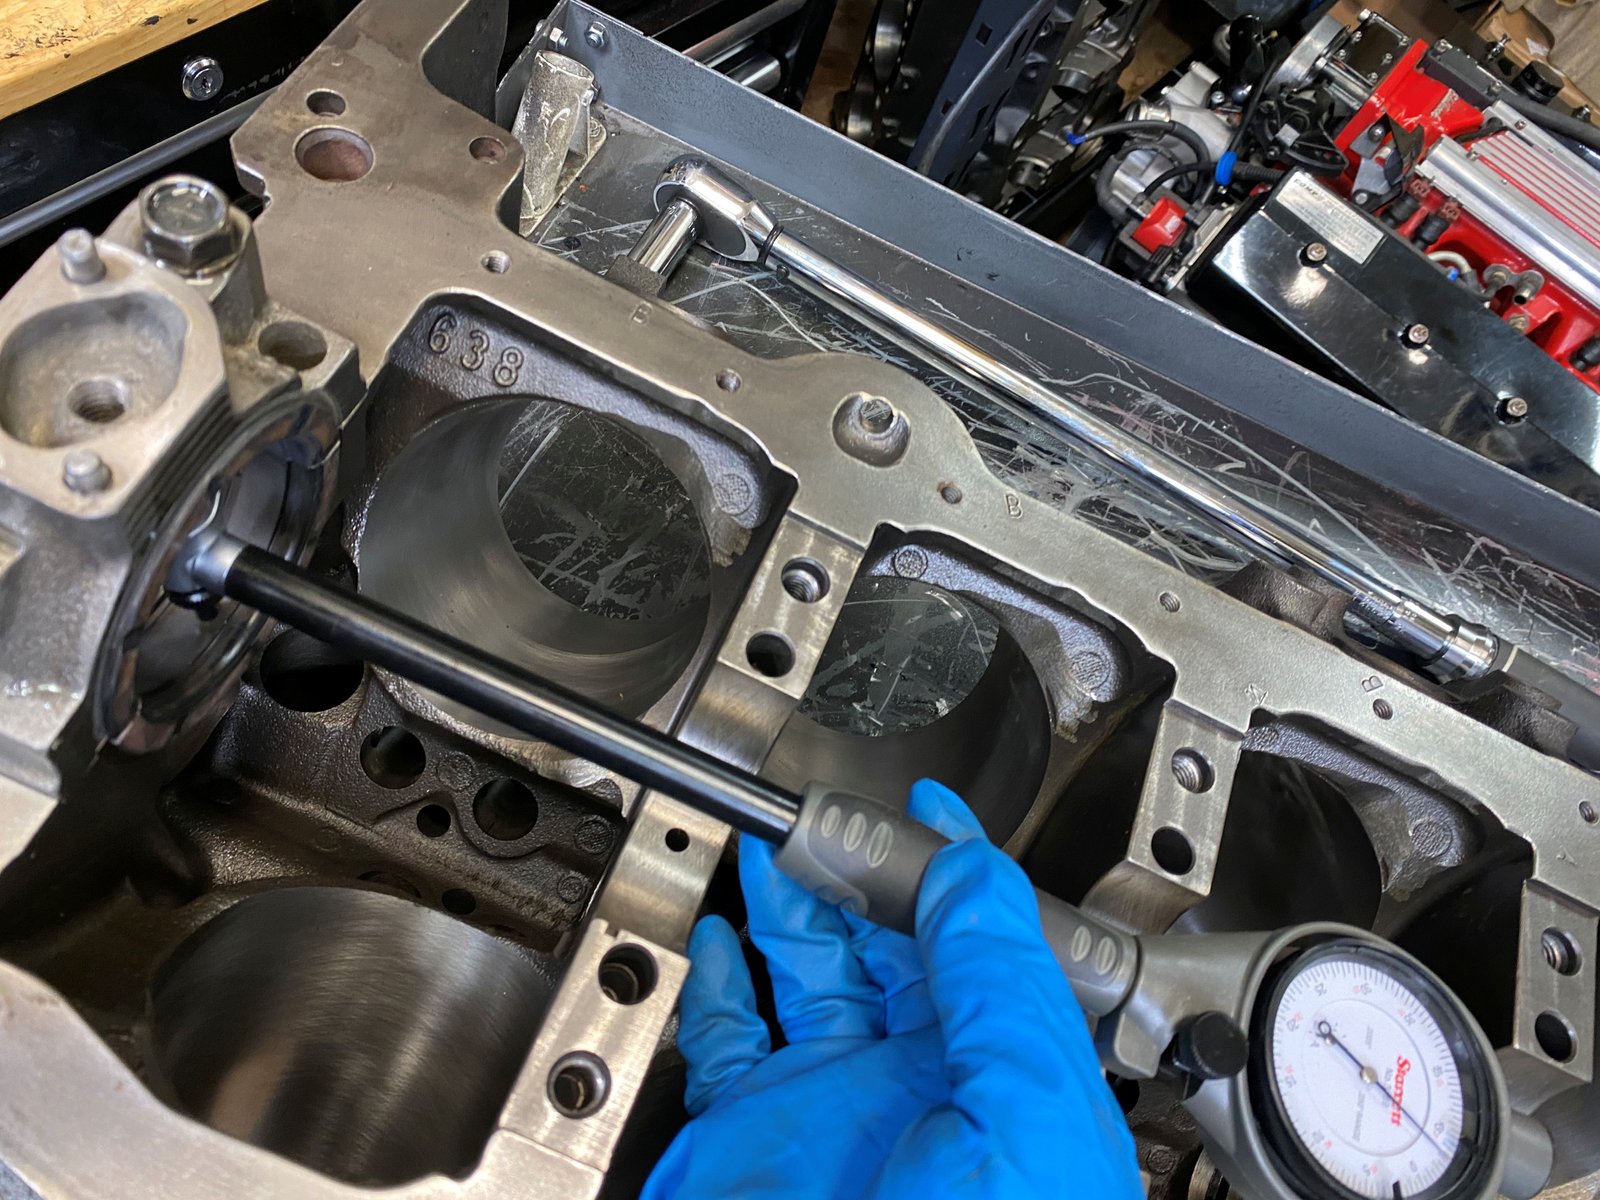
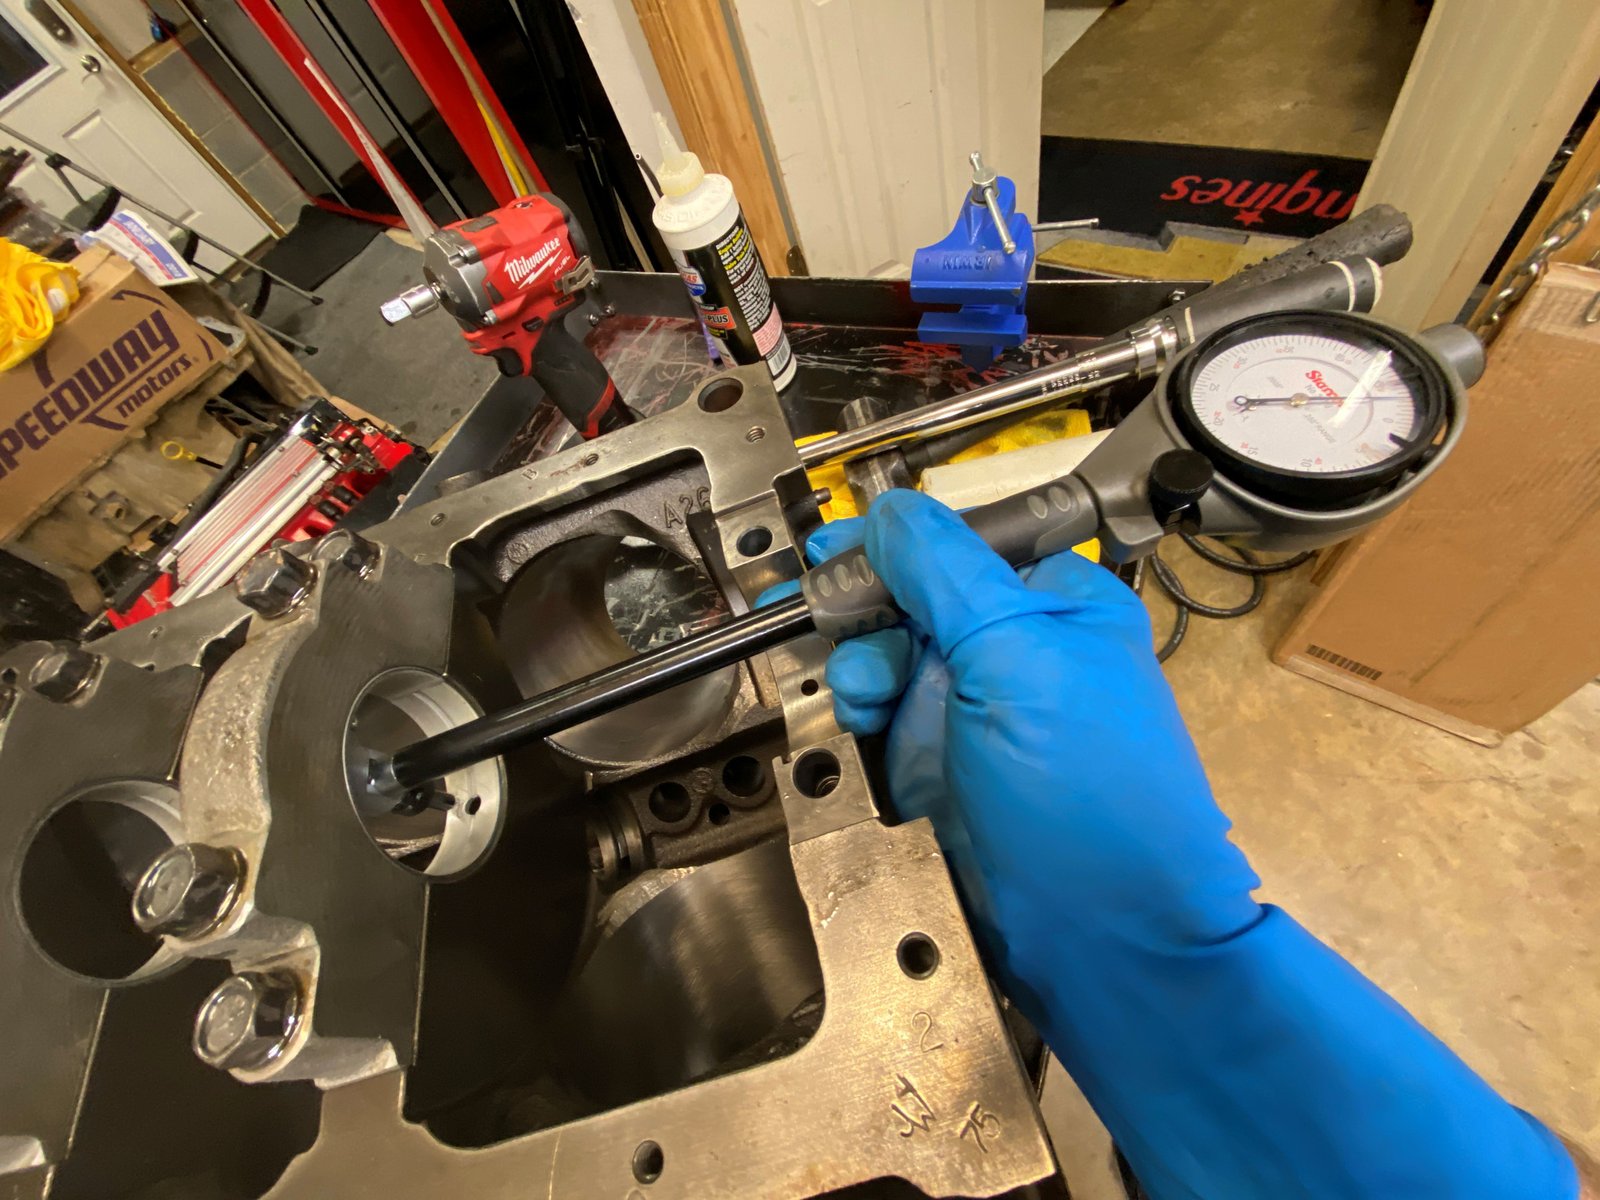
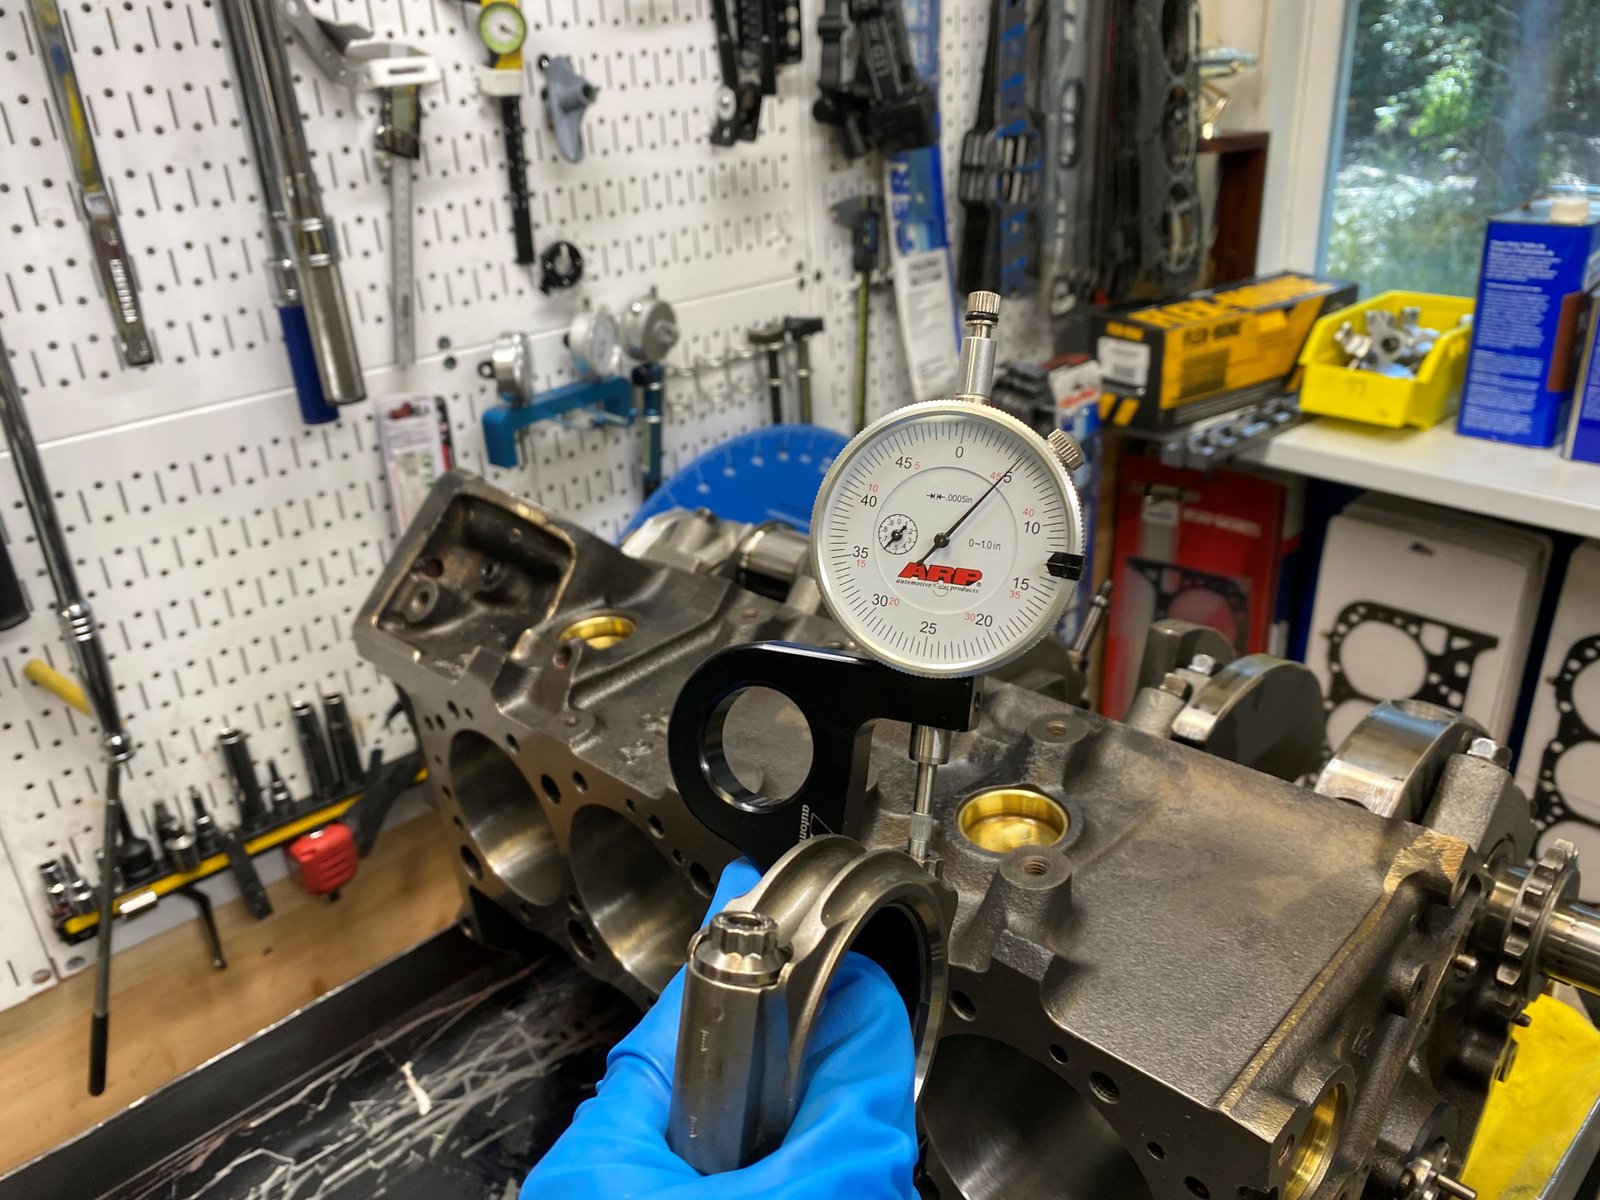
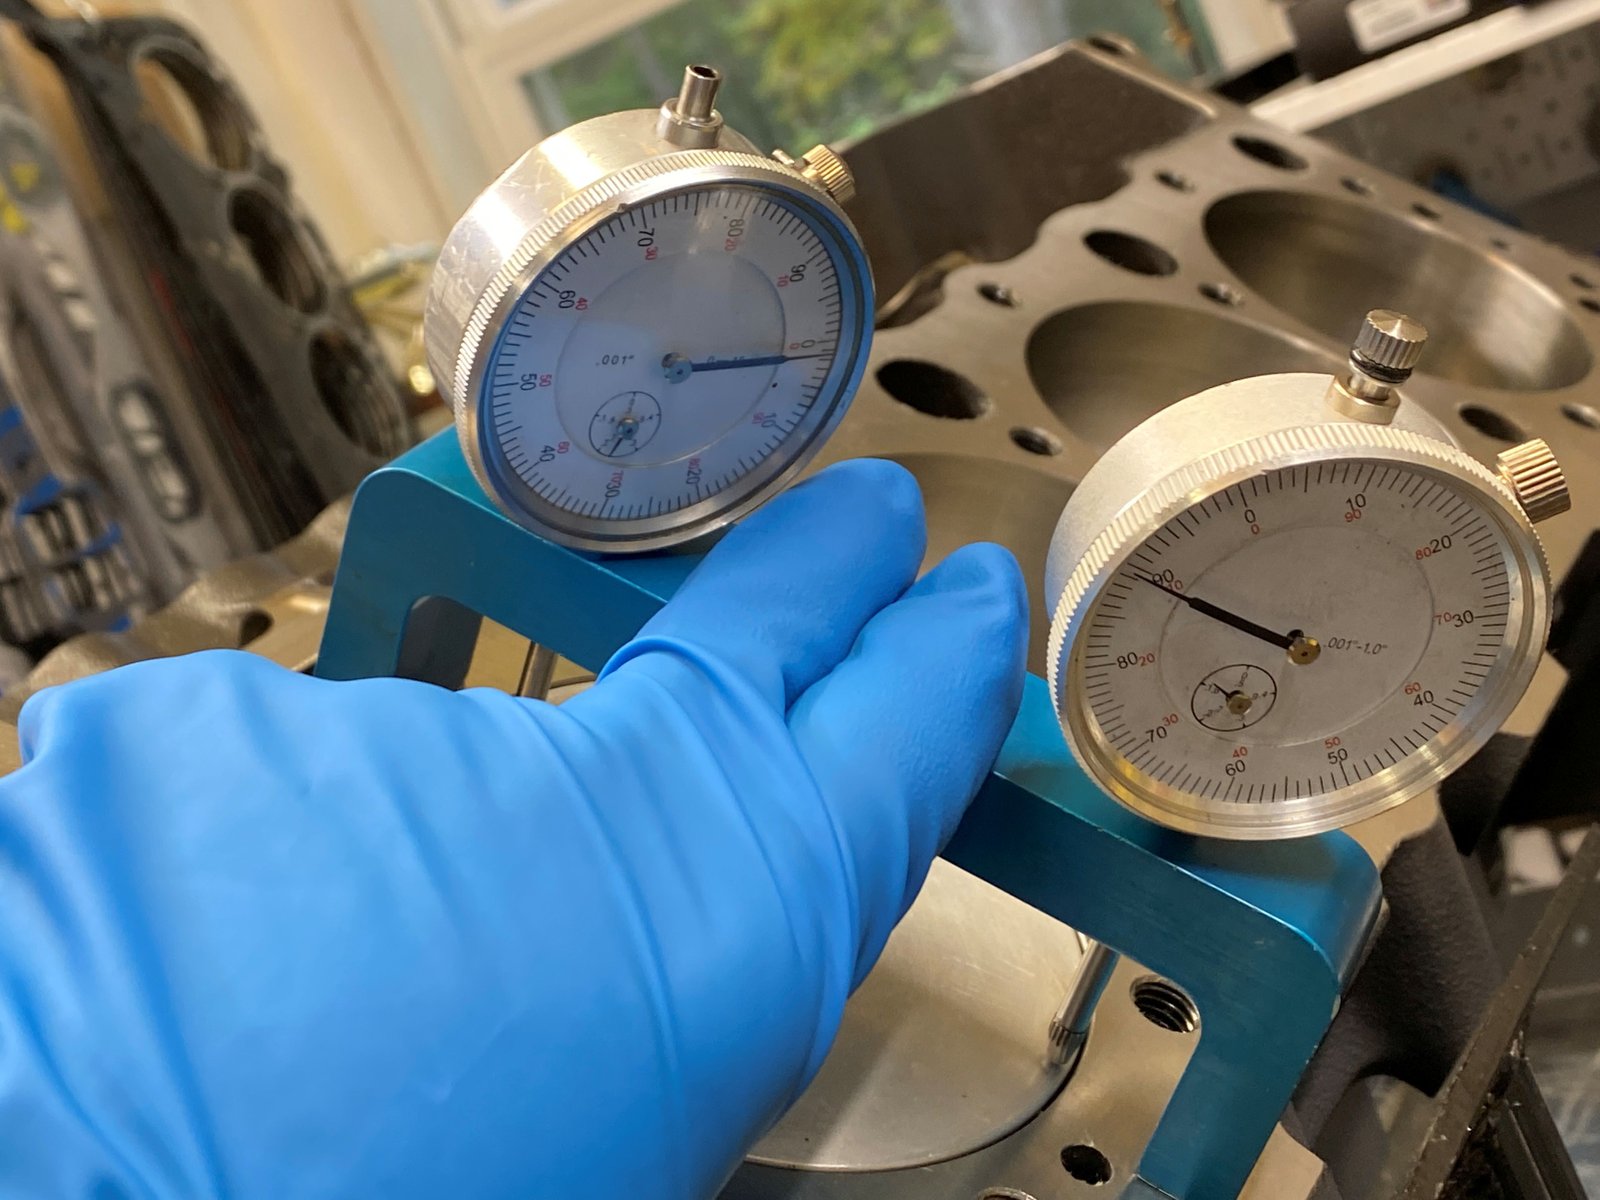
I'll check main bearing clearance and then do that final
cleaning. Here the #5 rear main is .0025 clearance.
#2 main here is .0025" (using a standard size 1/2 shell and
a .001" under 1/2 shell.
#1 main needed both top and bottom shells to be .001"
under in order to get .0023" clearance.
Finished the main bearing check.
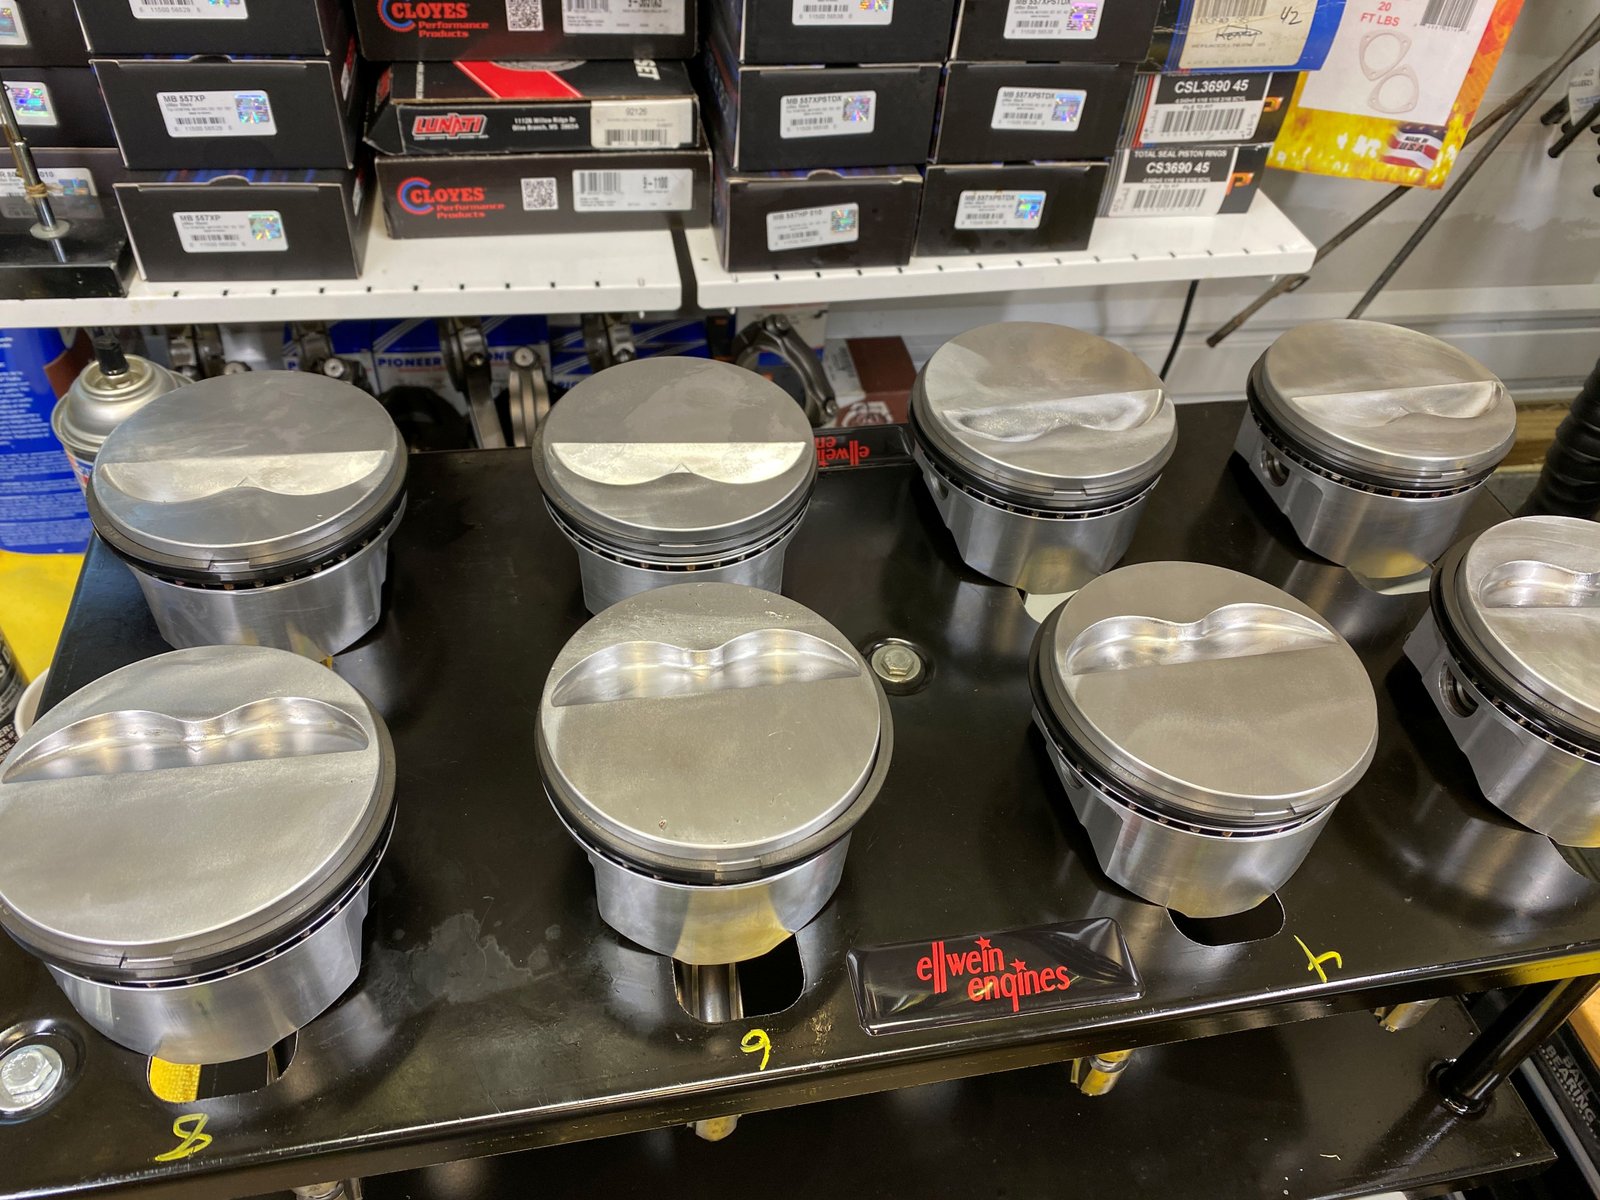
Now time to clean the pistons. You should not be too
harsh on them. I'll be earning my keep with this job...it
took me an hour to do the 2 pistons but they look great.
I'm kinda proud of the piston cleaning results.
That is why I have 3 photos here showing the cleaned up
pistons.
Minor delay. I forgot to
order new piston rings.
They will be here Friday. 1/16", 1/16", 3/16"
Mahle premium file fit rings on order from Summit Racing.
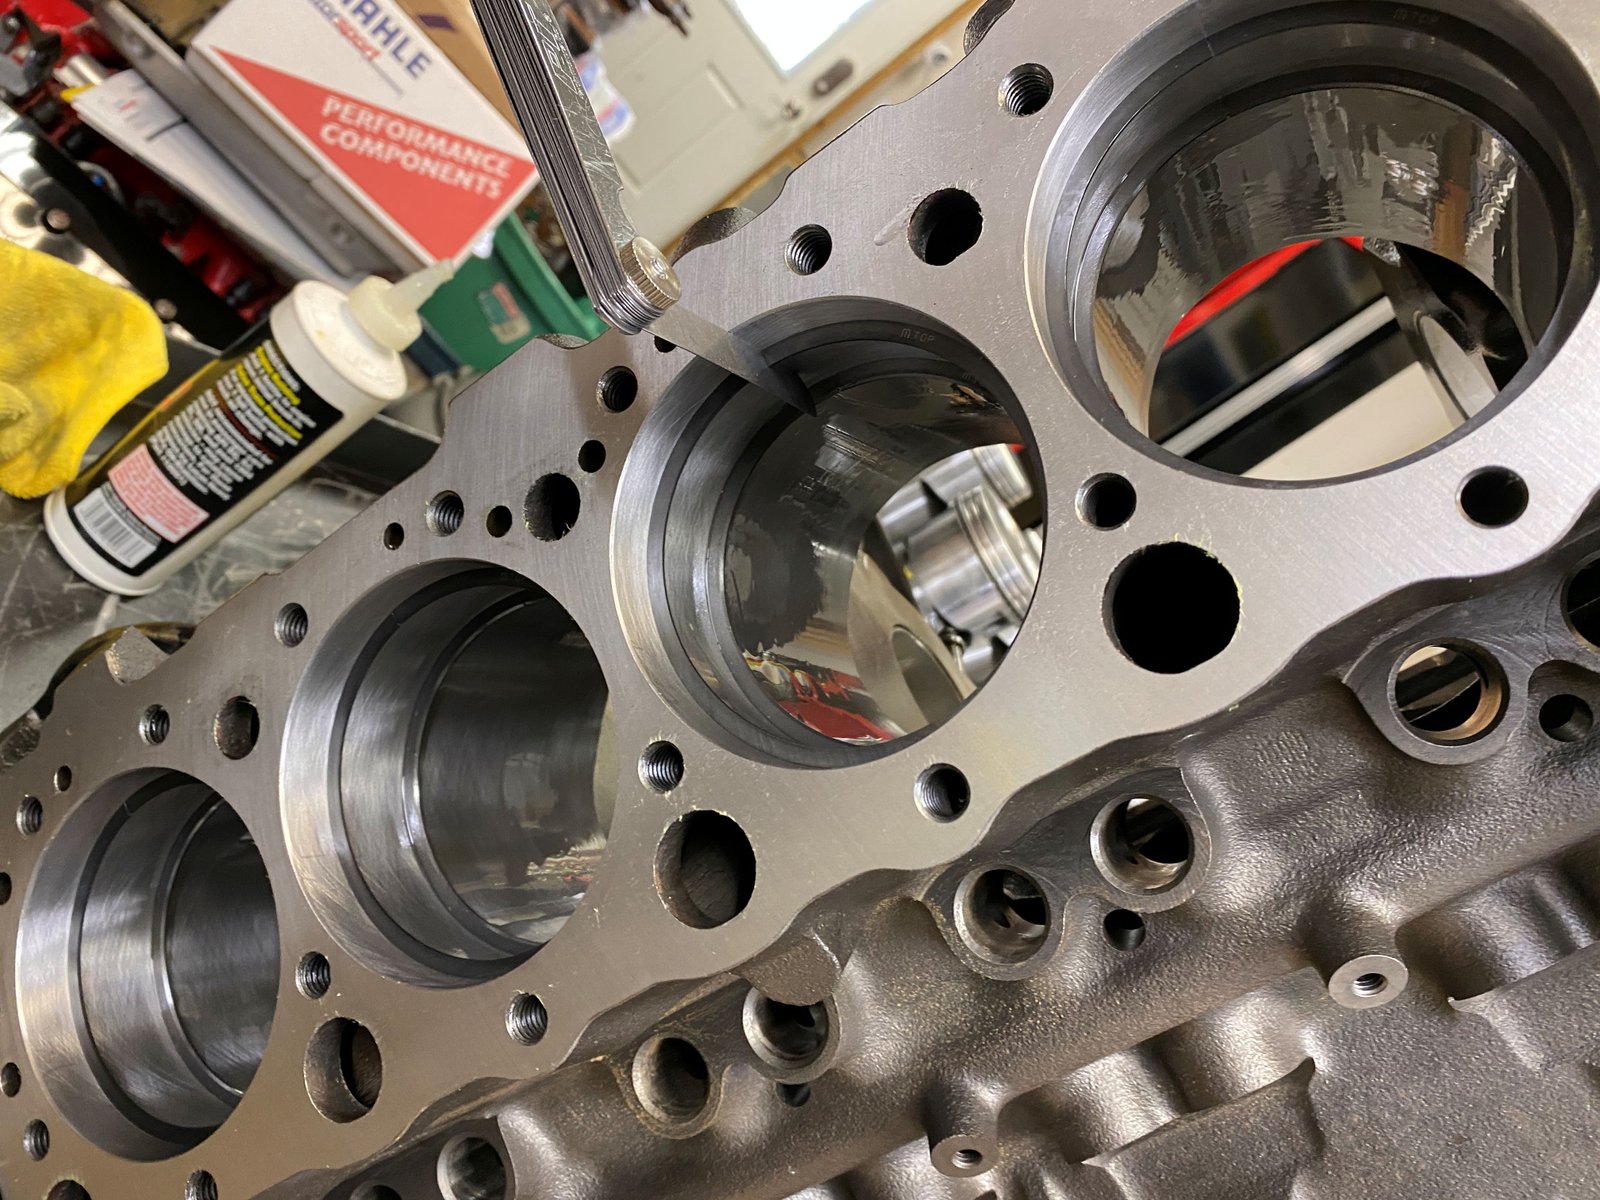
By the way...the bore was honed until perfect but that made the
final finish size to be.........4.032" That is perfectly
acceptable and in my opinion better than going to a 4.040" bore
size and piston.
Placing the file-to-fit rings into the bore.
I put the ring gaps at .020" top and .020" 2nd ring.
After cleaning all of the pistons I did not notice this.
It is some sort of embedded debris. In my opinion this is
will not affect performance or longevity.
I had to use a pick in order to remove it.
There were a few slightly dinged up pistons from a previous
mishap but the very minor dings are not so bad that a new piston
is required.
Another bare block photo. This photo is taken after the
final-final block cleaning. Now ready for cam bearings and
final assembly.
Before the block cleaning I made sure to make this rear main
cap oil hole match the King bearing oil hole.
And here is my verification photo for showing that I installed
the main oil galley steel ball plug.
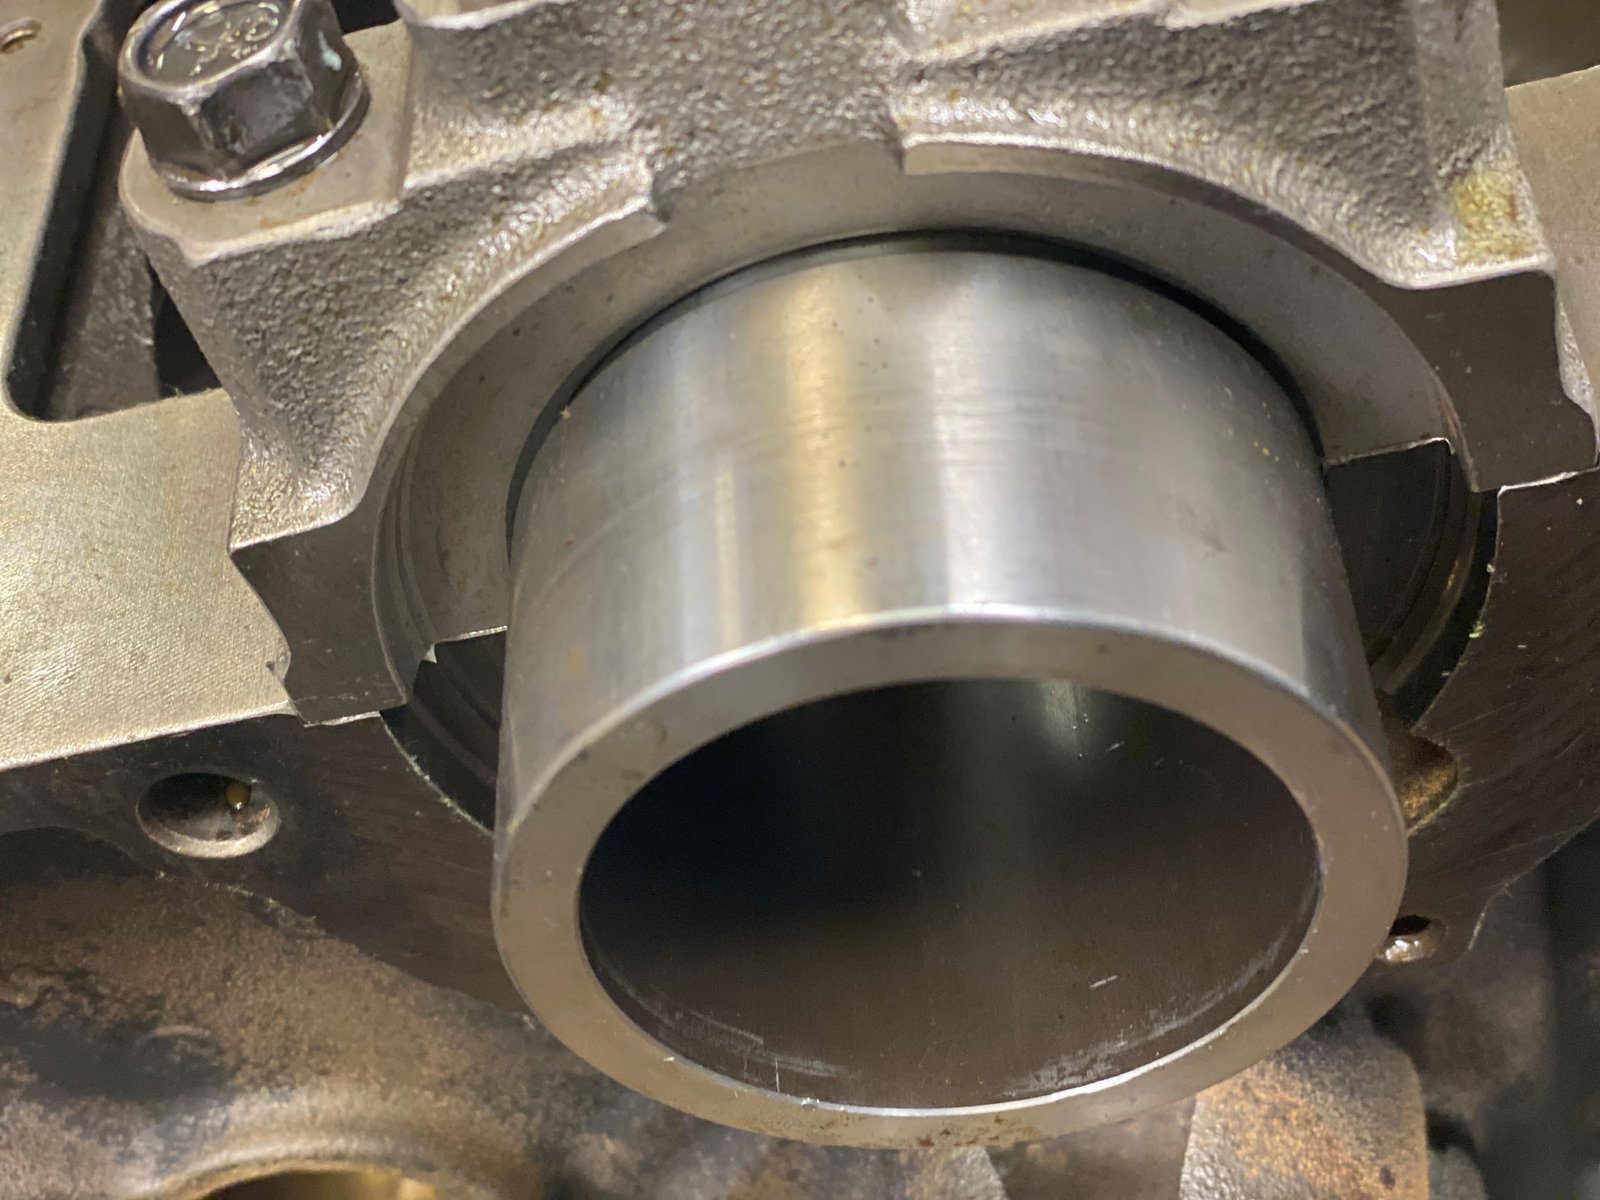
Here is something I rarely show. This crankshaft is a
2-piece rear main seal style. The original builder installed
an adapter to fit a 2 piece rear crank into a 1-piece rear block.
I have a mandrel that helps to align the adapter.
I fit the upper adapter 1/2 snugly to the mandrel.
Then the "bottom" 1/2 should fit snugly too.
It does.
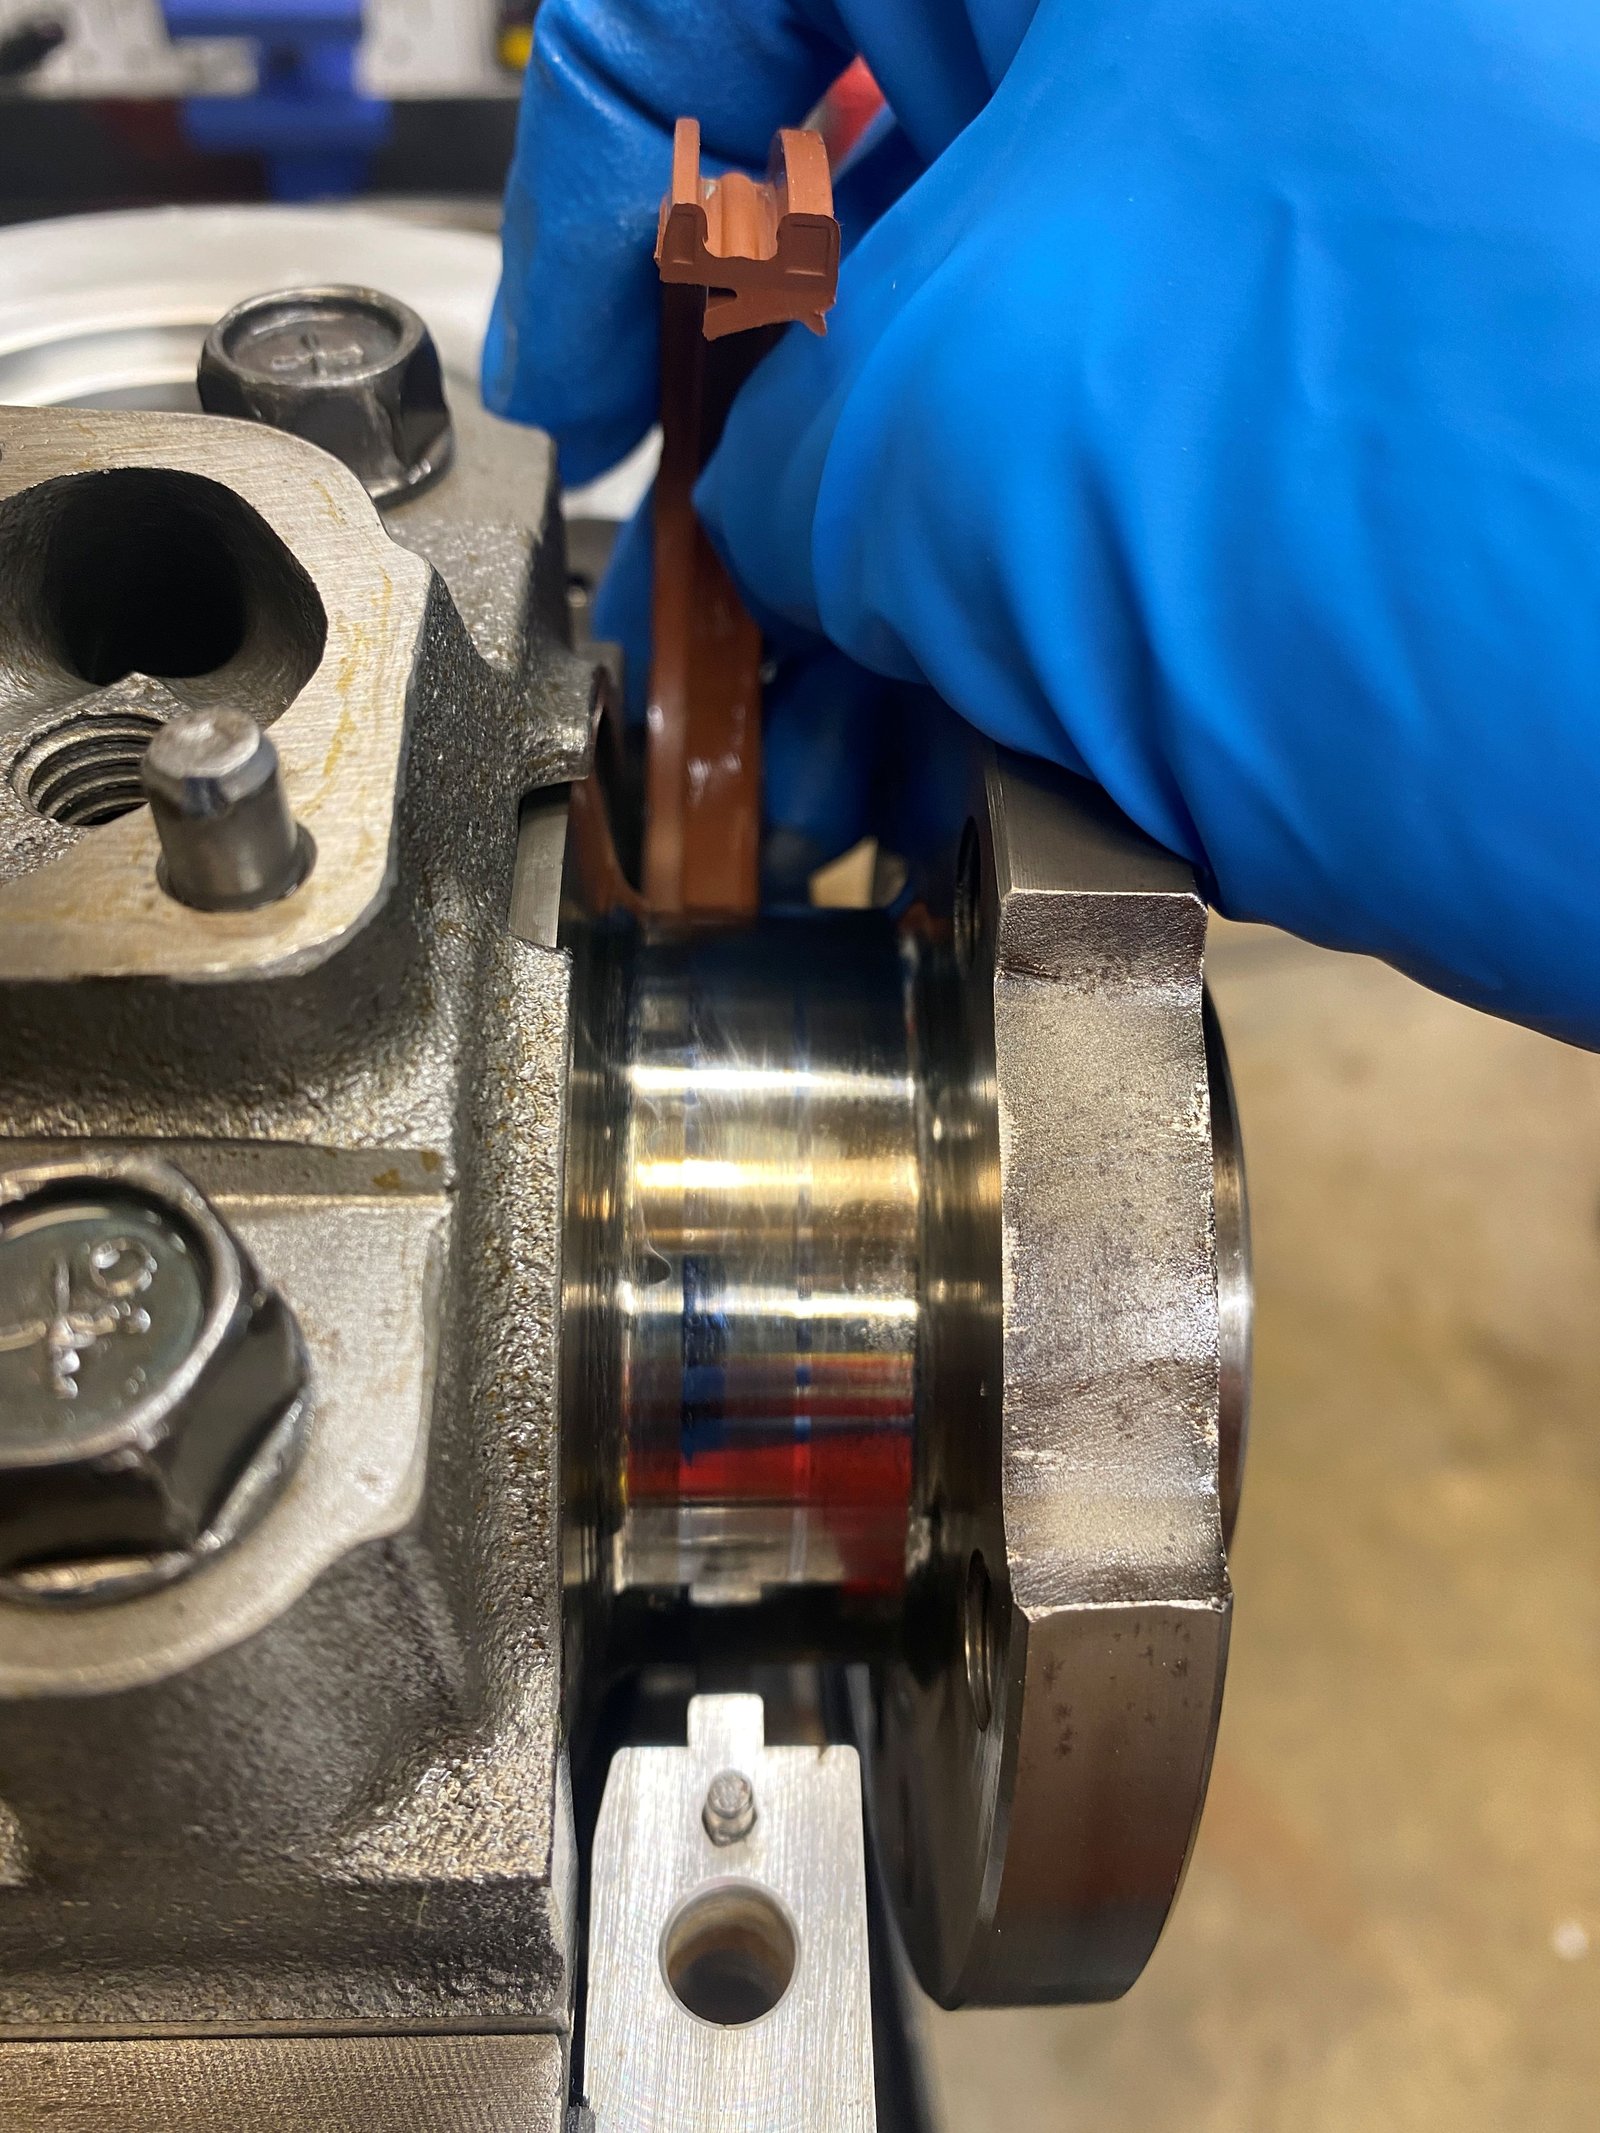
Now I can install the crankshaft and after the main caps are
torqued in place then the rear thrust bearing is set by pushing fore
and aft. The thrust is .005"
Here is what a 2-picece rear style of crankshaft looks
like. They can fit in an LT1 block but you need an adapter
like this one from Moroso or Stef's.
Crankshaft installed.
Next will be final short block
assembly.
2-piece rear main seal.
Lightly oiled the seal and also put RTV on the mating surface
of the 2 halves.
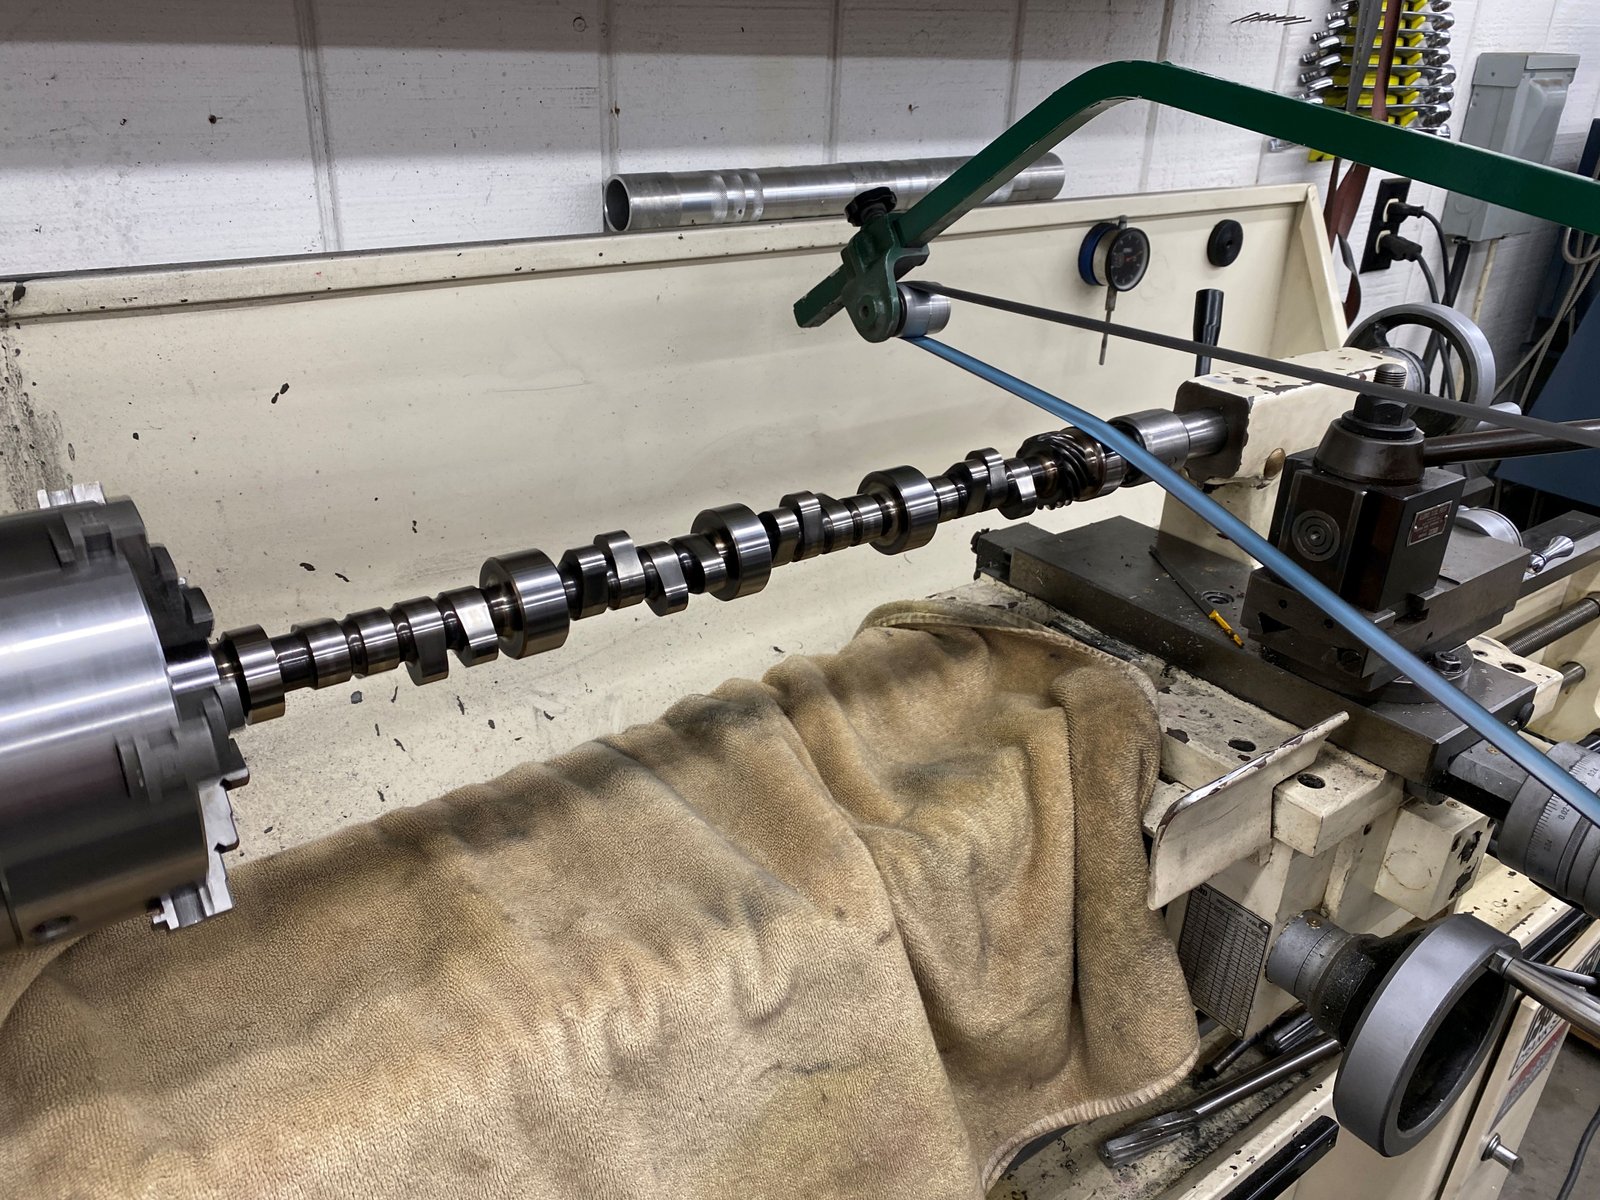
I dinged the camshaft rear most bearing journal. Very tiny
ding. But I had the machine shop polish the journal.
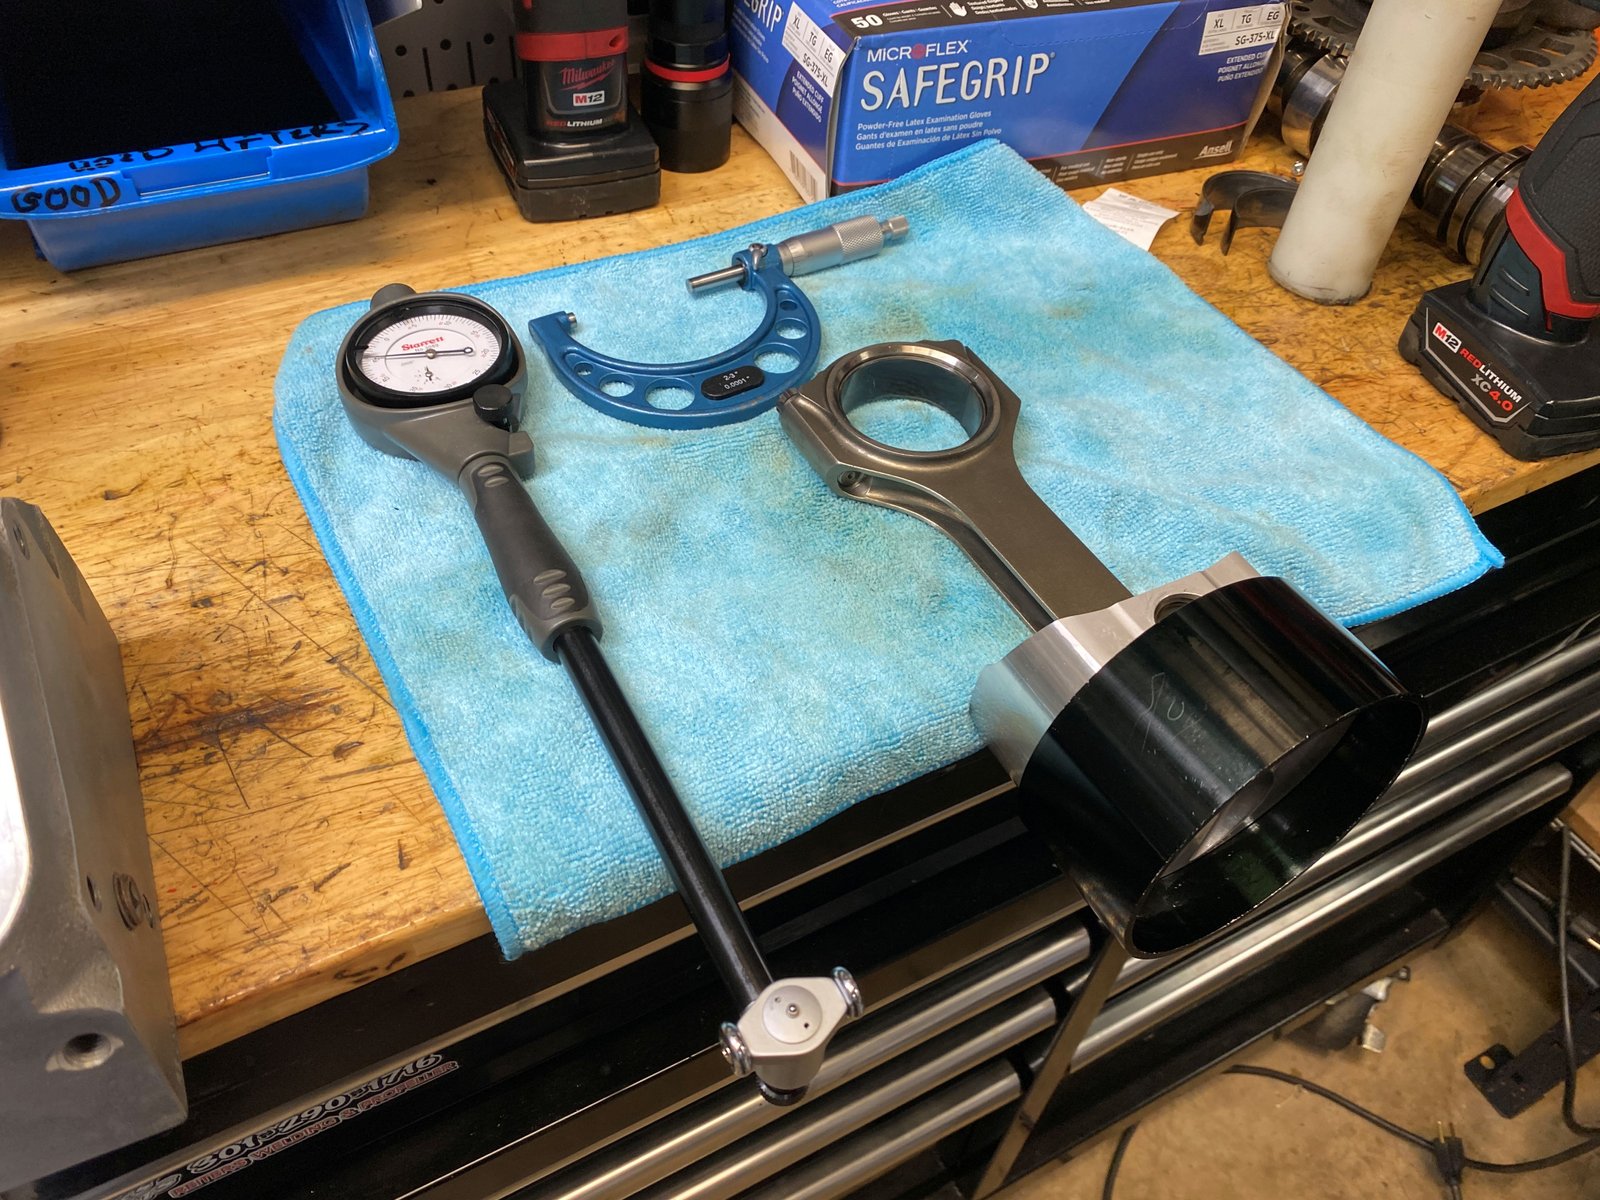
Callies rod bolts stretched to .005" with 80ft-lb on my
torque wrench.
The crank rod journals are at
2.0990".
I put standard size King rod bearings in place and then torqued
the rod bolts to 80ft-lb.
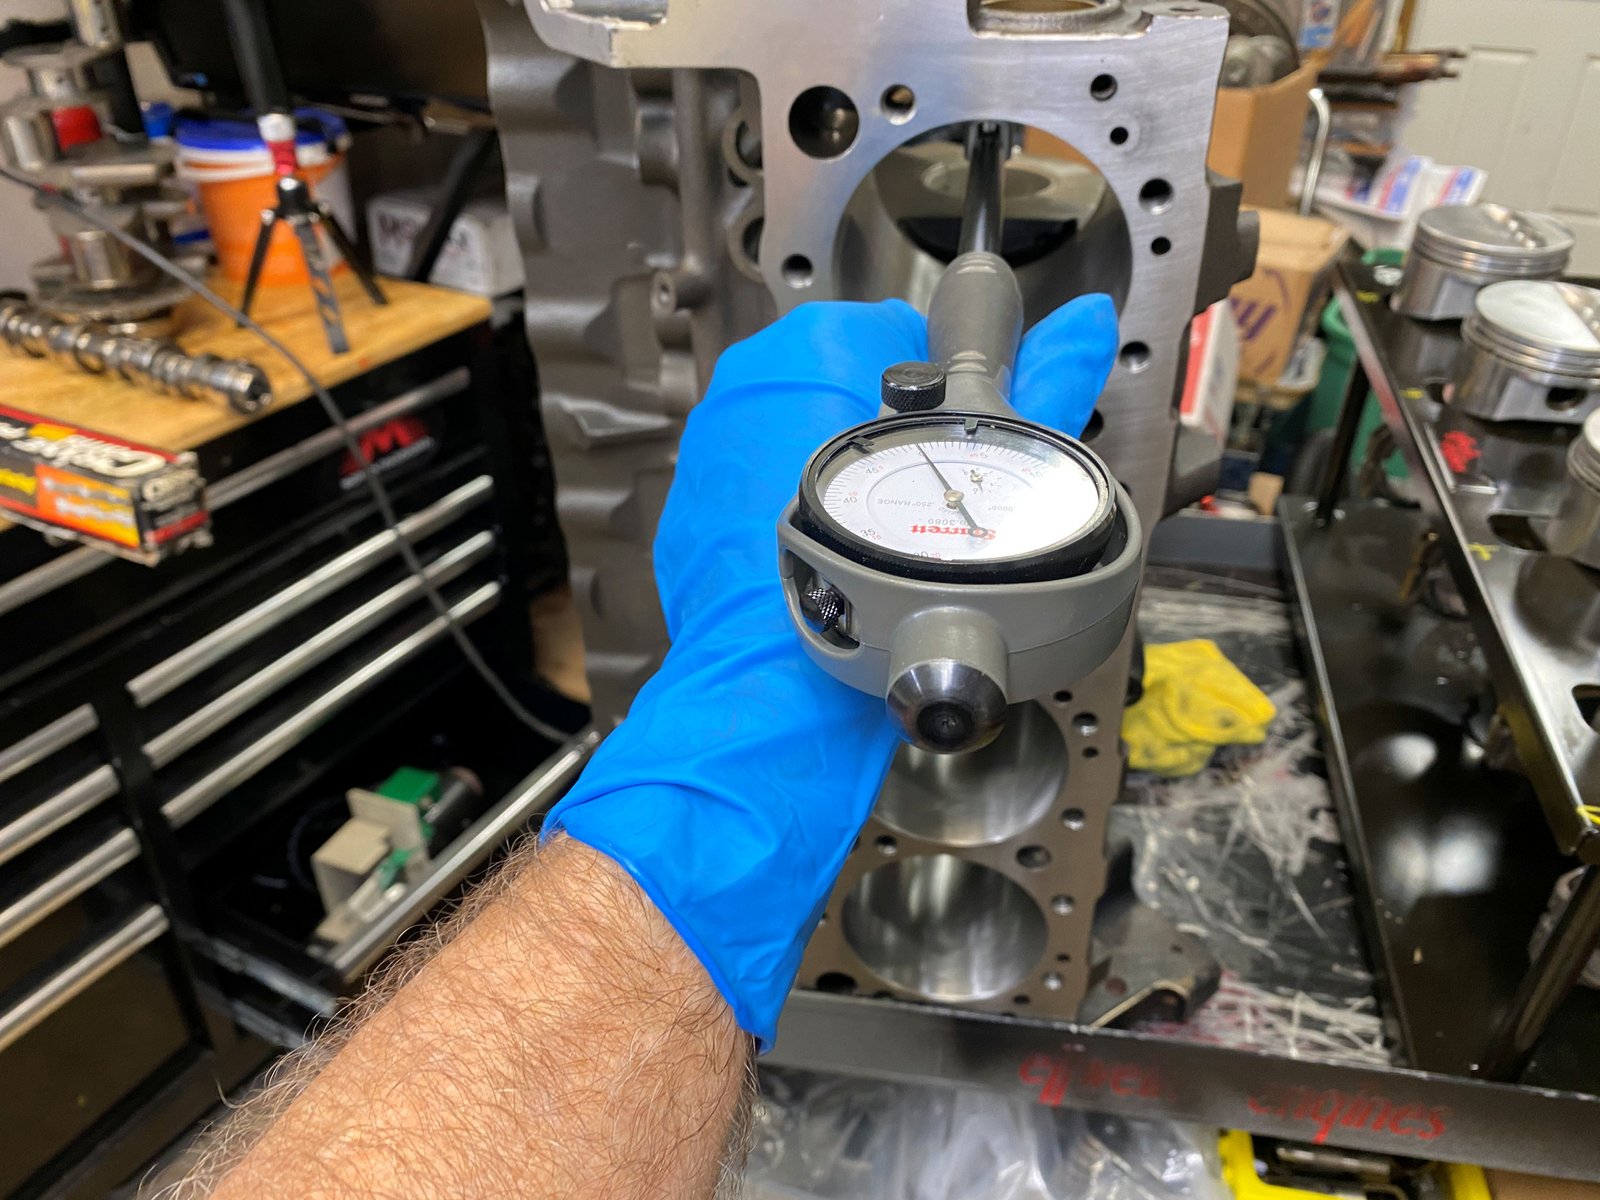
Measured bearing clearance
is .003"
I will order a set of .001" under bearings and then try
again. My target is .0020" to .0025".
Forgot to take photos of the
rods with the .001" under / standard size bearing mix.
They measured from .0022" to .0025"
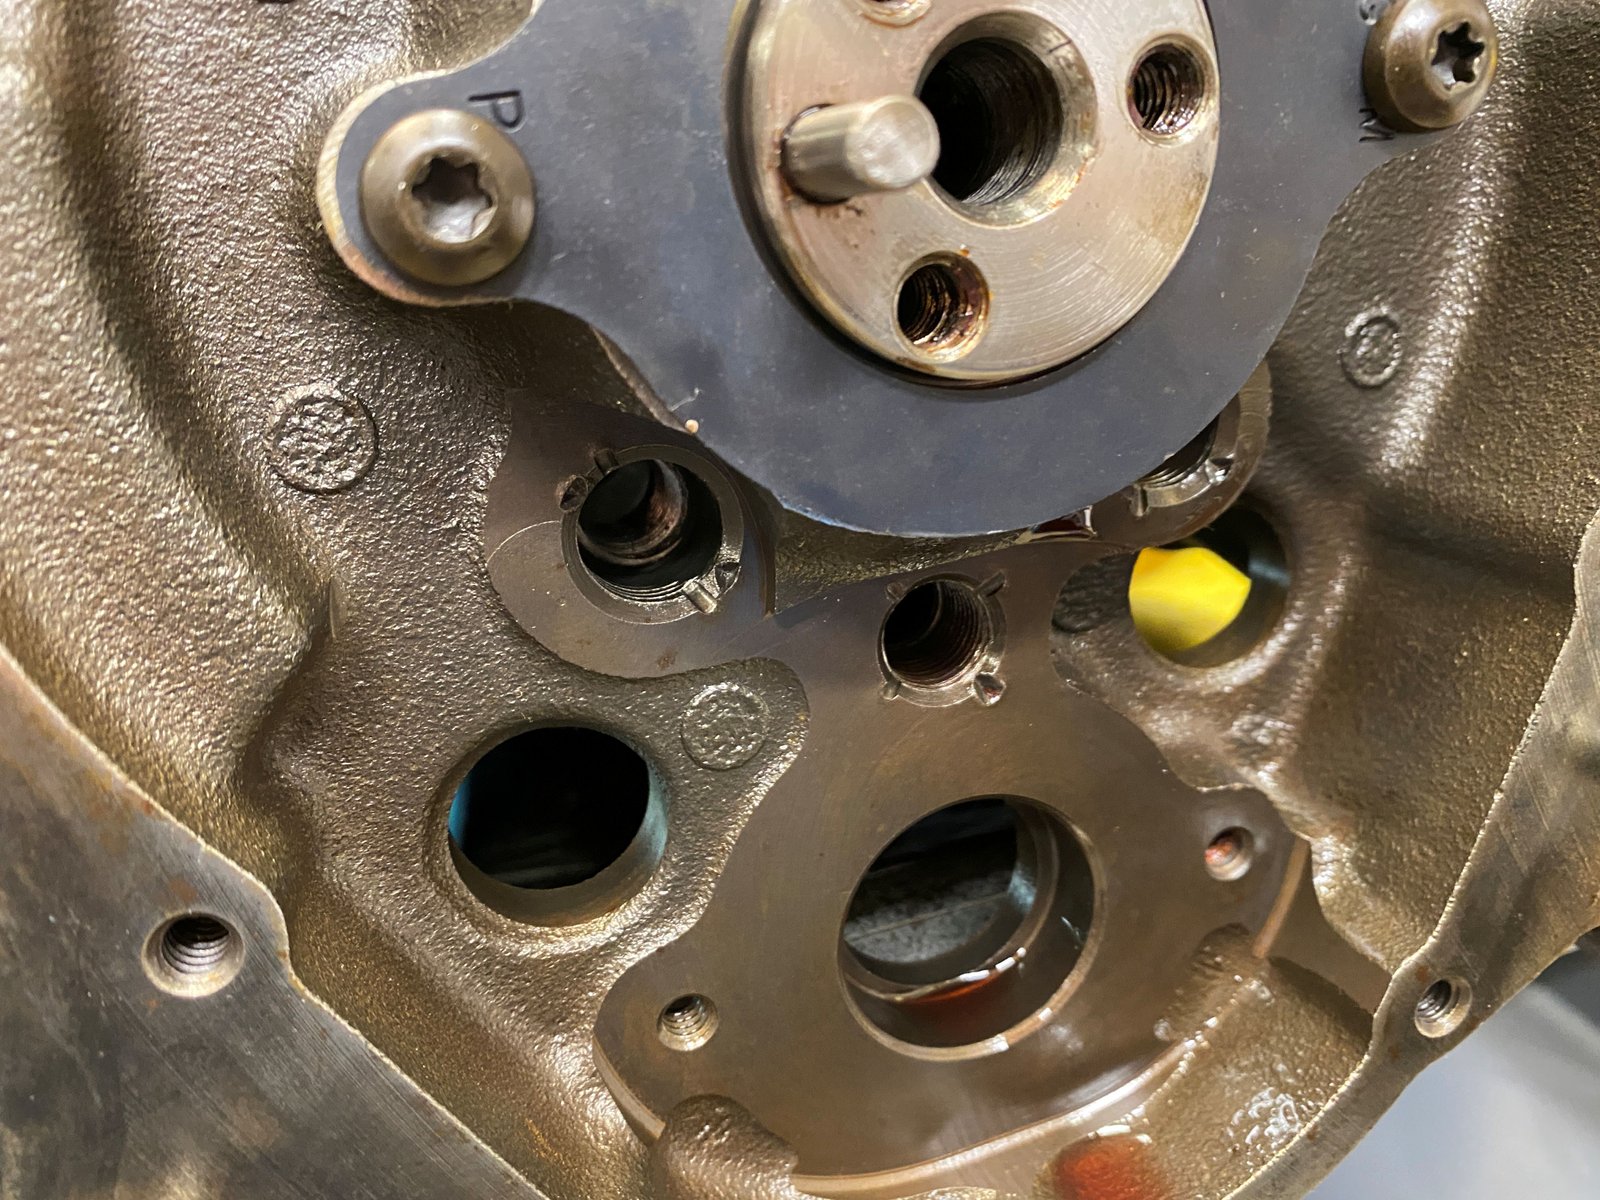
Make sure to plug the oil galley holes before you put the timing
set on.
I noticed the water pump drive did not have the Cloyes gear on
it. This is still the stock gear. The teeth are cut
differently. I have spare Cloyes gears that can be donated
because many previous customers use an electric water pump and
these are not used then. Once in a while they can be put to
good use. The one on the left is the stock gear and the one
on the right is the Cloyes.
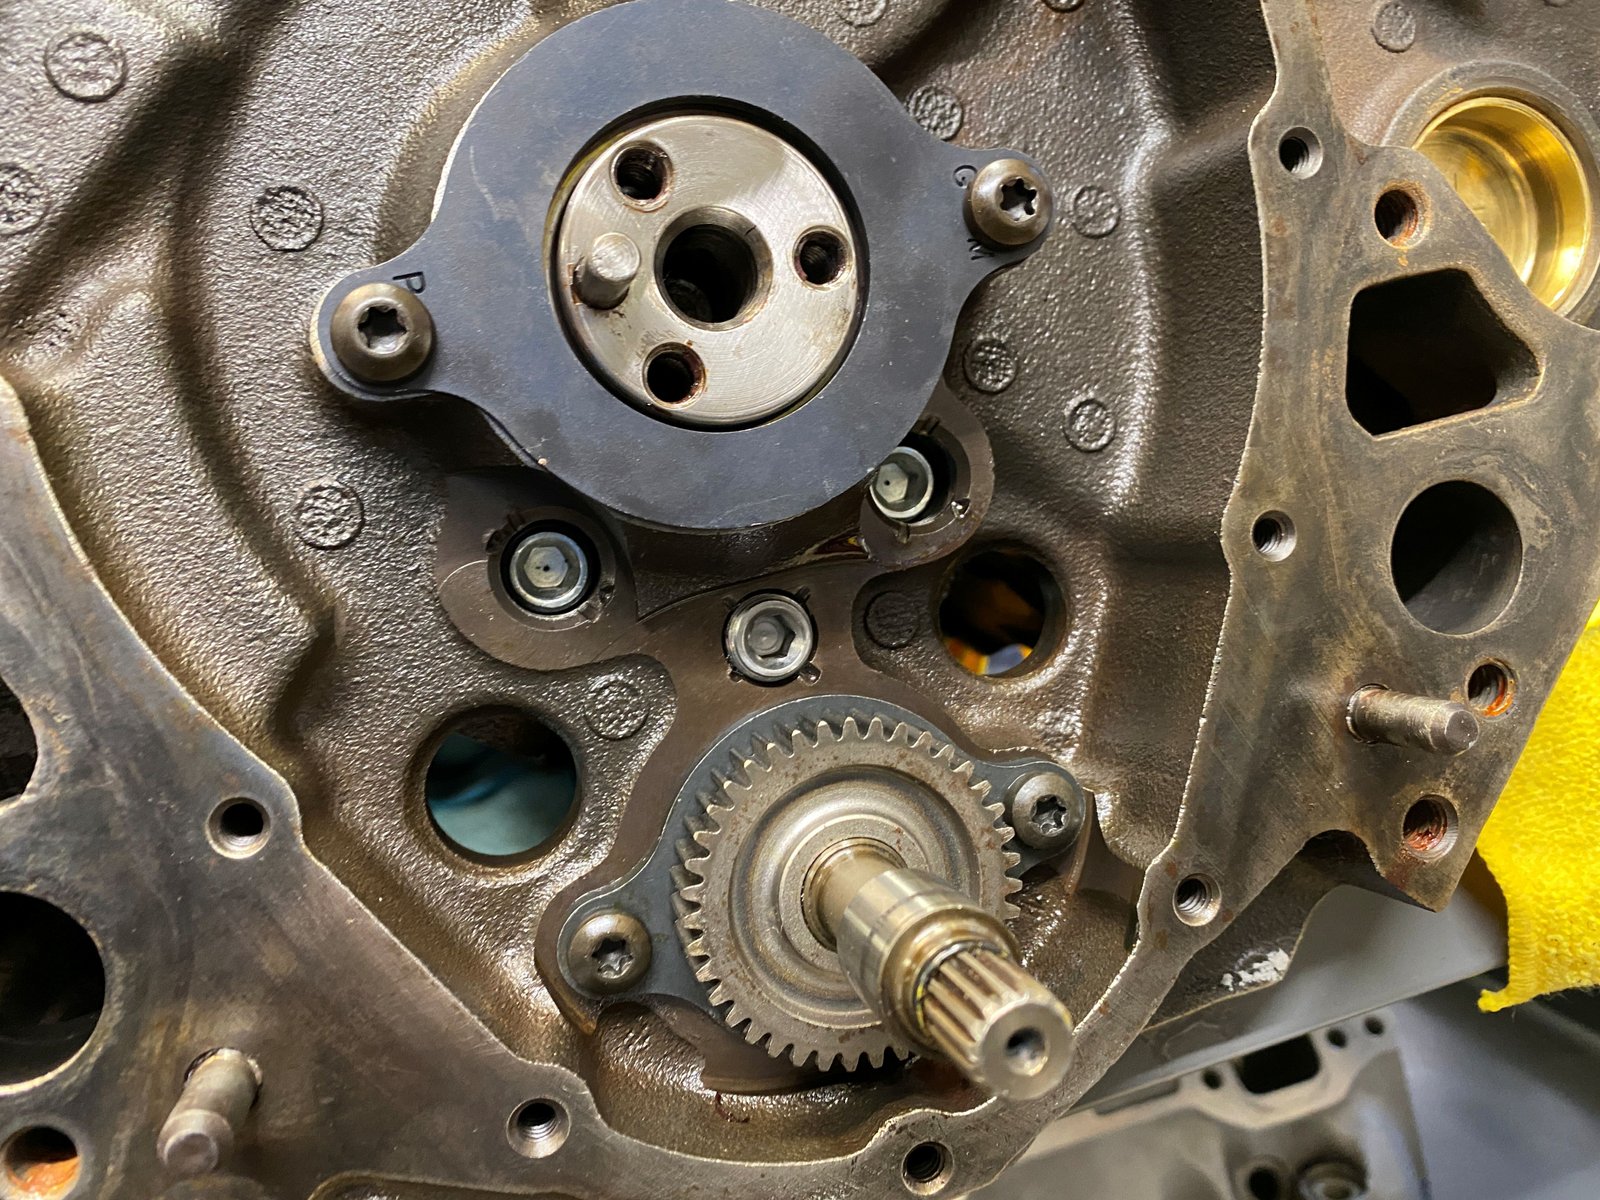
See here I have the oil galley
holes plugged and the water pump drive gear assembly
installed. The oil galleys are tapped and threaded for screw
in plugs and they have oil weep holes in them to help cool the
timing set.
Cam degree check came out to EXACT as cam card. 105 Intake
Centerline. The crank sprocket is at zero position. I reused
the Cloyes extreme timing set because it is a strong and sturdy set
up.
Piston at Top Dead Center.
The block had been decked previously and for this rebuild I had
it decked the minimum for making it clean. The pistons are
almost at zero deck. I don't have the rod bolts torqued yet
and so I'll get a final measurement later but for now it is around
.005" in the hole.
I torqued the rod bolts to 80ft-lb and the rod side clearance
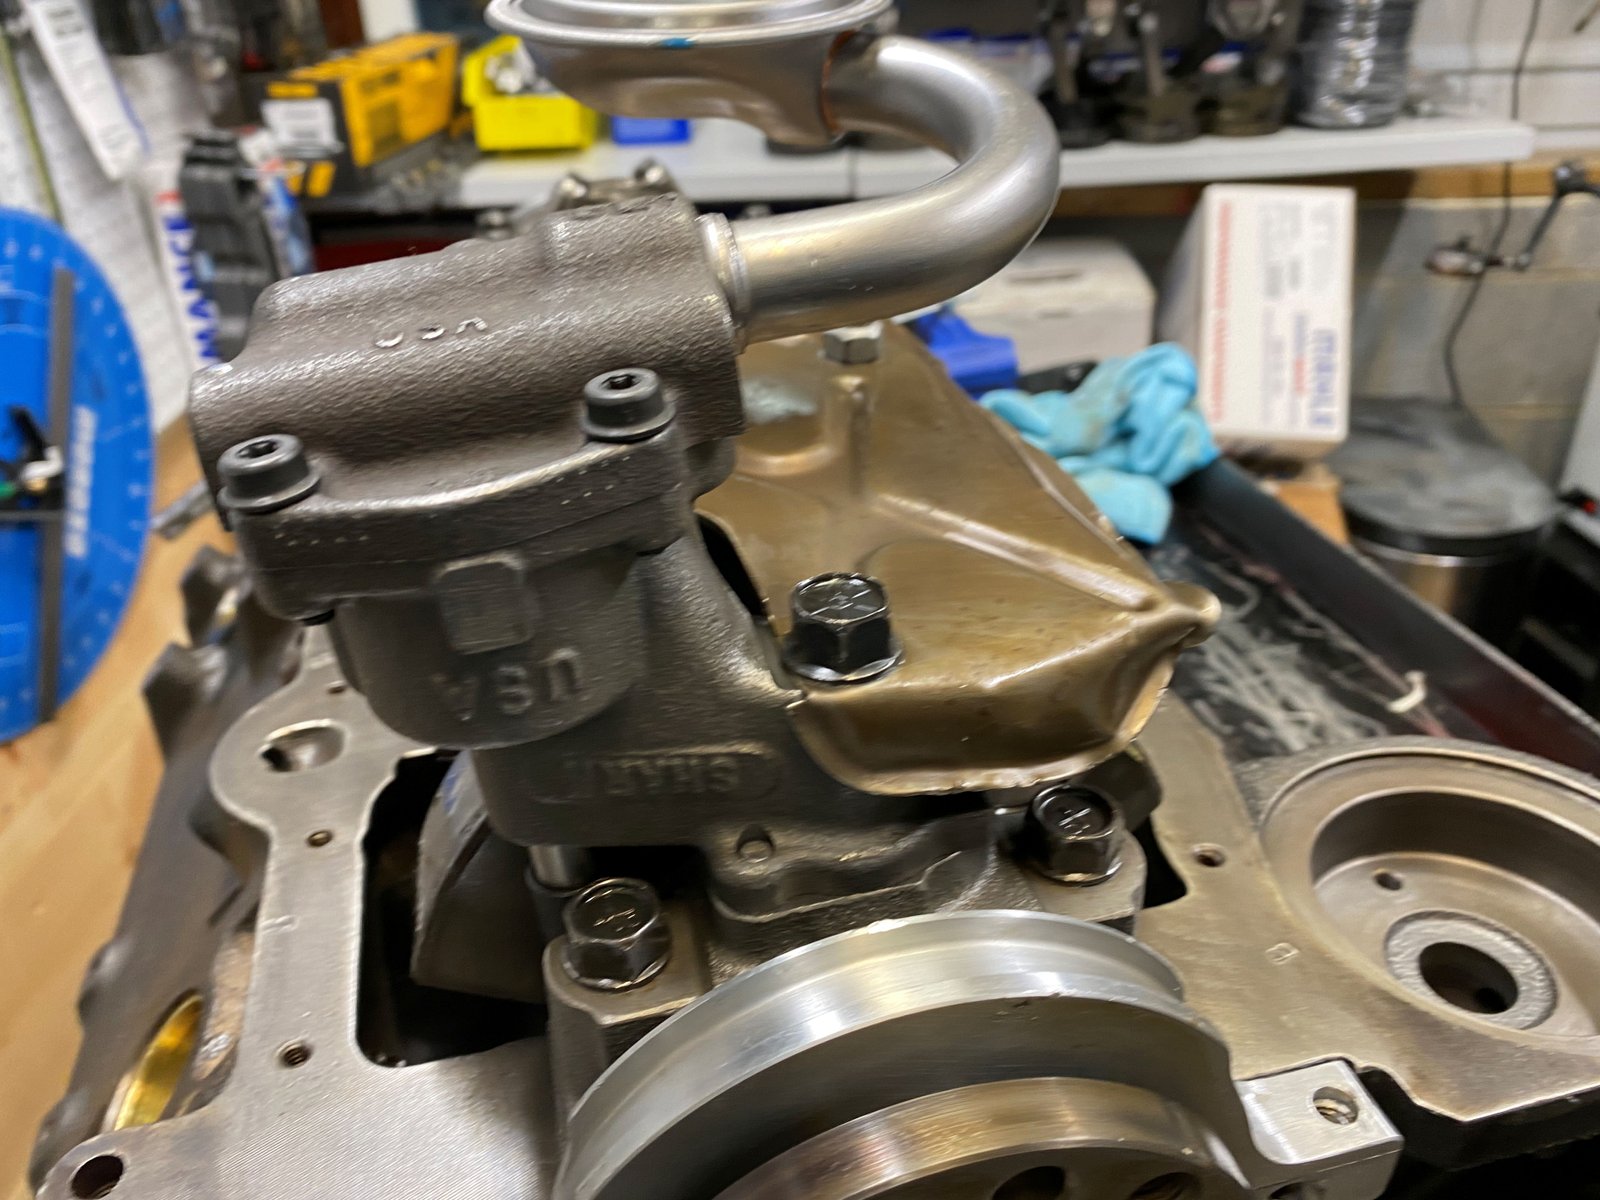
is .020". (no photo). Here I have a donated stock
windage tray on and a new Melling 10554ST (shark tooth) oil pump.
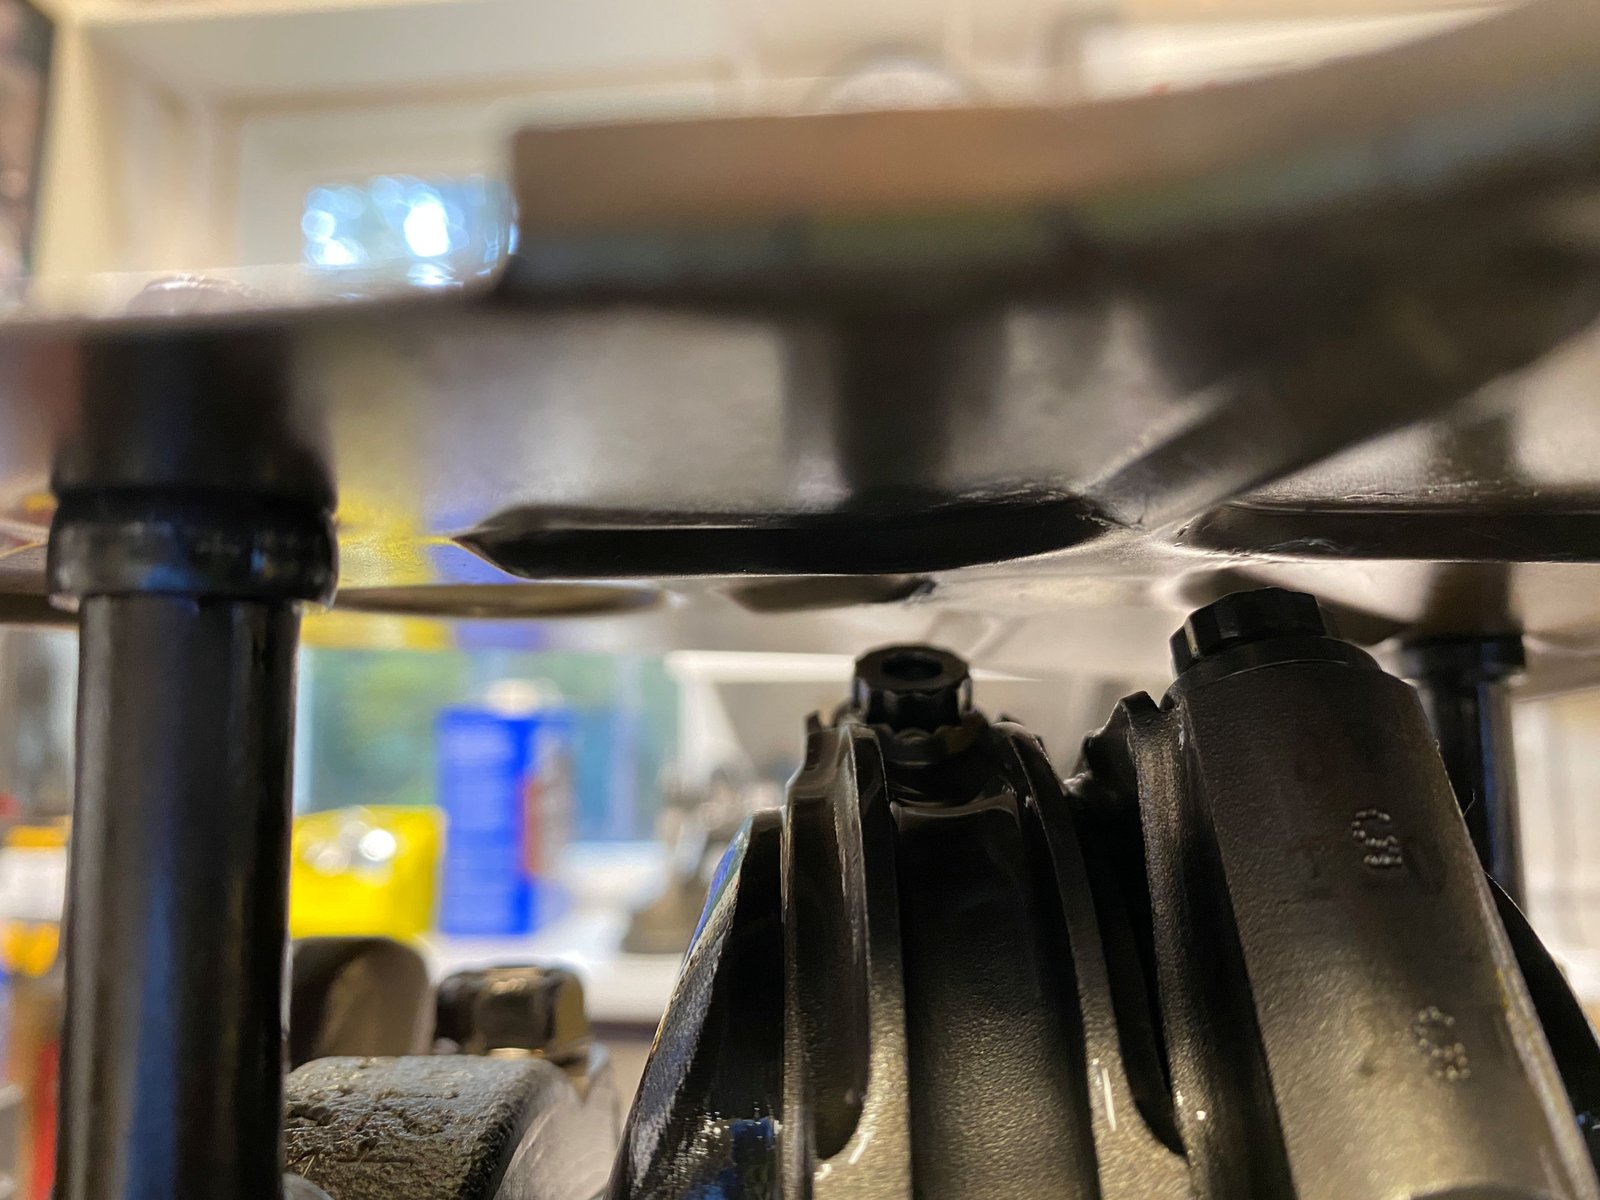
The windage tray just needs to be bent out of the way of the
rods. I insist that it be used because no matter how much
baffling in an aftermarket oil pan I still don't trust that it can
keep the air pounding of the oil near the oil pump pickup. The
stock tray is still required.
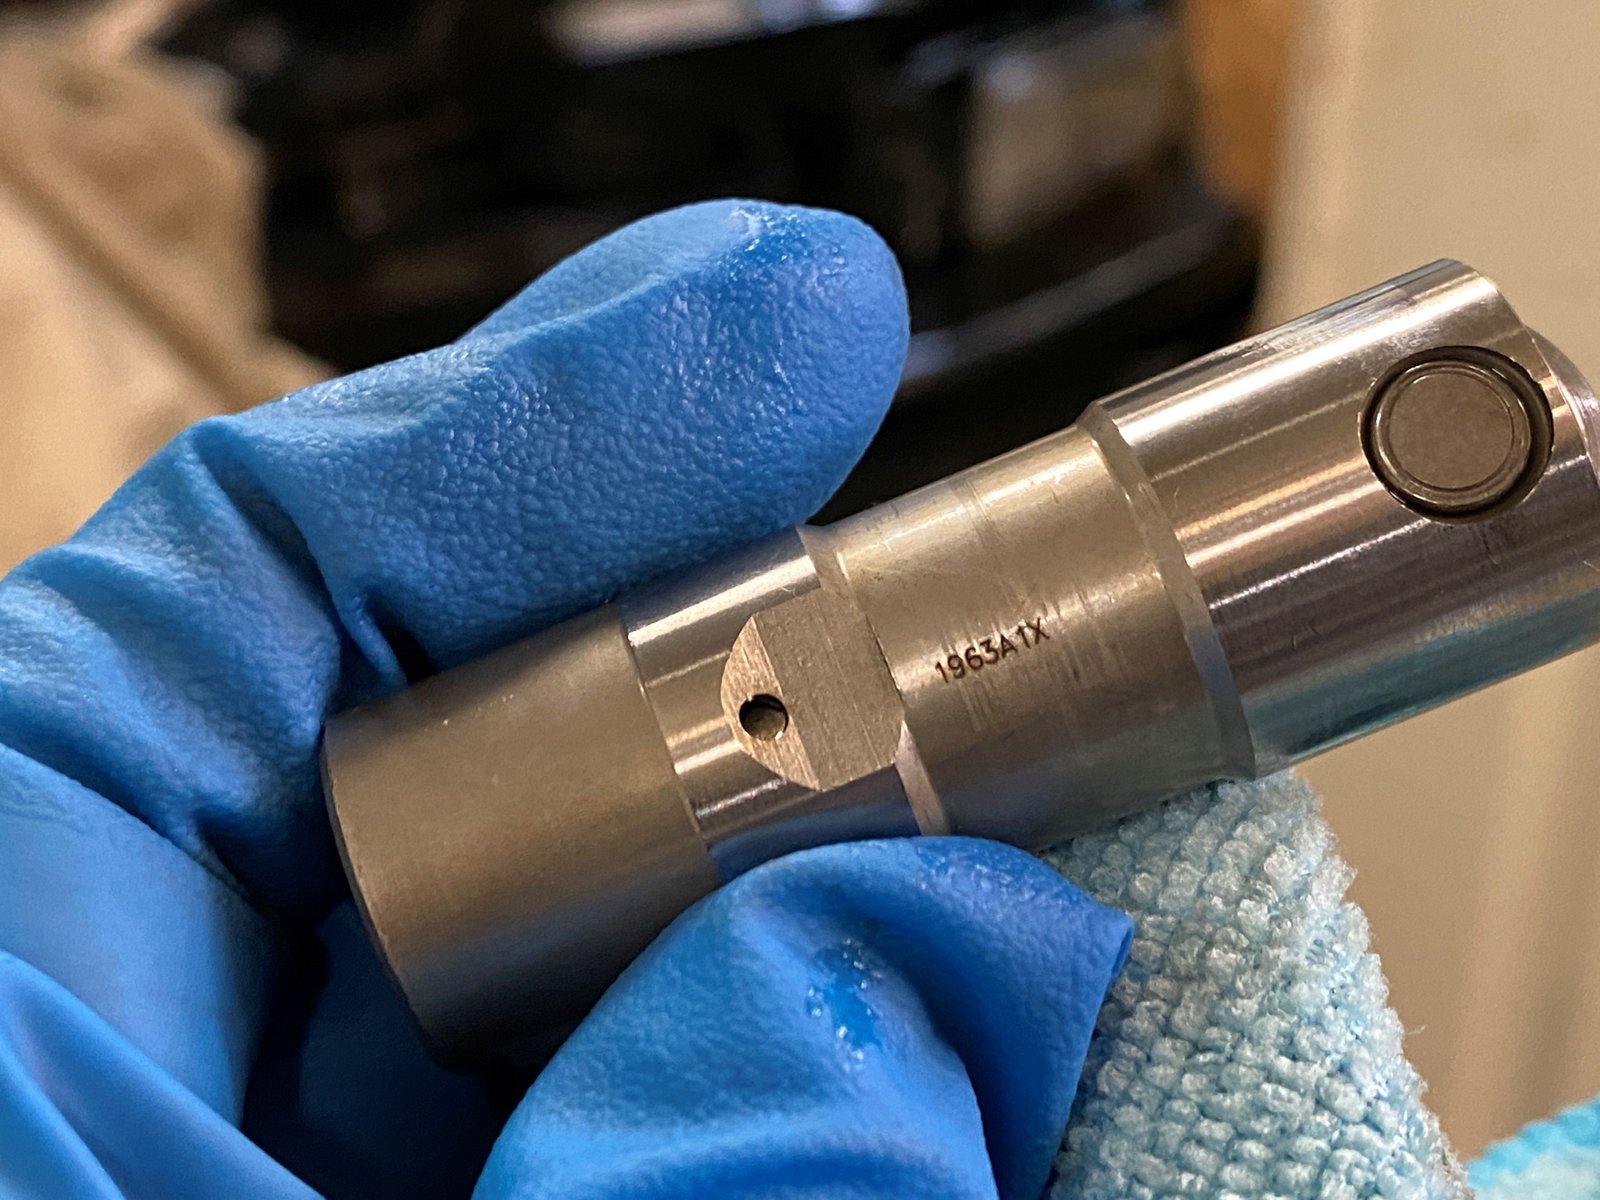
The old oil pump was a stock GM pump and they are good but the
pickup screen assembly on it measured about 1" away from the
bottom of the pan. So I decided it would be best to use a
brand new premium Melling 10554ST oil pump. The pickup is
set at 3/8" from the bottom of the pan.
Melling 10445ST.
The windage tray of the Champ oil pan is quite nice.
The stock windage tray needed to be massaged to fit under the
Champ windage tray.
Here is a photo with the oil pan on and 1/2 of the block
painted. That flat black looks gray with the camera but black
in person.
Reusing the LS7 lifters. These all looked to be in good
shape.
I re-measured the piston to deck height after torque of the rod
bolts. -0.004" at #1, -0.005" at #7 and #2,
-0.007" at #8. Not precisely square decked by not too
bad.
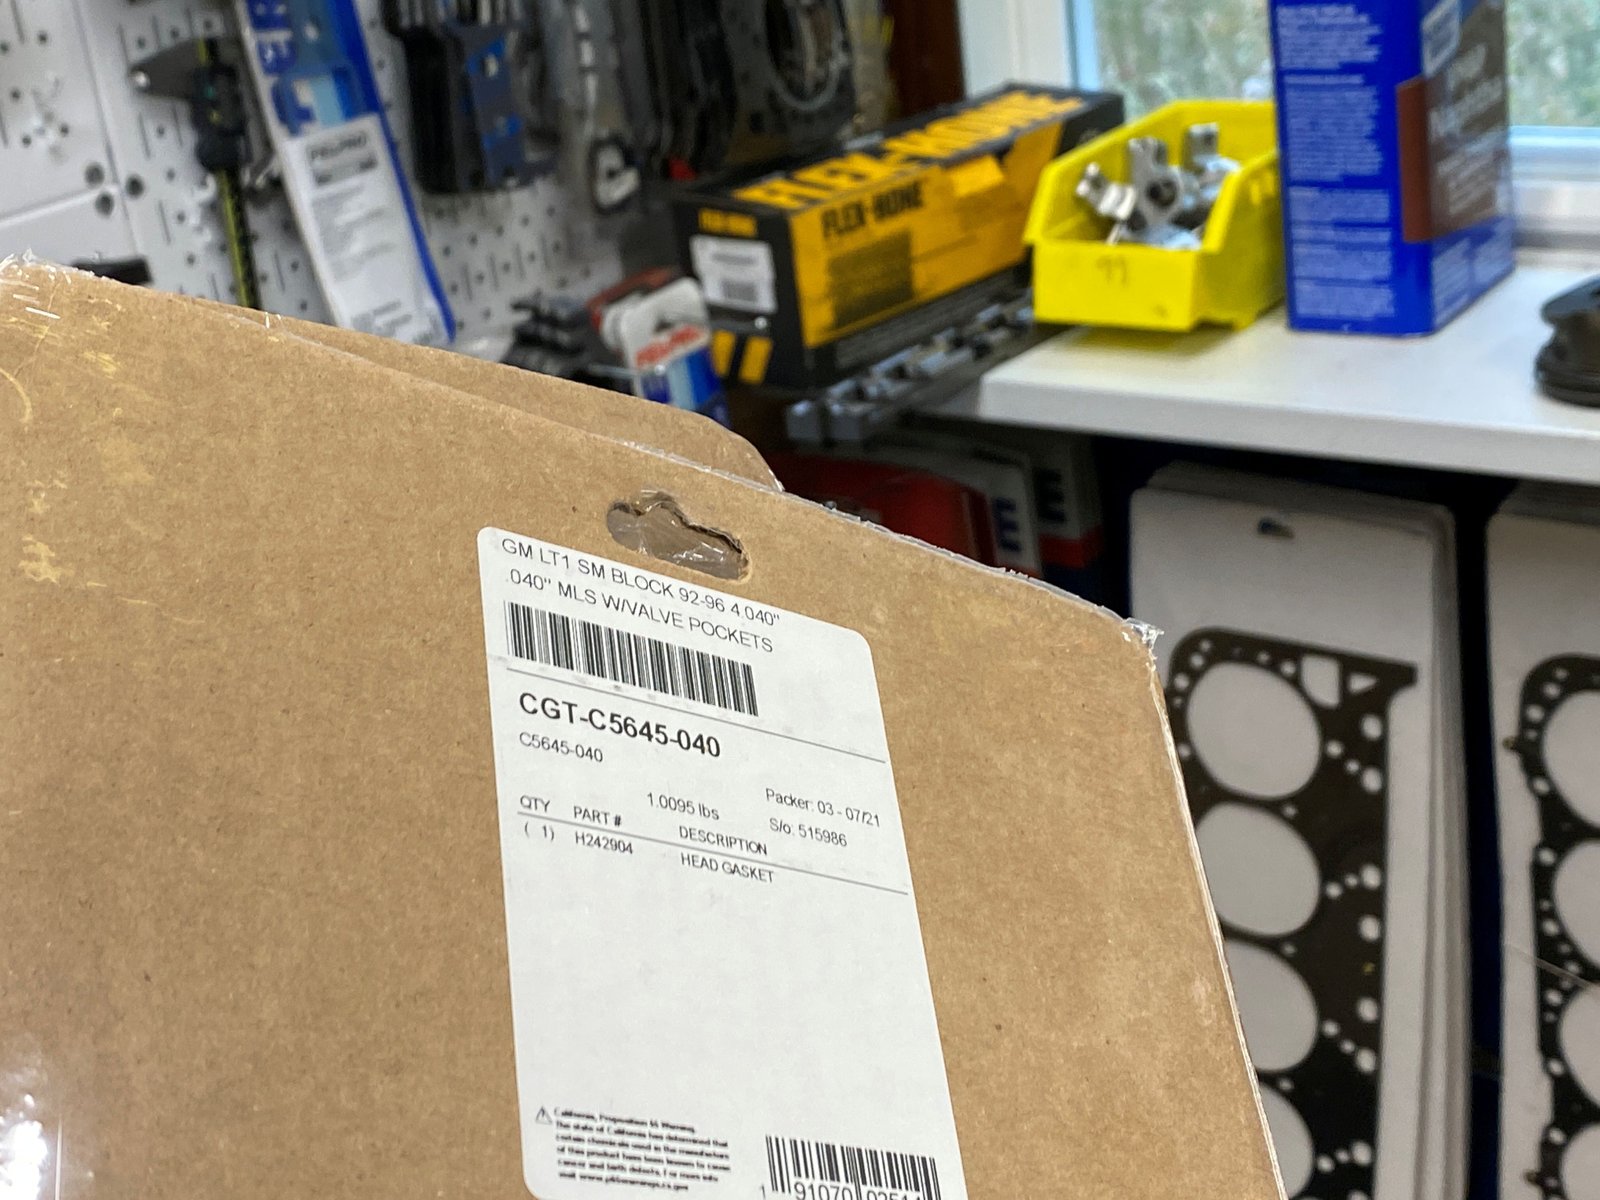
I have a variety of Cometic MLS head gaskets on the shelf.
I'm going with .040" compressed thickness to keep the static
compression ratio down to 12.1
Head bolts cleaned up and thread sealant on. The outer
short bolts get grease on the washer and the inner bolts (under the
valve covers) get oil on the washers.
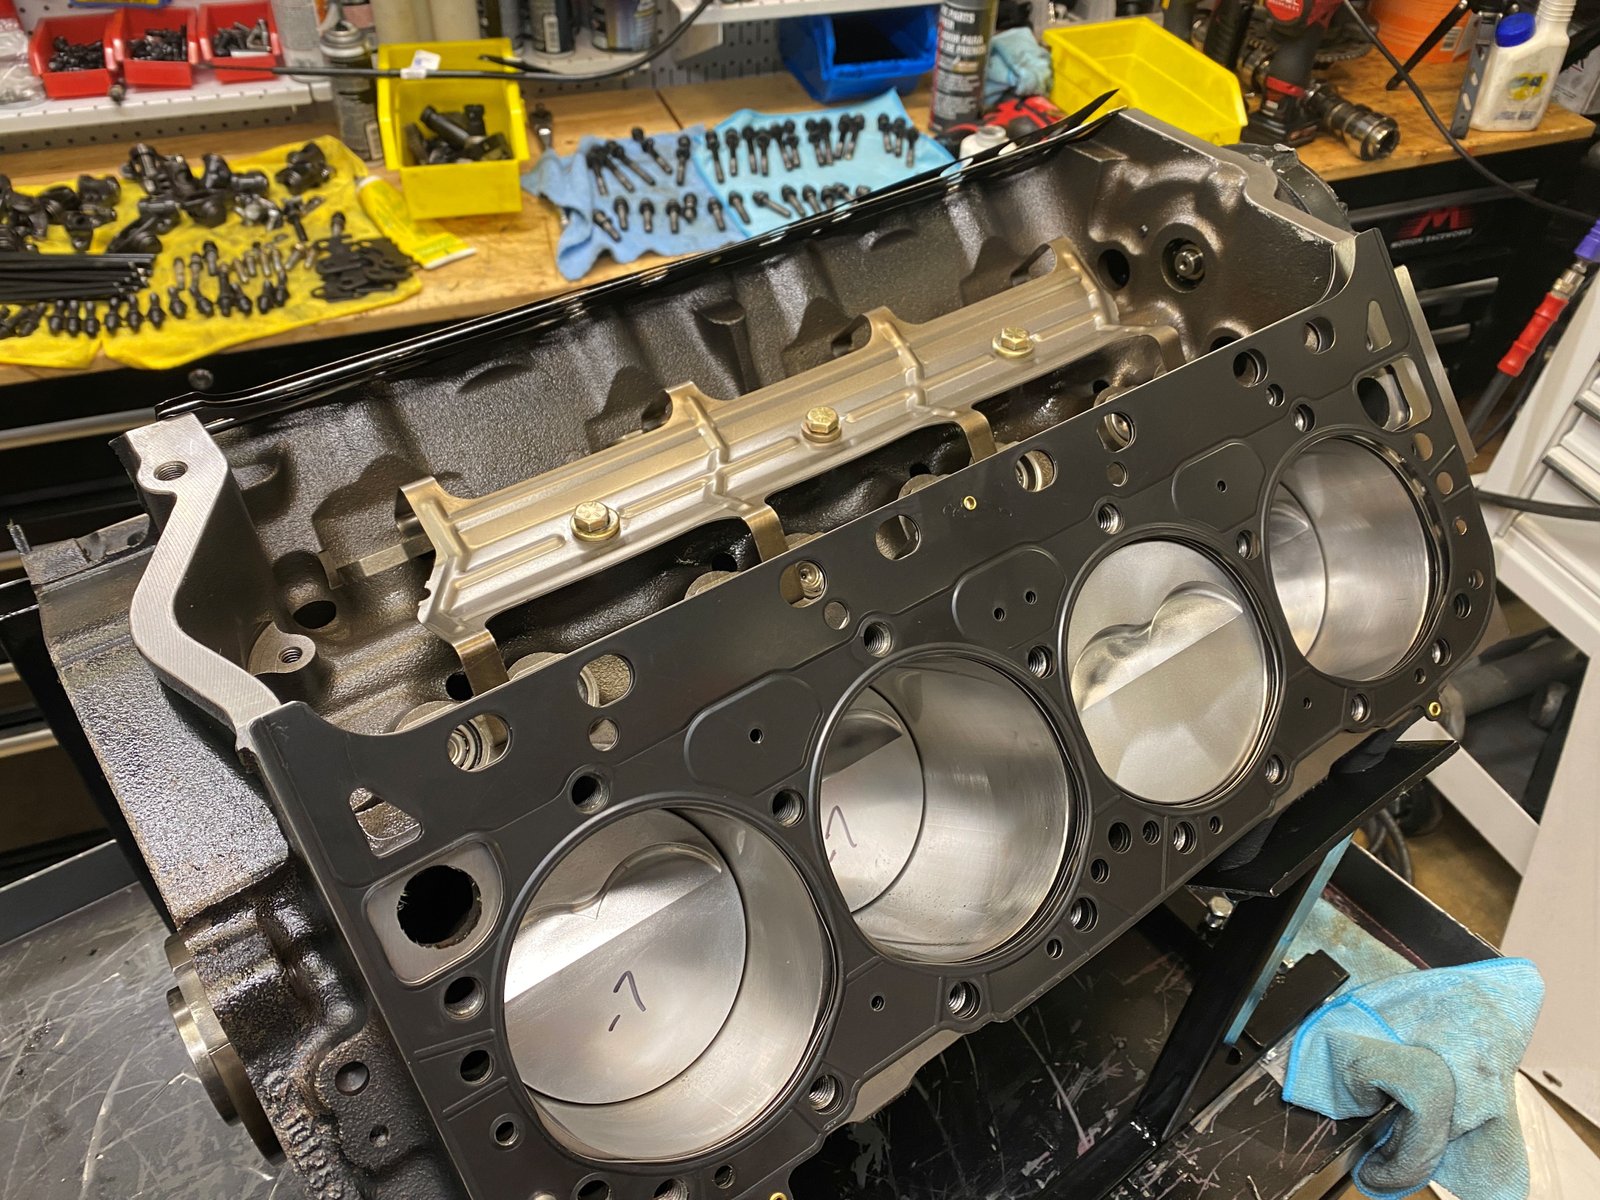
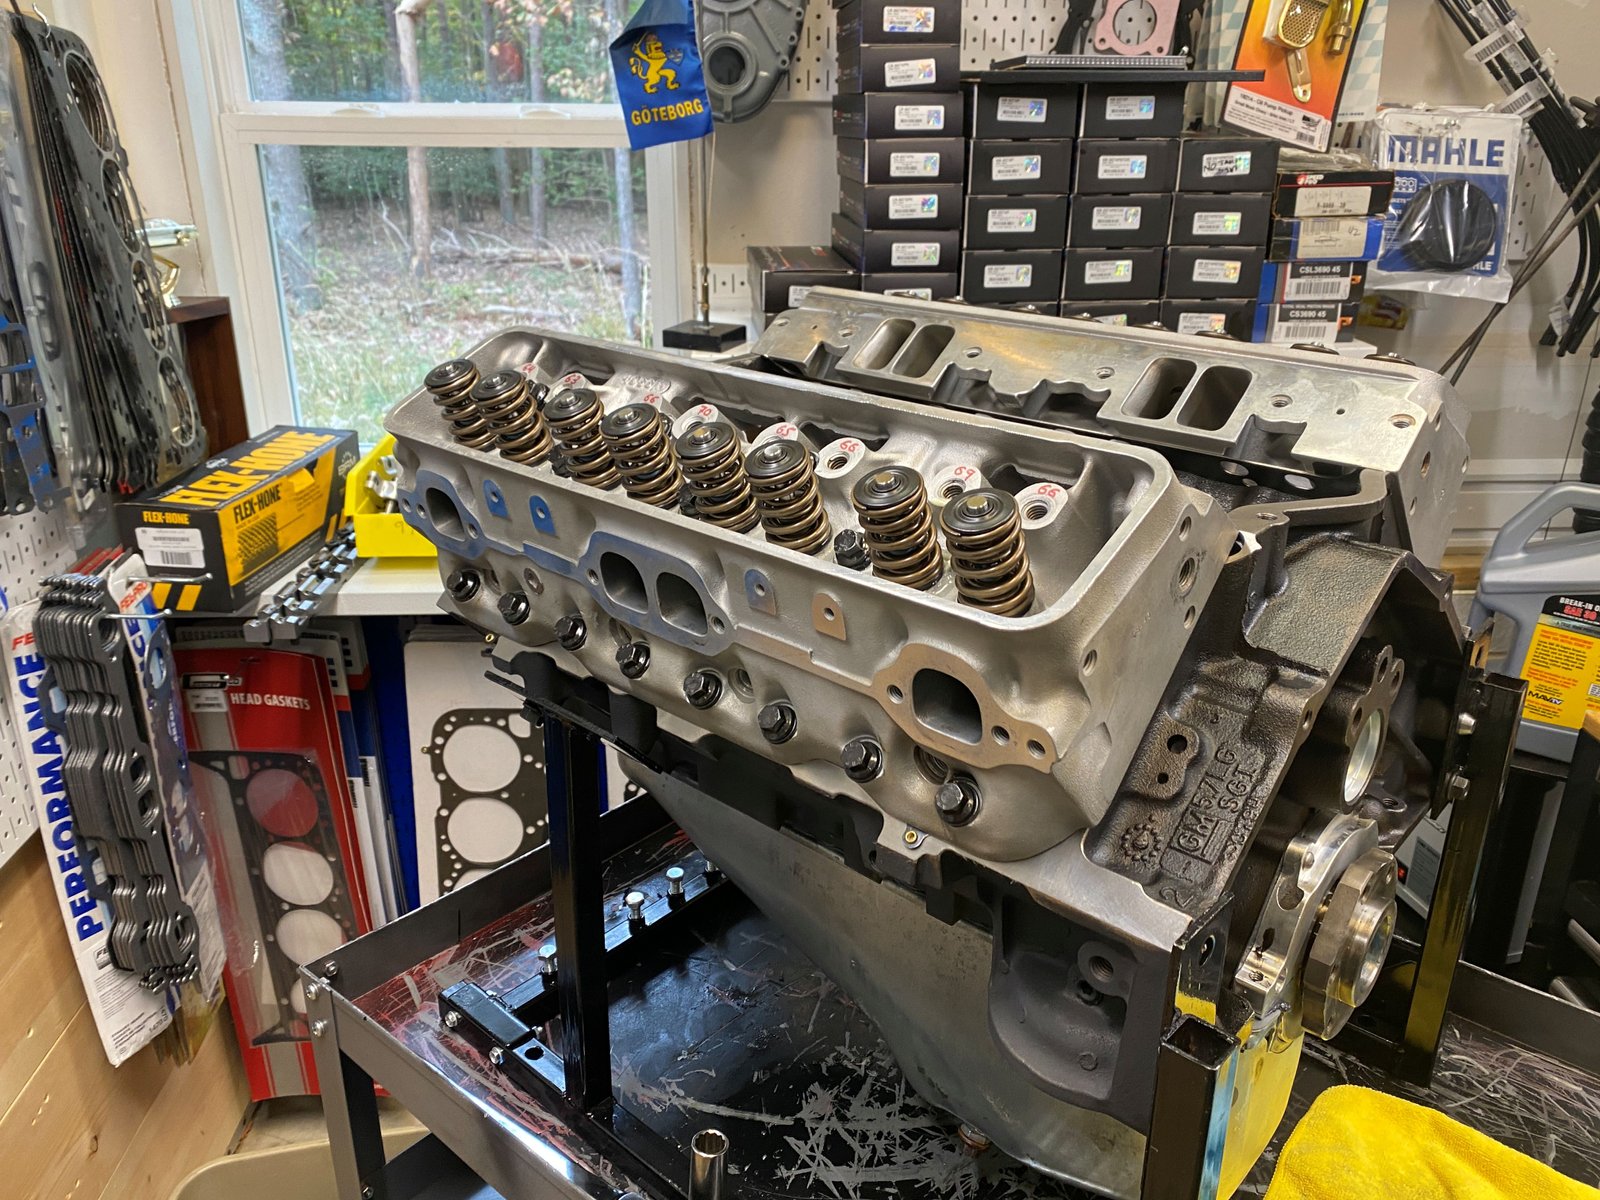
Heads on.
Head bolts torqued to 70 ft-lb.
Click on the photo to the left
for a short video of the Pilot Bushing Removal Tool Process.
Now placing new seals on the crankshaft and cam locations in the
timing cover.
I pressed on the ATI Y-Body damper with 24X reluctor and then
realized that the TH signal kit is supposed to go on first.
No biggie. I pulled the hub back out and started over.
Here is a nice view of the ARP crankshaft bolt #134-2501
The TorqHead kit is all in alignment.
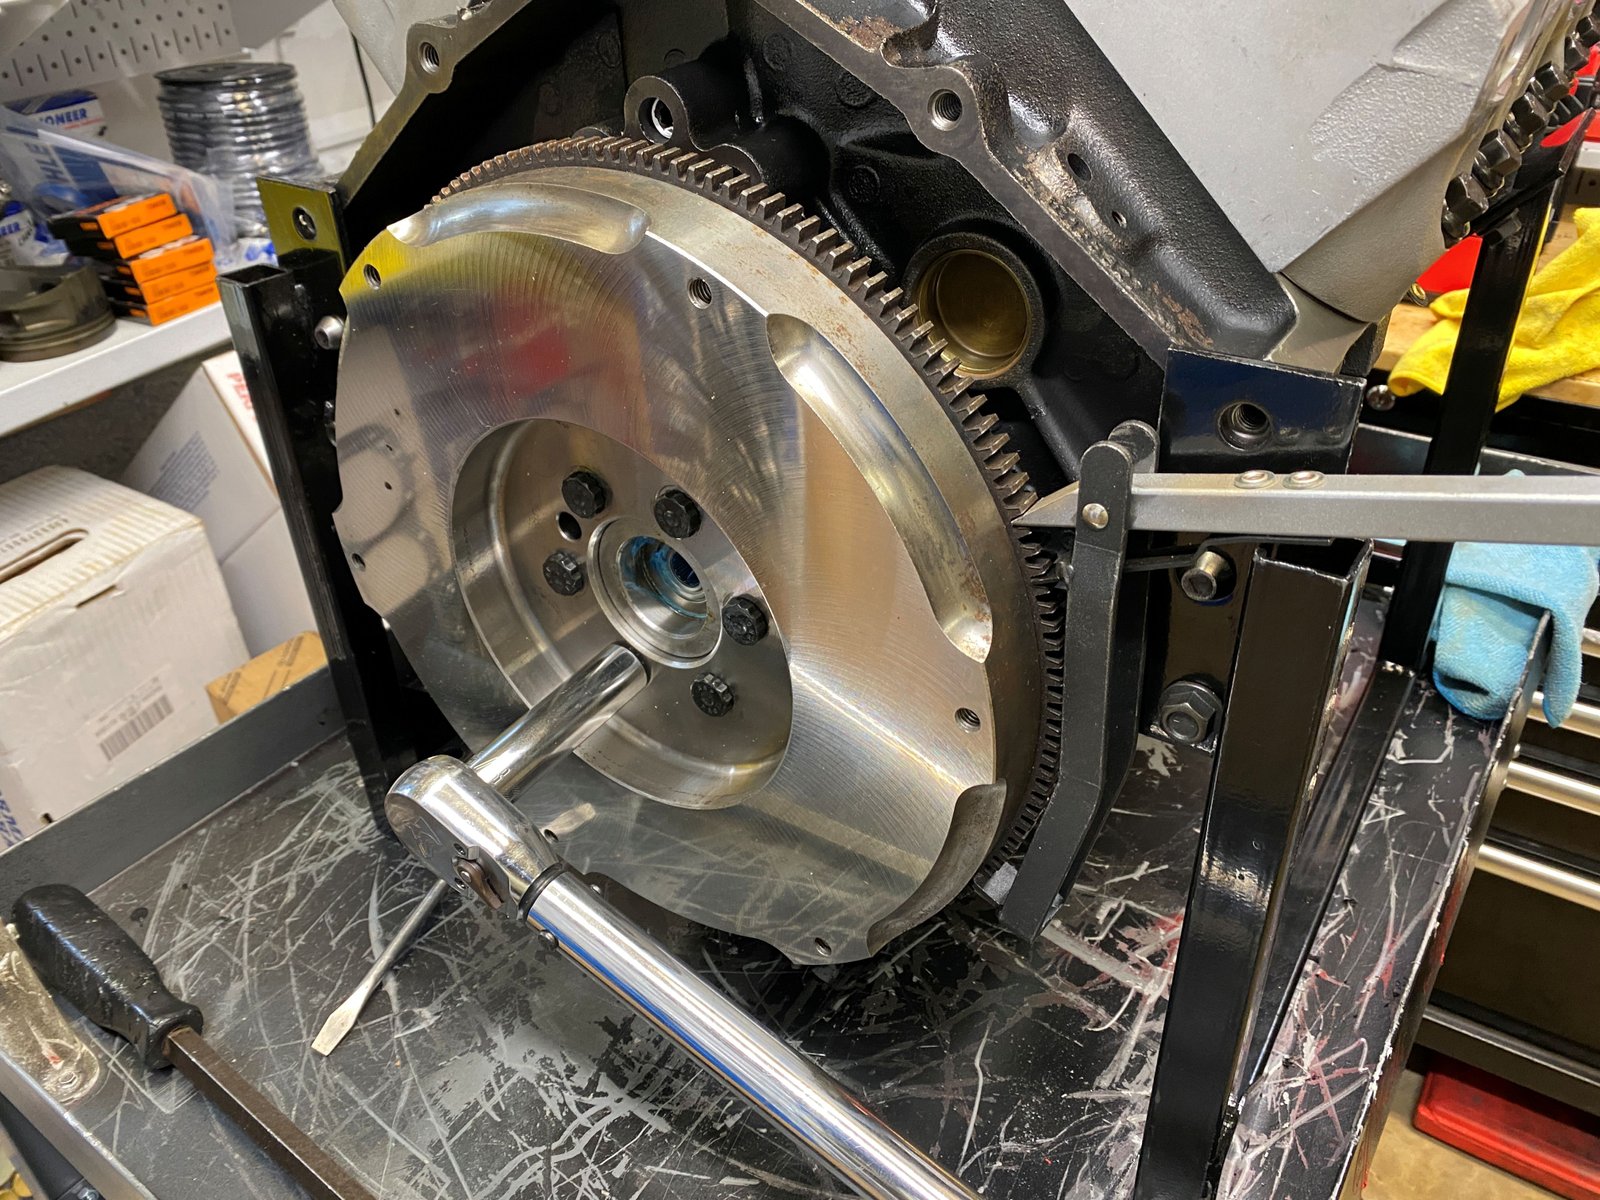
The refurbished flywheel is on now with new bolts ARP 200-2807
Rocker tip to valve tip looks pretty good.
This is the witness mark. Not too bad. This is
with reusing the Comp #7608-16 pushrod that is 7.200" long.
Oil pump spin-up. The oil pressure gauge is reading 68
psig.
Oil made it up the pushrods and onto the rockers reasonably
quick.
Dyno day is set for Thursday 11-18-2021
From that dyno day video you may have noticed the rear main
seal leaked. The owner and I agreed to go to a 1-piece rear
main seal crankshaft. The old one is out and now I'm
measuring main bearing clearance because the new Eagle forged
crank has just a bit different main journal sizes. The rod
journals are the same size. I went with King main bearings
this time.
New Eagle forged crankshaft installed.
To the right I'm checking
thrust. It is now .007" and before the other crank was
.005"
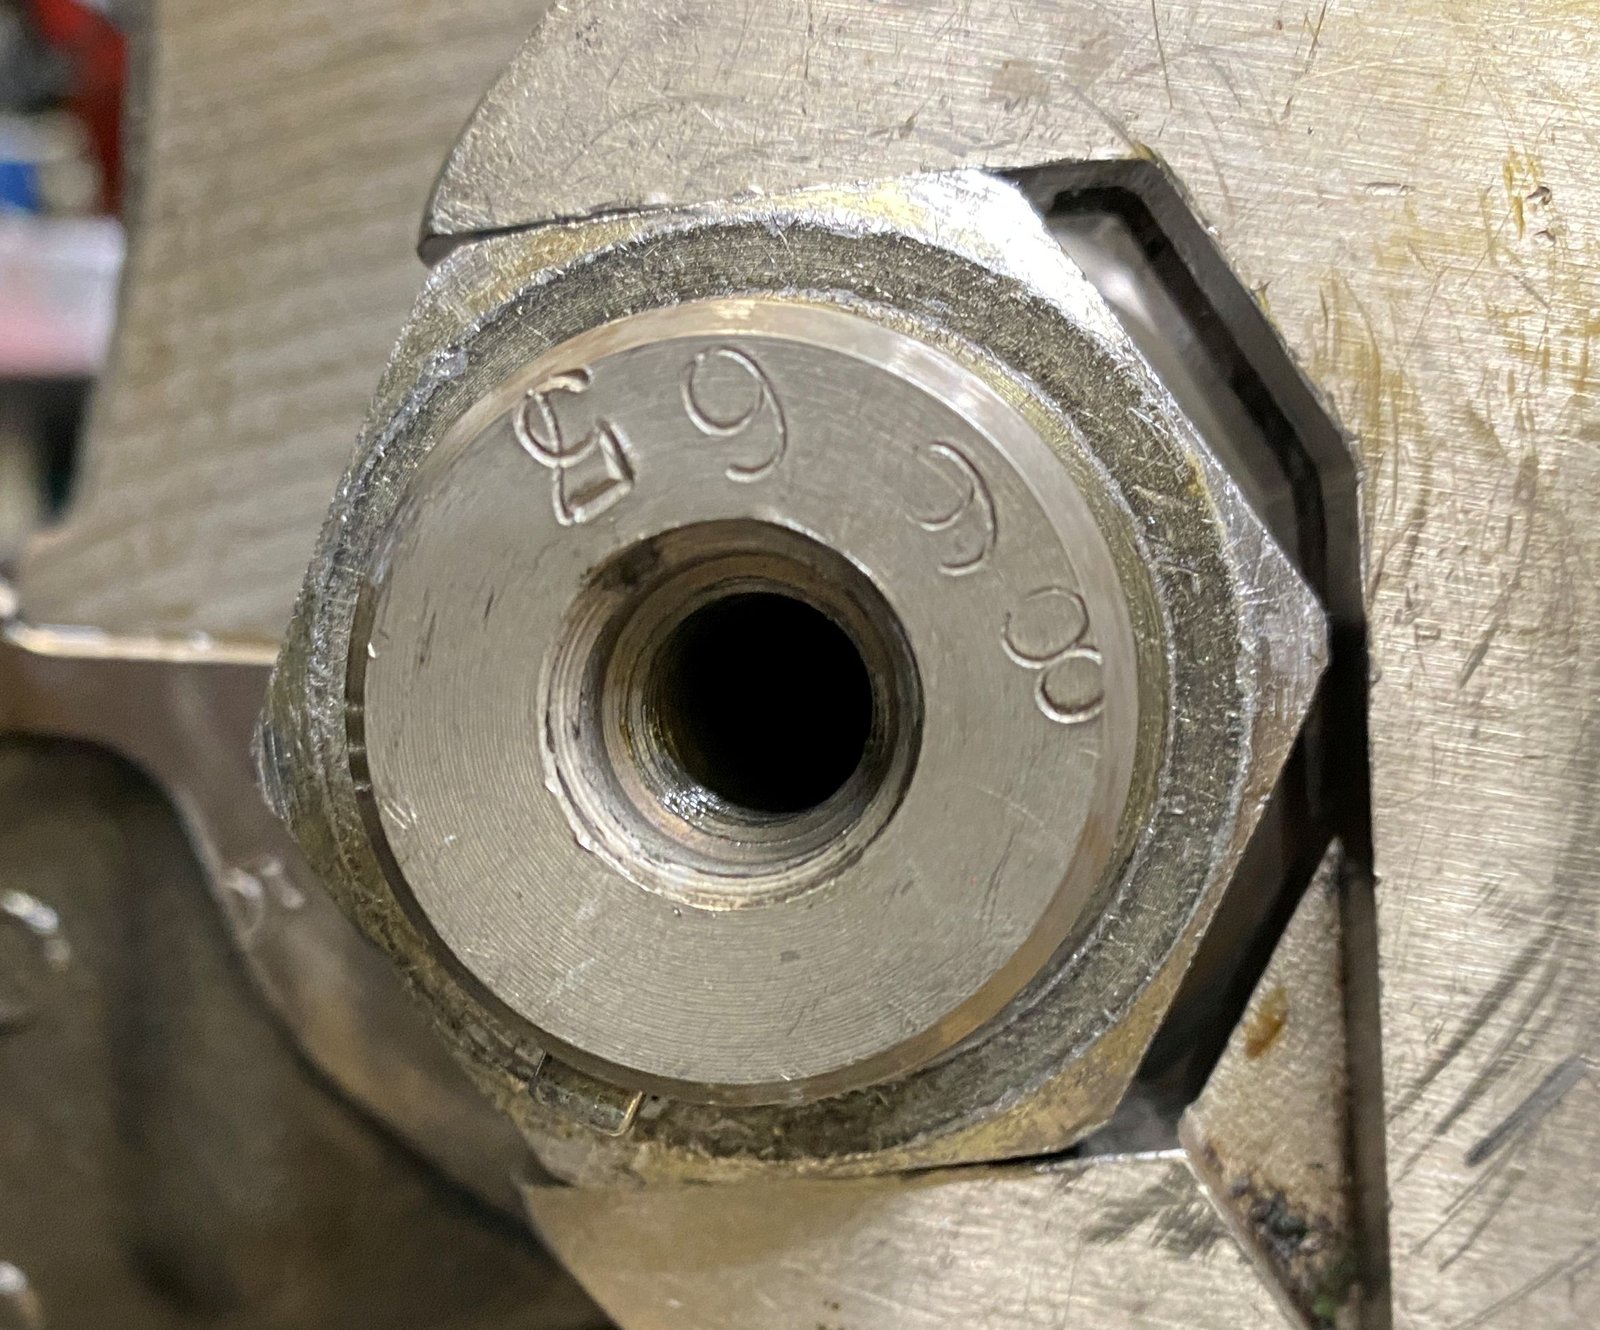
Looks like 8665 for the new crank serial number.
Everything going back together.
Oil pan and 1-piece rear seal mocked up. Looks good.
Check back later and I'll install the 1-piece rear main seal housing
and the oil pan and soon I'll be back at the engine dyno to make
sure all is good.
Rear main seal housing installation prep. Clean a good
core housing. Clean the gasket surfaces.
Install with .003" shims at 3 alignment nubs. Here
I'm checking after tightening all the bolts.