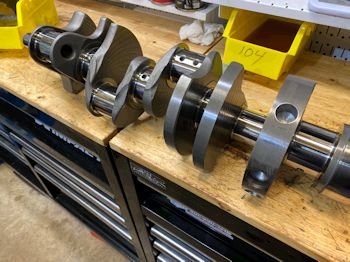
The Cola crankshaft was polished (very nicely I might
say). Also the balance was checked.
|
I reused every main bearing due to the bearings being in
perfect shape. Saves money. |
I've got .0025 to .0030" clearance with the mix of X and
standard bearings.
|
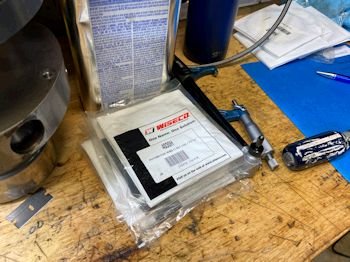
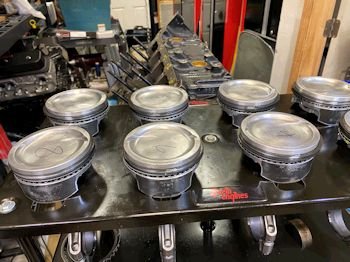
Reusing the old pistons but using new Wiseco piston rings.
These are spec'ed for this set of pistons. 1/16" /
1/16" 3/16". |
I'm going .026" / .026" on the ring gap.
|
 |
|
Installing cam bearings |
|

New cam pin. Not too long, (not too short). |
Oil galley ball verified installed for my records.
|
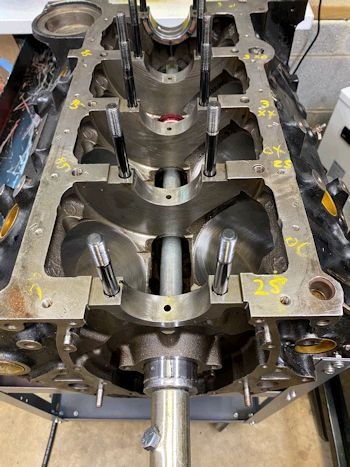
Crank thrust at .0035" |
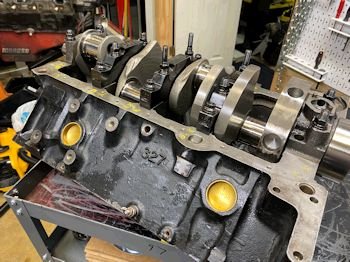
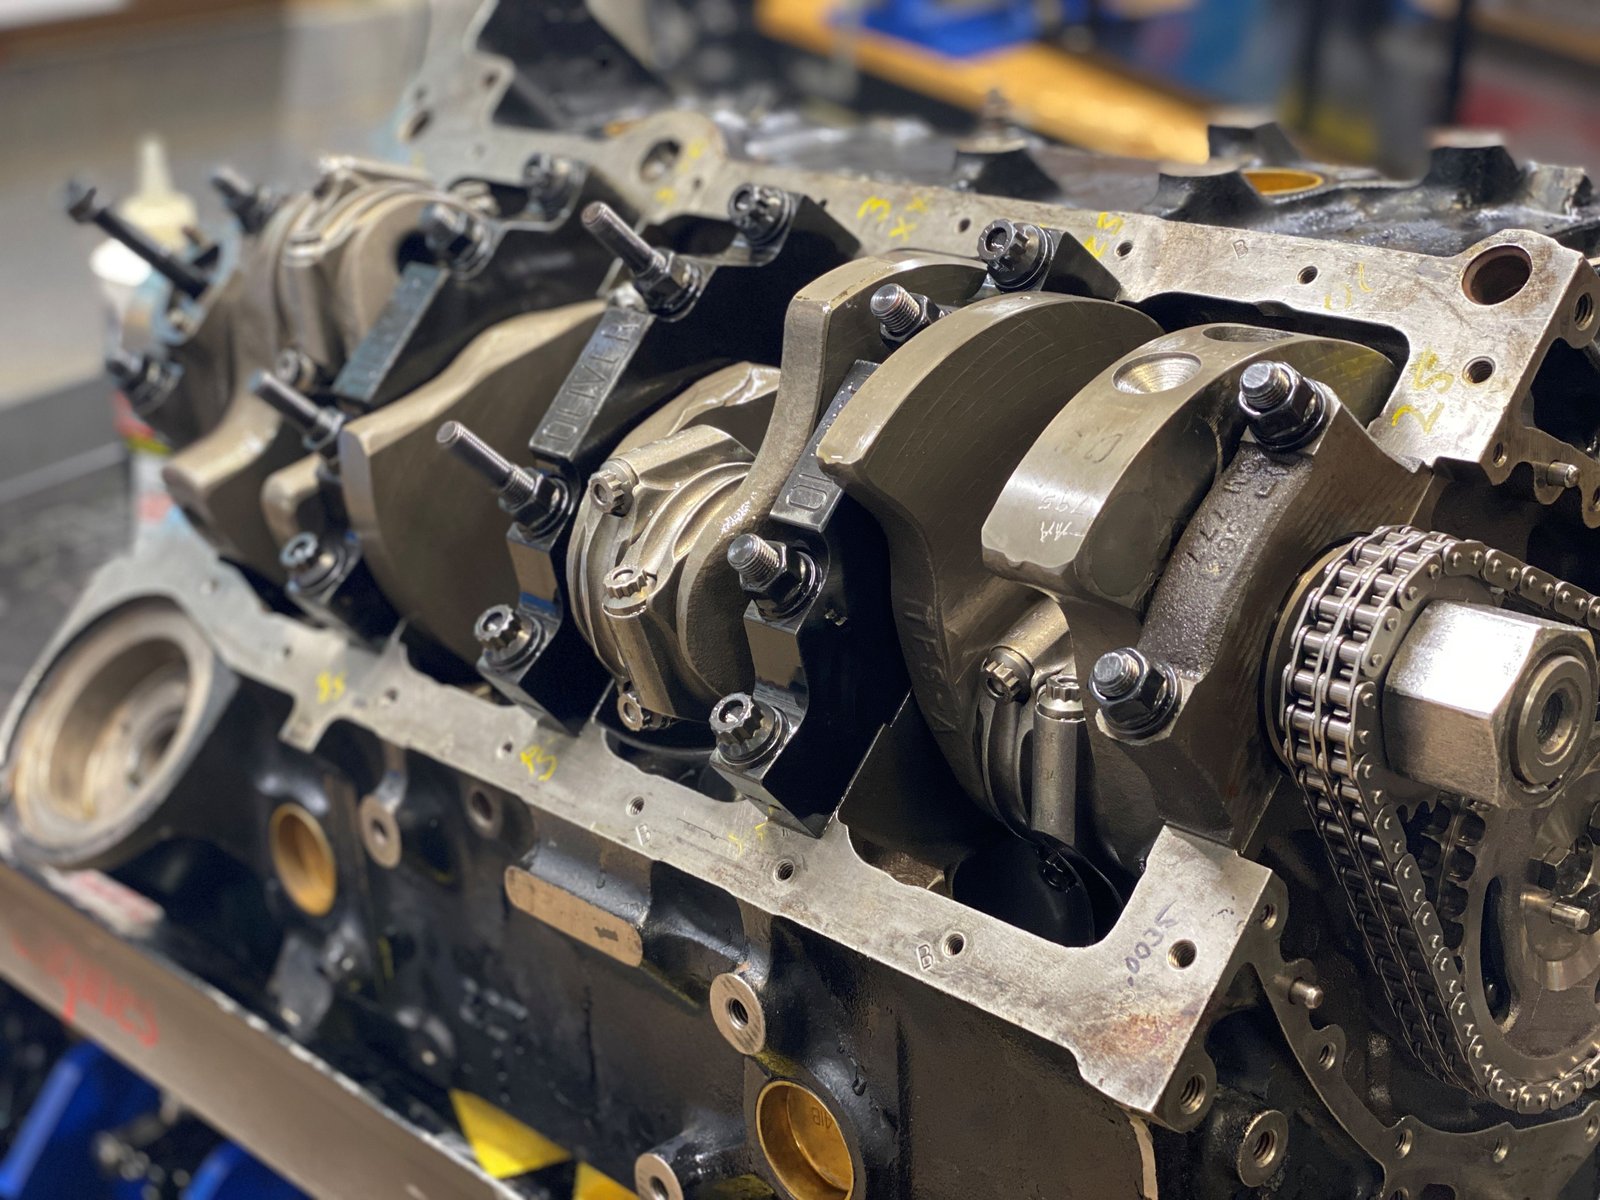
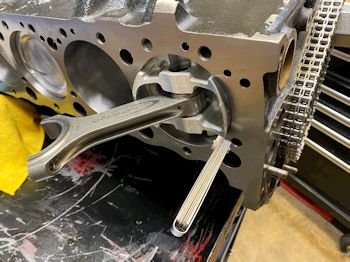
Crankshaft in and mains torqued, (studs at 80 ft-lb and bolts at
65 ft-lb).
|
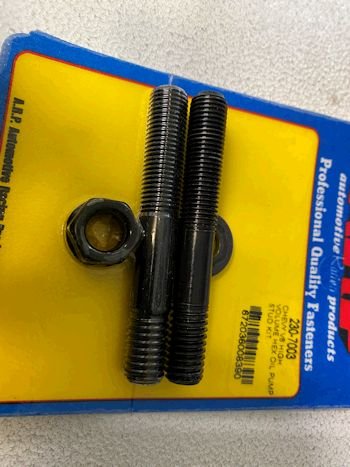
The oil pump mounting stud I used may have been a tad too
long. I noticed it bottomed out on the bearing. This stud in
the package is from ARP. I'll use the ARP stud. |
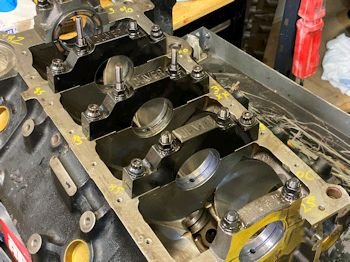
Rods 1, 3, 5, 7 all exactly 0.0025" clearance and all
original bearings reused.
|
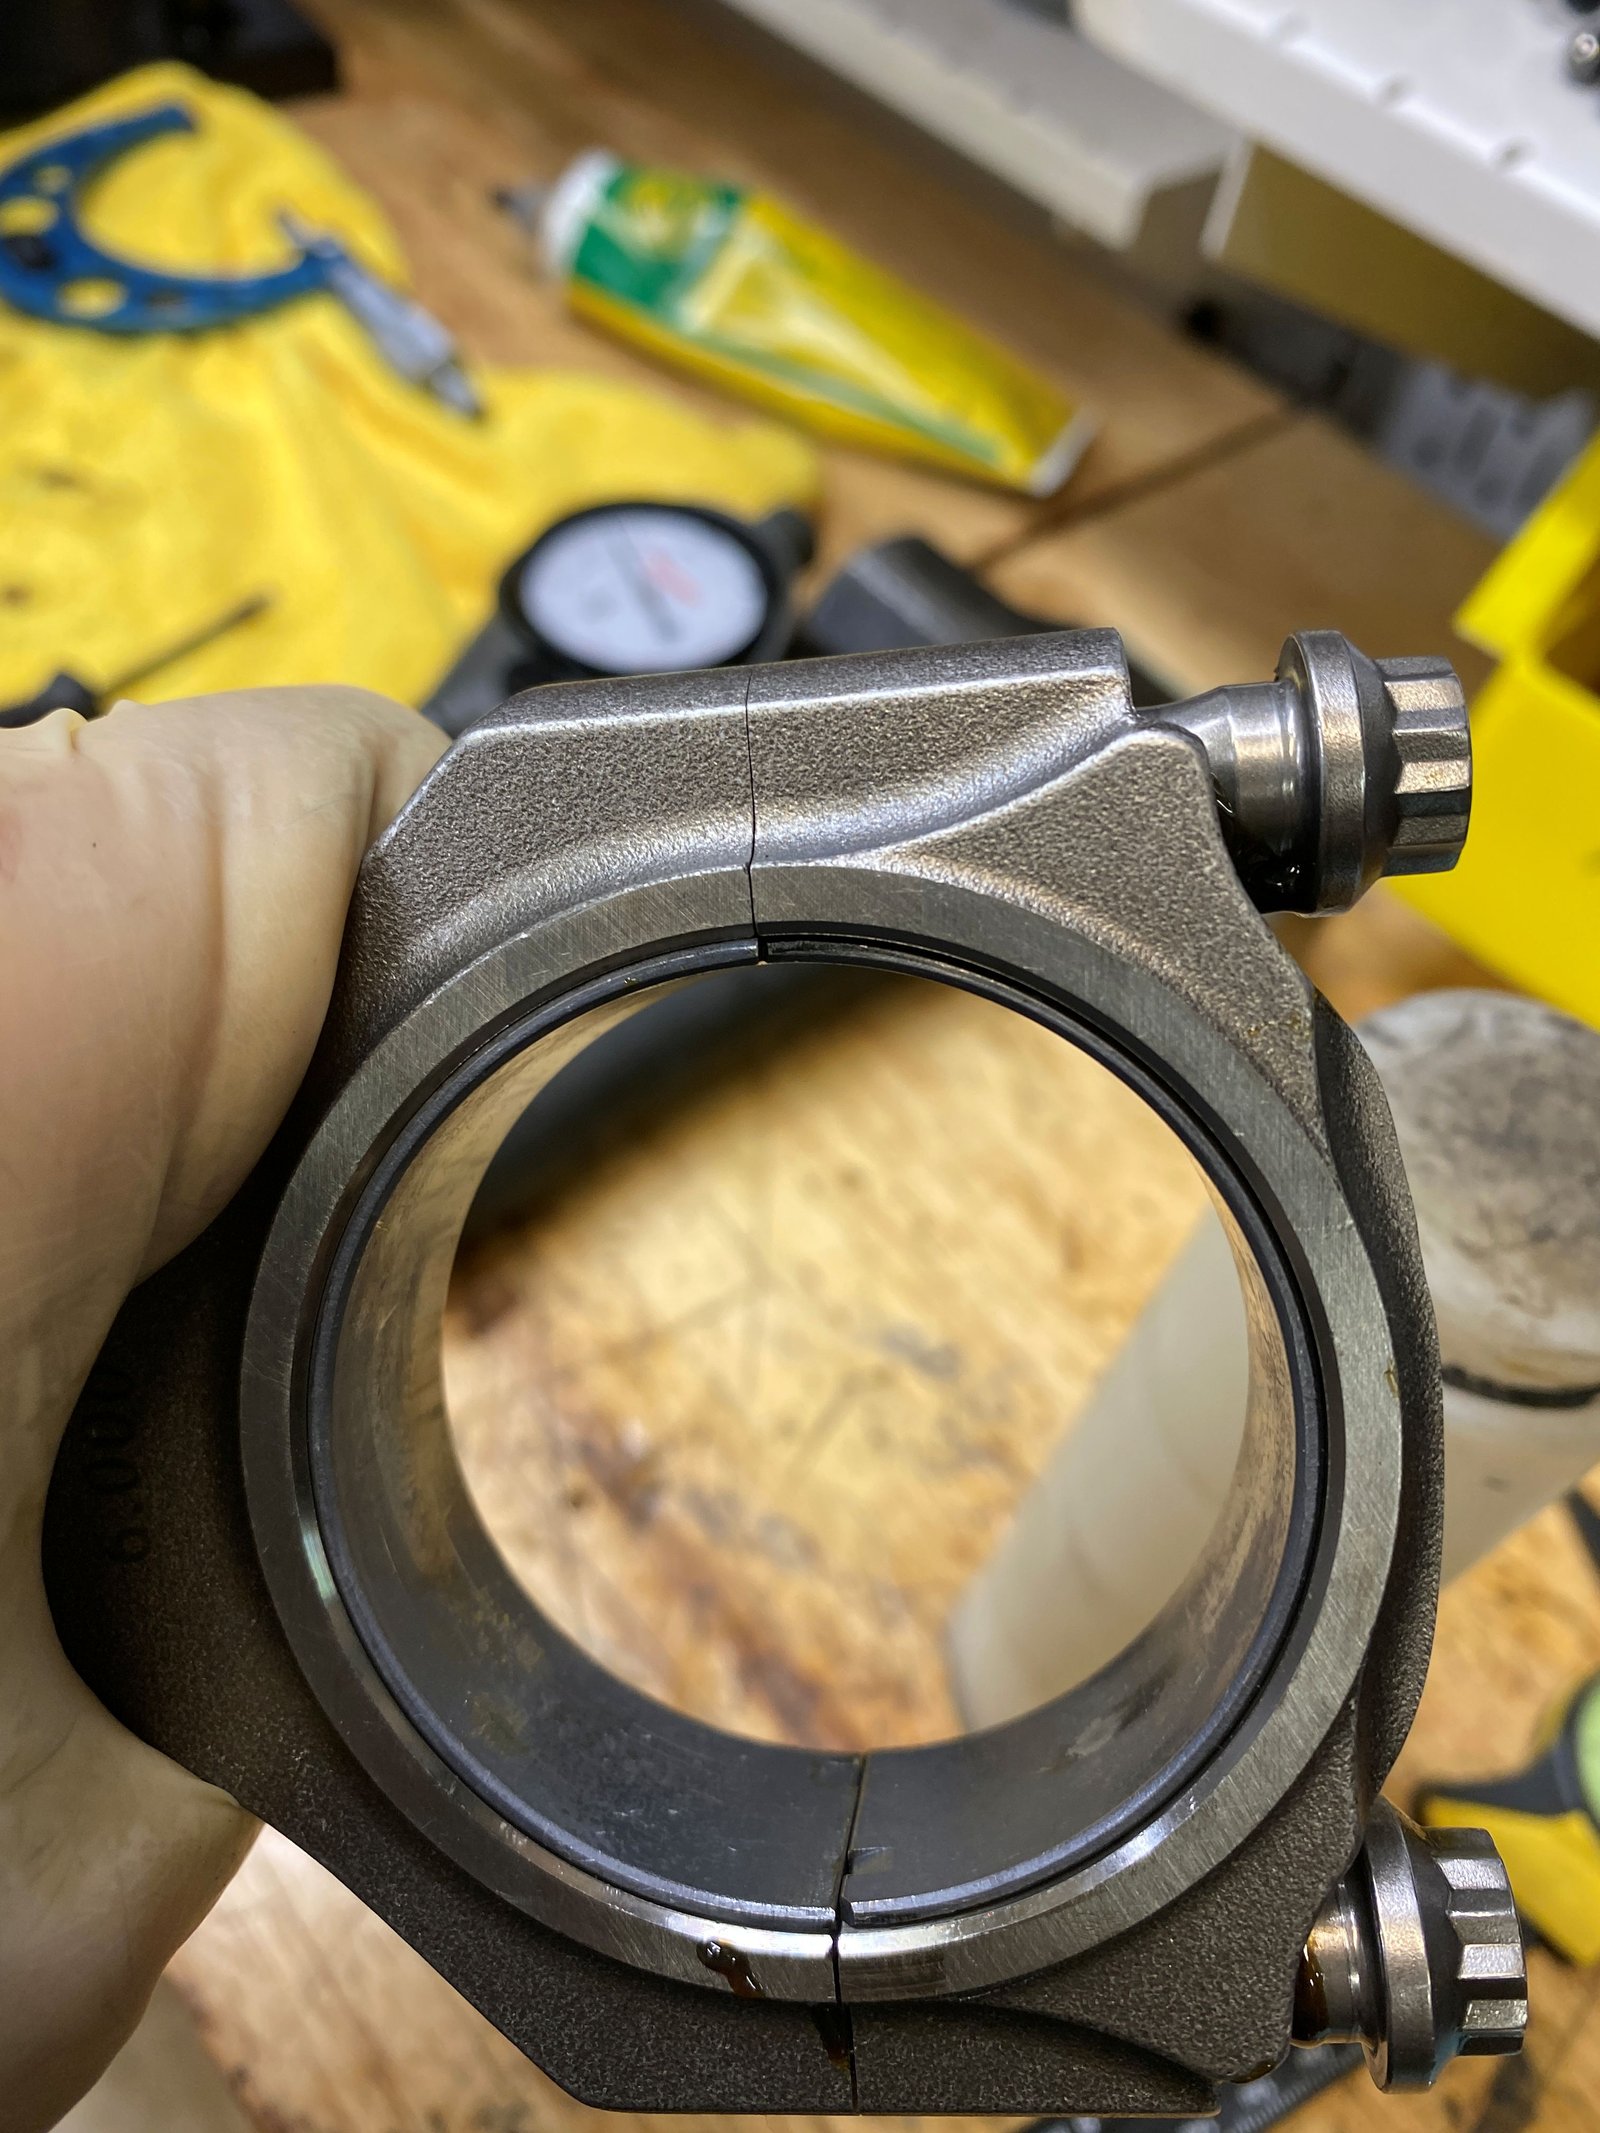
I noticed #6 rod has the bushing smashed. I could not
fix that. It was sort of fused into the rod metal. |
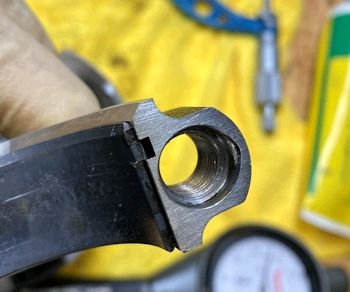
The other 1/2 of the rod has a smashed area to receive the smashed
bushing material.
|
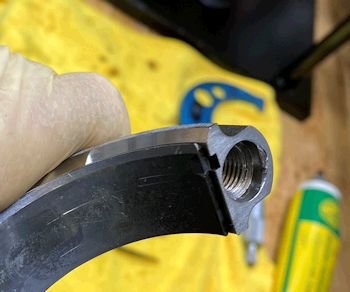
Sine this rod had great bearing wear I will leave it as is. |
It seats well even with the bushing problem.
|
 |
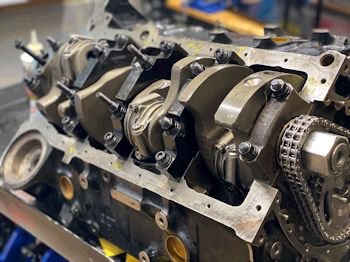
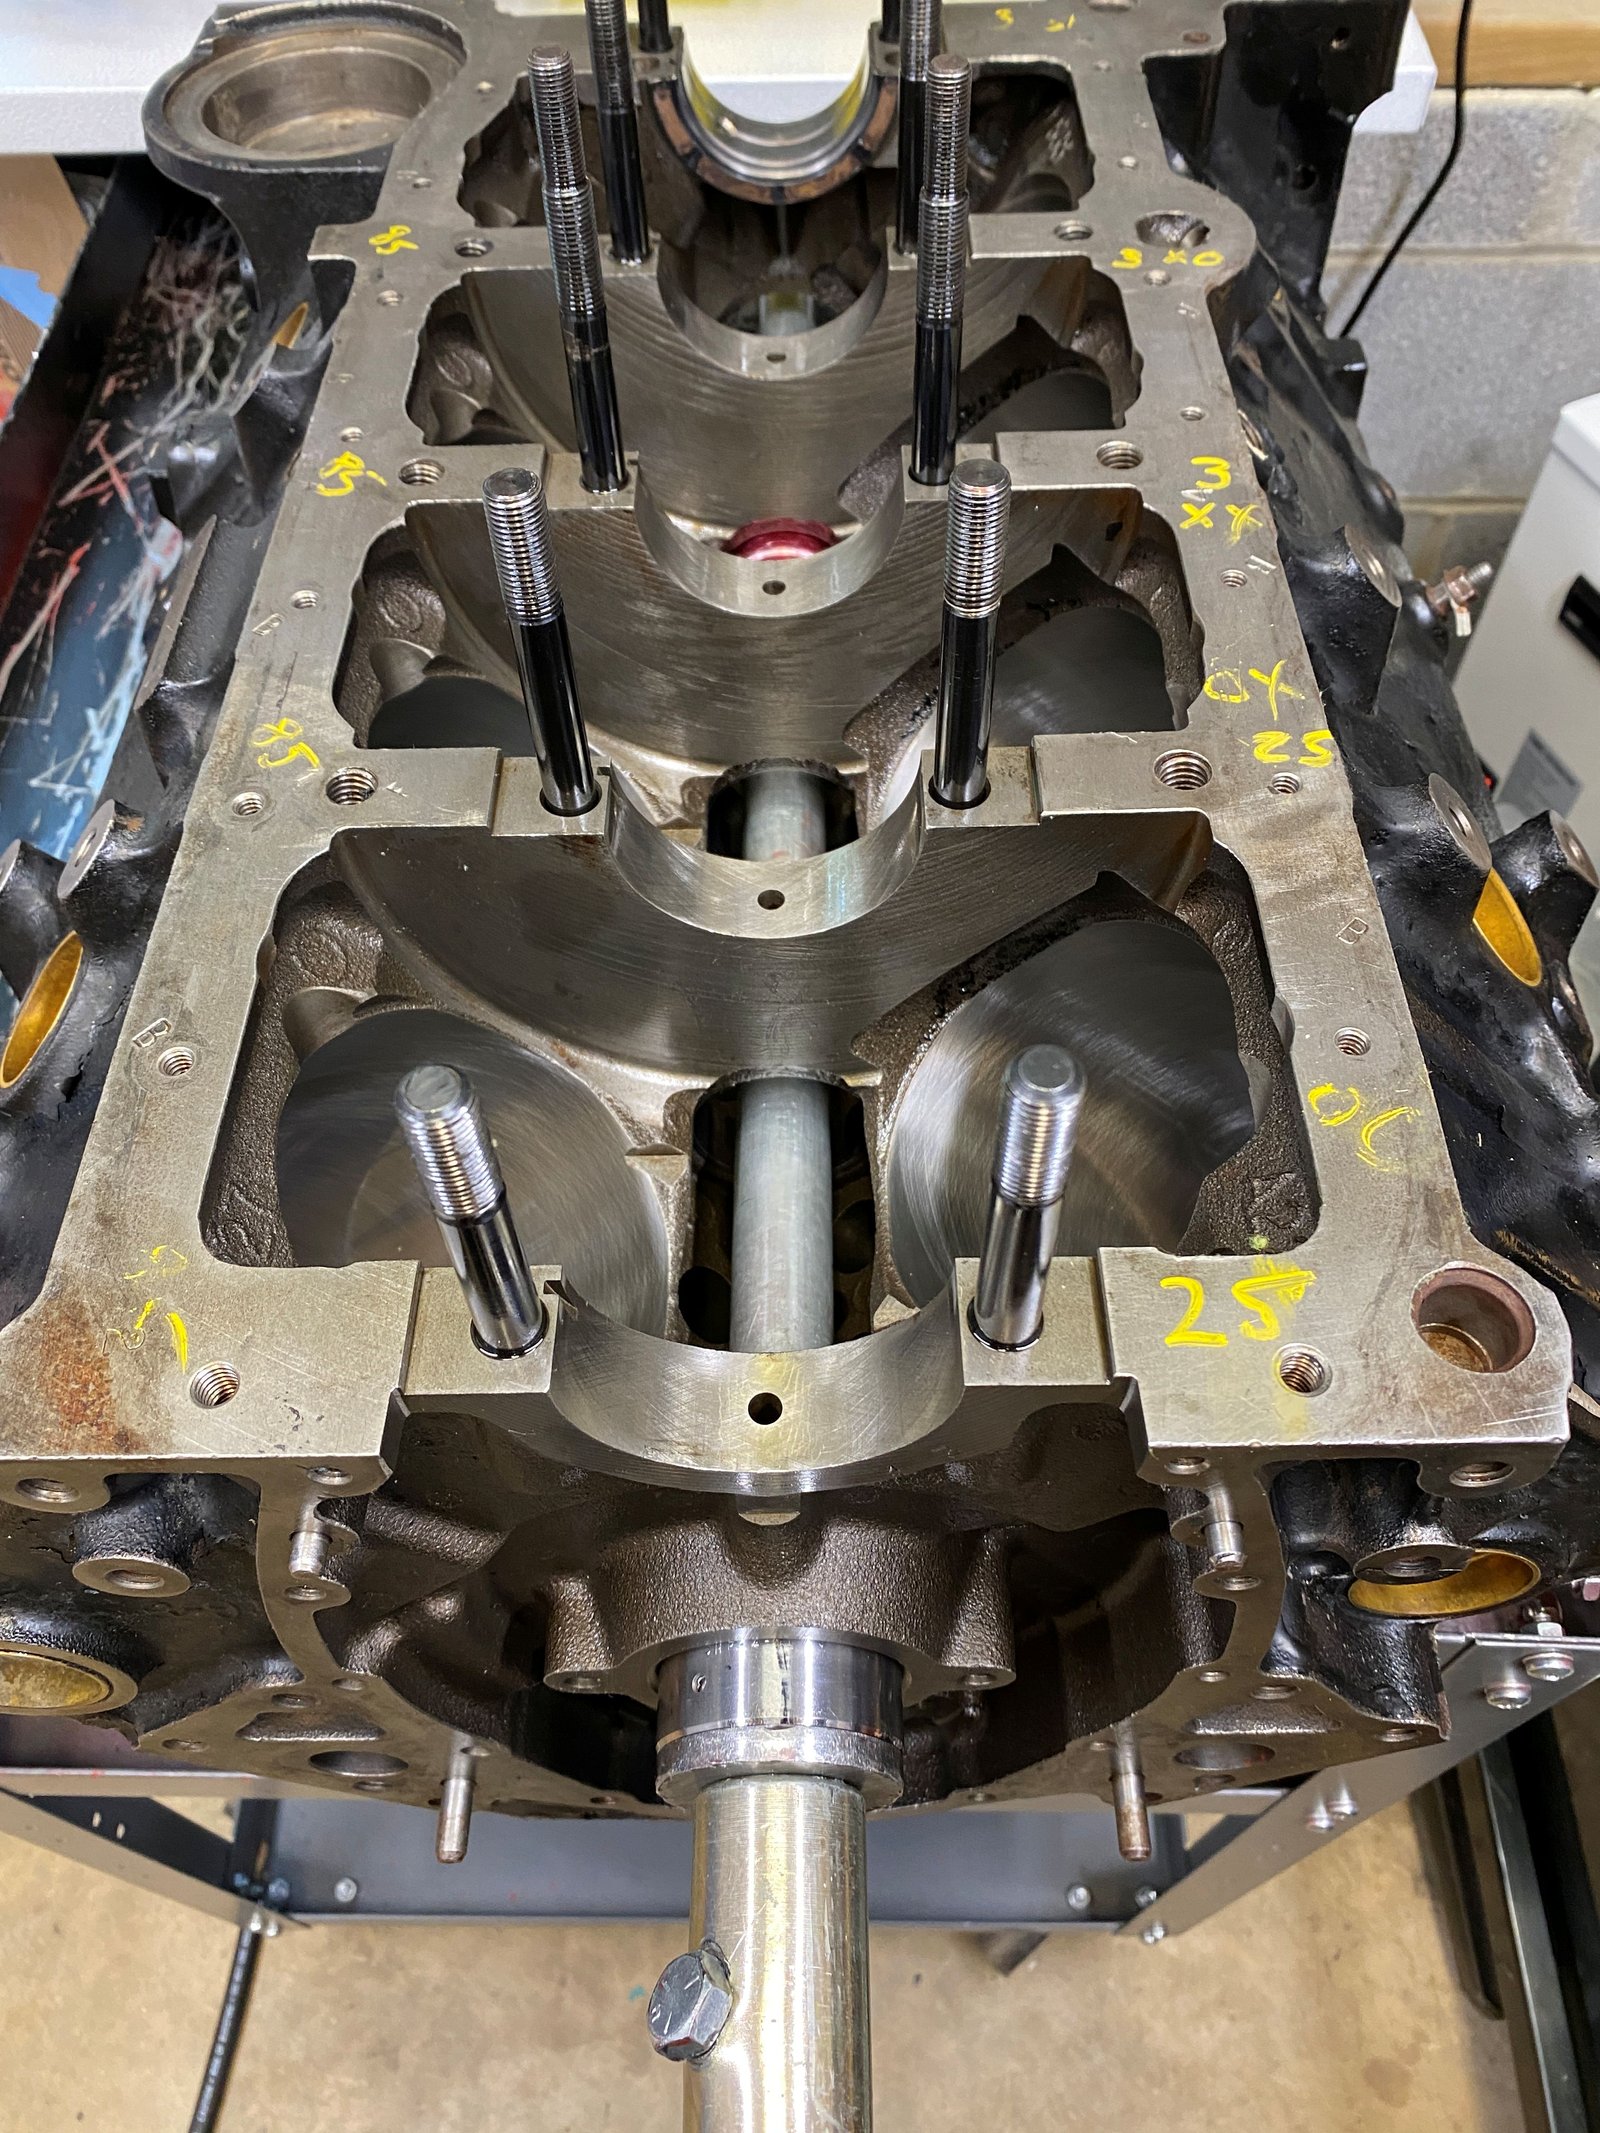
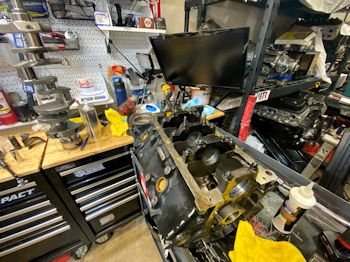
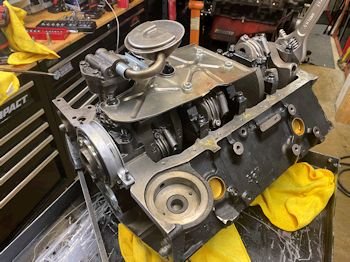
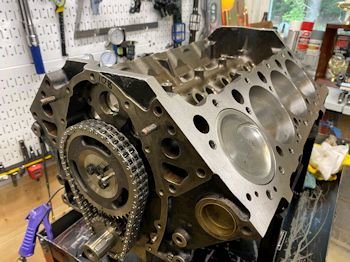
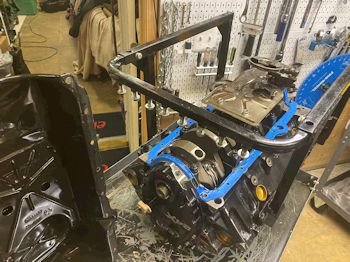
Rotating assembly installed. Still need to degree check
the cam shaft.
|
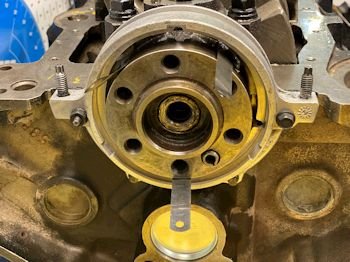
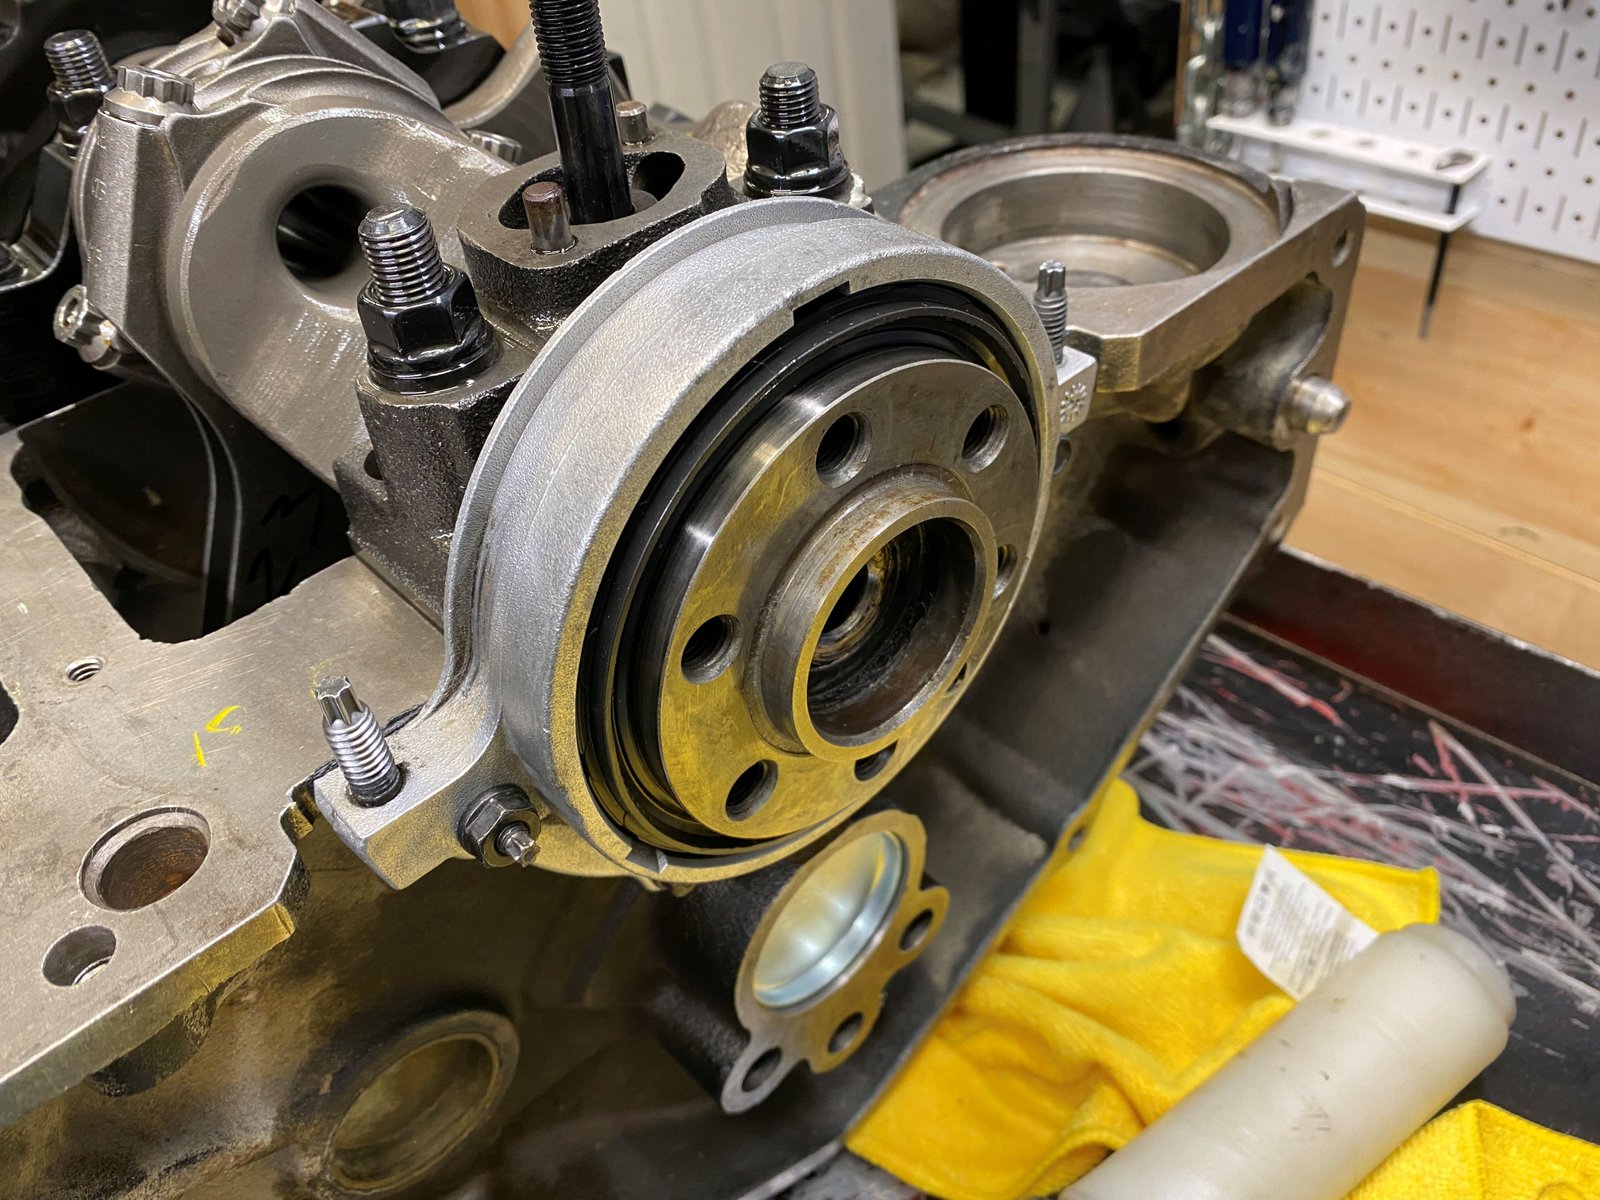
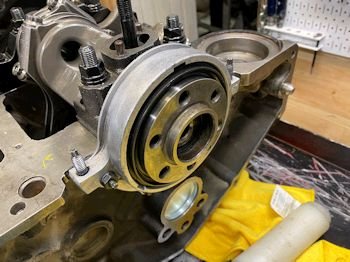
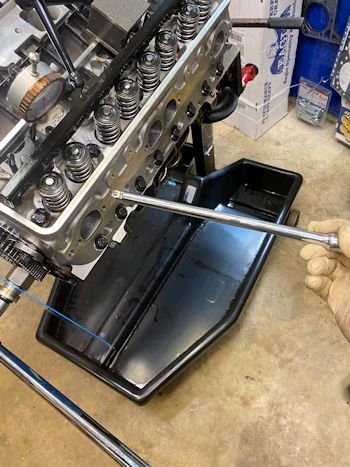
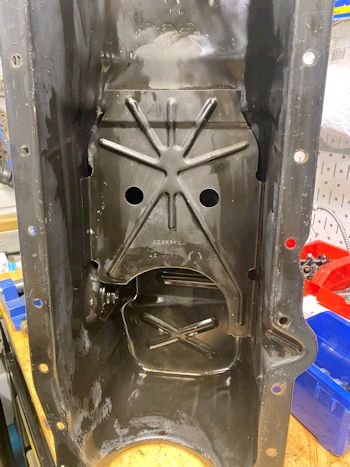
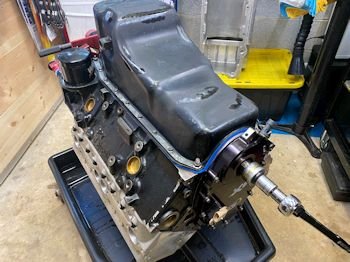
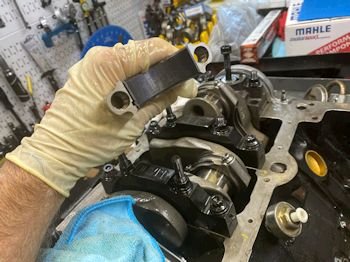
While there is access I decided to install the rear main seal
housing. These are .003" feeler gauges acting as shims
to align the rear main seal housing. |
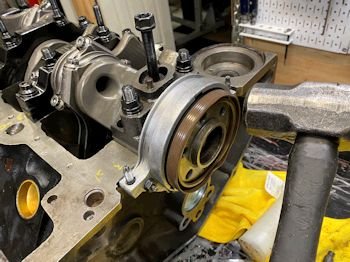
Then I use the old rear seal as a guide to hammer on the new seal.
|
 |
Rod bolts torqued to 75 ft-lb. The rod side clearance is
.022". (previously I have written down that it was .020")
|
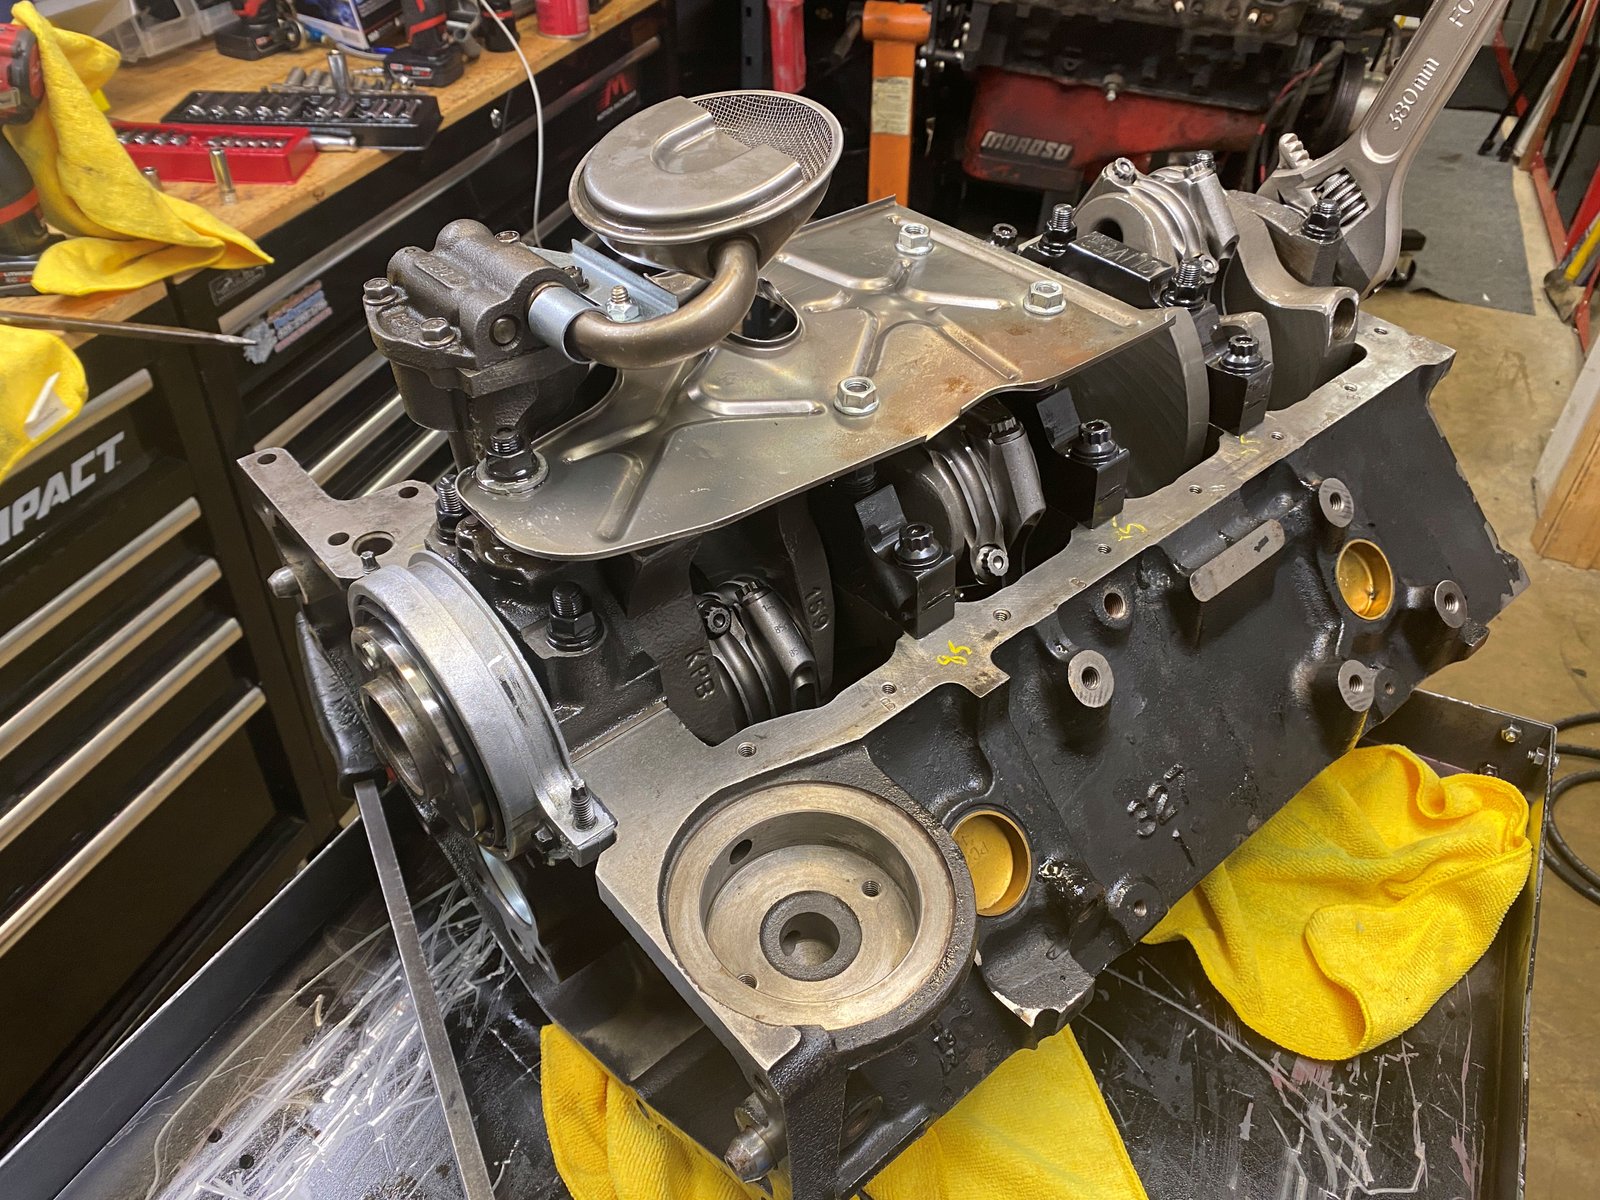
Reusing stock oil pump with Jeg's retainer. |
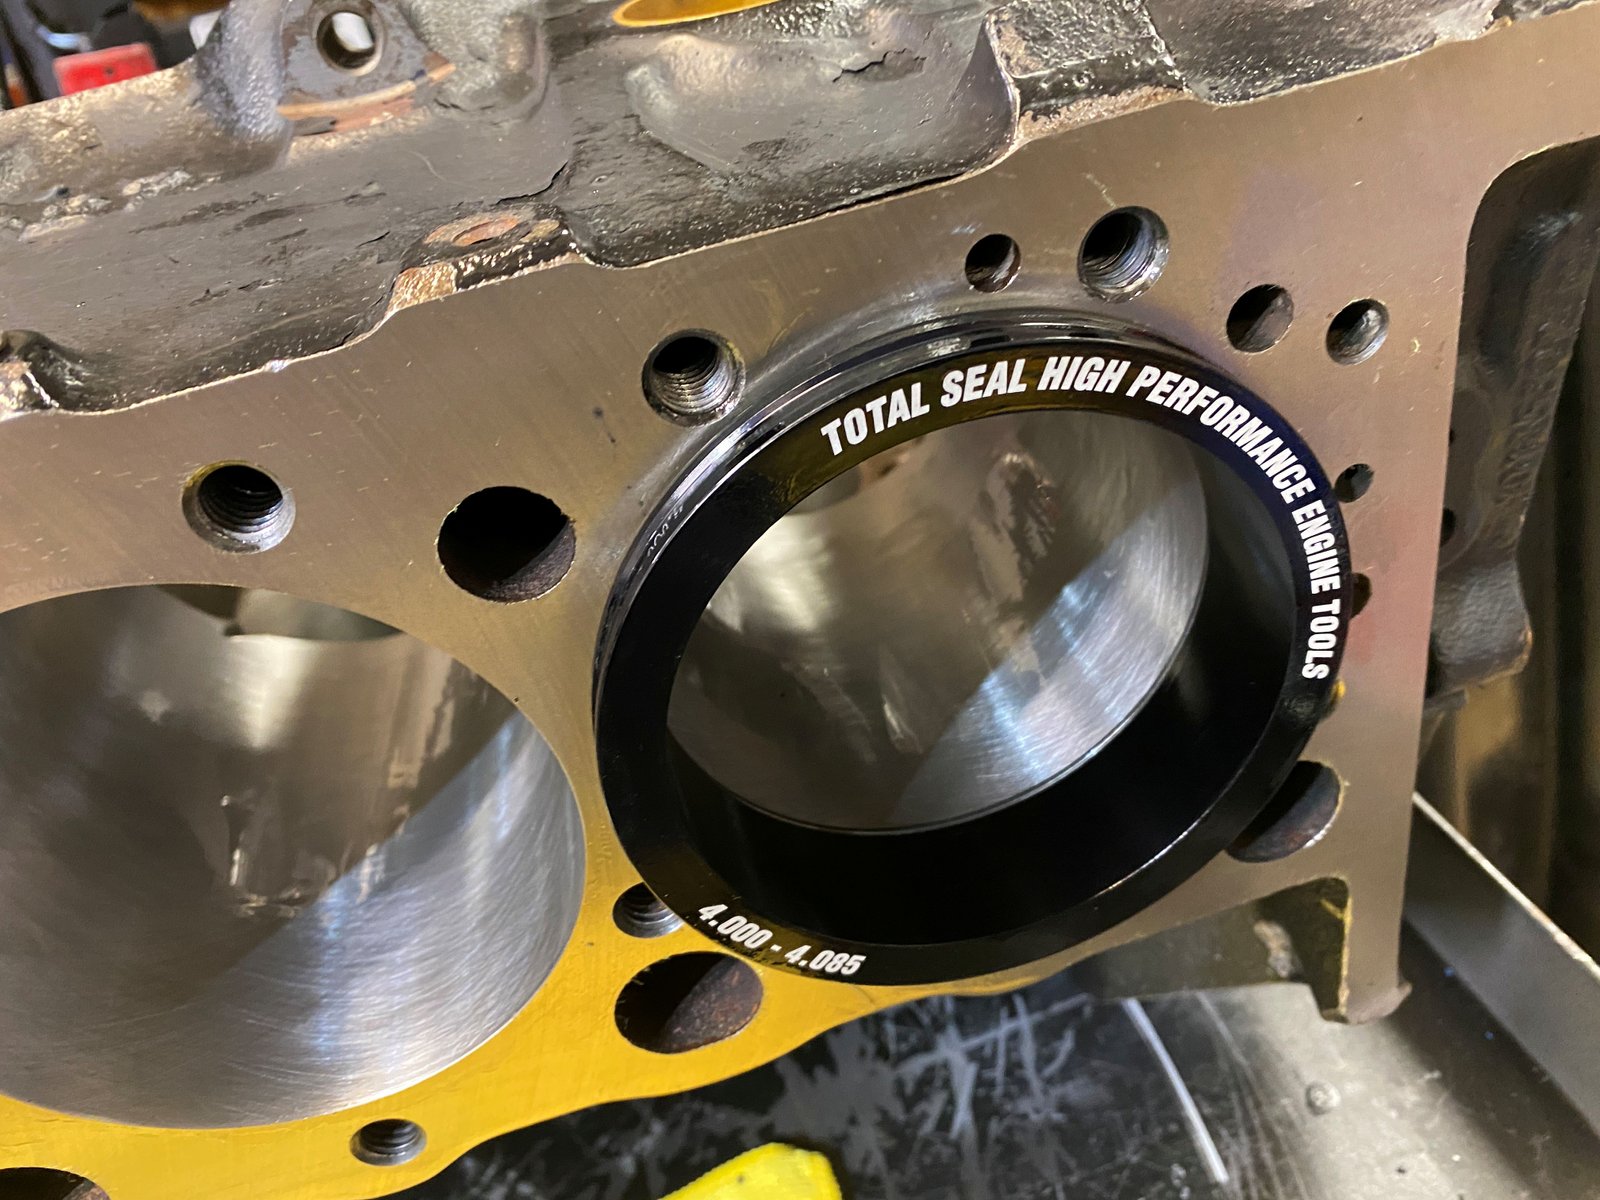
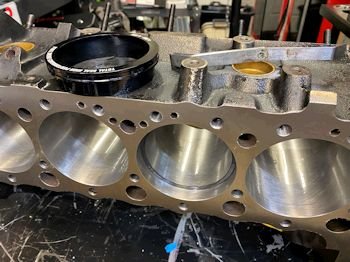
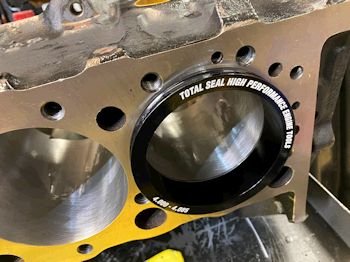
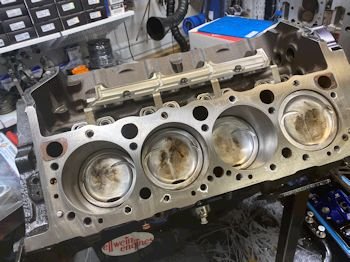
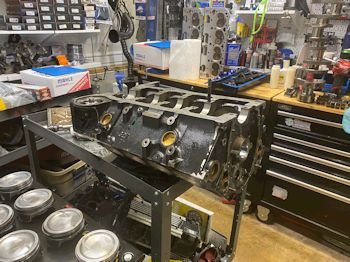
The block was honed for a fresh round bore. It is now at
4.035" That is good and loose for a blower motor.
Piston to bore is .009"
|
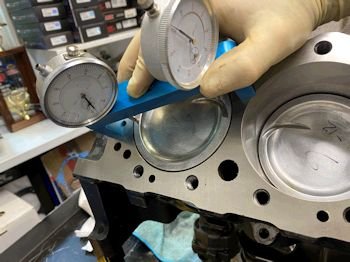
Pistons are .012" in the hole. Interesting that I
had measured them to be .008" in the hole during the initial
build. My measuring technique must be more refined now. |
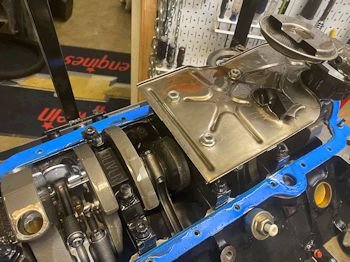
Oil galleys behind the timing set are plugged.
|
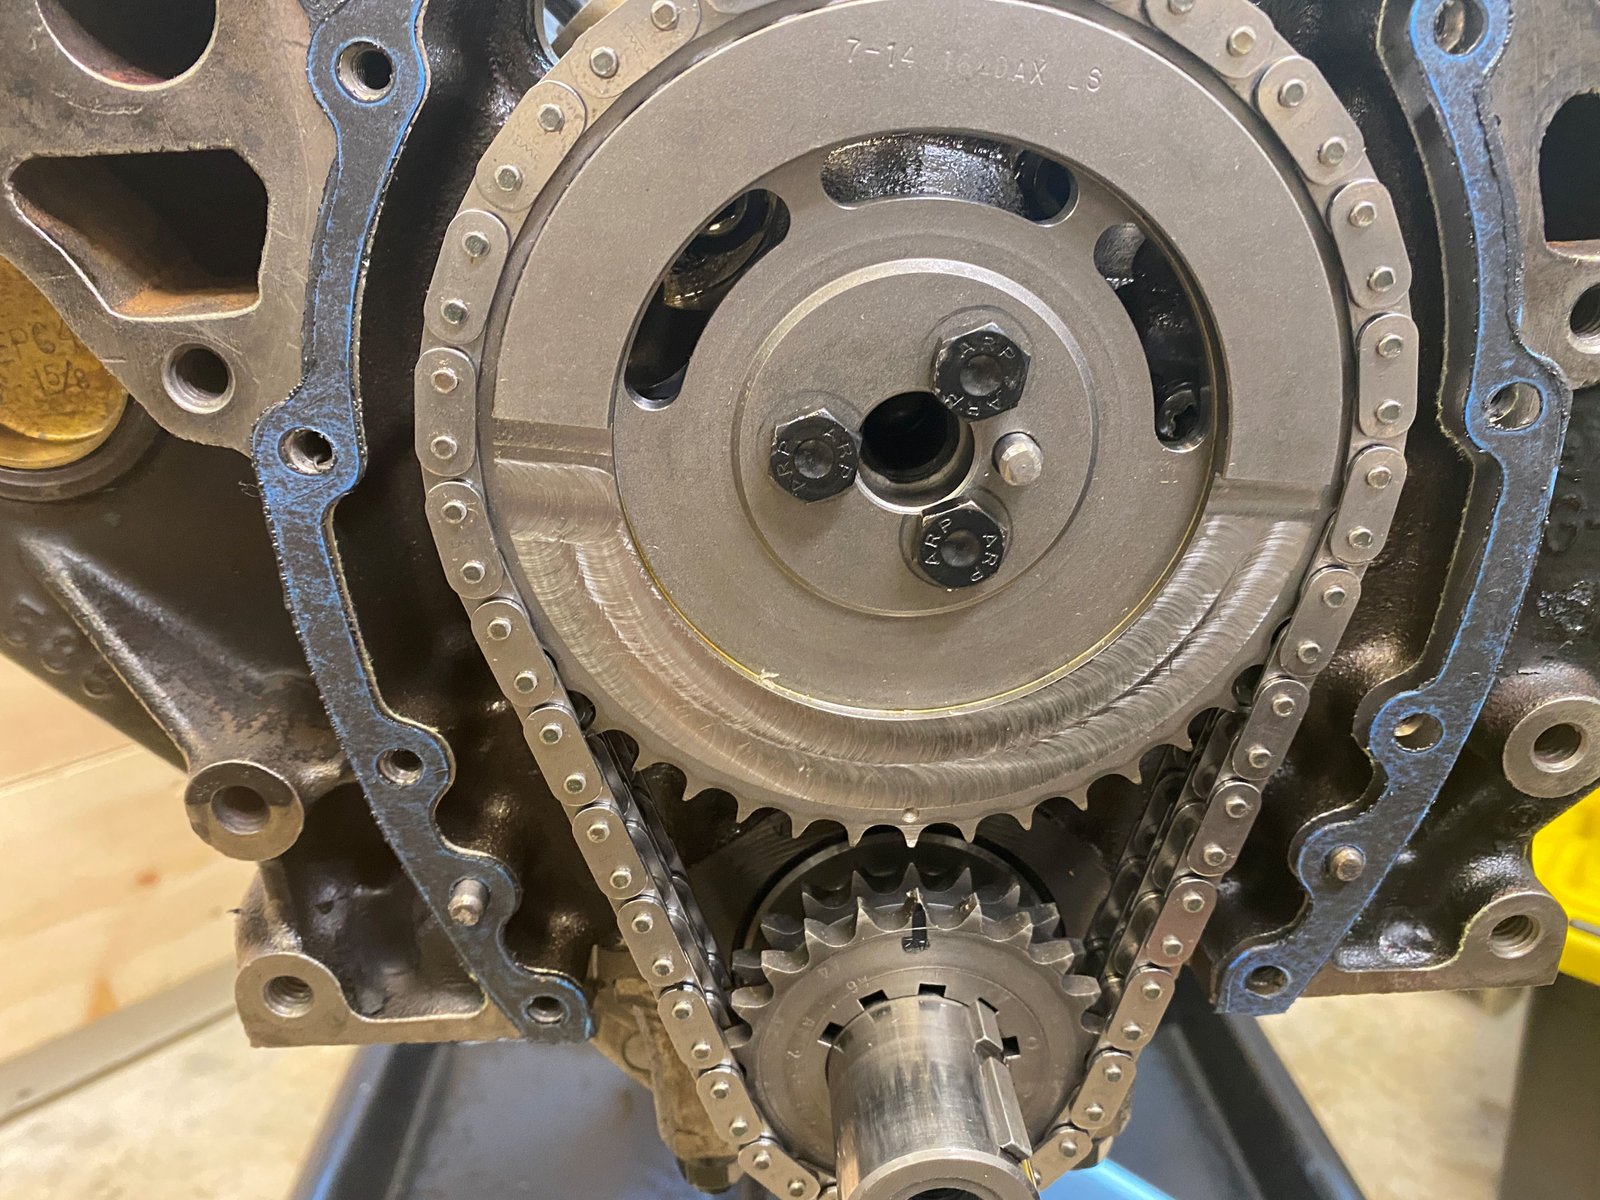
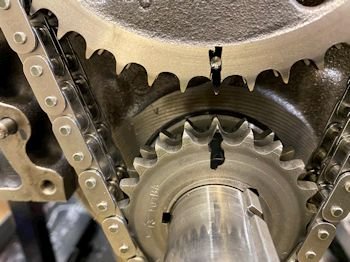
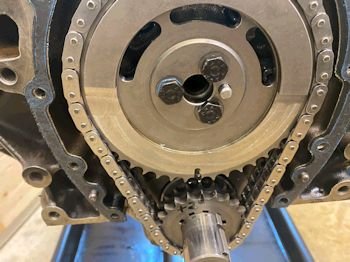
Right now the double roller timing set is being reused.
It is in good shape. I have the crank sprocket at the +4 and
the cam is at 108* intake centerline which is right at the cam
card spec. |
|
 |
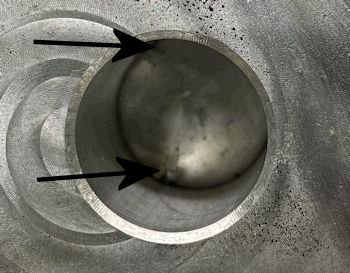
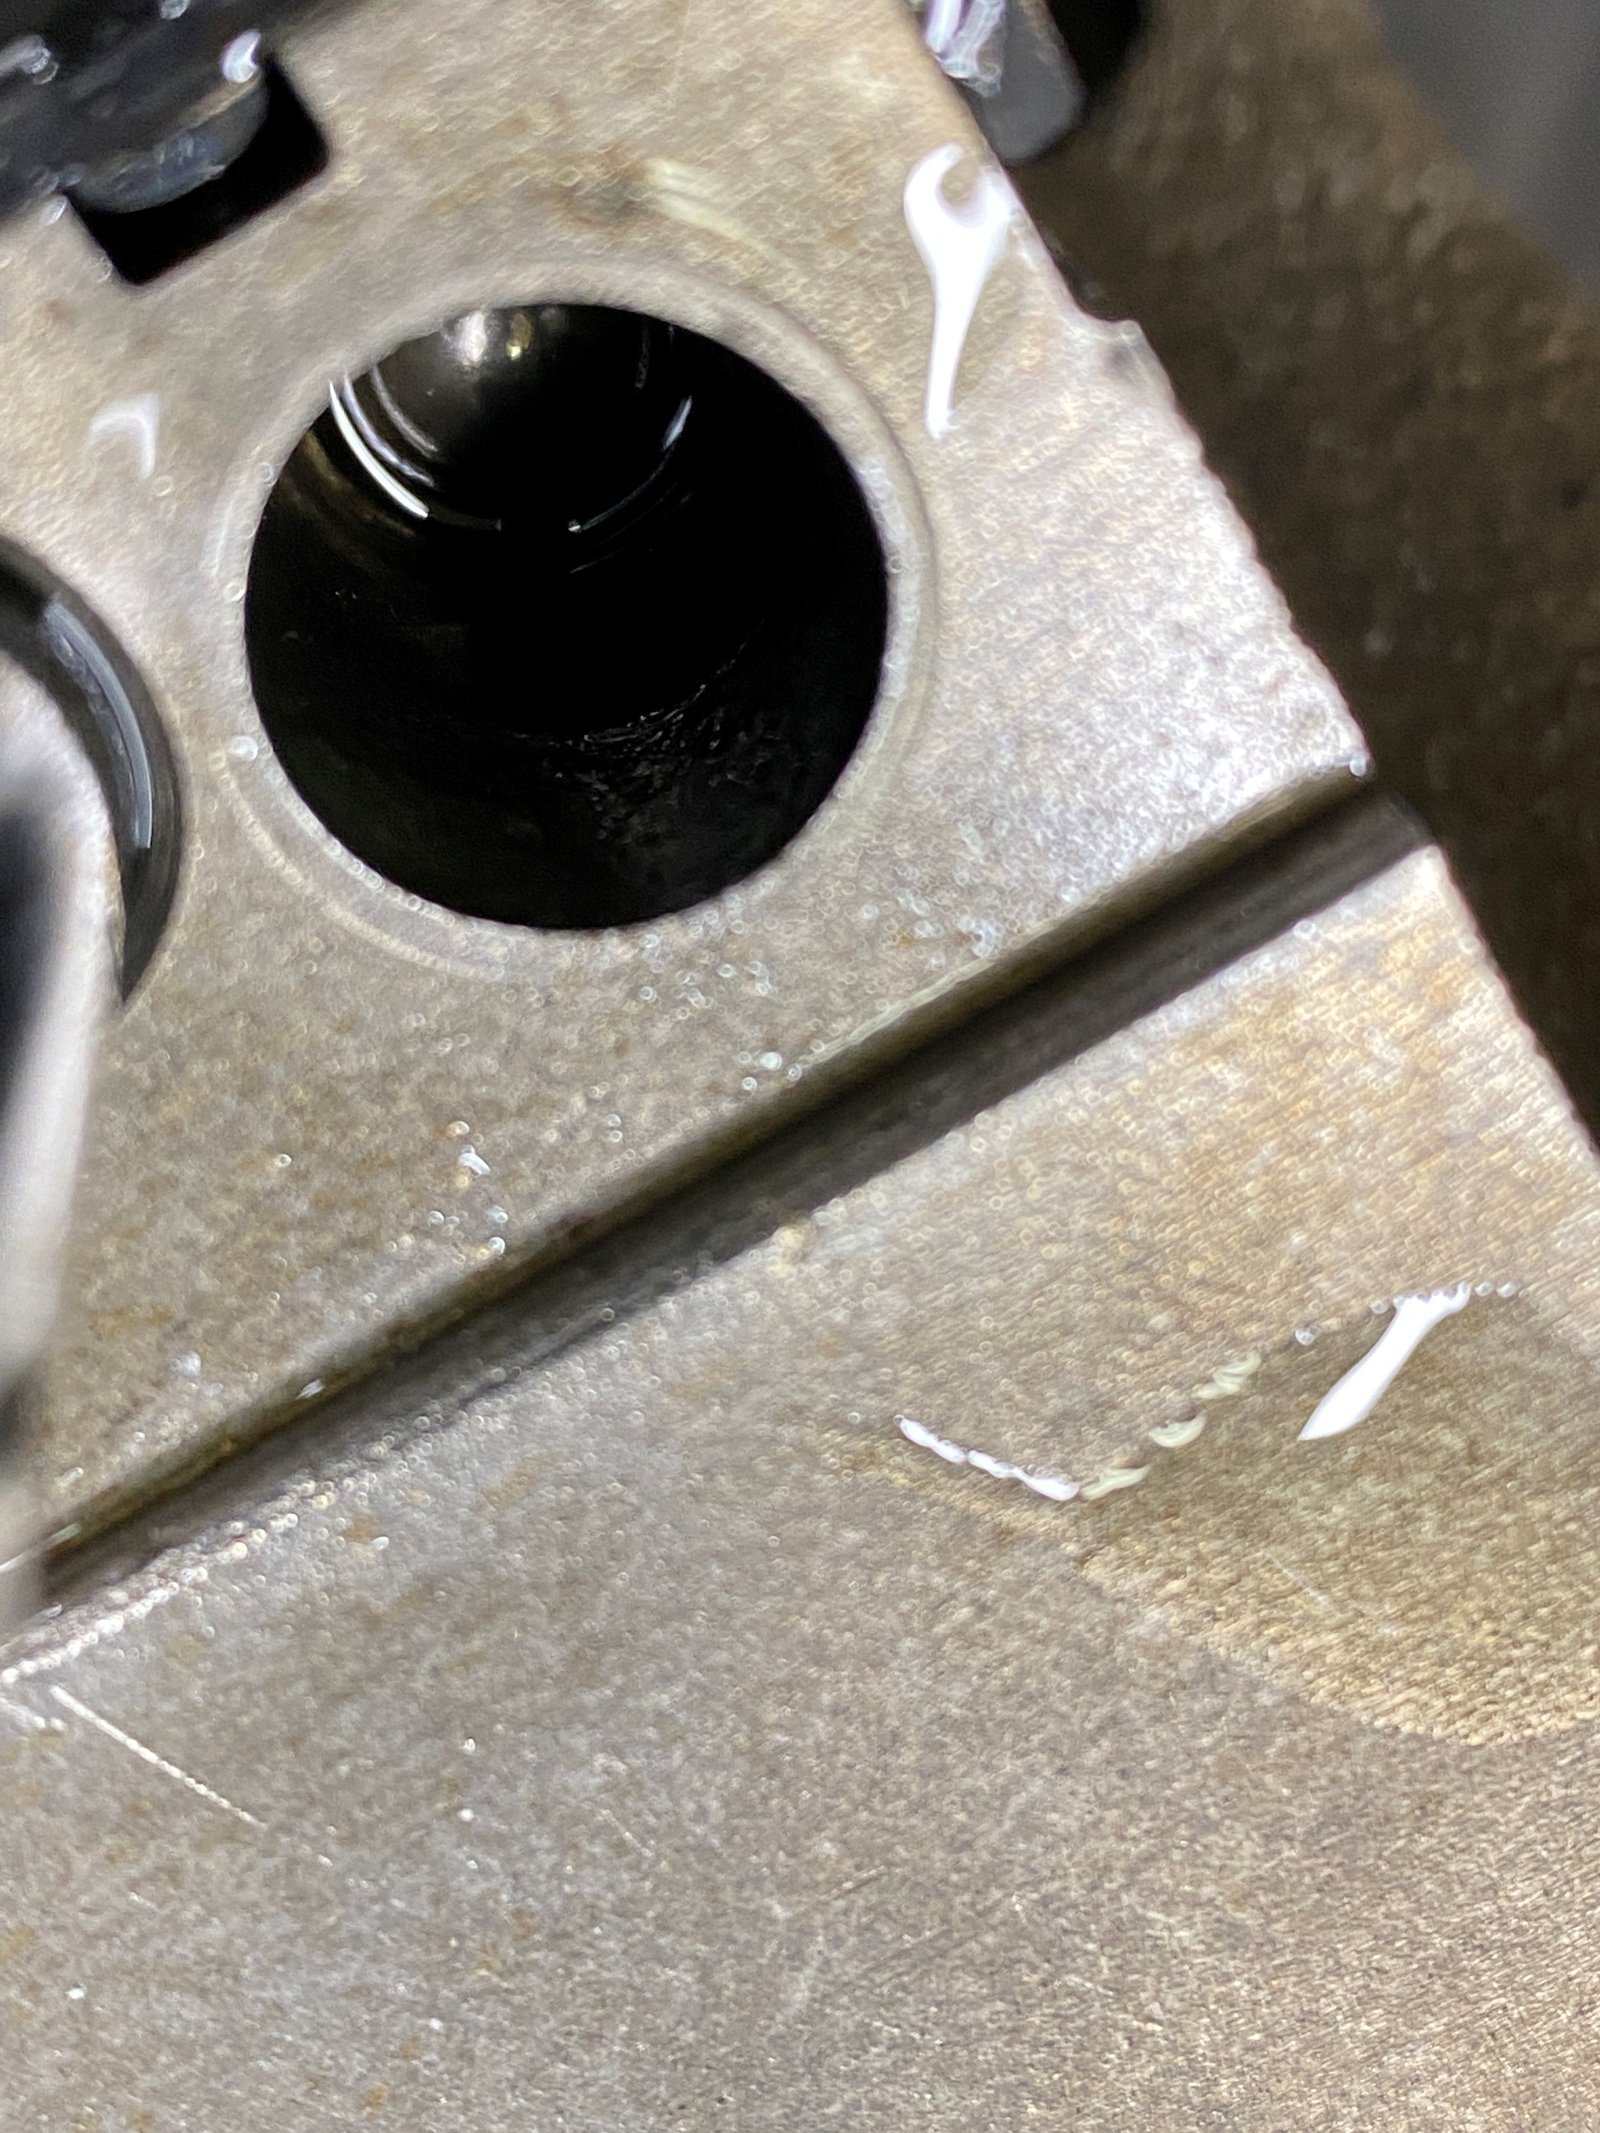
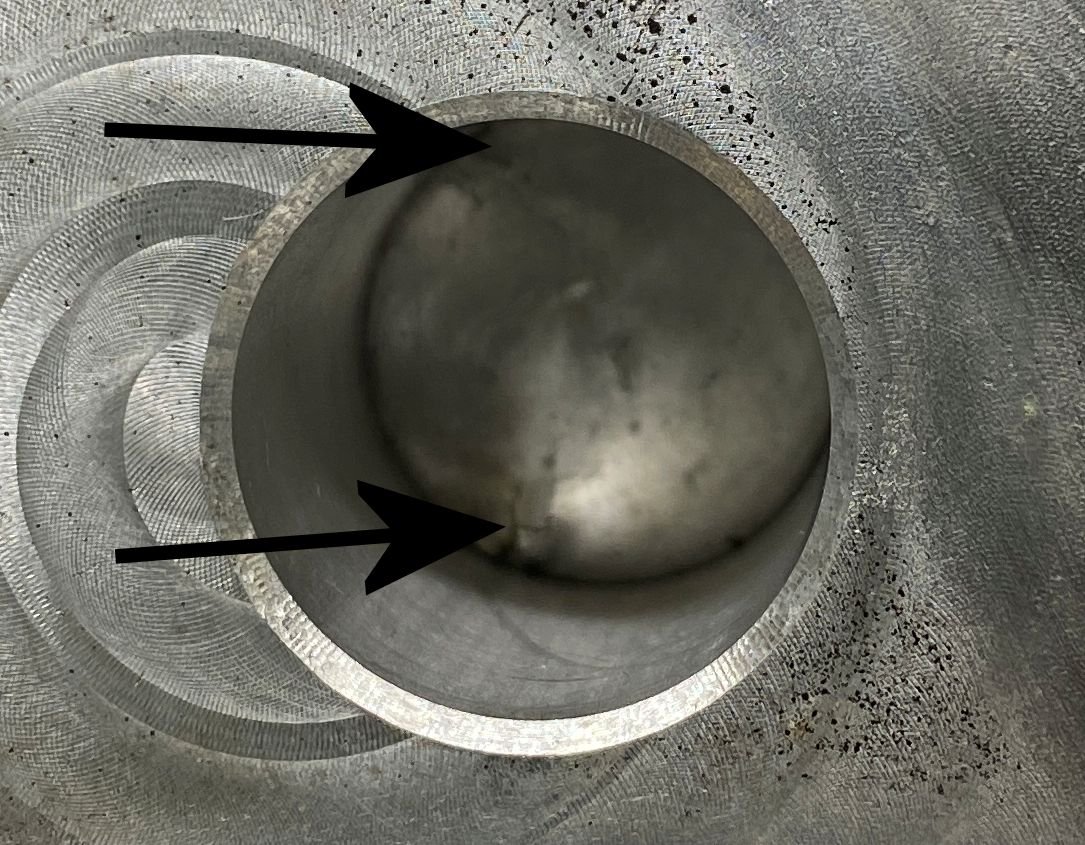
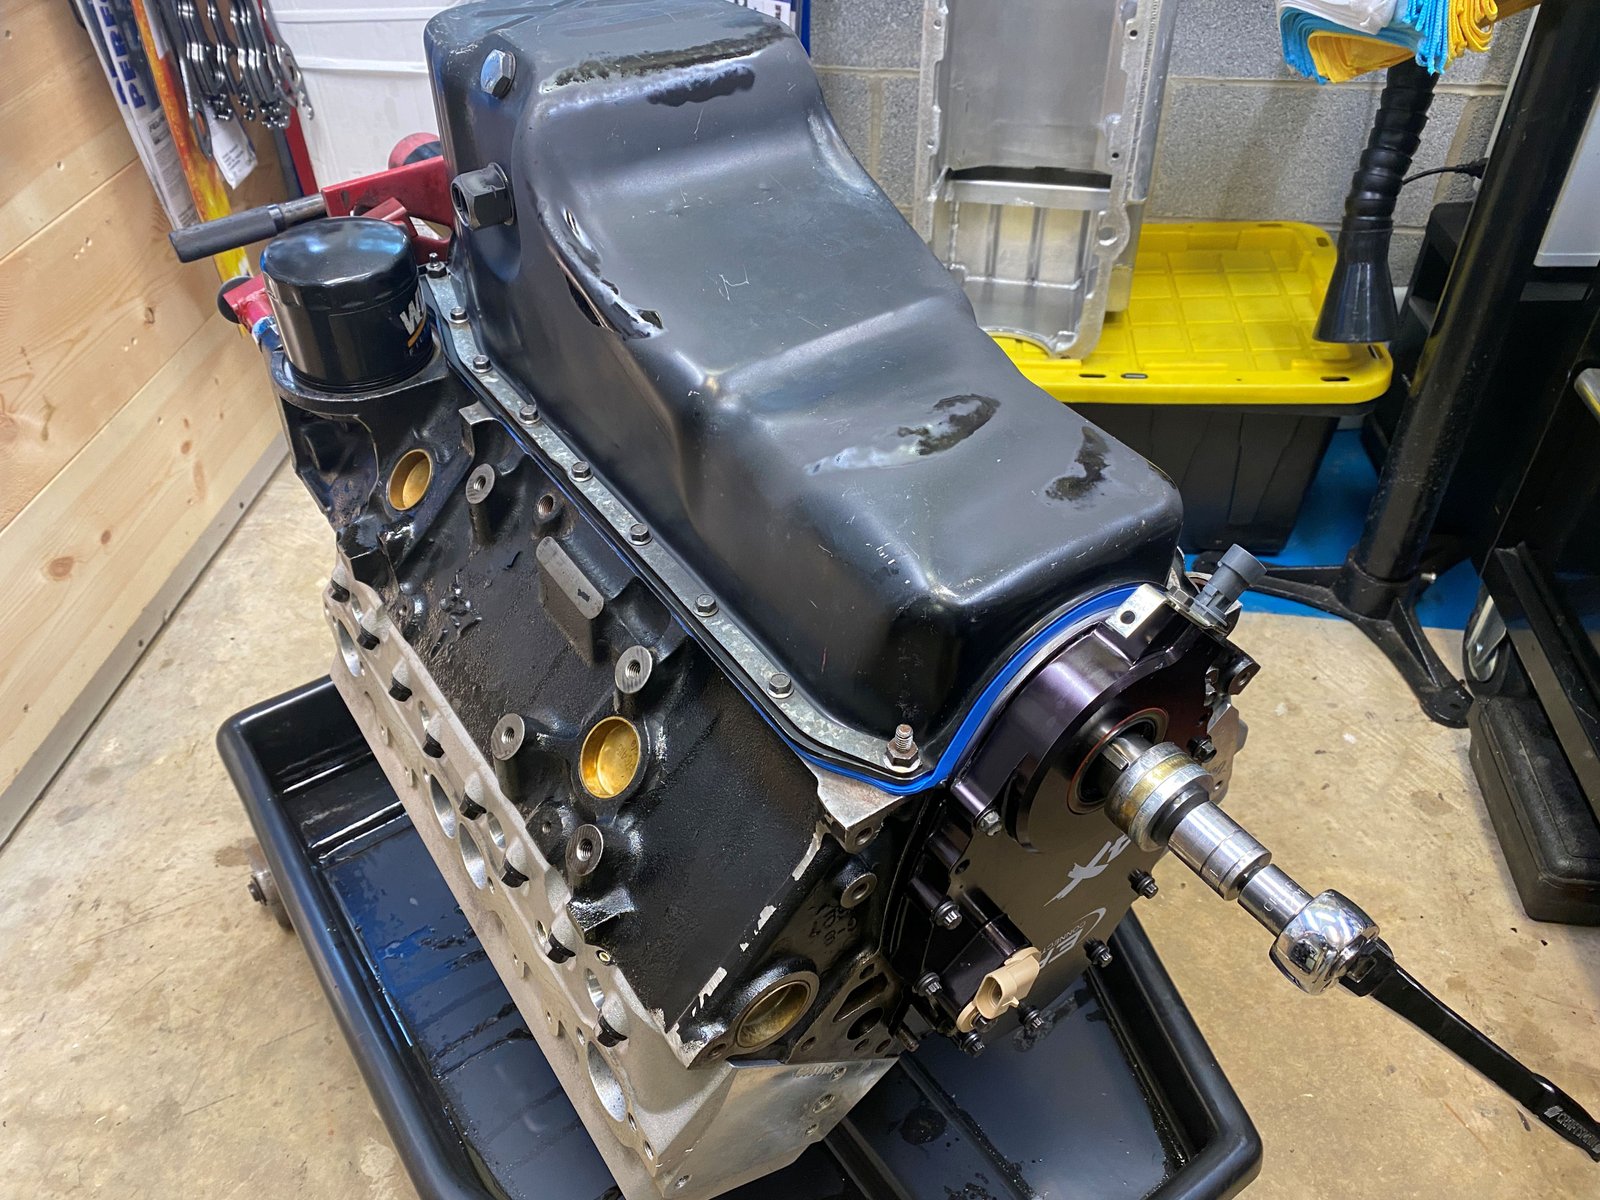
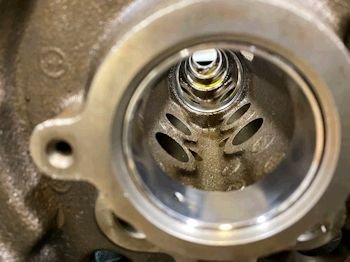
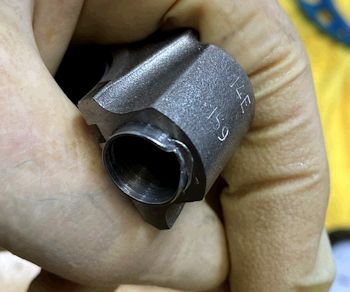
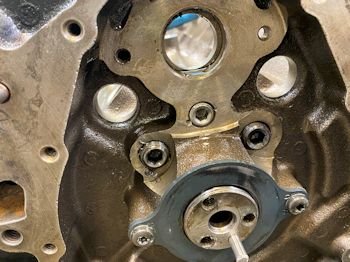
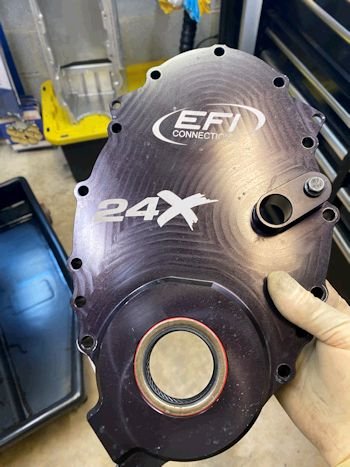
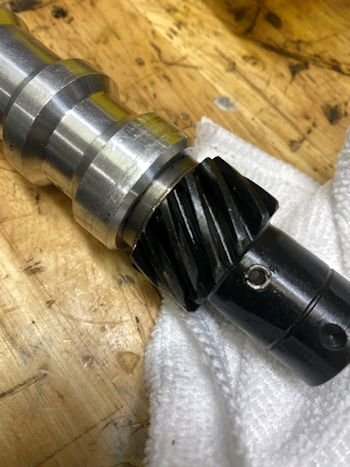
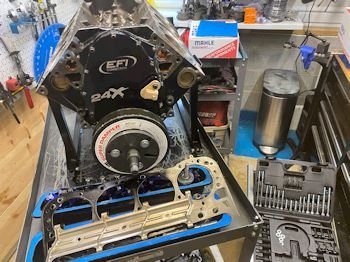
Now tackling the used 1st generation 24x kit from EFI
Connection. The cam pin from the previous owner was too long
and gouged into the cam sensor housing. That's not a fatal
flaw. Just pointing that out. This is the front side of the
housing and the cam sensor would fit in here. I made sure the
poked metal was flat.
|
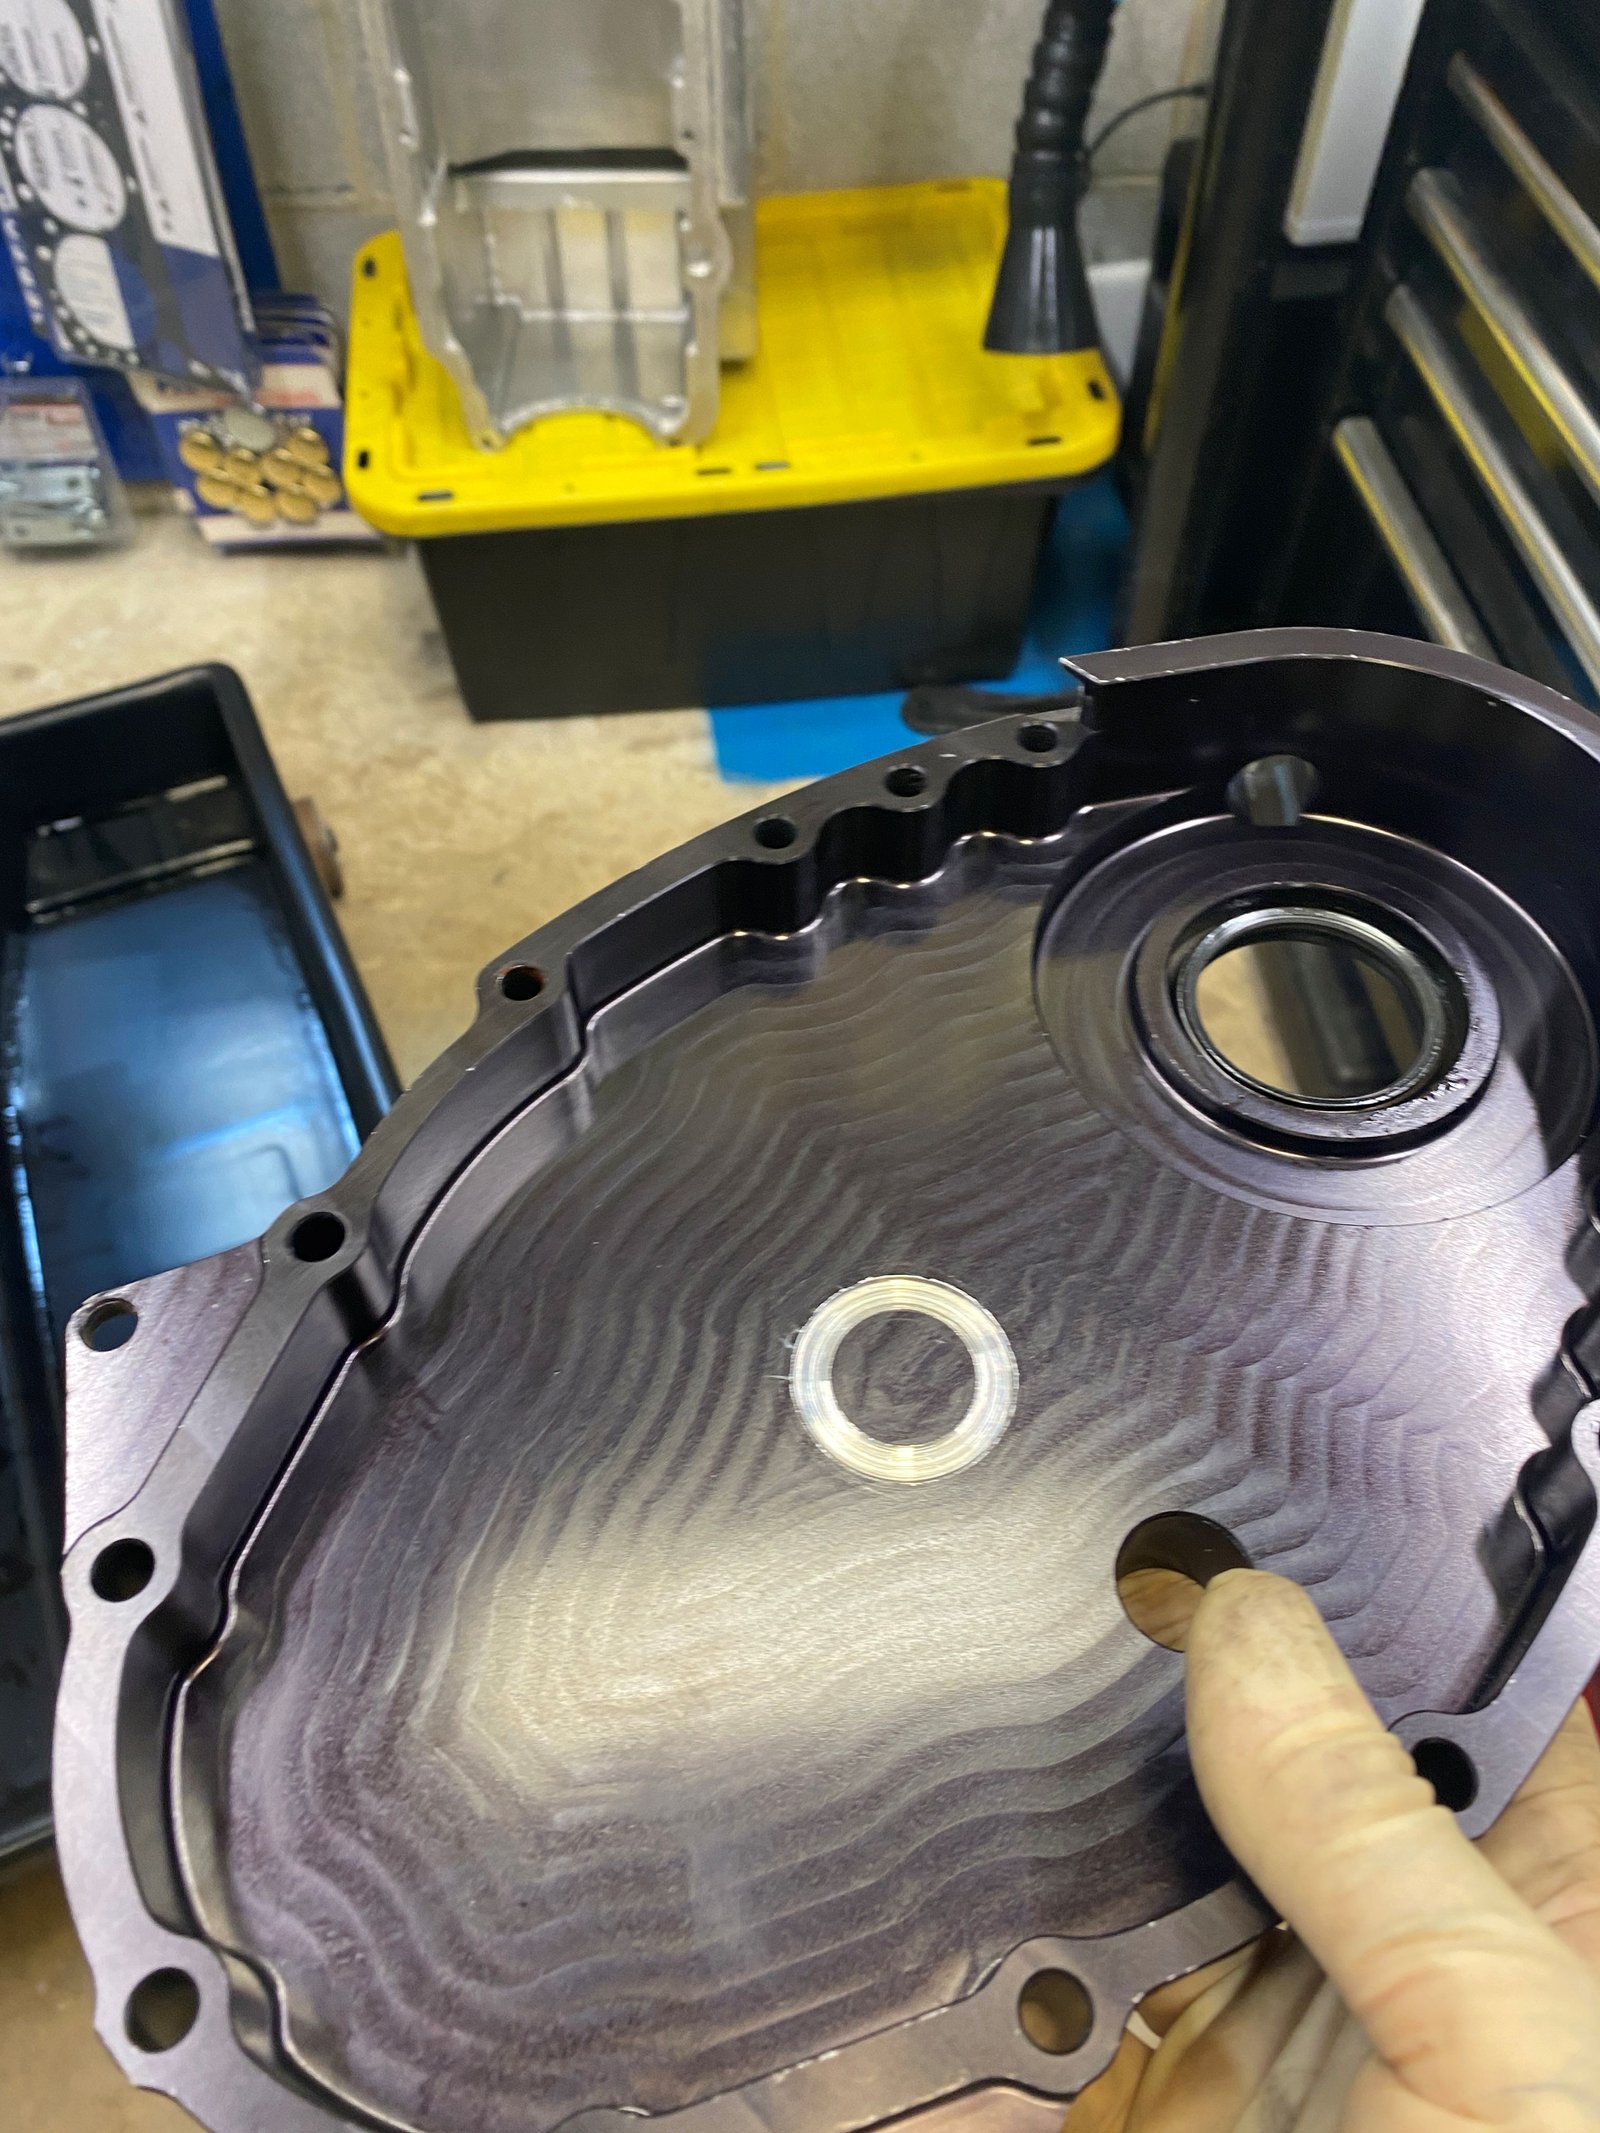
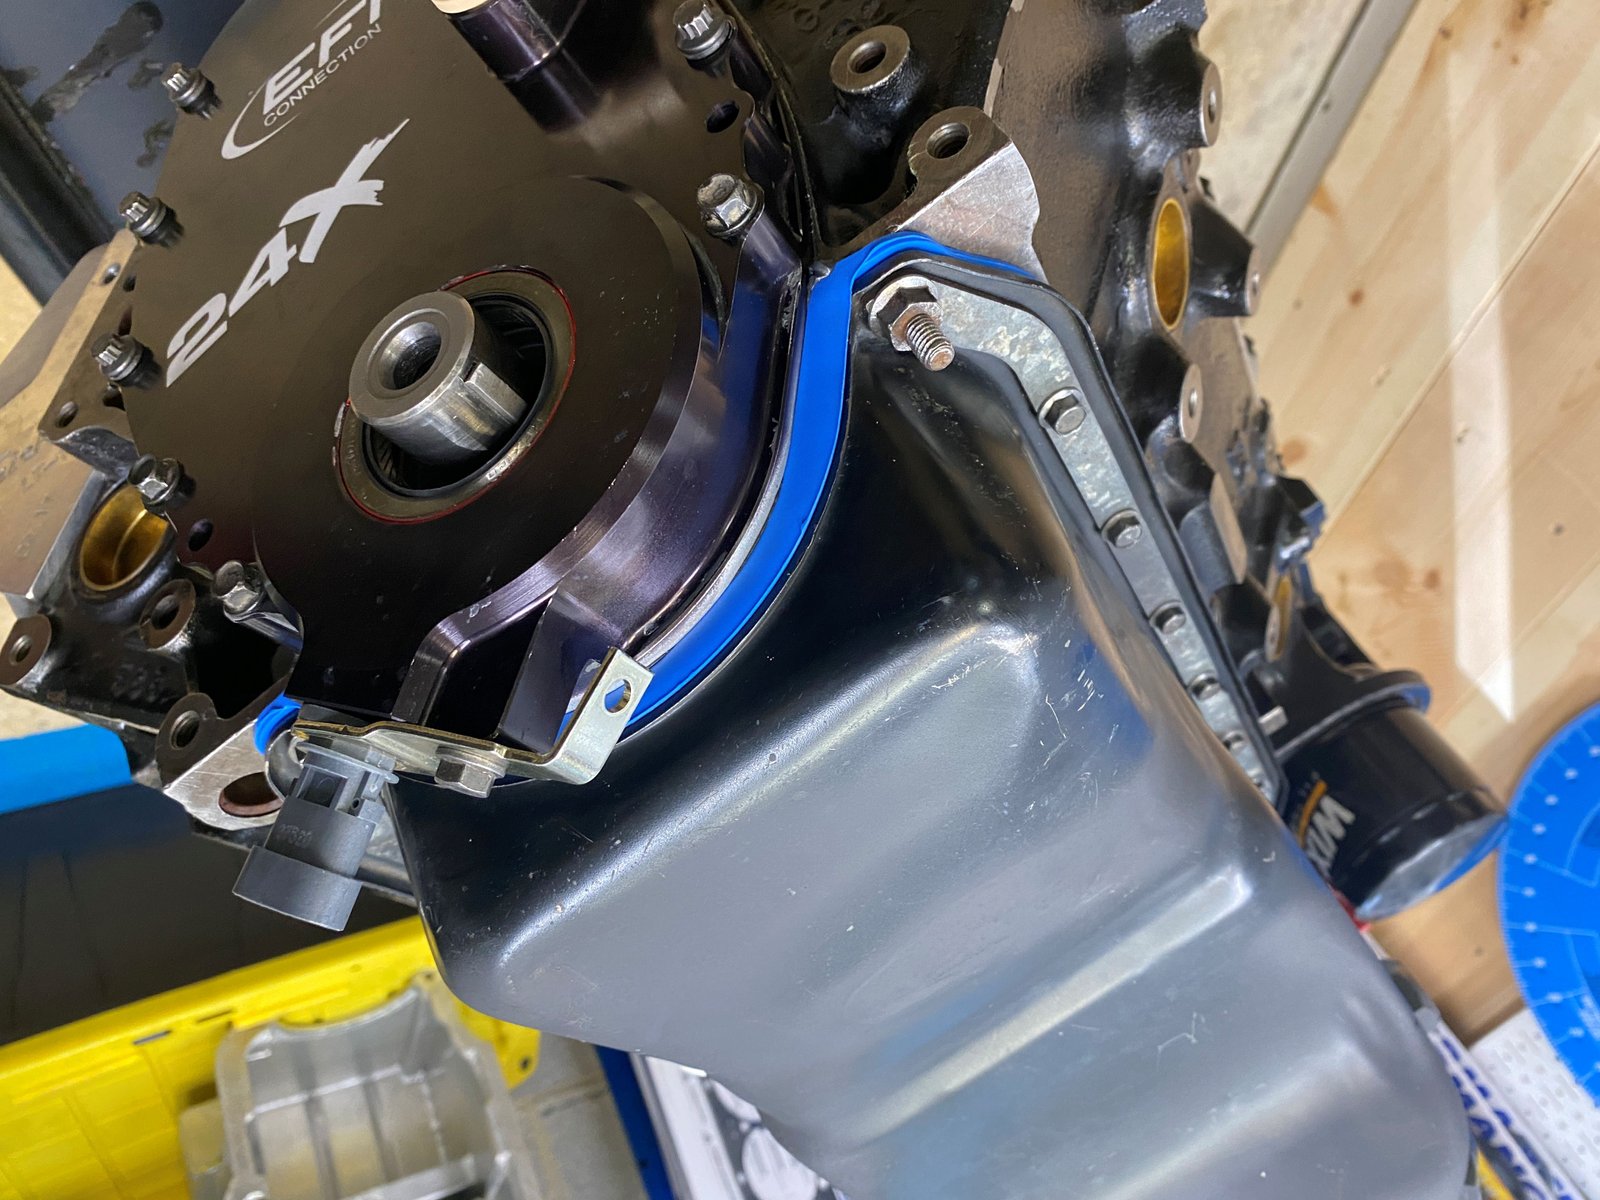
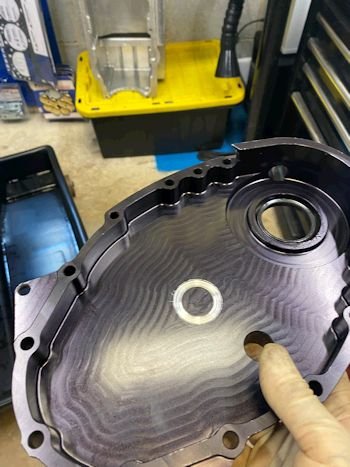
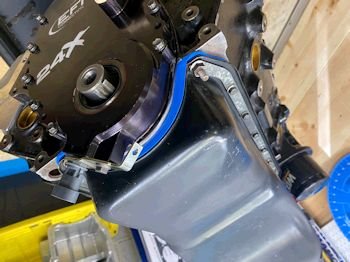
Then I made a blunder by not checking fitment carefully.
The crank sprocket for the 24x will jam into the crank seal lip
inside the timing cover, (if you use a double roller timing
set). This 24x previously owned sprocket was for a stock
single roller apparently. I busted the timing cover when
torquing the bolts to 12 ft-lb. Will address that in a few
days after some parts from EFI Connection arrive. |

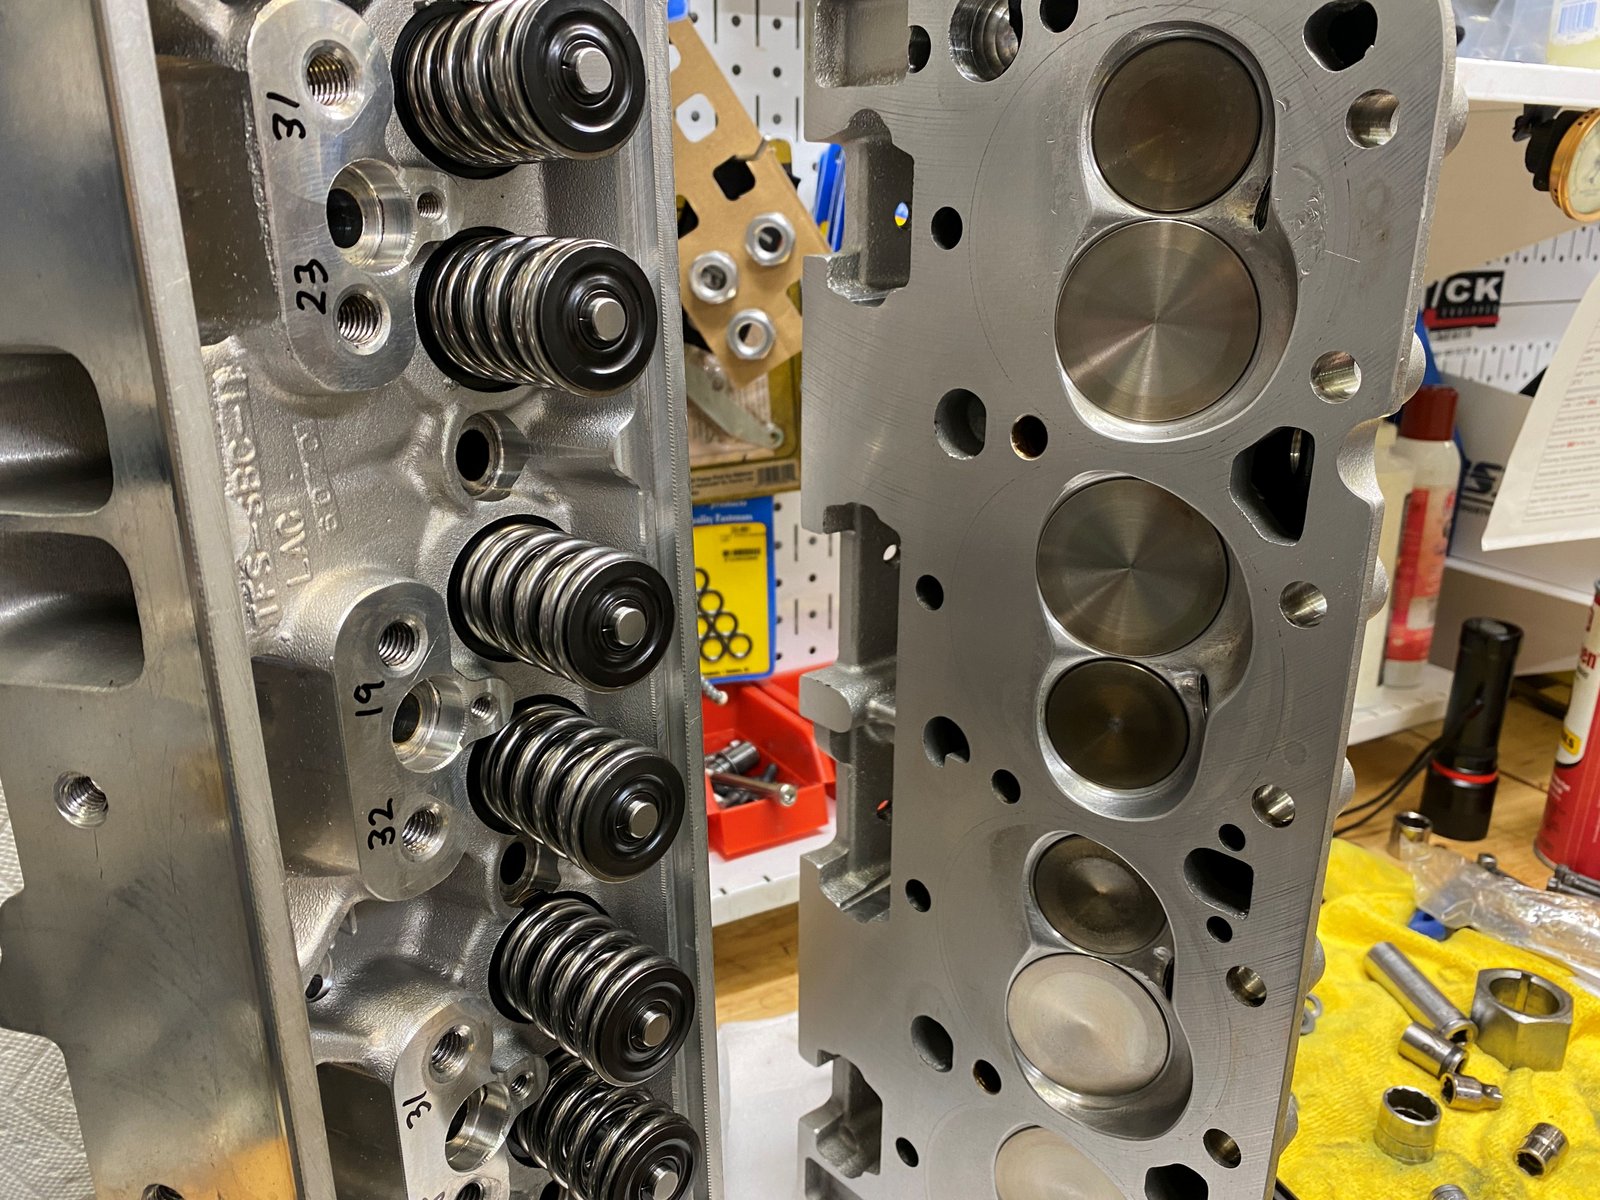
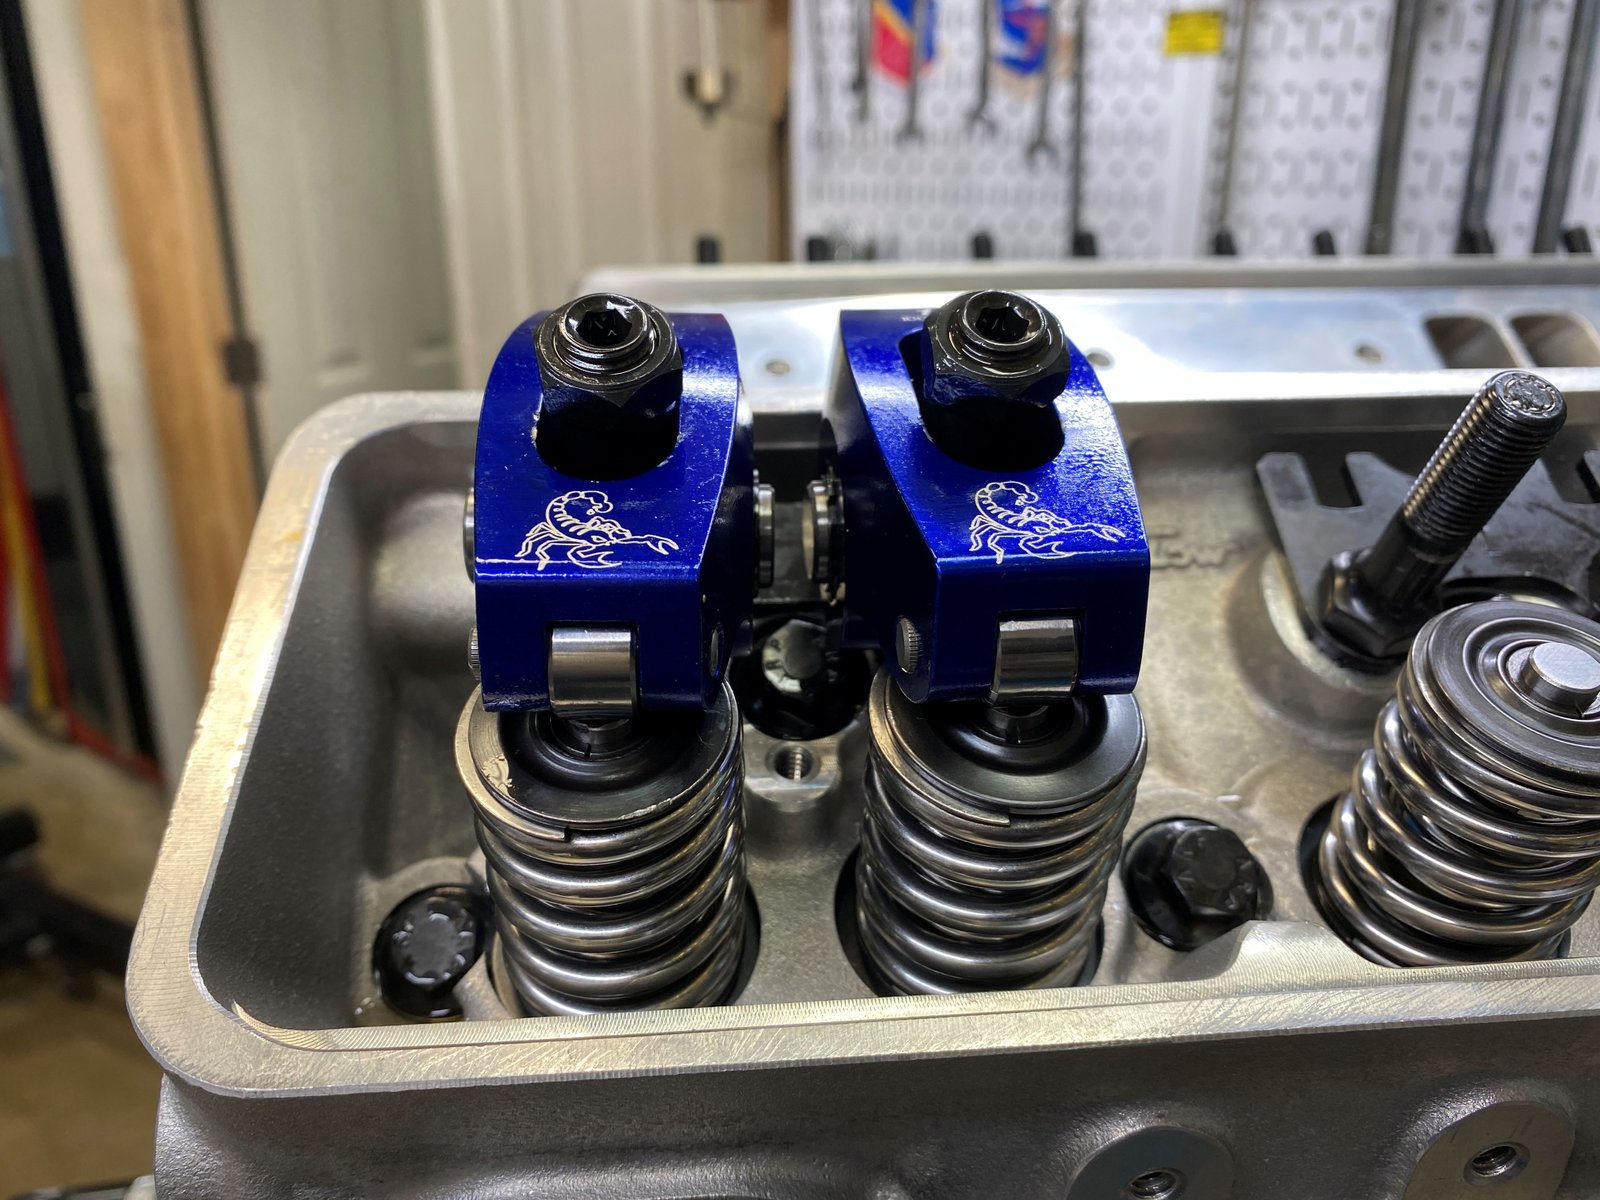
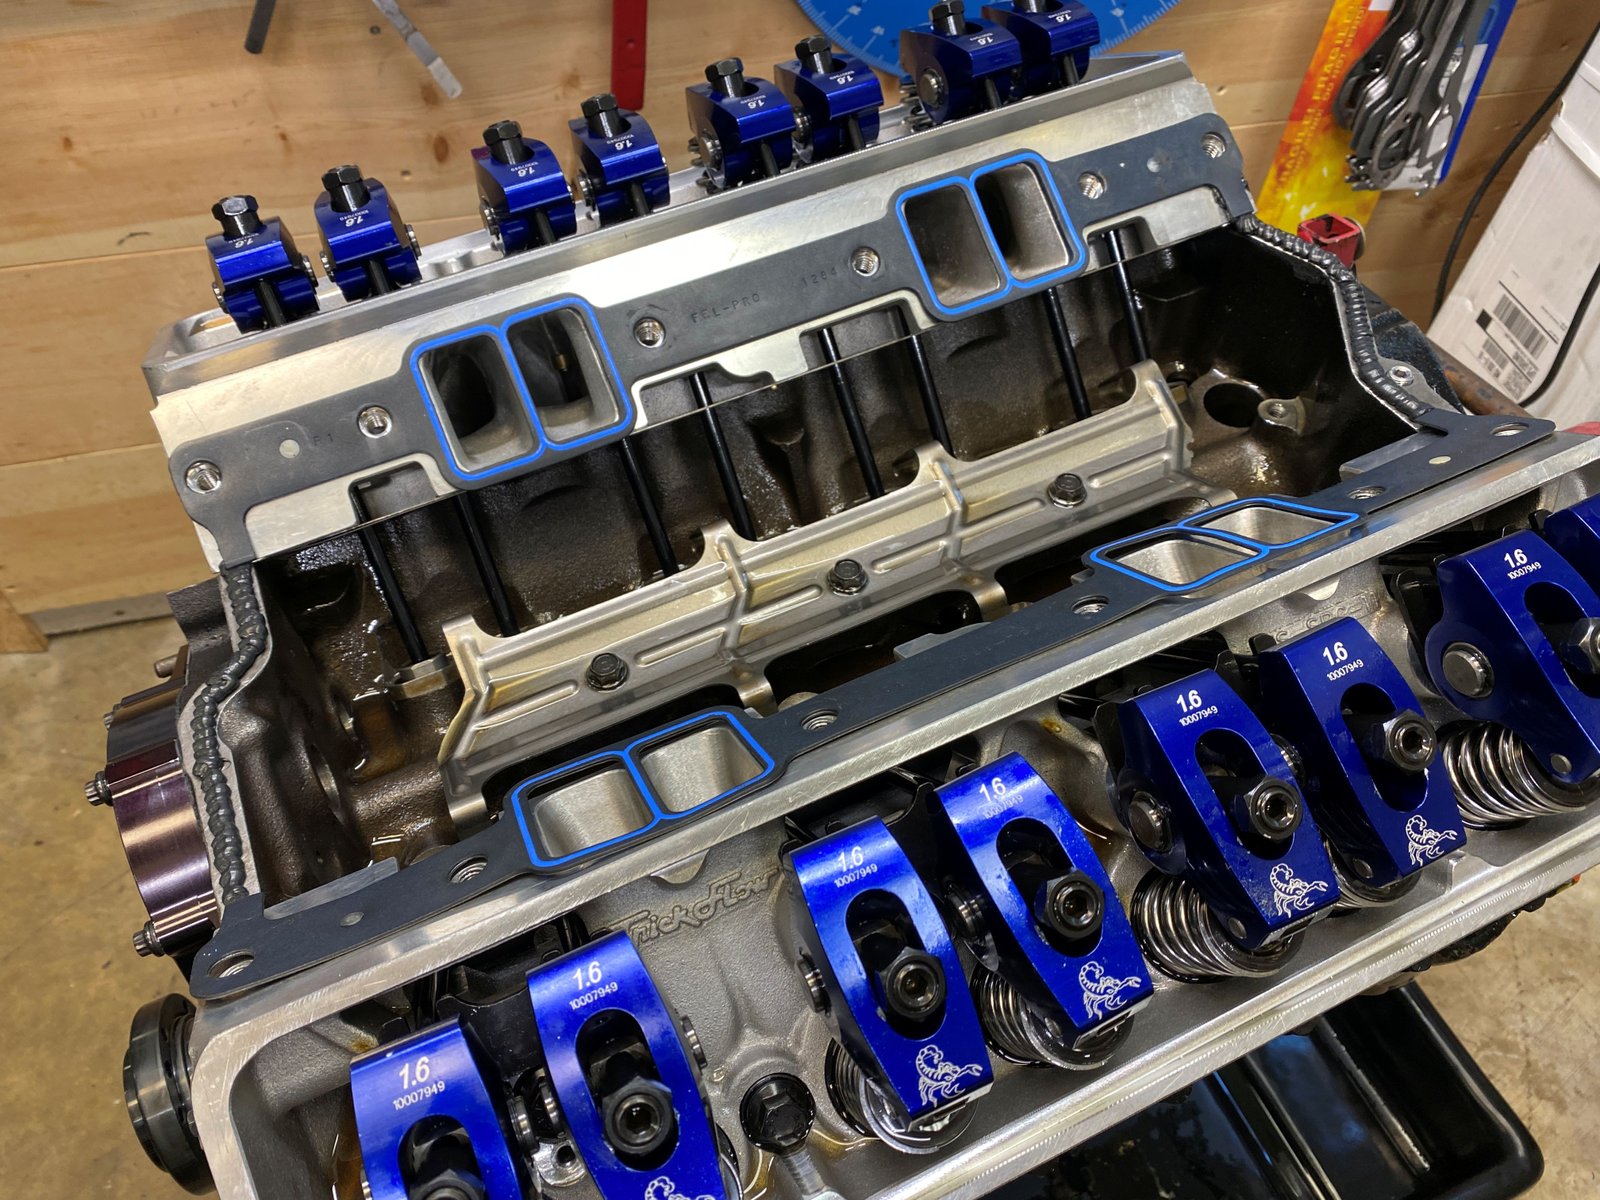
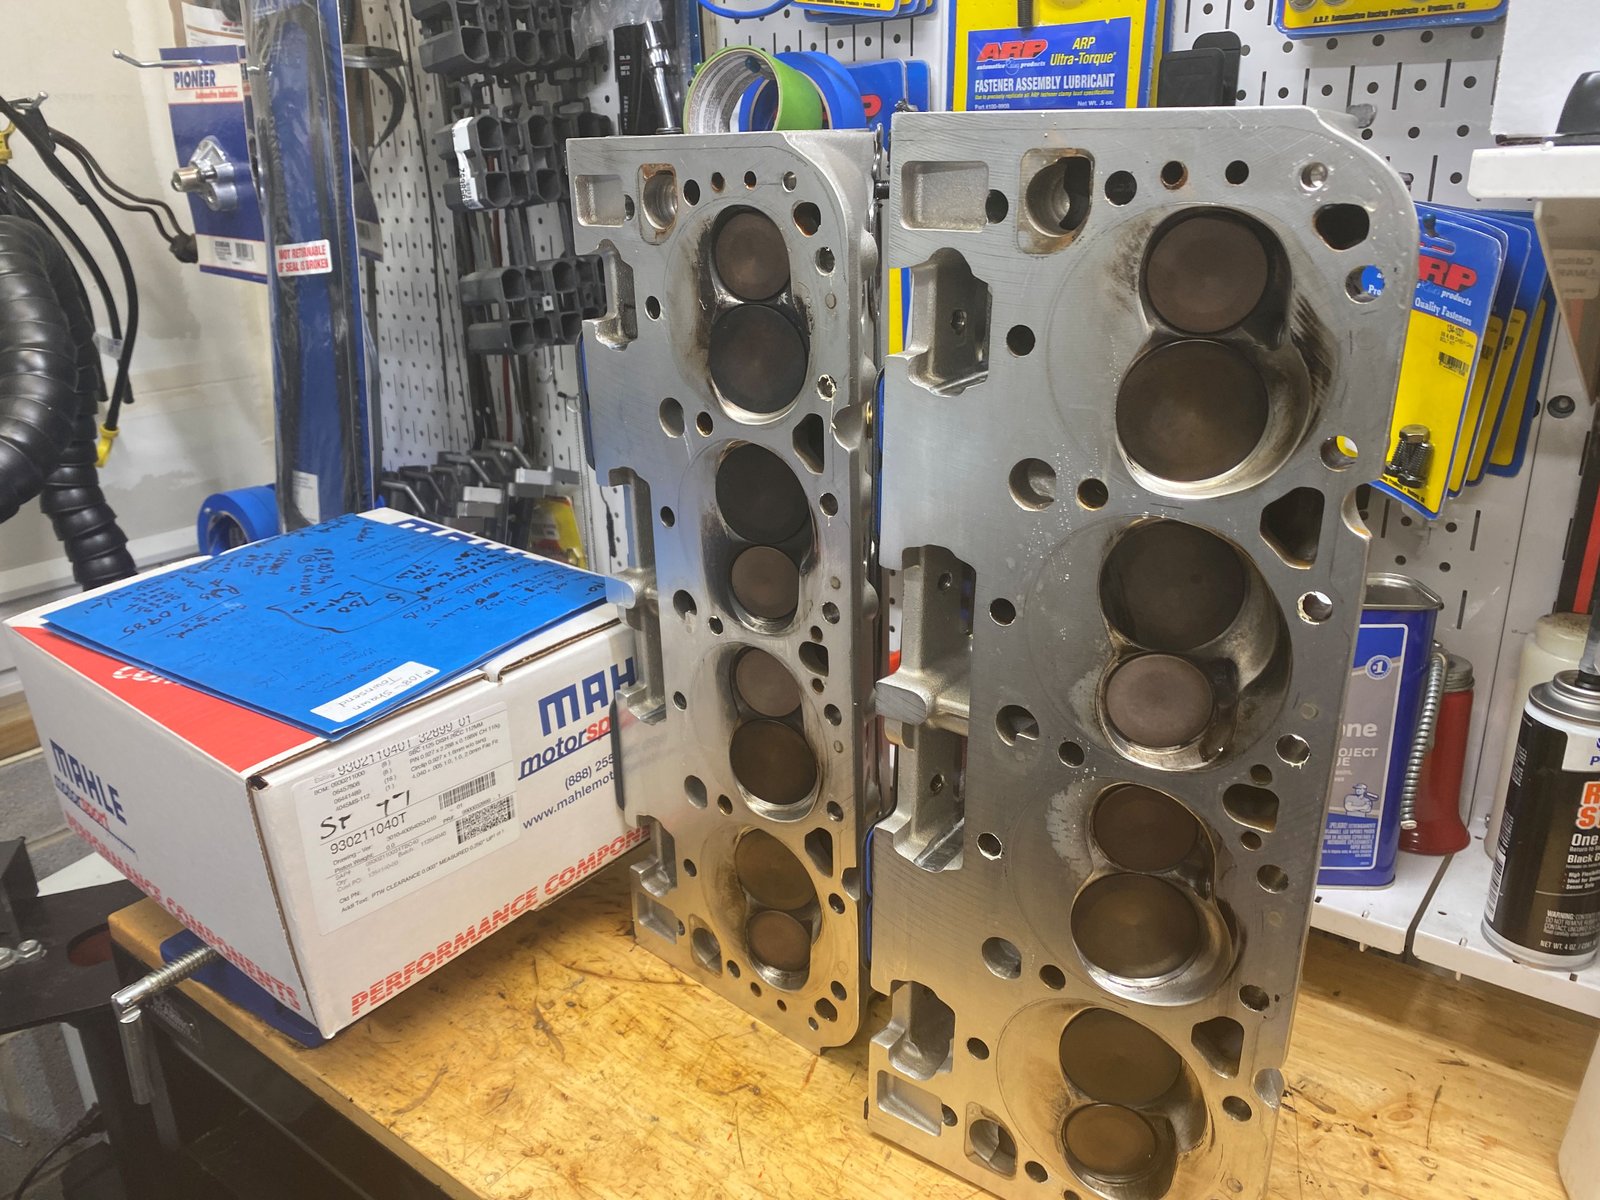
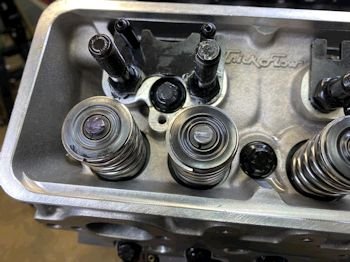
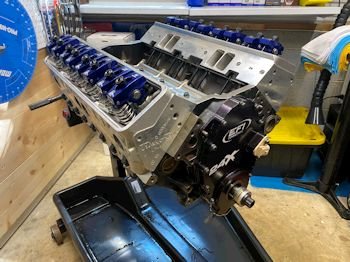
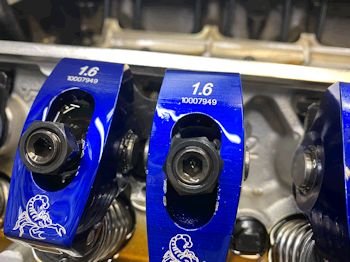
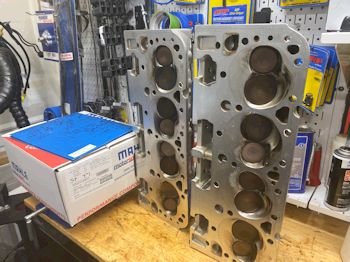
Refurbished TFS 21* cylinder heads.
|
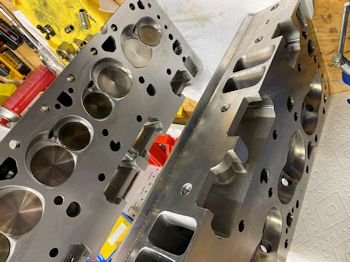
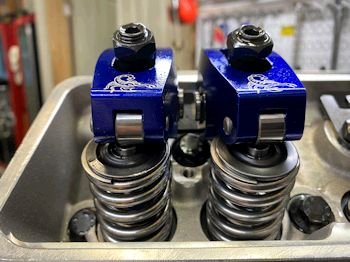
Dennis Staff of Fast-Cat Porting Service honed the valve
guides and did a valve job. Also cut the valve guides for
.500" tall valve seals and installed springs to spec.
The heads had the deck milled slightly for a clean-up. The
intake valve springs are at
1.720" - 178lb closed
1.155" - 404lb open
Coil bind is 1.050" so there is .102" clearance.
The exhaust springs are similar. |
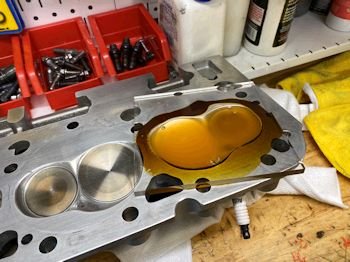
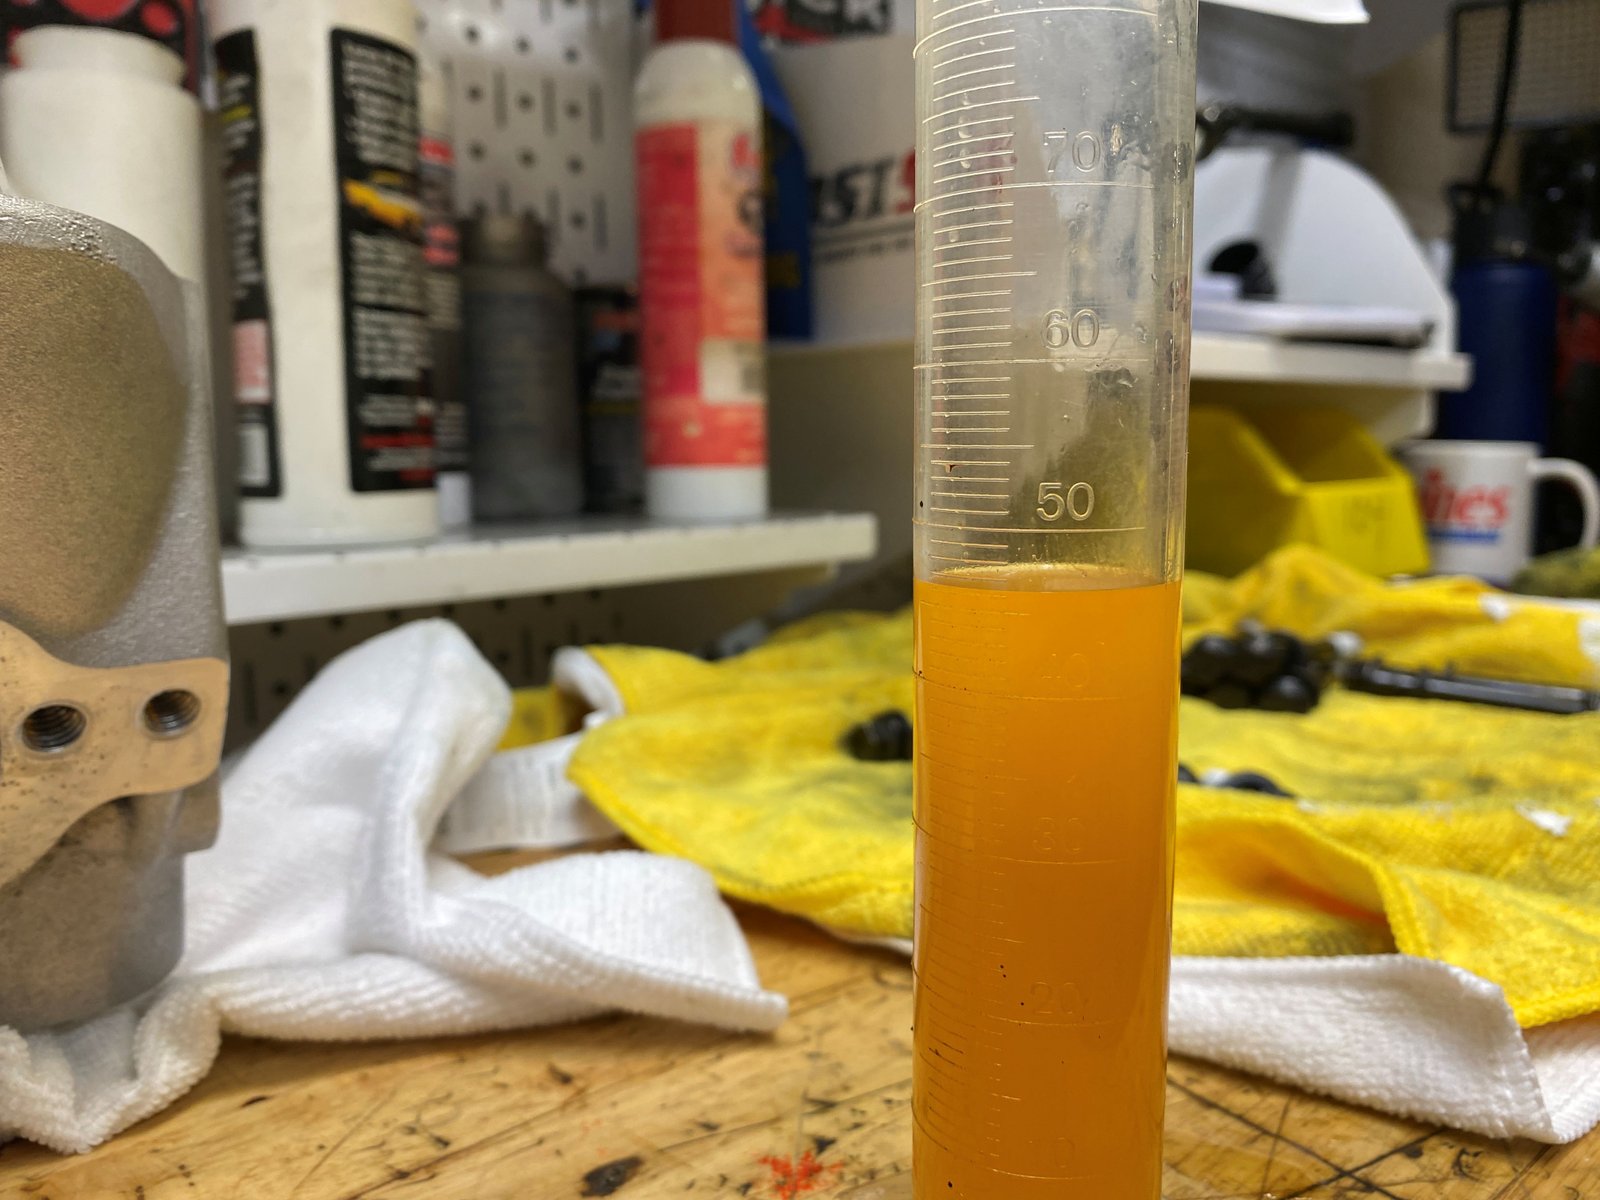
Check of combustion chamber volume.
|
54cc |
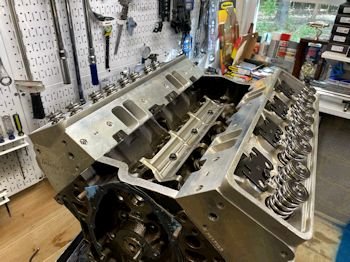
Heads on with Cometic MLS head gaskets .027" thick.
ARP head bolts (re-used) at 70 ft-lb.
|
The pushrod guides do not line up the rocker tips. |
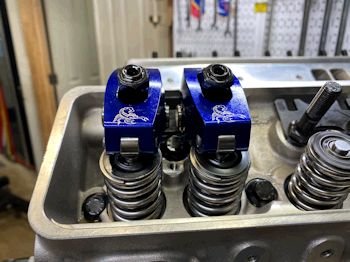
Flipped the pushrod guides upside down and now they work.
|
7.300" pushrod being reused. It looks to work well. |
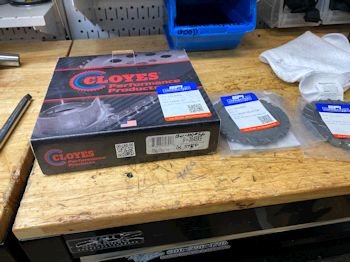
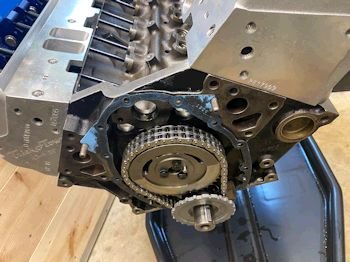
EFI Connection double roller timing set and crank reluctor
|
 |
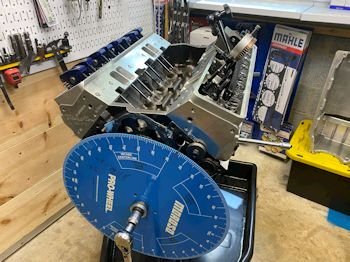
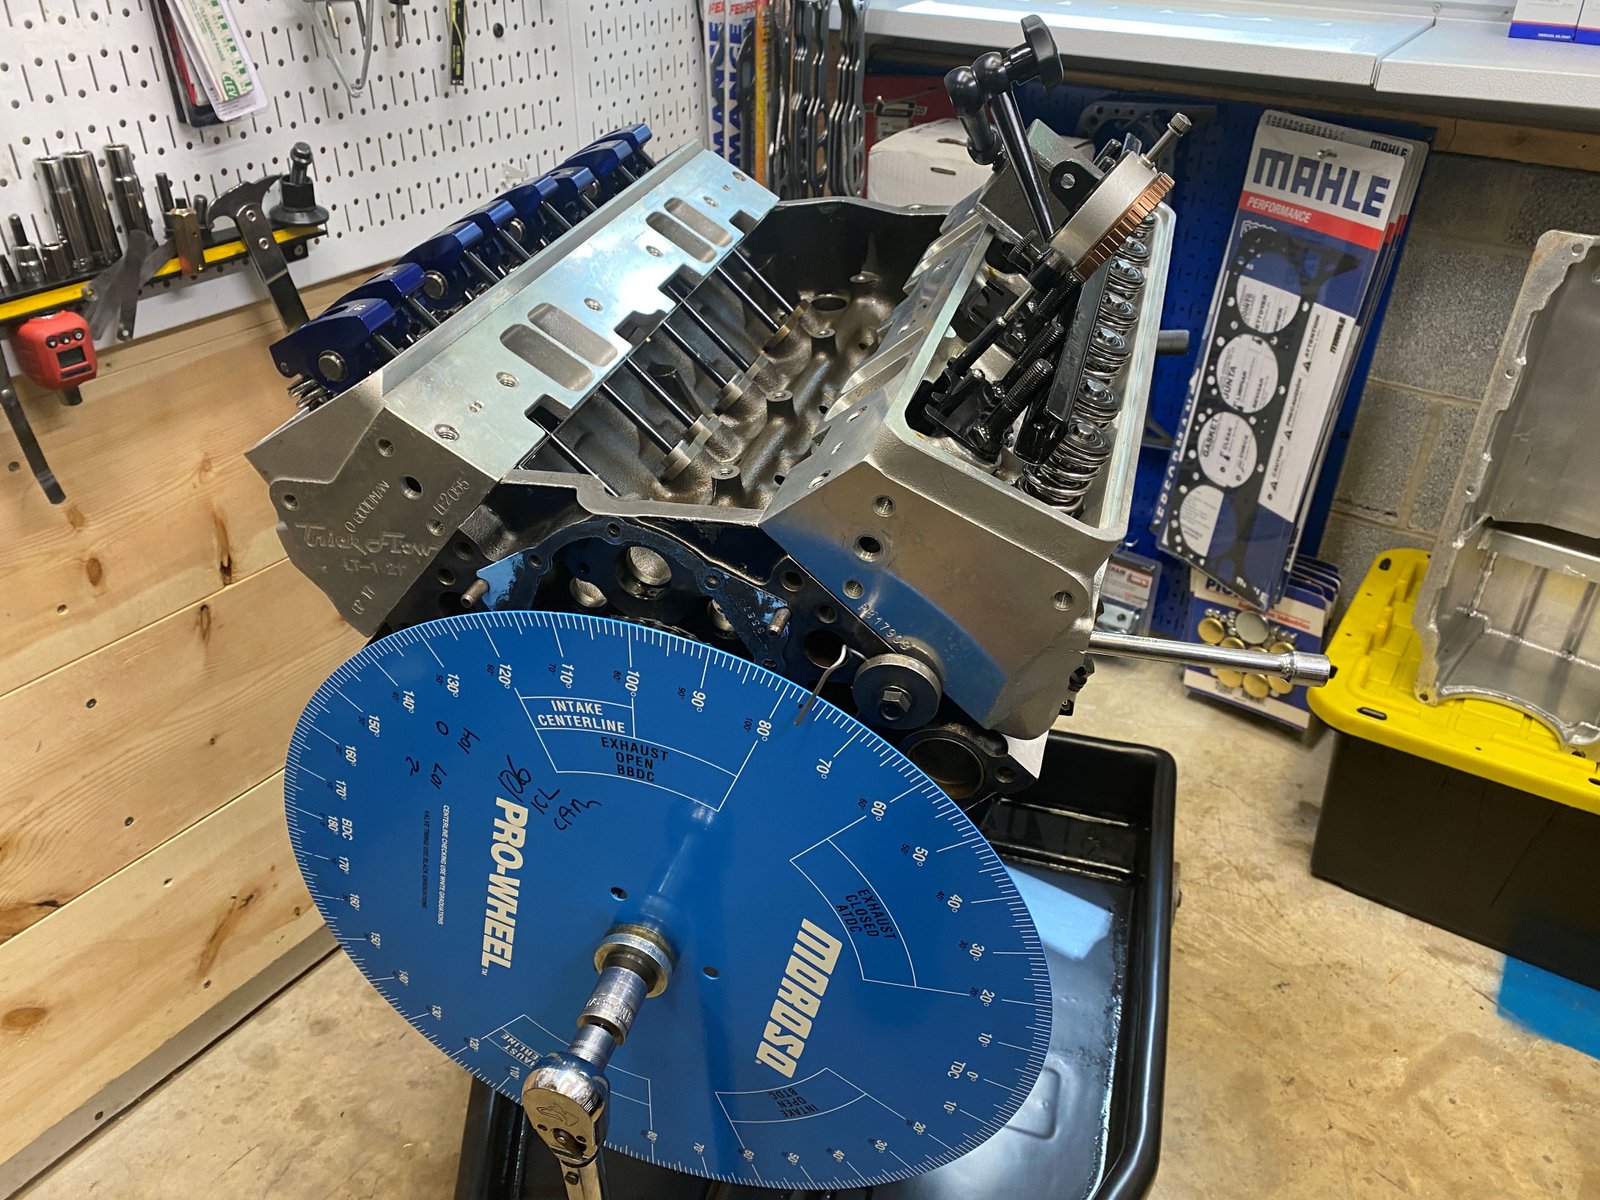
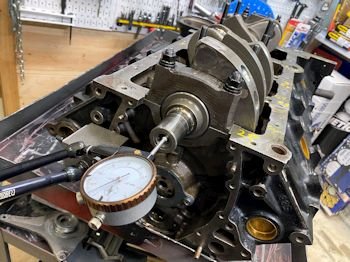
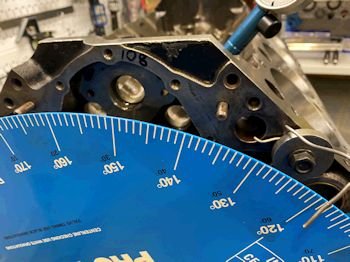
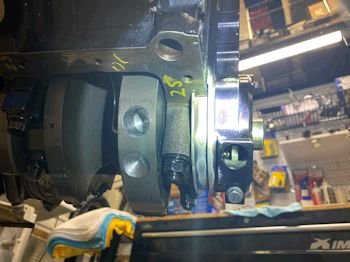
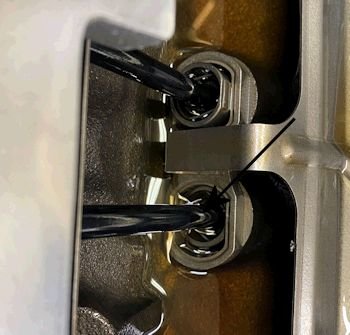
Re-doing the cam degree check. I started off with the
sprocket at the advance 2 deg position. Had to find top dead
center with the heads on. LT1 spark plug holes don't angle
such that a normal pistons stop tool works.
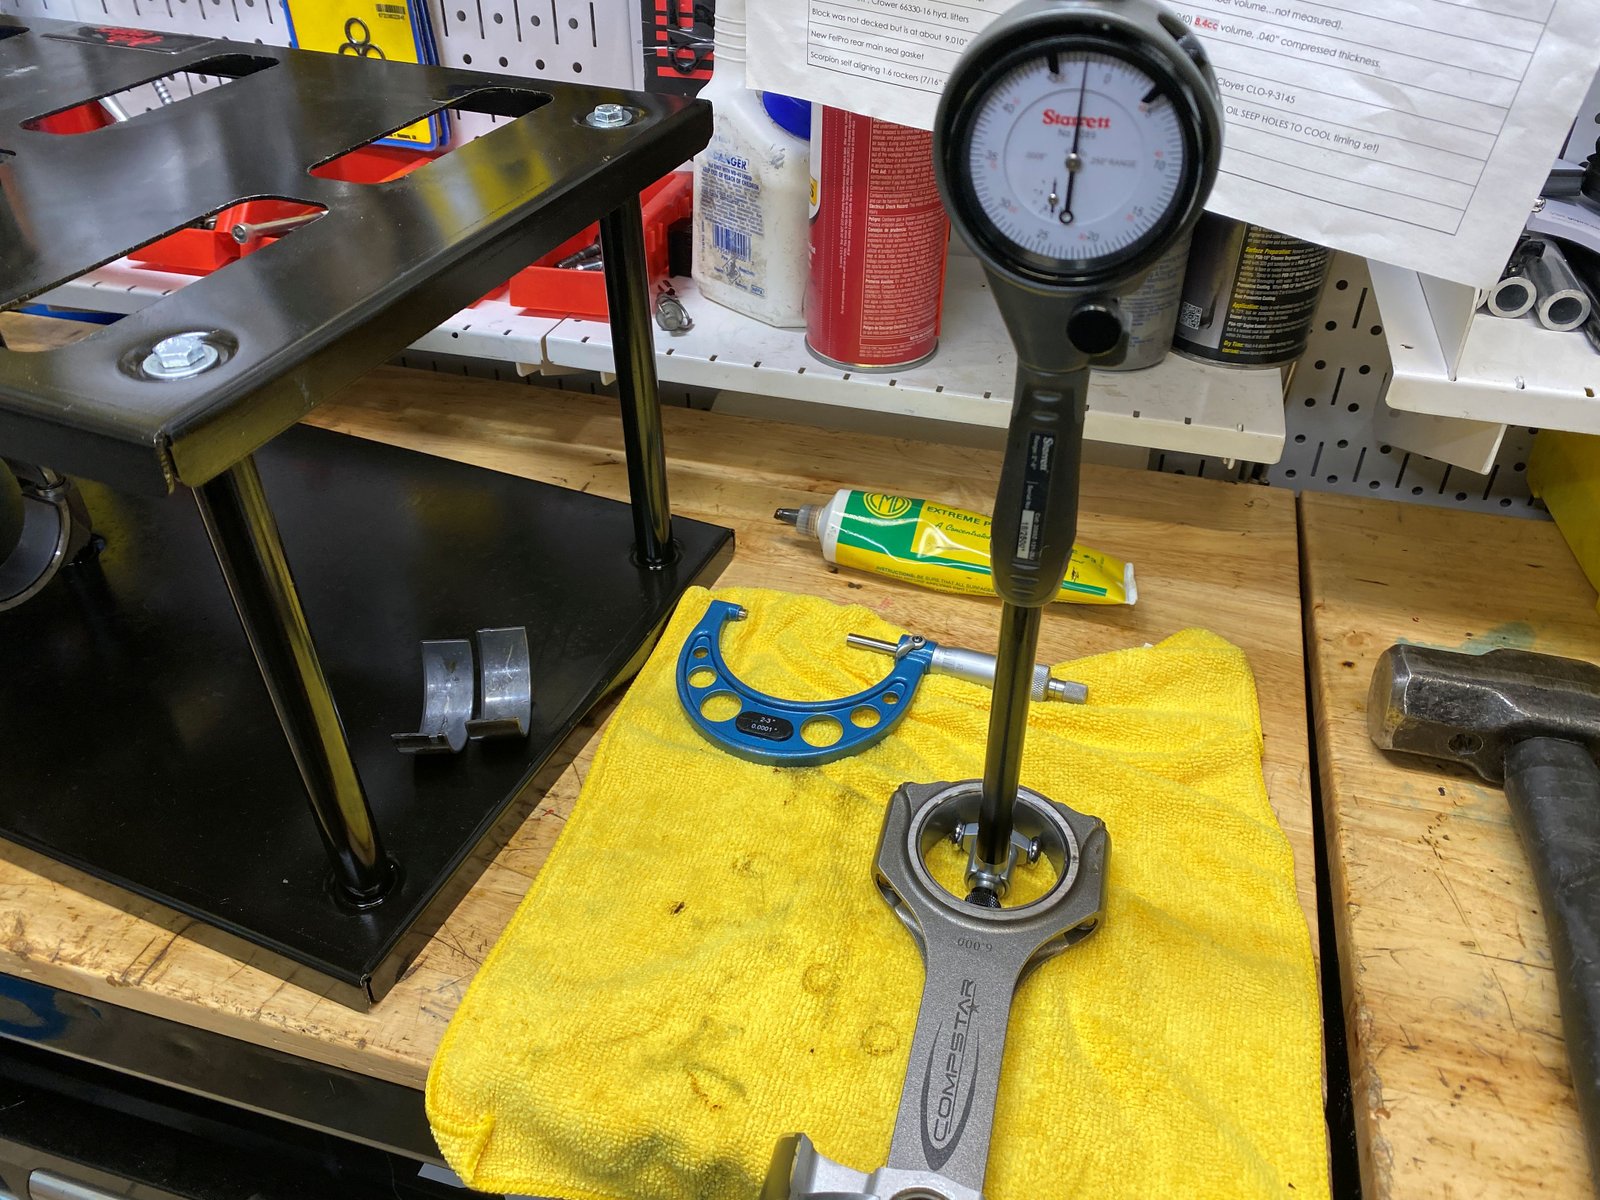
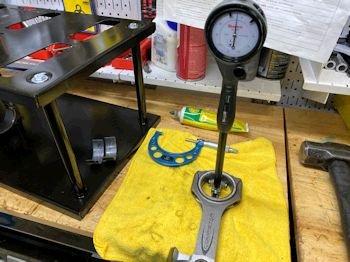
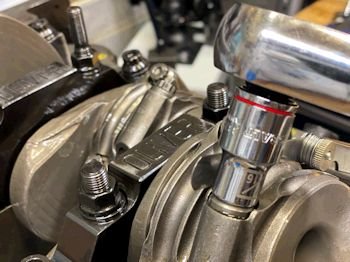
Photo to the right shows my new and favorite method for a piston
stop. This long 3/8" drive extension goes all the way in
the #1 spark plug hole and to the far cylinder wall. Then the
piston comes up and gently touches...mark the spot...do it again the
other way....etc. etc. I push the piston stop tool (extension)
all the way to the far side of the bore in order to be
consistent.
With the new timing set at +2
then the cam intake centerline was exact 108 deg. (exact as
cam card).
|
 |
|
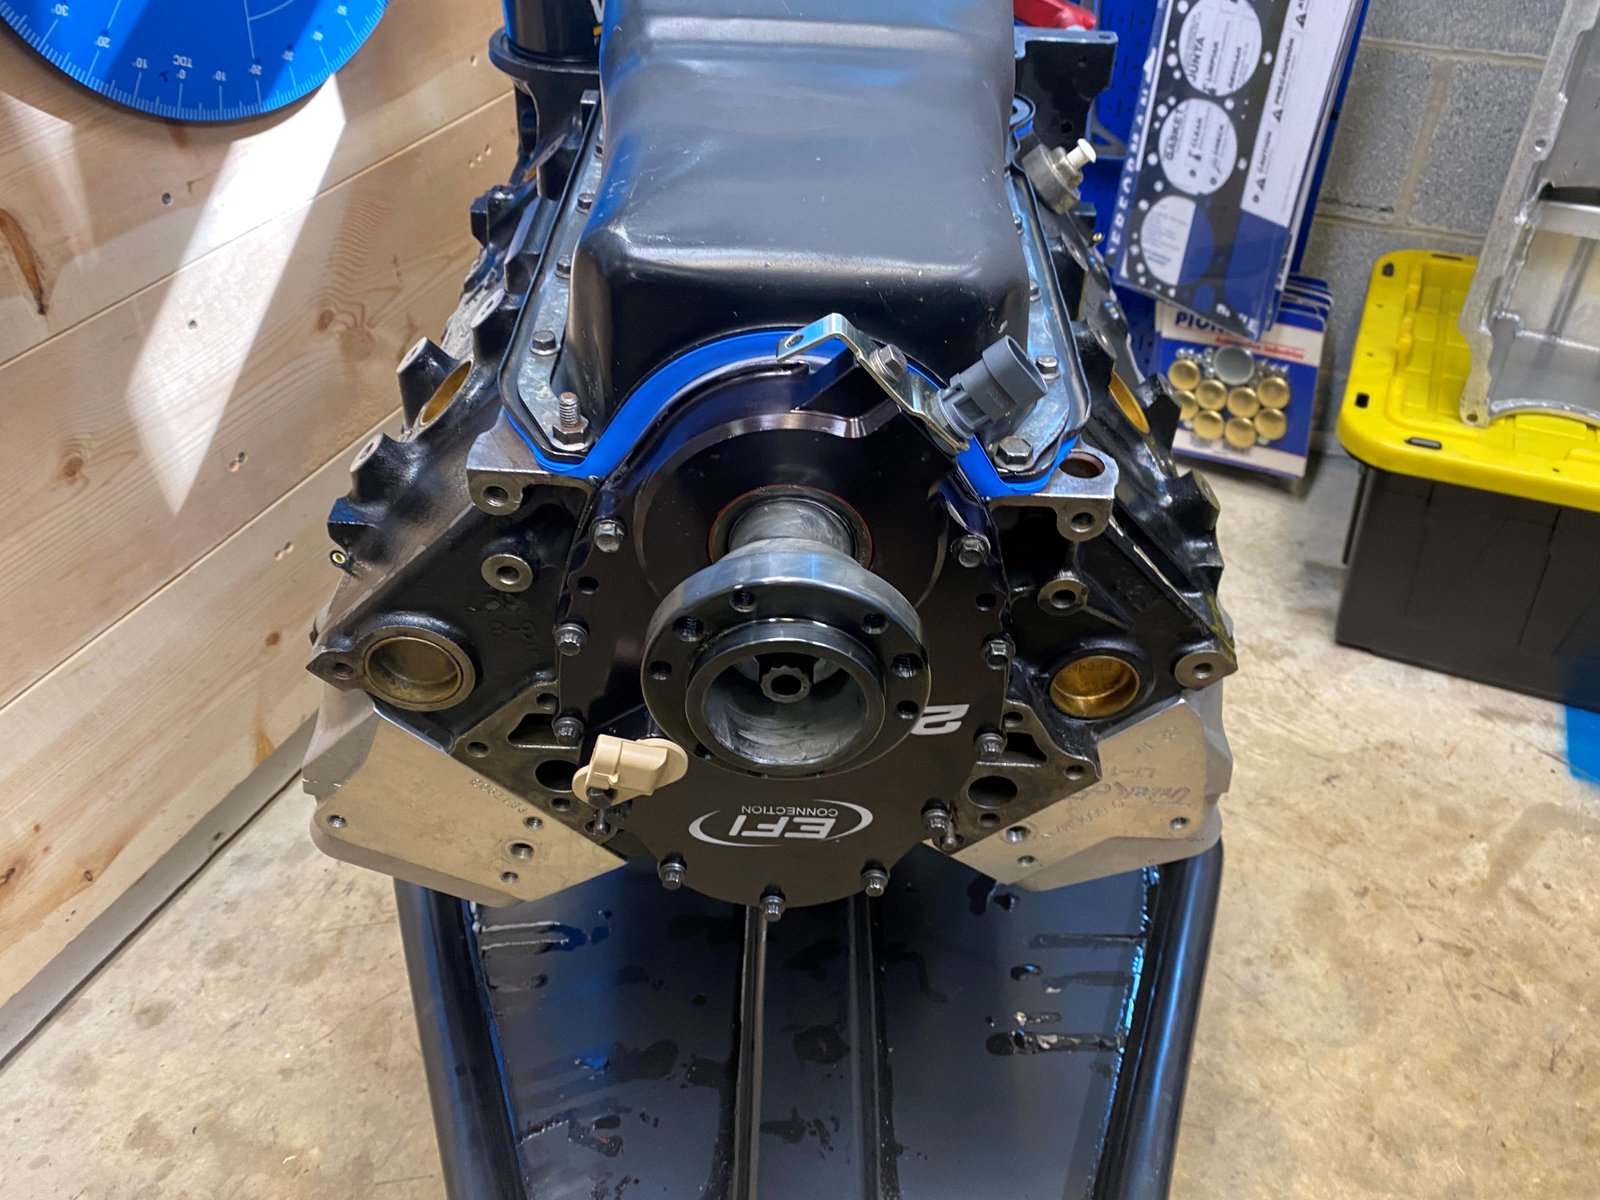
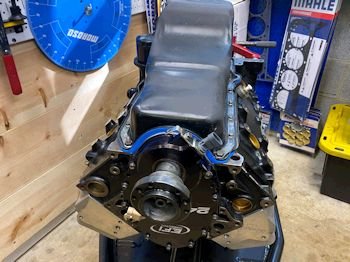
24x reluctor on before the timing cover. |
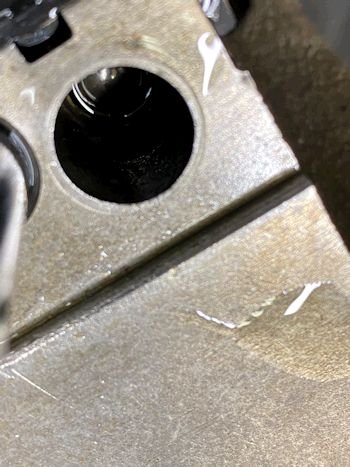
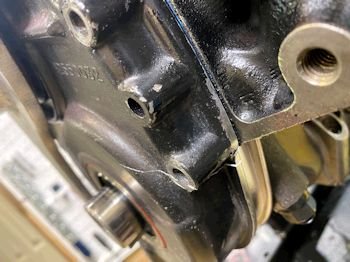
Used timing cover. Previously had the cam pin too
long. Just showing all the blemishes now before I put the
cover on.
|
 |
Look at that. Perfectly centered.
|
Cam sensor. |
|
 |
|
 |
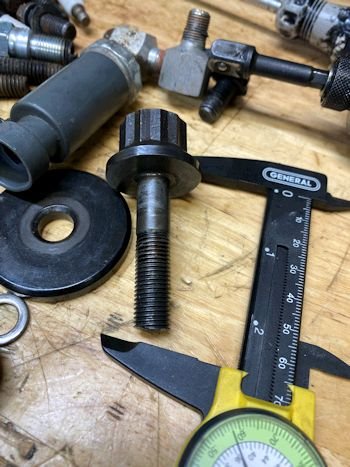
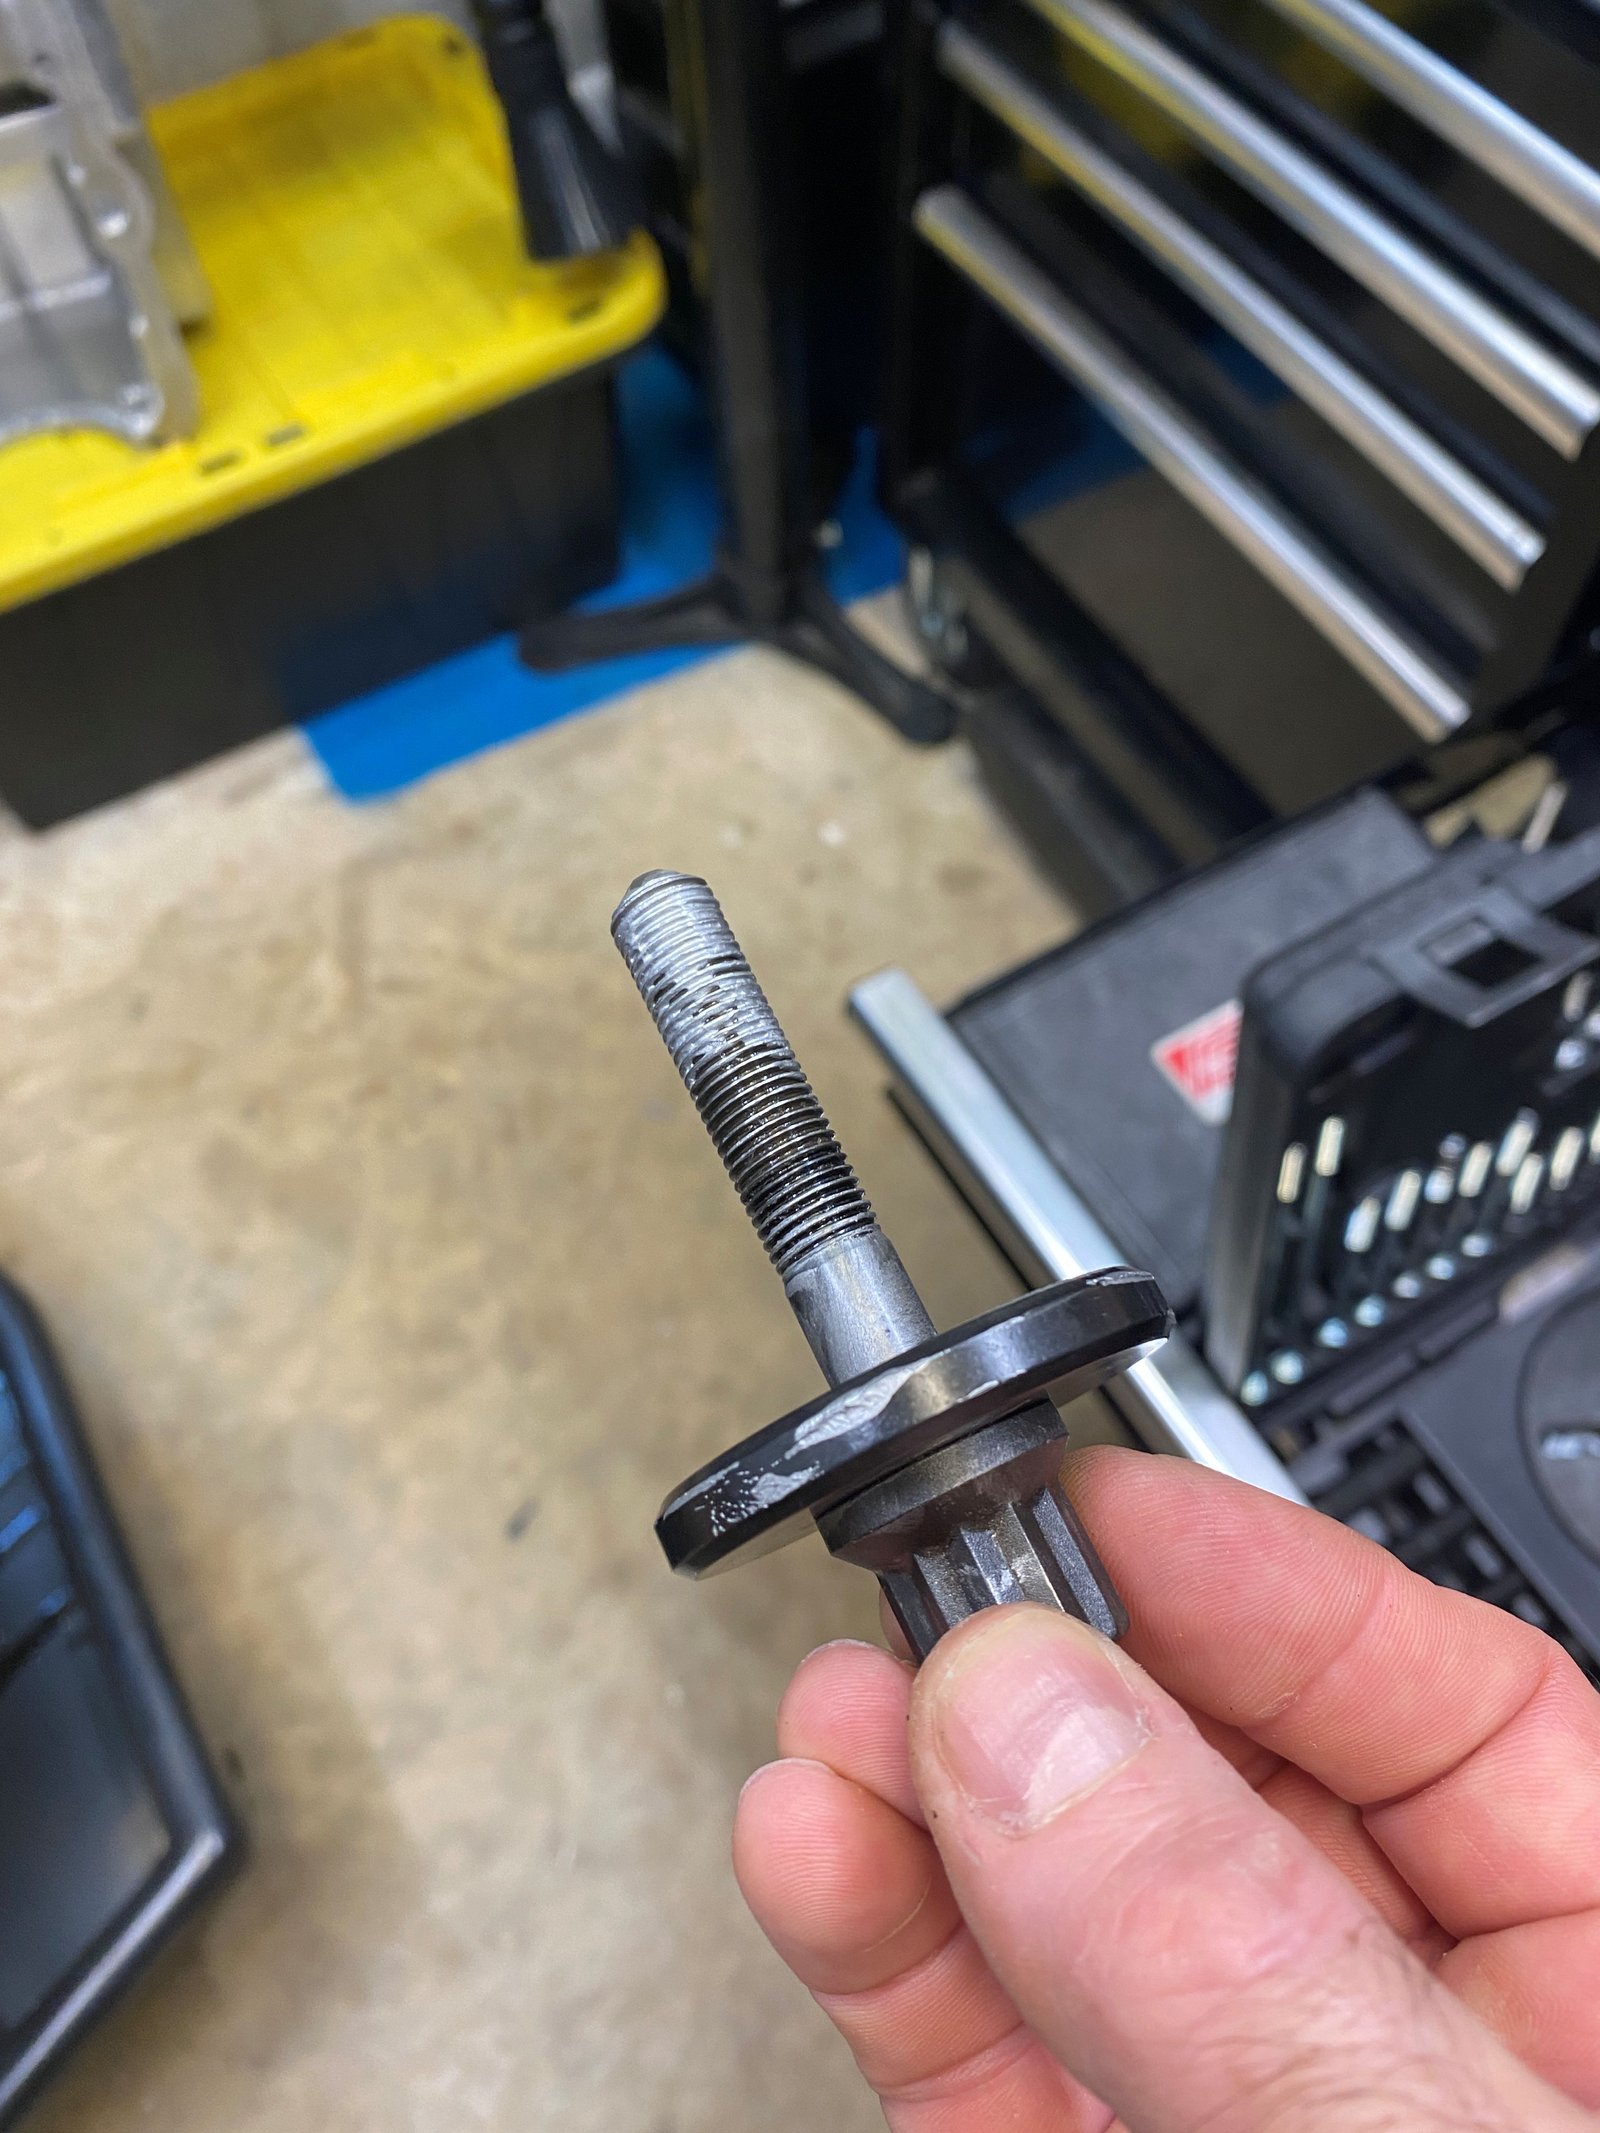
I noticed the crank bolt was broken way back when I took it
out. Then forgot all about it. The other part is
probably in the crank nose. There is plenty of thread area
still available in the crank nose.
|

I'm donating a new crank bolt. I checked and this will
thread all the way in and not bottom out on the remnant bolt
piece. |

|
Crank bolt in and torqued to 90 ft-lb. I used 2 washer
to space it out. |
|
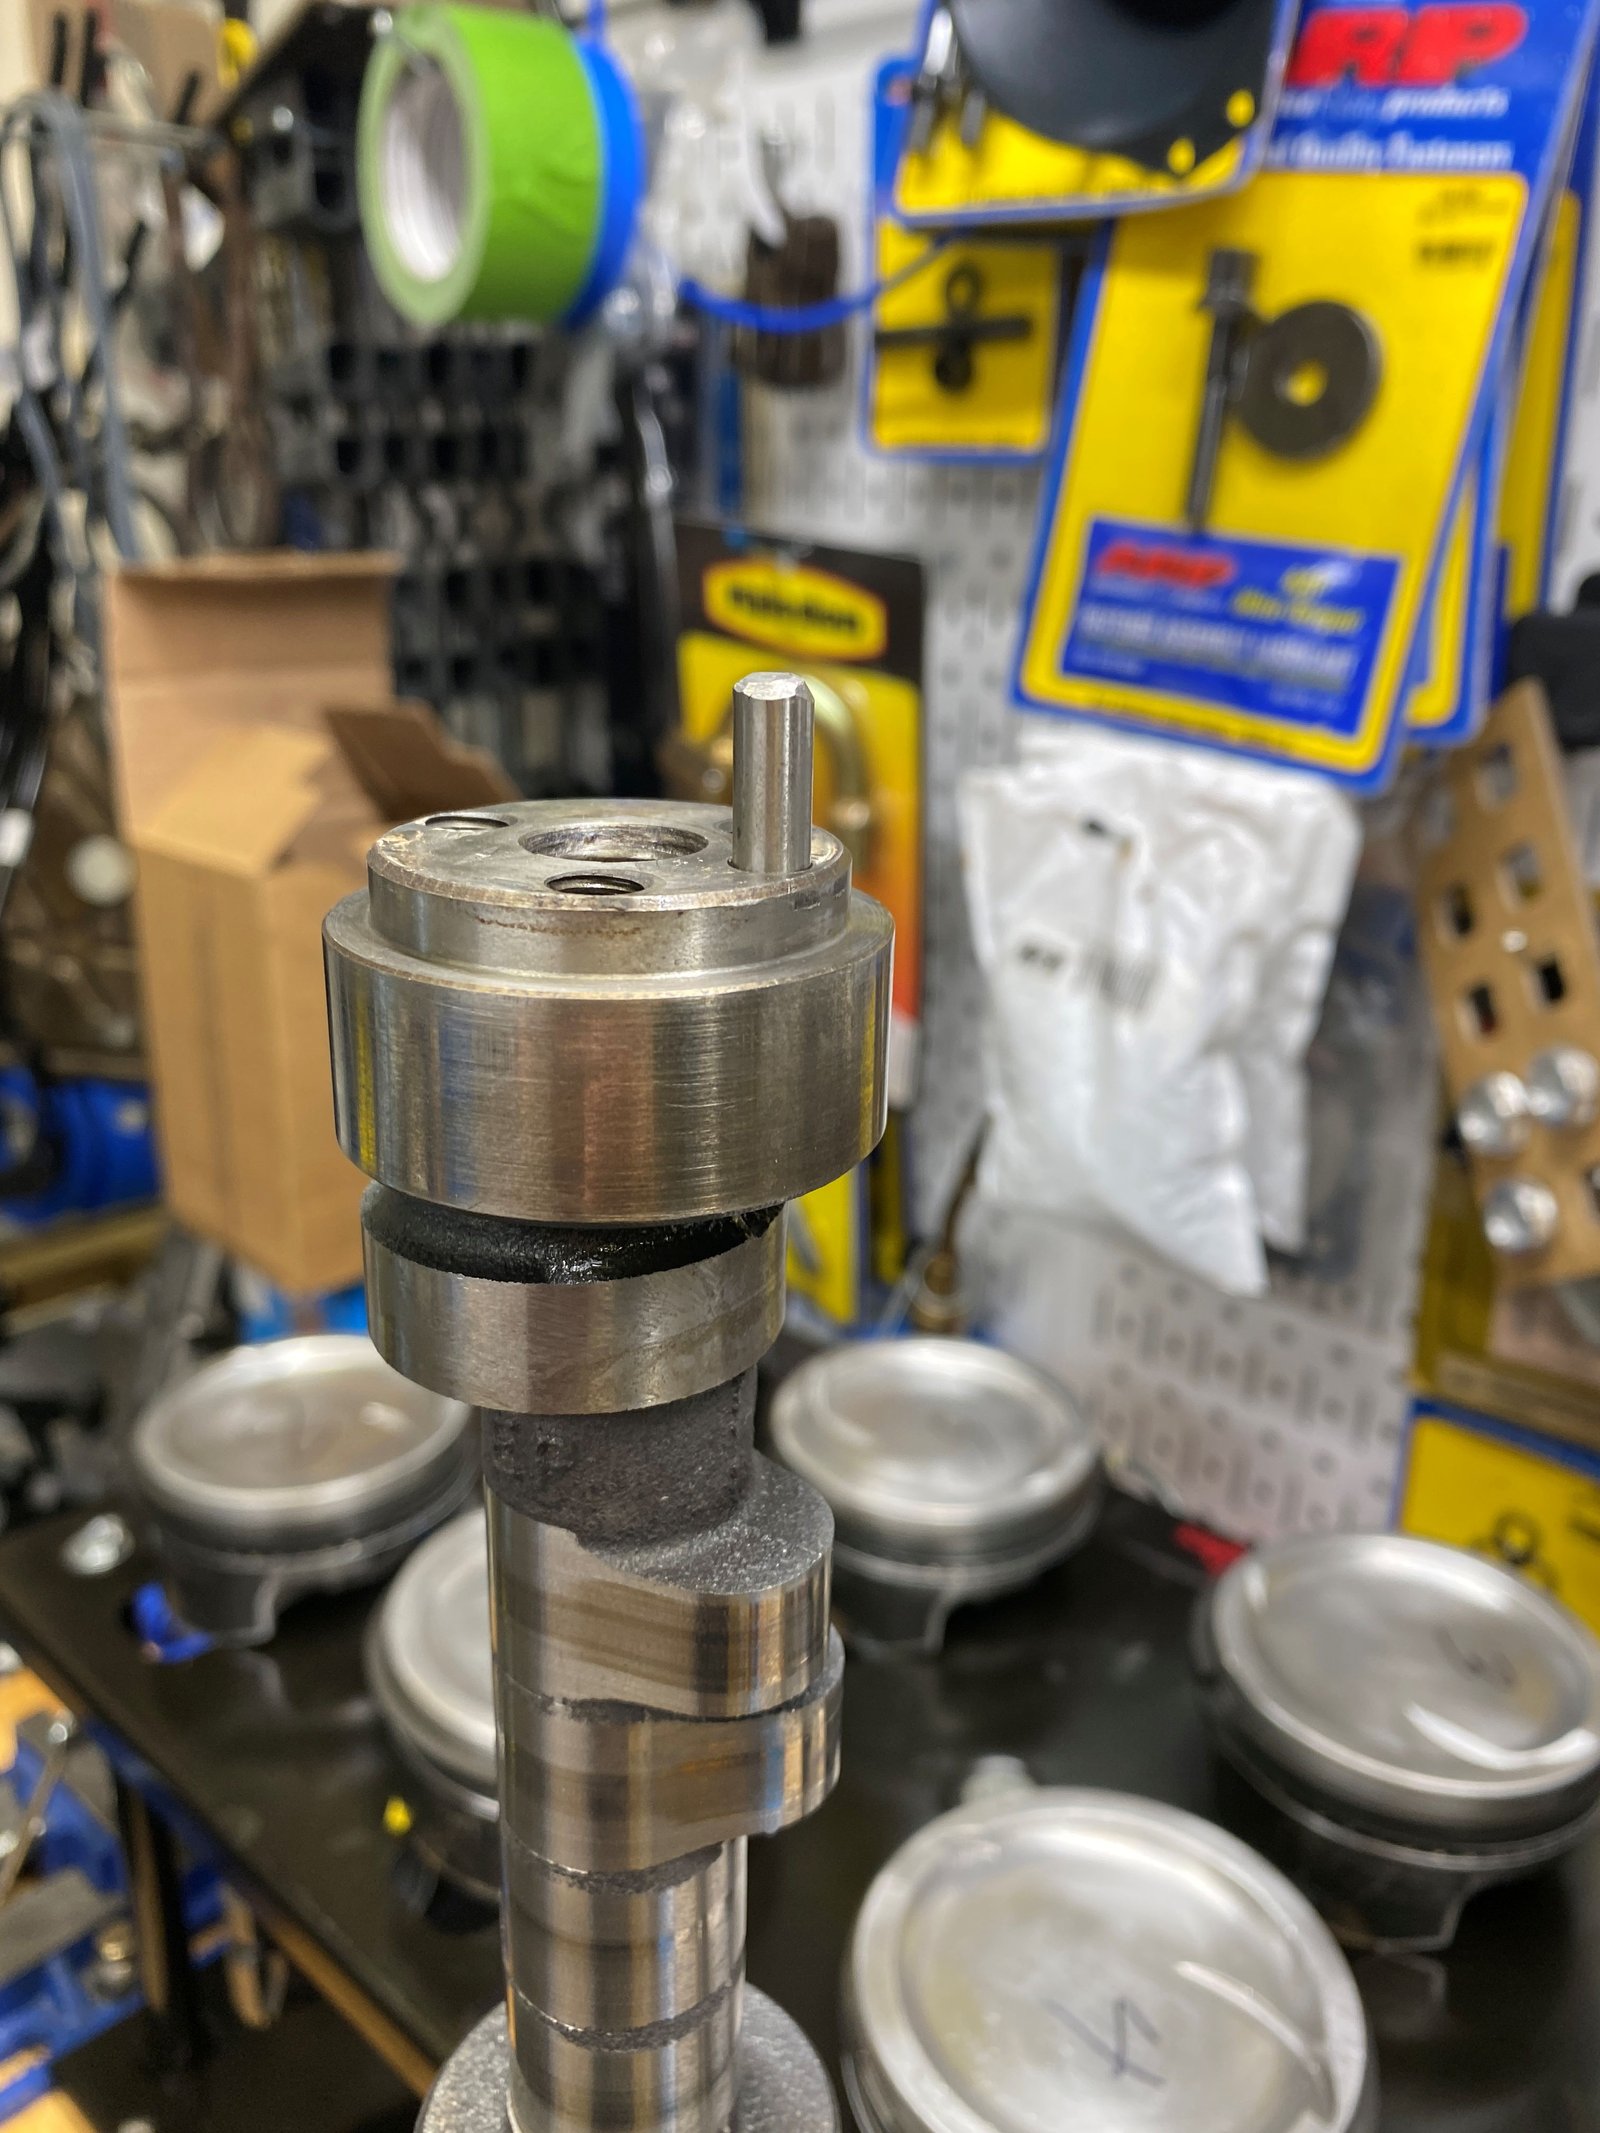
I see the slight wear in the oil pump drive gear.
Thought I would replace the gear but then noticed the replacement
is just an iron gear. This current one looks to be an even
better quality. Since it is only slightly worn I think it
would be best to re-use the old gear. |
|
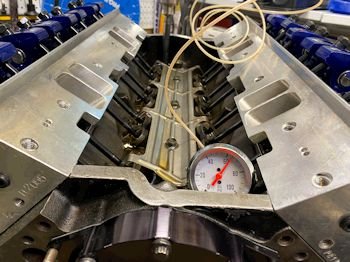
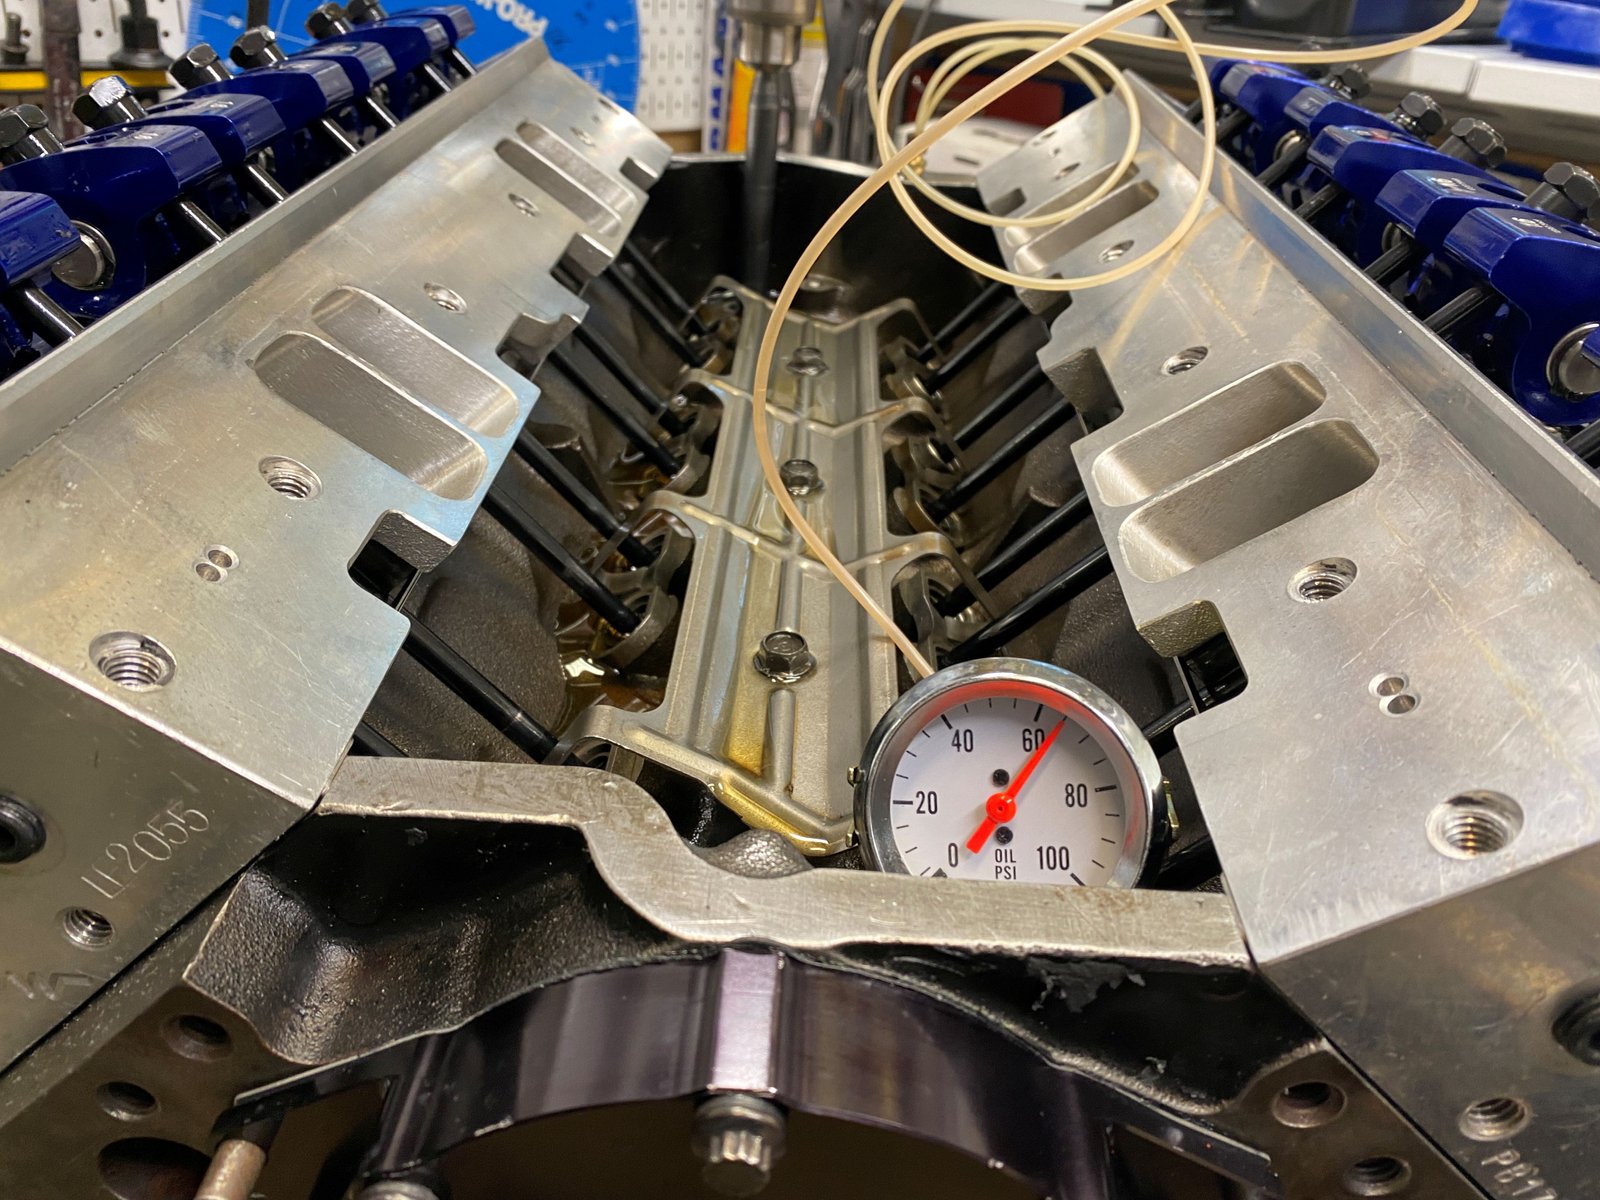
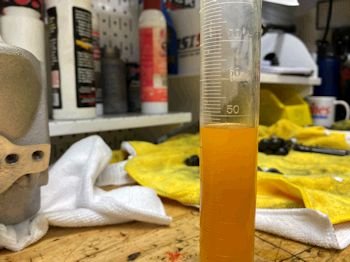
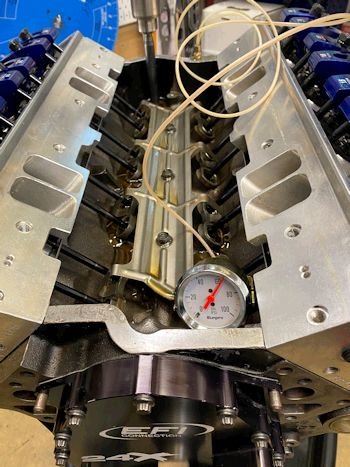
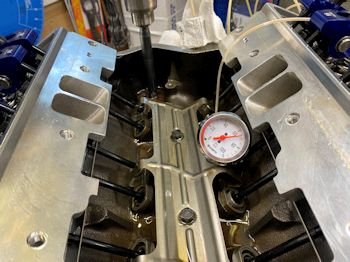
65 psig drill pressure test. |
|
I stopped here for the day. The lifters all pumped up
oil quickly except 2 of them. The associated pushrod was
slightly out of the lifter seat. I tried re-adjusting and
they both went out of the seat again. Then I tried 2 new
Crower lifters (stock style) and the Crowers would not pass oil
after 15 min of drill spinning. Now it's time to think
and investigate further. |
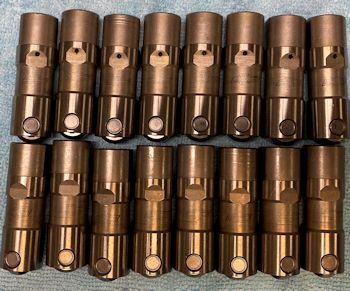
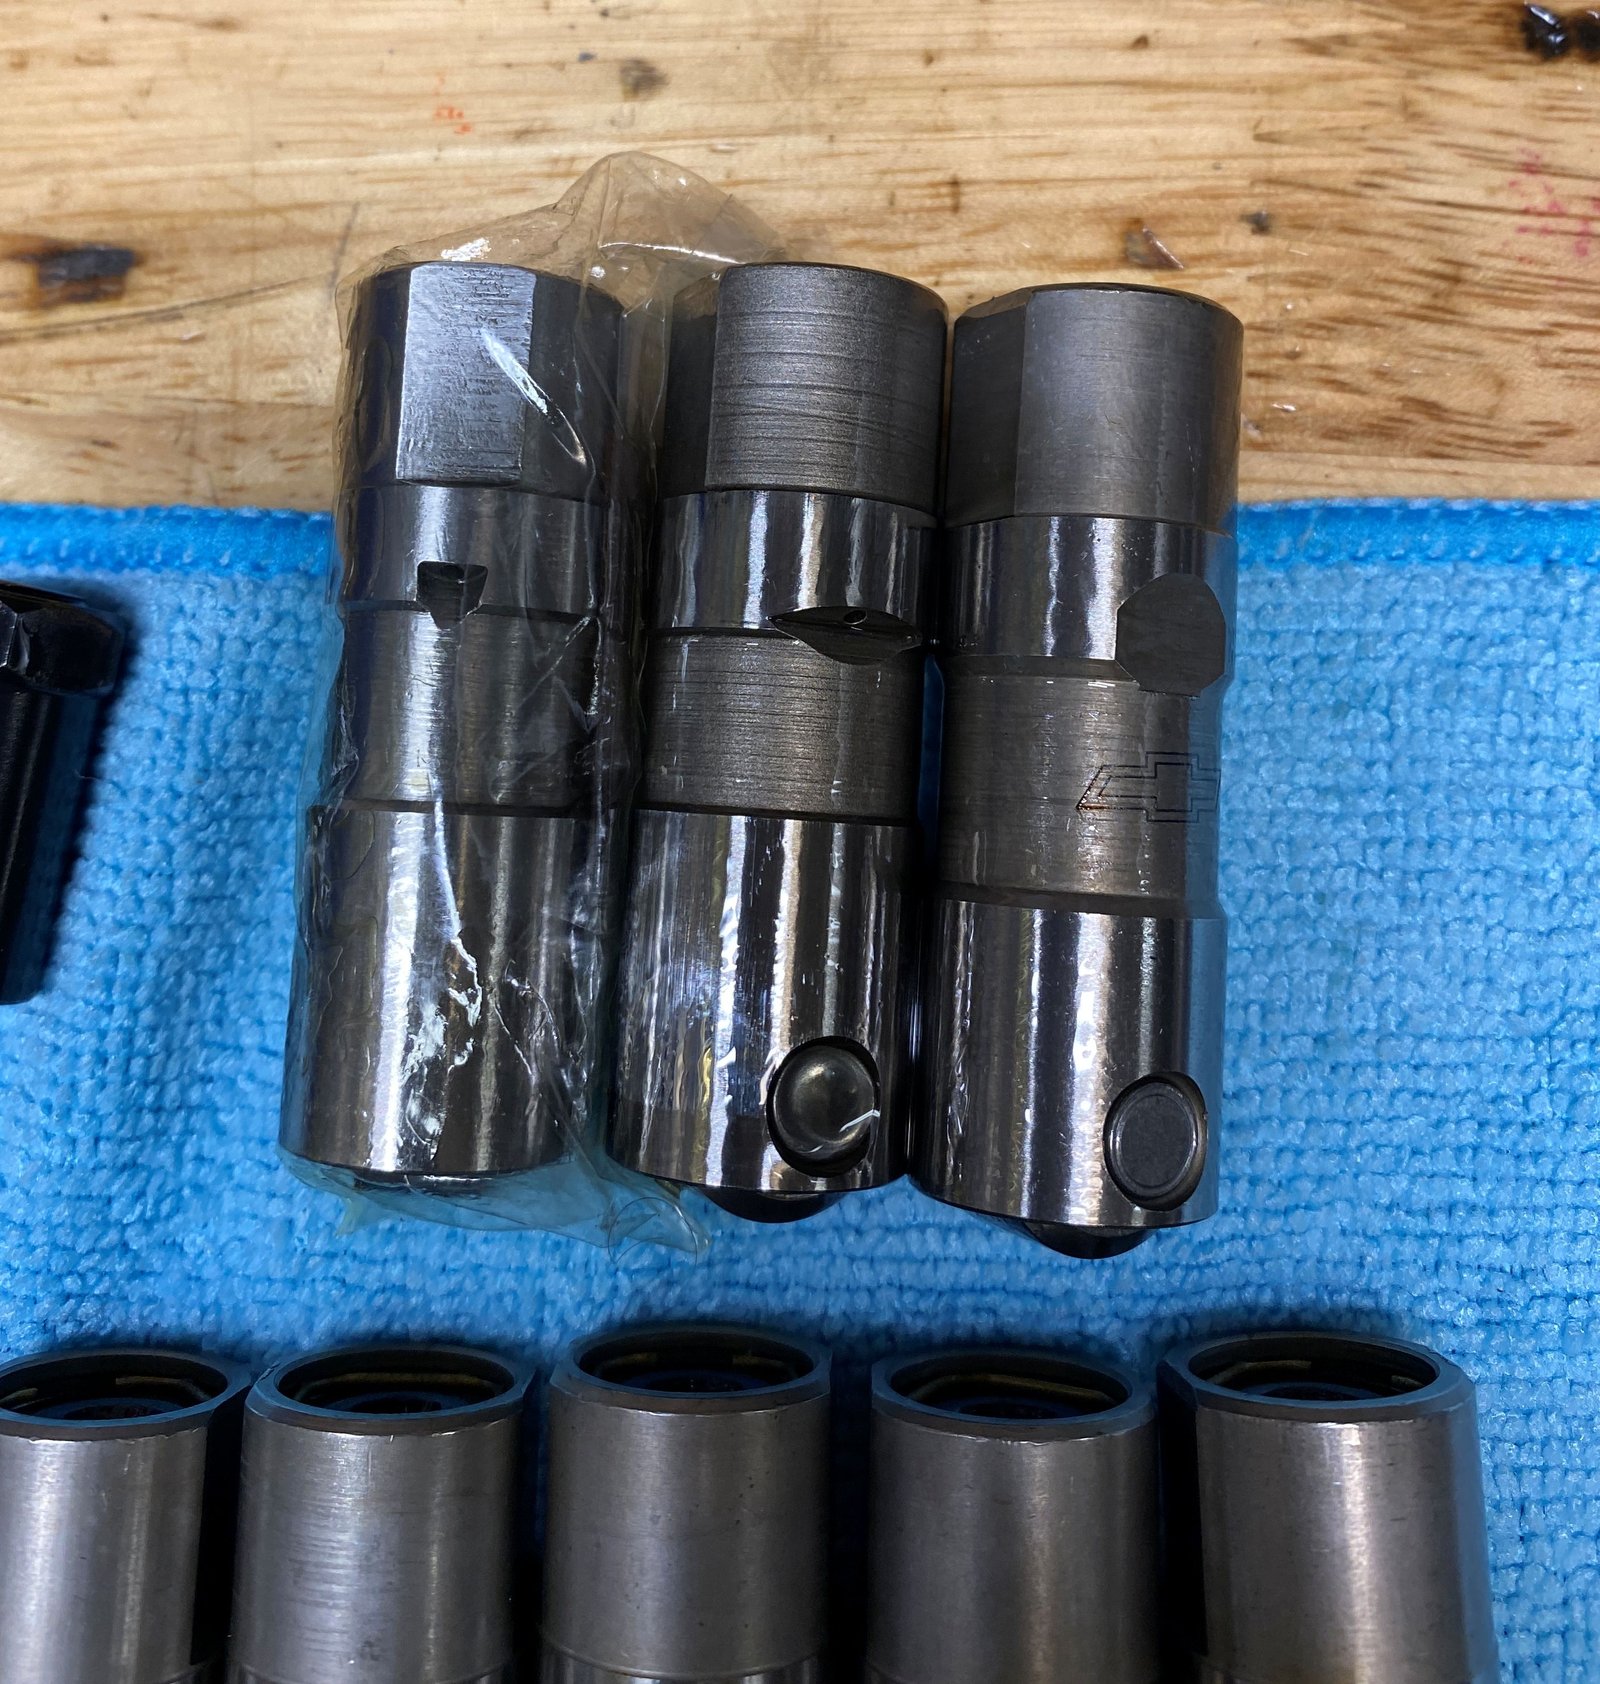
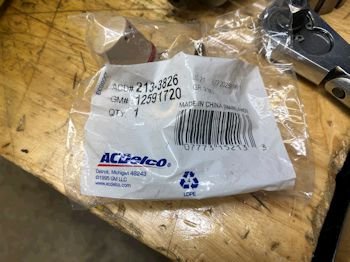
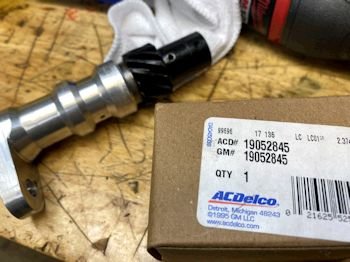
GMPP LS1 lifters. I suspect that these are made by Johnson
Lifters. Part number GM 88958689. $383 at Summit
Racing. A good reliable and affordable lifter is hard to find
now-a-days.
|
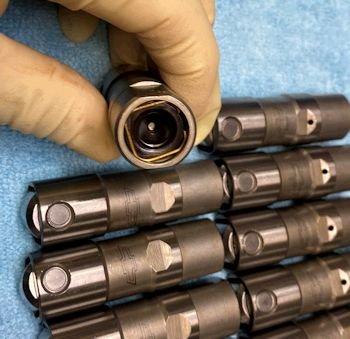
I don't have a Johnson lifter to compare this to but it looks
like a Johnson (except for the bow tie logo). |
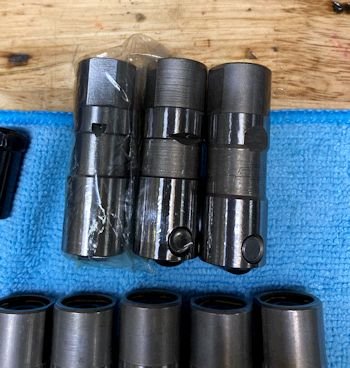
Crower stock style (in wrapper), Comp in middle, GMPP on right.
|
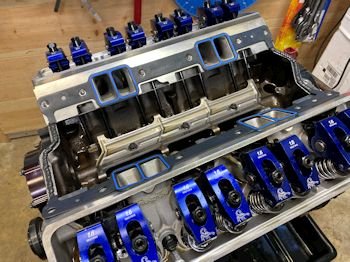
Lifters all installed and pressurized with oil. They
take a long time to send oil up to the pushrod and that is typical
of the high performance slow bleed lifters. |
Dyno intake gasket (not-new). After the dyno session the
engine will receive a new gasket.
|

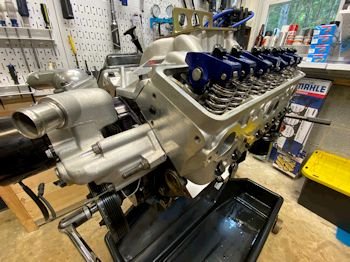
Temporary timing pointer installed and verified to be exact
top dead center. |
|
Dyno session scheduled for
Monday August 23rd.
It did not go well. I don't think the rings seated
well. Going to re-balance and get Mahle pistons
4.040". Block will get a bore and hone to 4.040" |
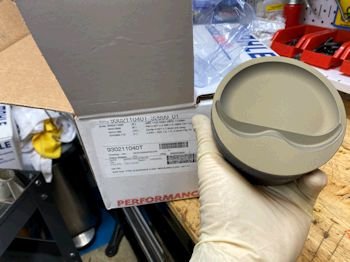
Little known fact that Mahle will have any piston coated if you
ask. Cost a bit more but may be worth it for some
applications. This is a -26cc dish and a 4.040" piston.
|
I and bummed out here. There are oil puddles in every
cylinder. |
|
Disassembly of engine so that I can get the crankshaft to the
balance shop. |
|
 |
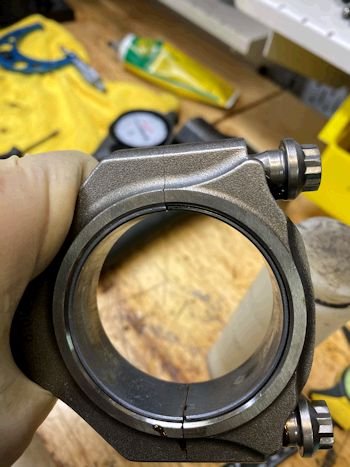
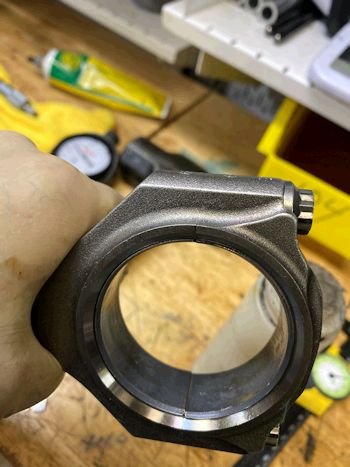
Bearings look great!
|
 |
|
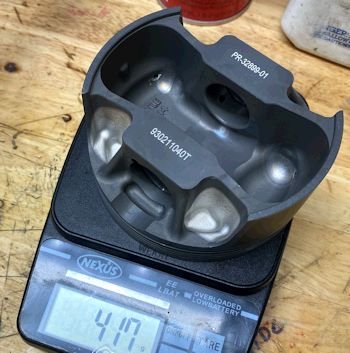
New piston and one rod and the
bearings and the rings/pin/locks all go to the balance shop.
The block goes to the machine shop too for a bore to 4.040" |