|
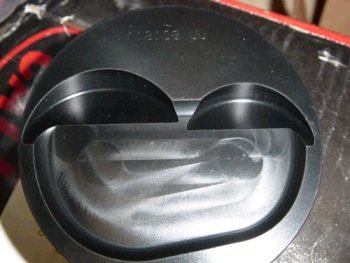
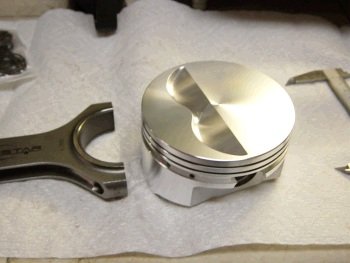
The original plan was to use a Ross custom piston. The D-dish
was needed because the original heads planned for this project were
the small chamber Ai CNC ported GM castings.
|
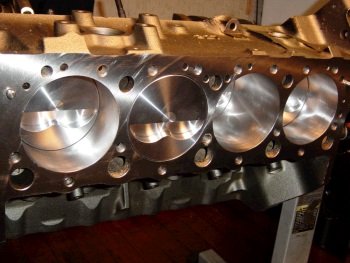
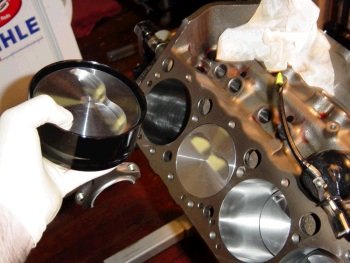
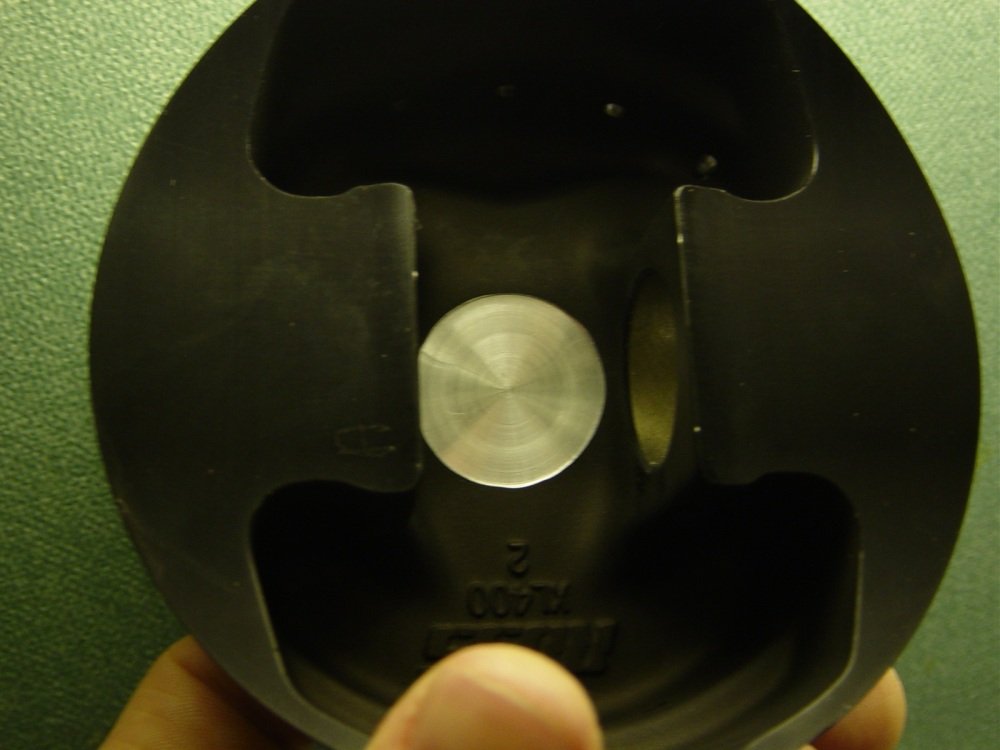
This 1.070" compression height piston is built for natural
street and some nitrous. The 1st ring land is .250". The
ring package is 1/16", 1/16", 1/8".
It's a beauty.
|
|
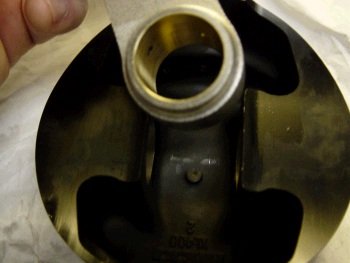
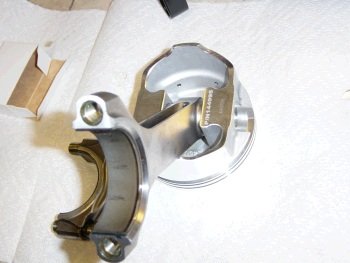
The reason we couldn't use the Ross
pistons was because ROSS forgot to clearance the underside for the
rod small end.
|
I attempted to do a little clearancing
but it was not enough. Ended up sending the pistons back to
ROSS and they performed the clearancing with a CNC machine.
|
|
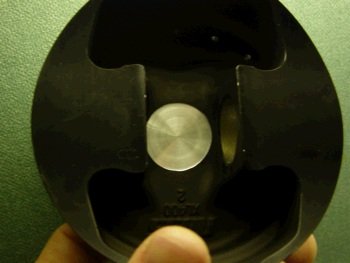
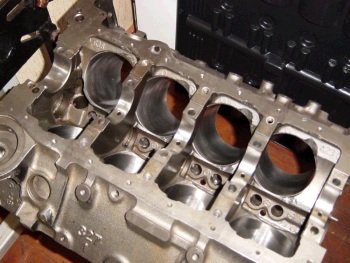
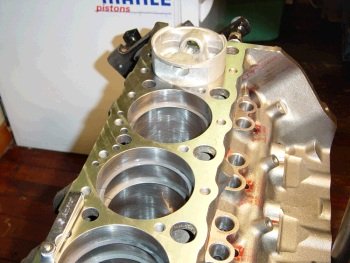
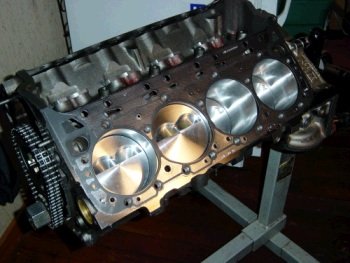
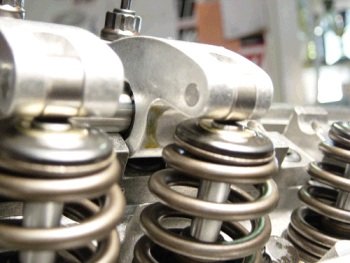
While waiting for Ross to fix the pistons we decide to go with a
totally new combo. New Ai TFS heads and new Compstar rotating
assembly. This time a flat top SRP was selected due to the
larger TFS combustion chambers.
|
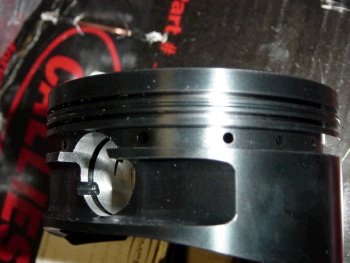
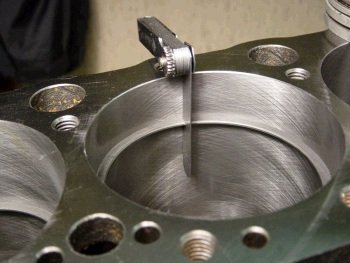
The SRP piston is 1.062" compression height built for a 6"
rod and 3.875" crank, (395ci). You can see the bore-gauge marks
on the rod bearings. All of the rods came to .0027"
bearing clearance using standard ACL "race" bearings.
|
|
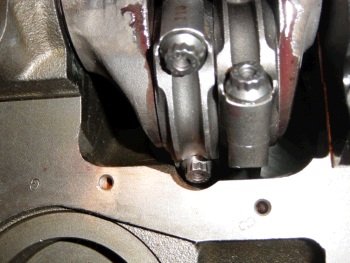
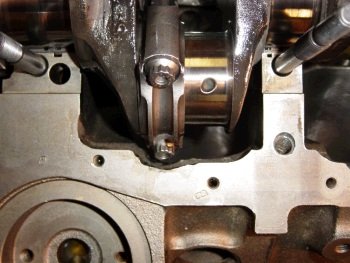
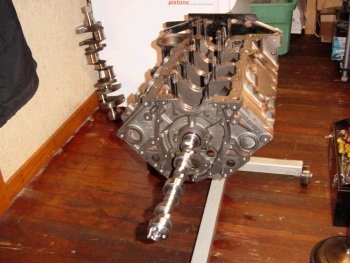
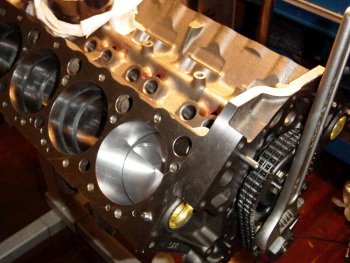
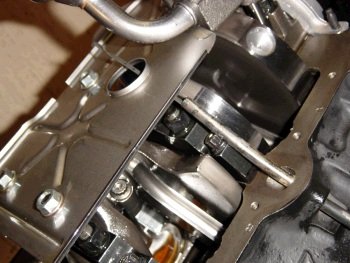
Flashback to the original rotating assembly. I mocked up the
rotating assembly and found that more grinding is required for rod
clearance. You can see that the side of the rod bumps into the
block.
|
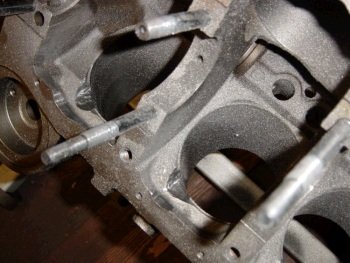
Attack the block with a grinder. Don't go too far and into the
coolant jacket..
|
|
Initial test shows that additional grinding was in the correct
area...
|
Washed, dried and oiled.
|
|
New the moment of truth. Will the extra grinding pay off?
|
Yes indeed. Every rod clears the block.
|
|
4 hours to clearance and clean block, clean and assembly
rod/pistons. Measure rod bearing clearance. Measure main
bearing clearance. Mock up rotating assembly and check for
stroker clearance. I'm calling it a night.
|
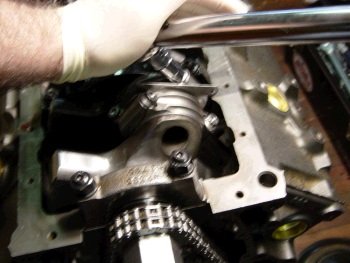
Cam bearings and cam installed.
|
|
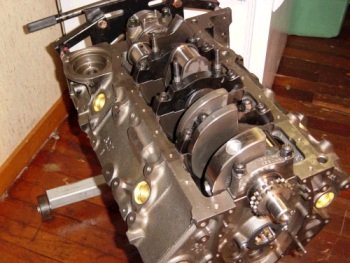
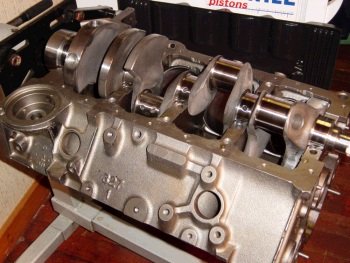
Crankshaft and main caps.
|
Setting the thrust bearing.
|
|

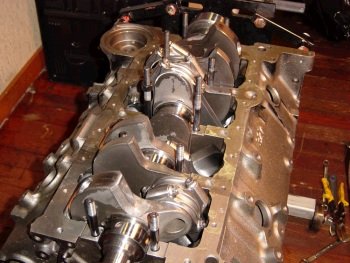
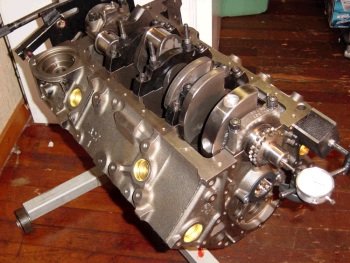
Installed #1 piston/rod set with no rings. This makes it
easy to degree the cam. Here is top dead center.
|
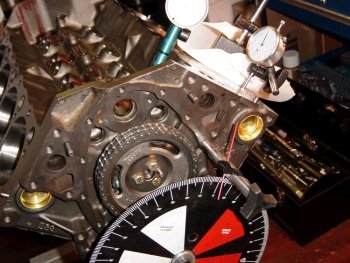
Ready to find intake lobe centerline.
|
|

It's dead-on 106 ICL.
|
Total seal conventional rings are supplied by Callies.
|
|
I always gap conservative, (err on the wide side). These
are standard 1/16", 1/16", 3/16" rings.
|
Occasional nitrous gap here is .024" first, .028" 2nd
ring.
|
|
#1 and #2 piston/rod combo IN.
|
Last piston going in.
|
|
This is the only photo I have of the rod bolt torquing. I
learned to insert a feeler gauge, (.014 to .016" here), in
order to stabilize the rod during the torque procedure.
(70ft-lb).
|
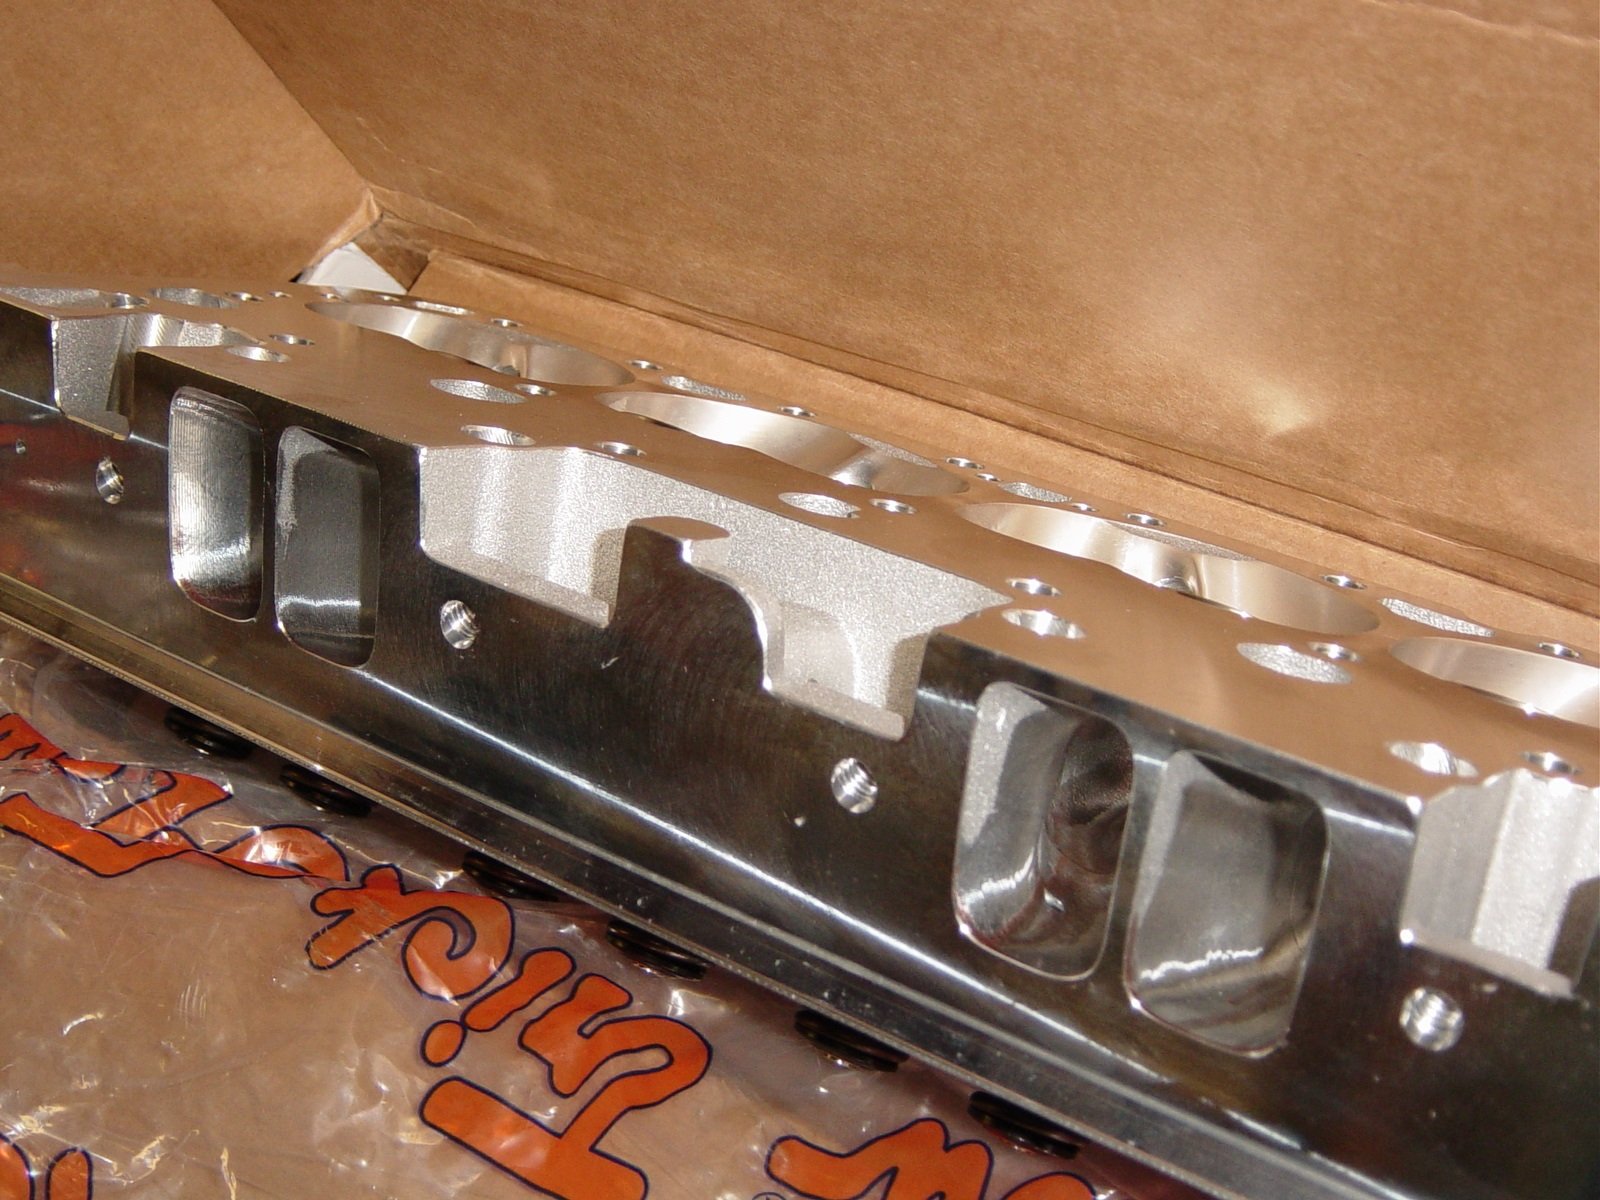
Now it's time for the Ai TFS
heads. The pistons are .008" out of the hole and that
calls for a GM LT4 head gasket, (.043").
|
|
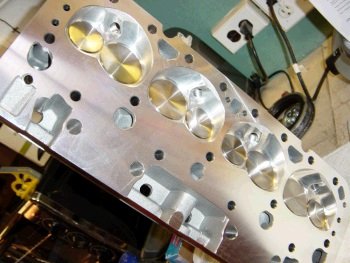
Ai 215cc TFS CNC head.
|
Next will be ARP 12 point head bolts.
|
|

Jesel bolts go in the top 4 positions.
|
All torqued to 70ft-lb.
|
|
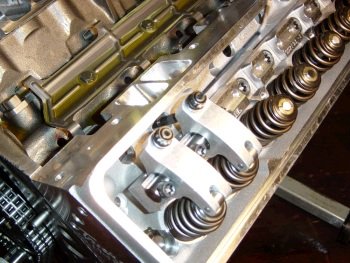
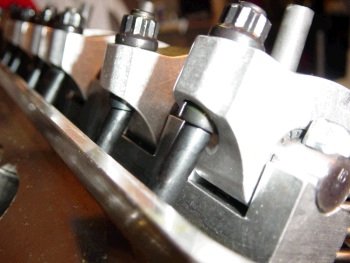
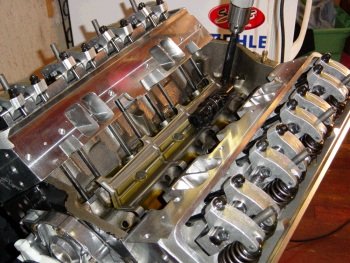
Time for geometry and pushrod length measuring. 1st check was
with no shim under the Jesel shaft stand which had the rocker tip
too far inboard. 2nd check was with the supplied 0.100"
shim under the shaft stands which had the rocker tip too far
outboard. Recently I started to keep other size shims on hand
and thankfully the 0.050" shims worked out nicely.
|

The pushrod length check is important
and varies due to block deck and head gasket and cam base circle and
lifter type. 7.06 is measured so I'll order a set of
7.050" from Ai. Ai supplies 5/16" chromoly pushrods
in their valvetrain kits which are sent promptly after the customer,
(me), measures.
|
|
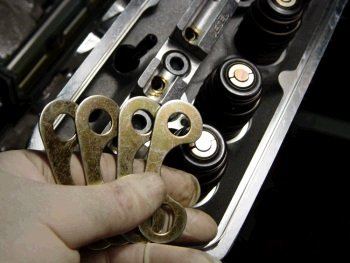
These are my .050" shims.
|
I cannot remember if this photo was
taken before or after the correct valve tip/rocker tip geometry was
found but it's a good photo.
|
|
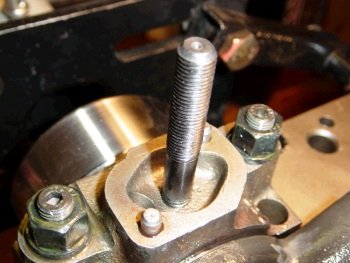
Oil pump mounting stud.
|

Big block Chevy oil pump test fit for
trim of windage tray.
|
|
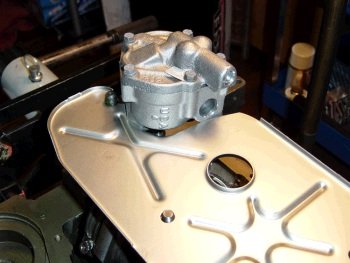
Windage tray gets tin-snipped just a little bit to fit around the
pump body.
|
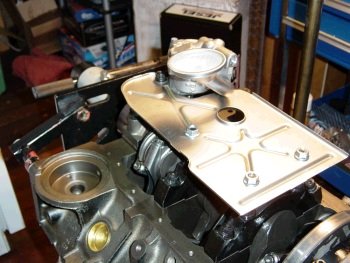
Pump pickup pressed on. I don't
weld it on because I feel that welding will do more harm than
good. The factory pickups are all pressed and they hold up
well enough.
|
|
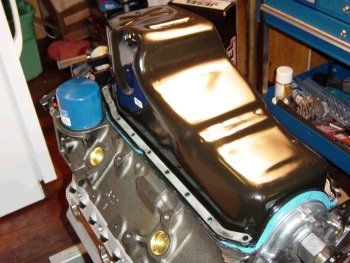
New GM F-body oil pan, (test fit).
|
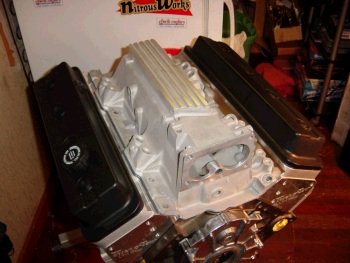
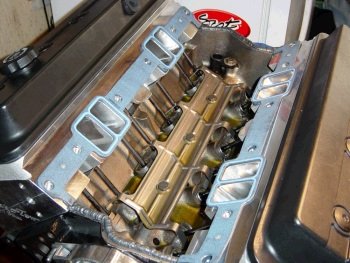
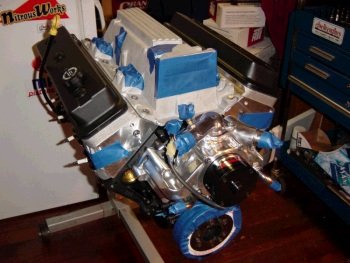
Now a test fit of the Corvette
composite, (fiberglass), valve covers. These are expensive but
they fit over Jesel rockers and also give room for the alternator.
|
|

Intake manifold is ported by Ai, (Advanced Induction). I set
it on for now to act as a dust cover. Right now my punch list
is: Block paint, order pushrods, order rear main seal housing,
order oil pump drive gear. Prime oil system, button up motor
and deliver.
|
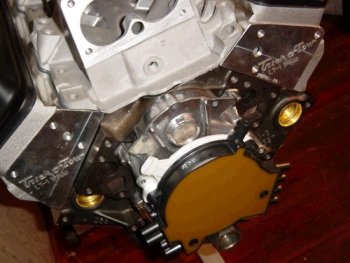
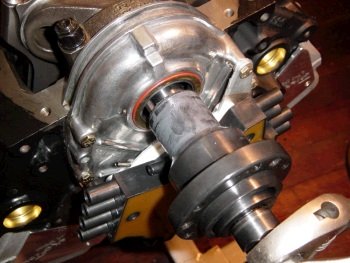
Now with new timing cover seals and the
Kennedy 1/2 Dollar.
|
|
New 7.050" pushrods from Advanced Induction via CV
Products. These fit perfectly. 3/4 turn on adjuster nut
until zero pre-load then 1/2 turn more.
|

The rocker tip rides the valve tip right
in the center.
|
|

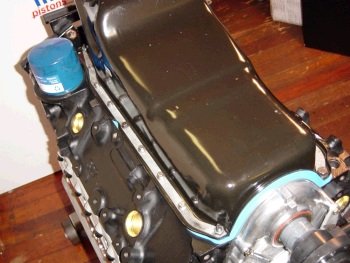
POR-15 engine semi-gloss black.
|

I brush it on. This stuff is thick
and tough.
|
|
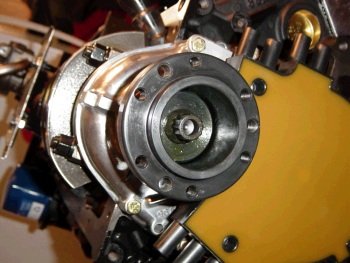
ATI hub installed with a combination of tools.
|
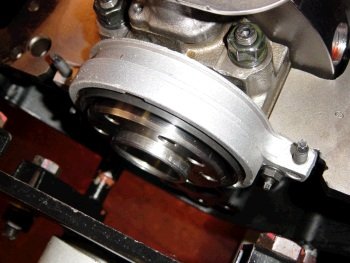
Photo of the new stock GM rear main seal housing with premium seal.
|
|
Final photo of bottom end.
|

ARP crank hub bolt
|
|
Torqued to 80ft-lb
|
Oil pan on without RTV in order to check rod clearance/interference
and to fill with oil for system pre-lube and integrity check
|
|
2500rpm drill gives me 60psig and all the lifters/pushrods/rockers
have oil.
|
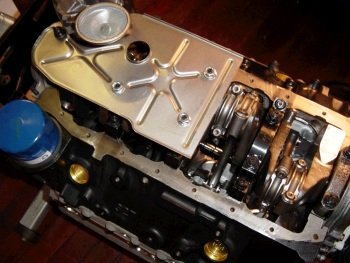
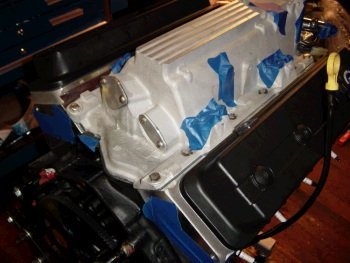
Time for the intake manifold. This shows the FelPro printo
seal intake manifold gaskets and RTV ready for manifold install.
|
|
Manifold on.
|
Stock dipstick is messaged past the splayed main cap. It takes
a little twisting.
|
|
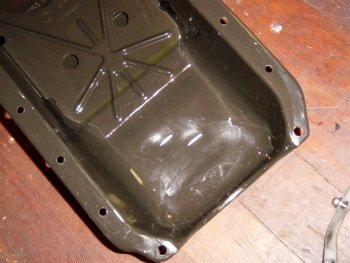
Oil pan needs to be hammered out for rods #1 and #2.
|
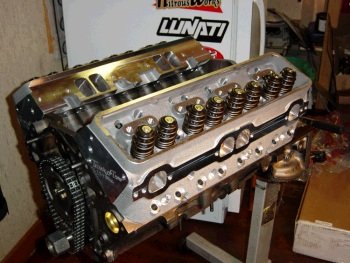
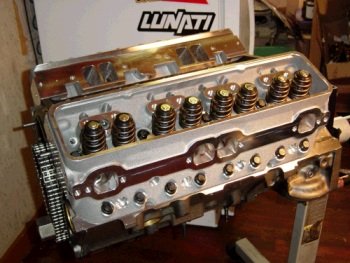
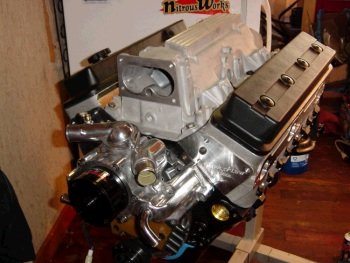
Motor fully assembled and taped up and ready for transport.
|
|
Owner supplied EGR block-off plates.
|
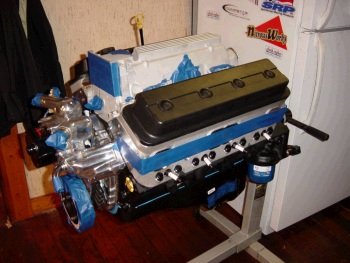
One final pose.
|


