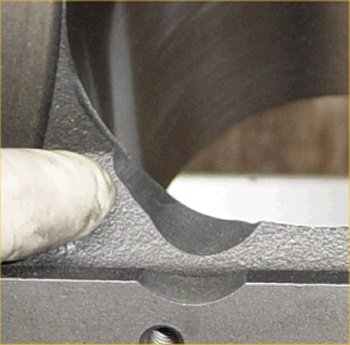
Here is a little extra clearancing for the Compstar rods. |
Golen clearances the block for me but sometimes certain rods need a
bit more. |
I tapped the front oil galleys for threaded plugs and clearanced the
bottom of the cylinders a little bit more for rods. |
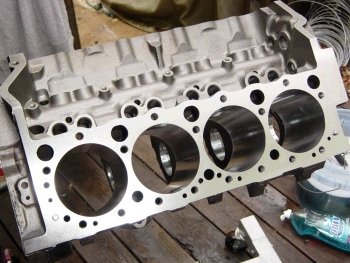
Block has been blown with air and soap-water cleaned and oiled with
WD-40. |
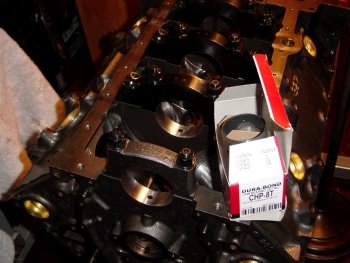
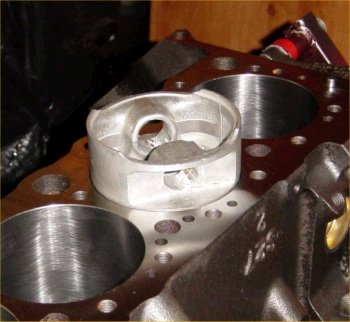
Cam bearings to be installed. These are the coated Dura-Bond. |

Cam bearing installation tool. Great care is needed so as not
to mar the bearings.
|

Advanced Induction custom camshaft. |
The cam is on a billet core, (looks to be as good a quality as
Crane). Most cams from Ai come with an "Everwear"
distributor gear, (oil pump drive gear). This one has the
Everwear gear. |
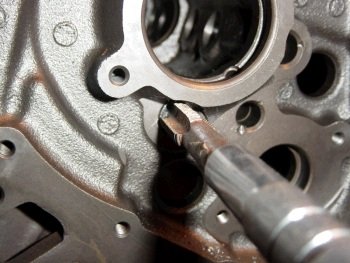
Forgot to show the thread tapping of front oil galleys. |

After washing the block and blowing out with air here is what the
threaded oil galleys look like. |

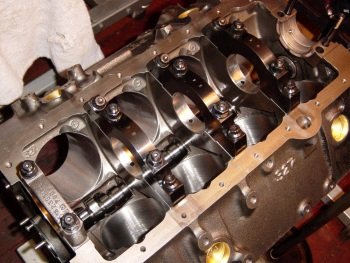
Main bearing clearance check. #5 here is at .003" |
The mains ended up thusly: #1=.0025, #2=.0025, #3=.0027, #4=.0027,
#5=.0030 The Compstar crankshaft (by Callies) always
comes .001" smaller on the main journals I guess because they
feel that engine builders want it that way. The crank mains
were 3.448" and I ended up using .001/standard bearing halves
in #1 and #2 position. Std/std for #3, 4, 5. |
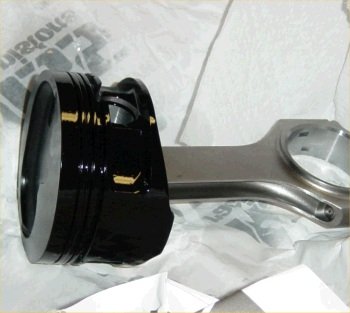
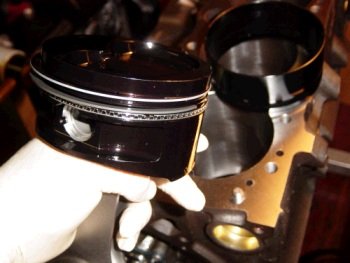
Custom ROSS piston designed by Mark McKeown of McKeown
Motorsports Engineering. The top ring is .350" down from
the crown. |
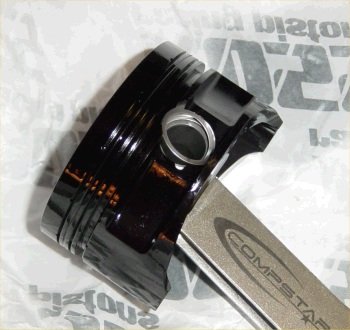
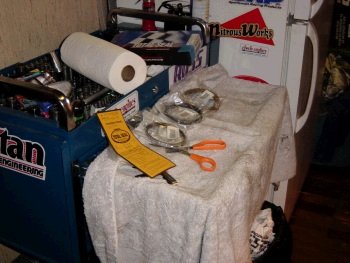
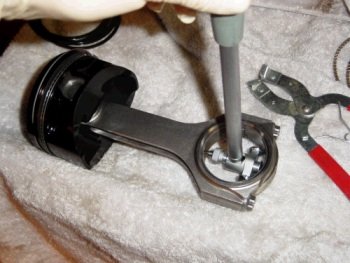
Photo pose of the spiro-lox. This is not the most fun part
of an engine build. :) |
Getting set up to file-fit the custom Total Seal conventionally
gapped piston rings. |
This LT1 piston is my ring squaring tool. |
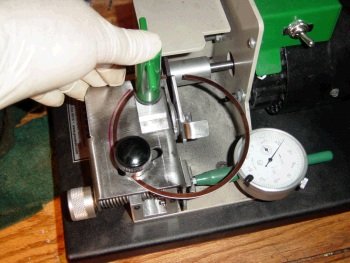
Shooting for .020" top and .024" 2nd ring. |
The gap sounds tight for a blower motor but the rings are down away
from combustion heat. |
This rod bearing measured .0025" clearance. |
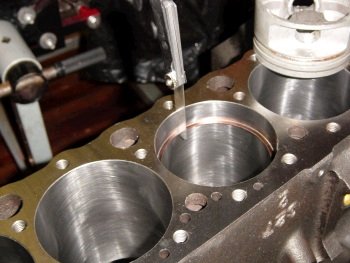
#1 piston with rings installed, (medium tension oil rings). |

I did not actually measure yet but that looks to be zero deck
height. |

Cloyes double roller timing set checked at 107 ICL (cam card spec is
108). |

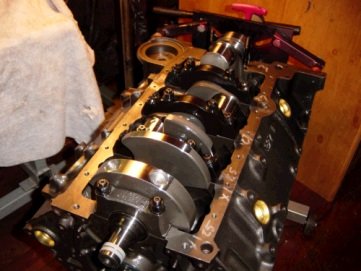
I had a bit of a delay waiting for the rod bearings to arrive from
my supplier. Short block is almost finished. |
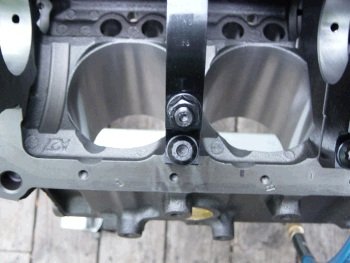
When torquing the rod bolts this
.017" feeler gauge keeps the rods aligned. |

Windage tray studs arrived. Swapped out the ARP studs with
these Milodons. |
Fuzzy photo and only one I have of the oil pump and windage tray. |
Stock oil pan fits quite well and simply requires hammer message to
clear the #1 and #2 rod bolts. |
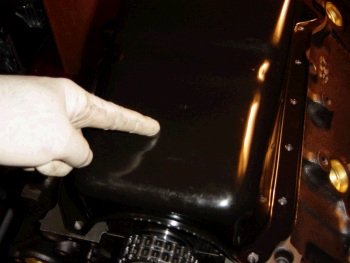
Dent out the pan in this spot. |
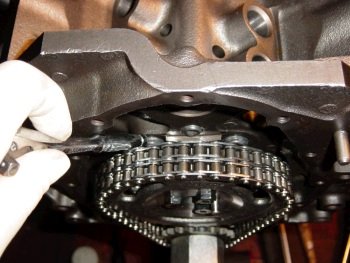
Might as well show a few other details. Here are the threaded
oil galley plugs behind the Cloyes double roller. |
Here is a thread cleaning tap. Make sure to keep the
pistons/bores clean. The dirt in this photo is paper towel
dust. It is not metal. |
This motor is to have ARP main studs. They are very hard to
seal (for reasons I still am not sure). I clean the ARP studs
and also clean the block threads. I've used Right Stuff RTV in
the past with good success and now I'm trying 3M marine 5200. |
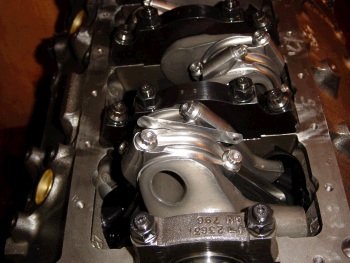
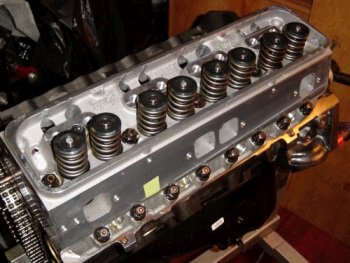
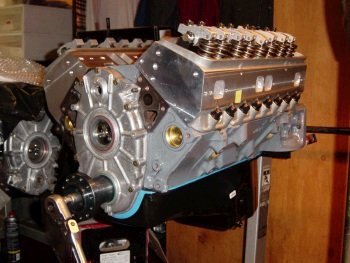
Both Dart Pro1 LT1 heads are installed and the head studs are
torqued to 85ft-lb with 30w oil. |

Probe shaft rockers and CV products 3/8" pushrods, (which taper
at the tip to 5/16") |
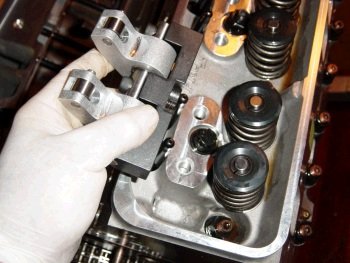
I should have known but the top 4 head studs need to be replaced
with ARP head bolts to clear the shaft stands. Same deal if
using Jesel shaft rockers. |
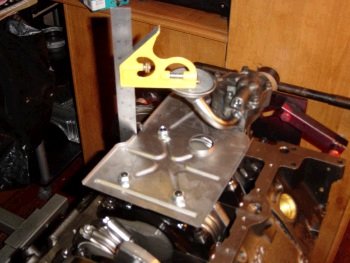
Making sure these fit and verifying I have the proper pushrod
length. Last motor with these heads had 7.050" pushrods
and so that's what I ordered. |
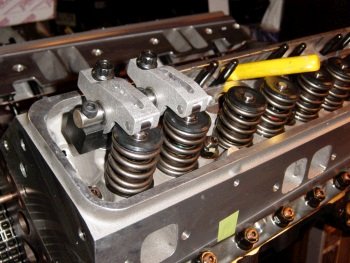
The 7.050" pushrods fit well. Pushrod length will not
affect shaft rocker geometry. The pushrods just need to fit so
the adjusting cup is not too far out or too far in. |
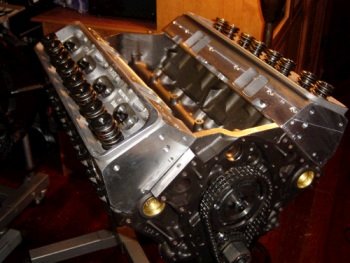
Left side valve train installed. |

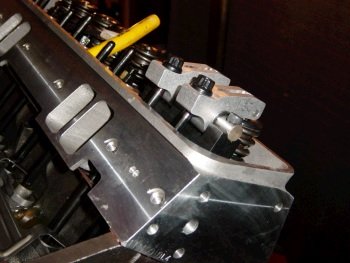
Valve train fully installed. GMPP hydraulic lifters at 1/2
turn preload. |
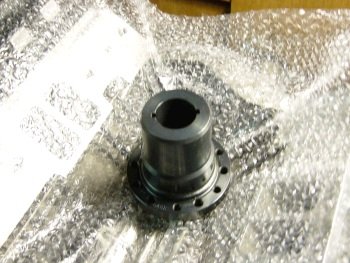
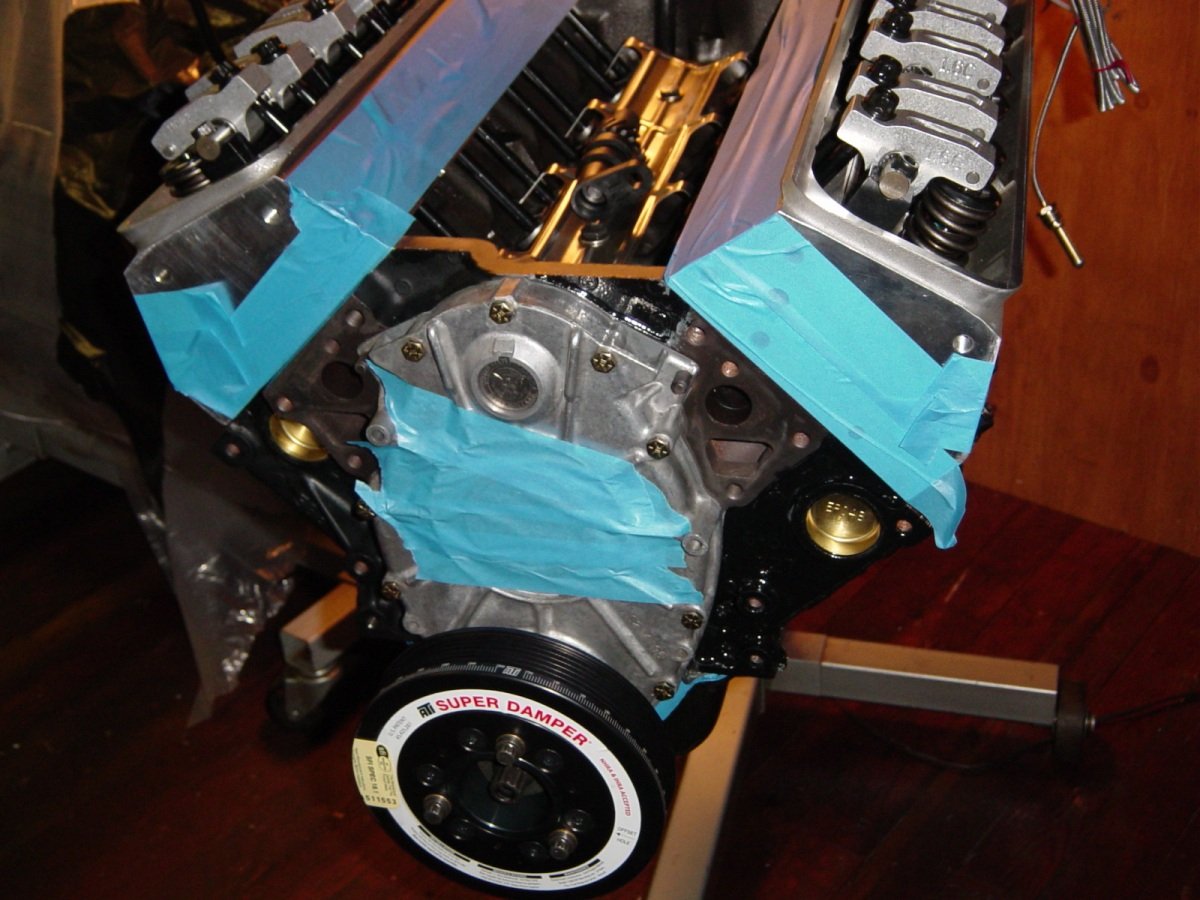
Fuzzy photo of the customer requested
ARP 2.25" outside diameter damper hub. The LT1 timing cover
needs to be machined wider to fit this. ARP is doing that as
we type. |

ATI machined timing cover for bigger crank seal. I clearanced
the cam area for the fatter Cloyes double roller timing chain. |
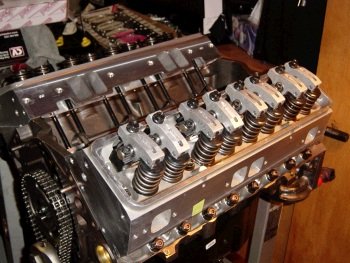
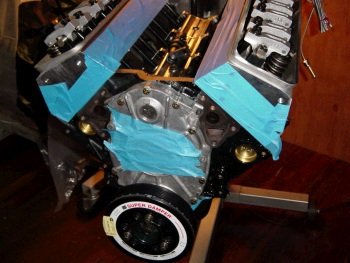
This is how the motor looks with POR-15 engine gray. |

Also see the Big Block Chevy outside diameter ATI hub. |
|
The gray paint does not look good. I like the darker
gray. So I now have POR15 engine black on the motor.
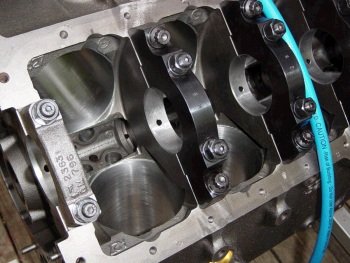
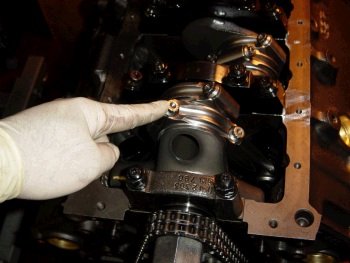
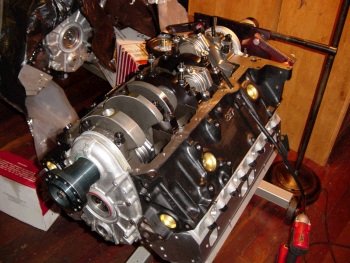
Here is one last look at the bottom end before installing the oil
pump and oil pan. Notice the bigger crank damper. This
is an item that ATI sells to fit SBC crank noses but at the BBC
outside diameter.
|

Until I can figure out a secure and confident way to retain the
M99HVS oil pump pickup I will use the Melling select 10552 which
comes with the 70psi relief spring and 10% higher than stock
volume. The pickup is bolted on. |
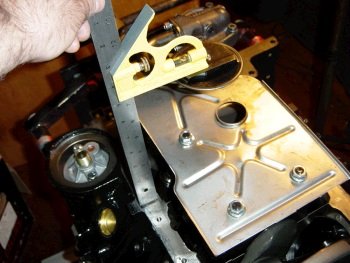
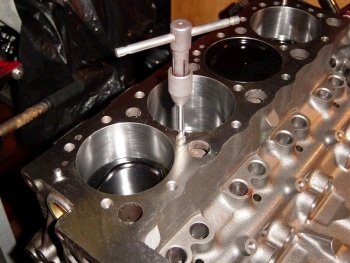
Making sure the pickup is at the correct location of about 3/8"
off the bottom of the pan. |
Here is my oil pressure and oil system pre-lube test. The pump
made 60psig at 2500 drill rpm. All the lifters are pump up and
oil oozed out of the top of the pushrods and onto the shaft
rockers. The motor is also getting taped up and wrapped for
shipping to Tennessee this same day. |


