|
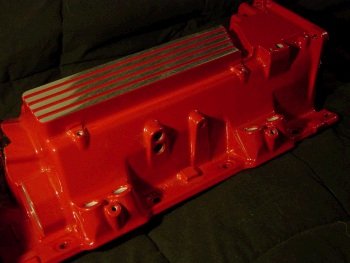
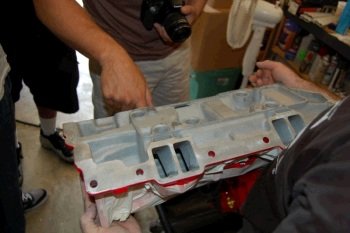
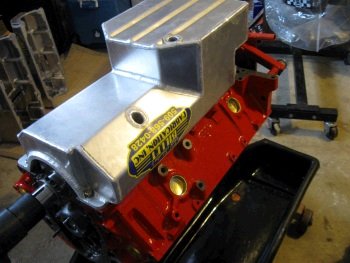
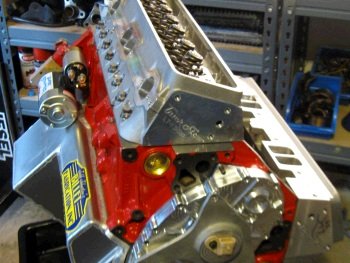
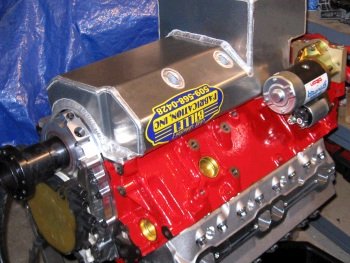
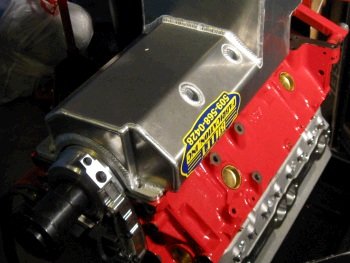
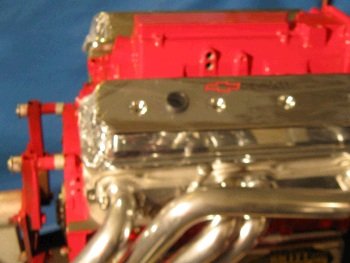
This is an LT1 intake manifold ported by Advanced Induction.
|
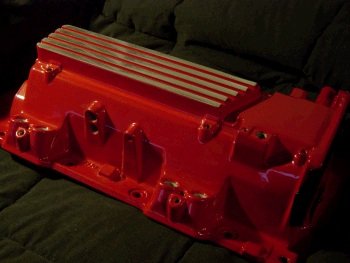
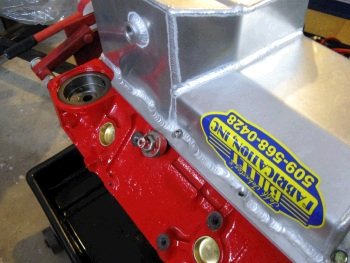
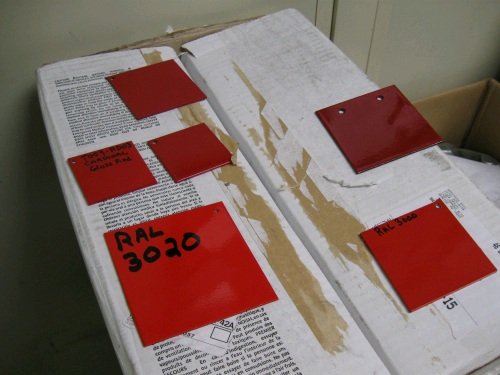
The powder coating here is by Bob Noble.
|
|
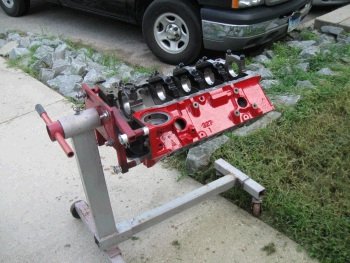
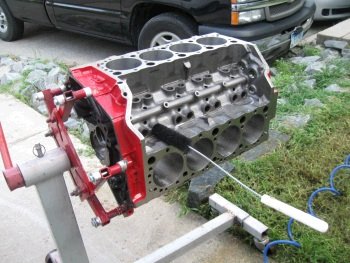
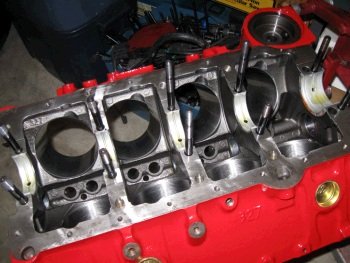
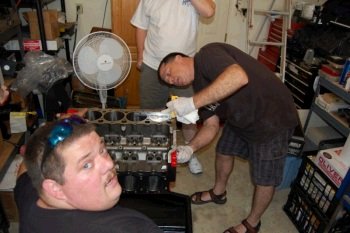
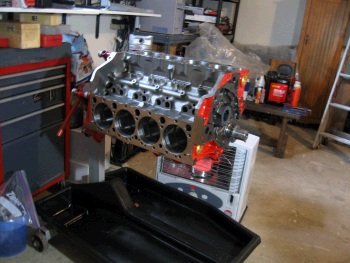
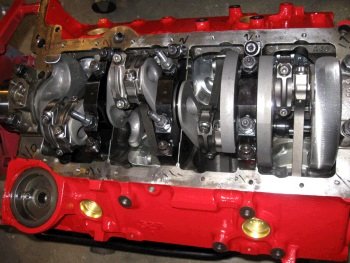
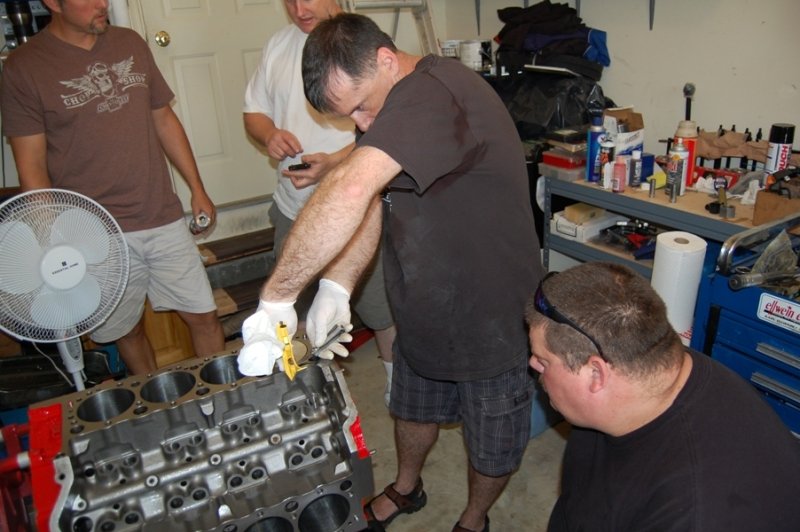
Final cleaning prior to installing cam bearings and rotating
assembly.
|
That is a nice powder coating.
|
|
reverse angle. :)
|
After the wash it is quickly dried and oiled.
|
|

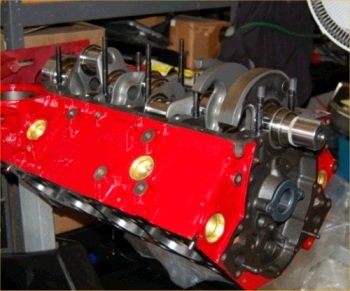
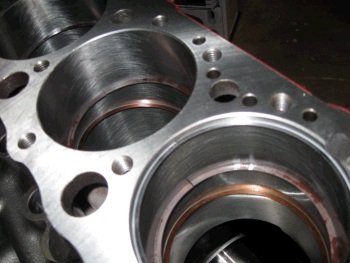
Cam bearings and freeze plugs in.
|
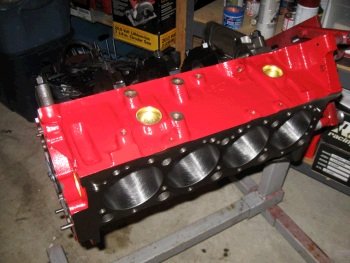
Camera flash makes the red look purple.
|
|

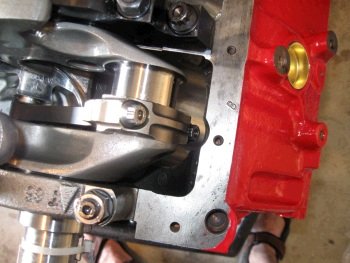
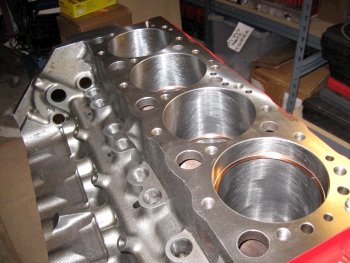
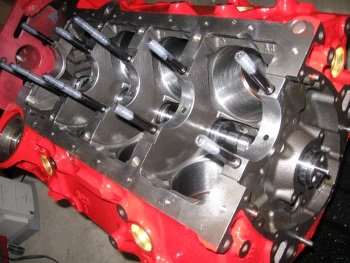
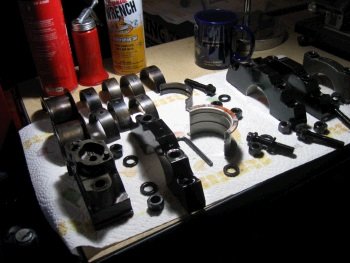
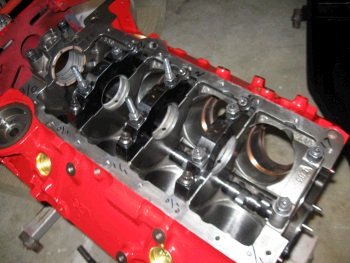
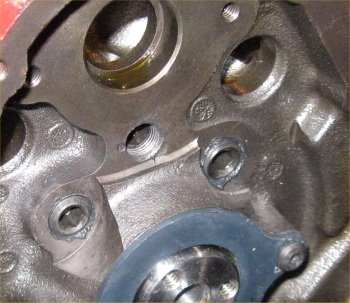
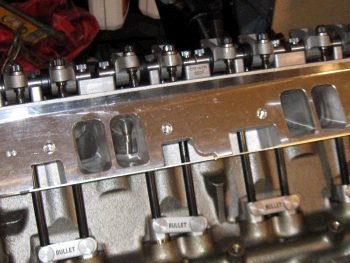
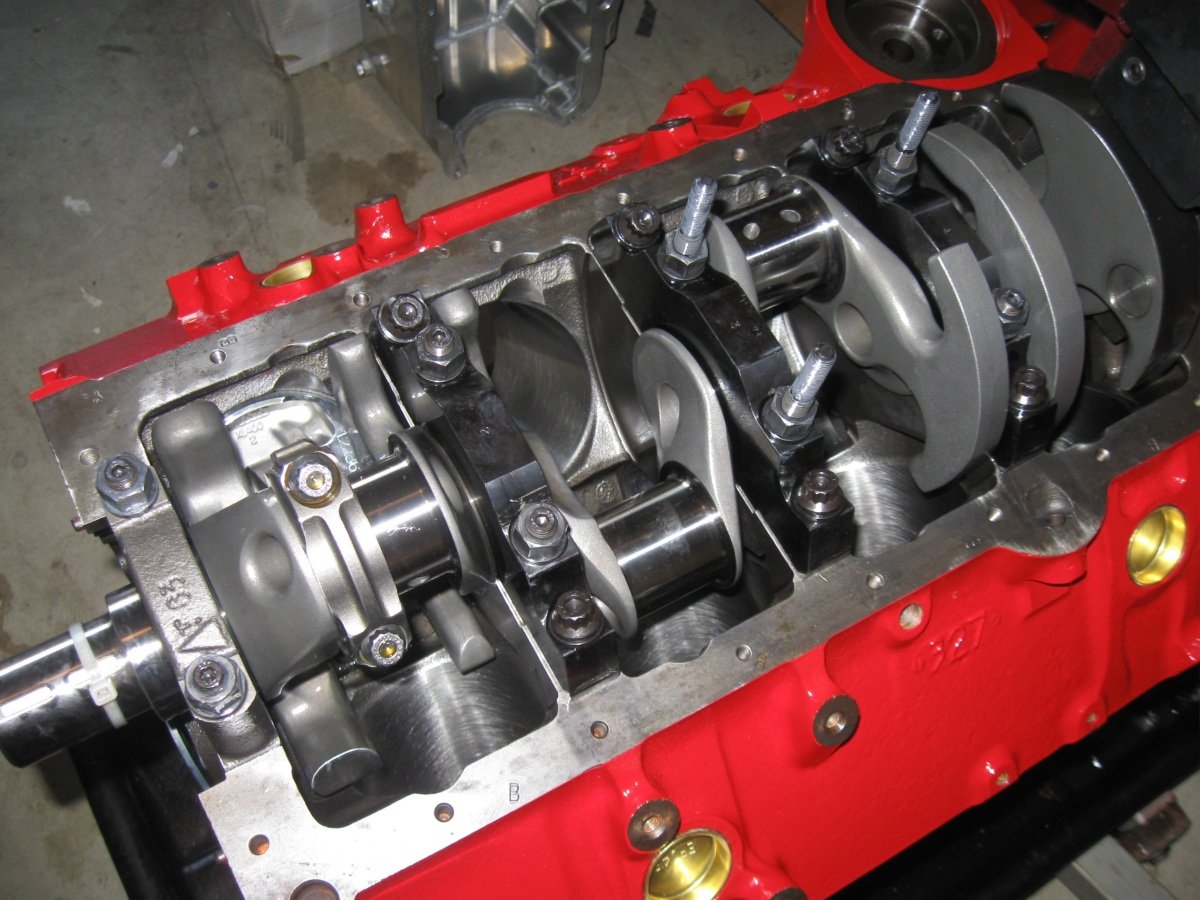
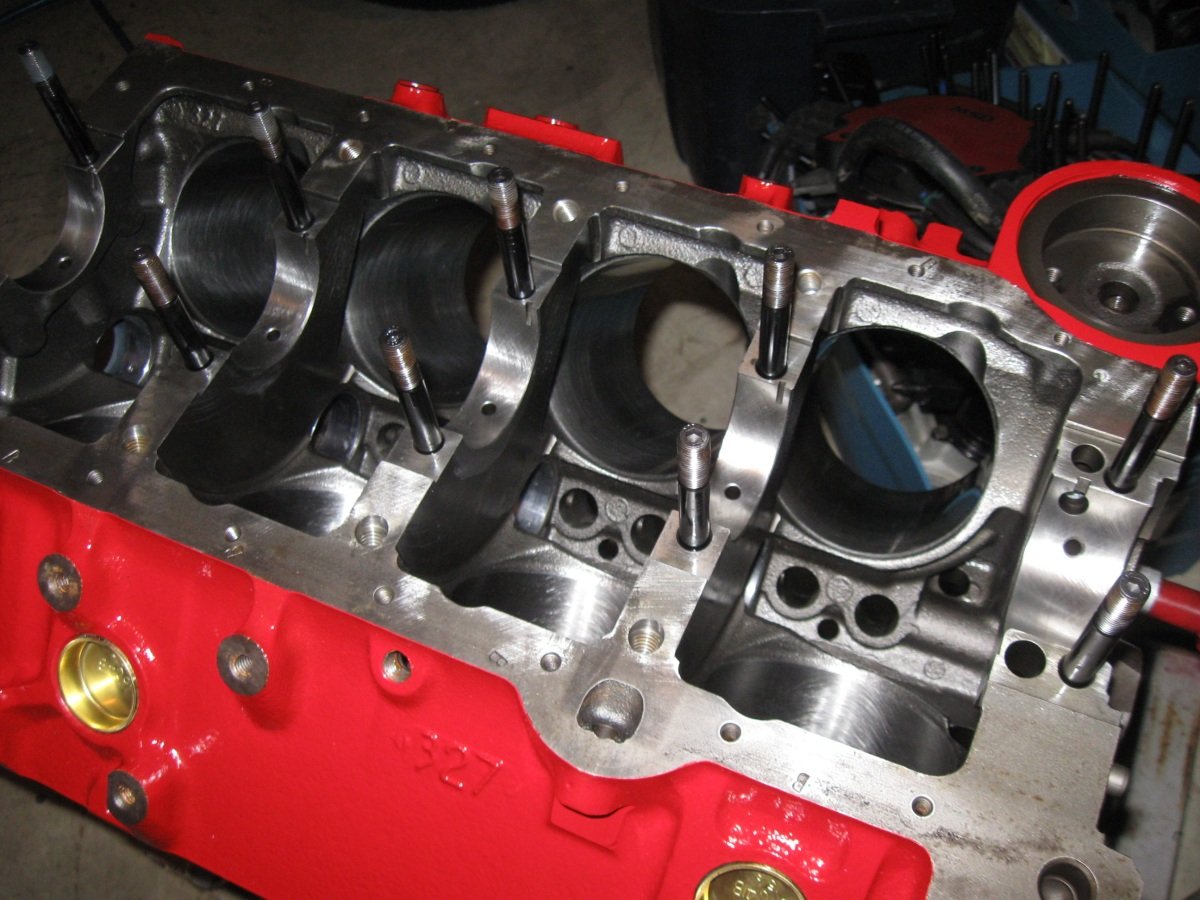
Main caps off and cleaned.
|
Verification that the oil gallery plug is installed.
|
|
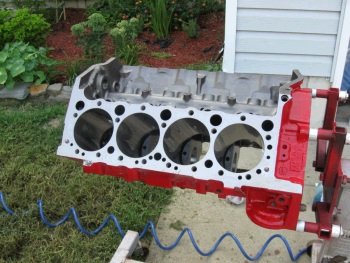
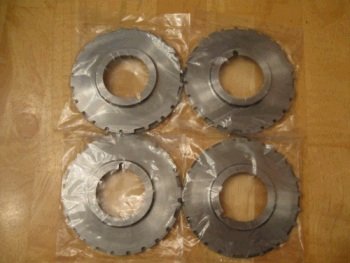
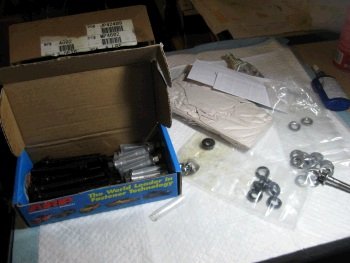
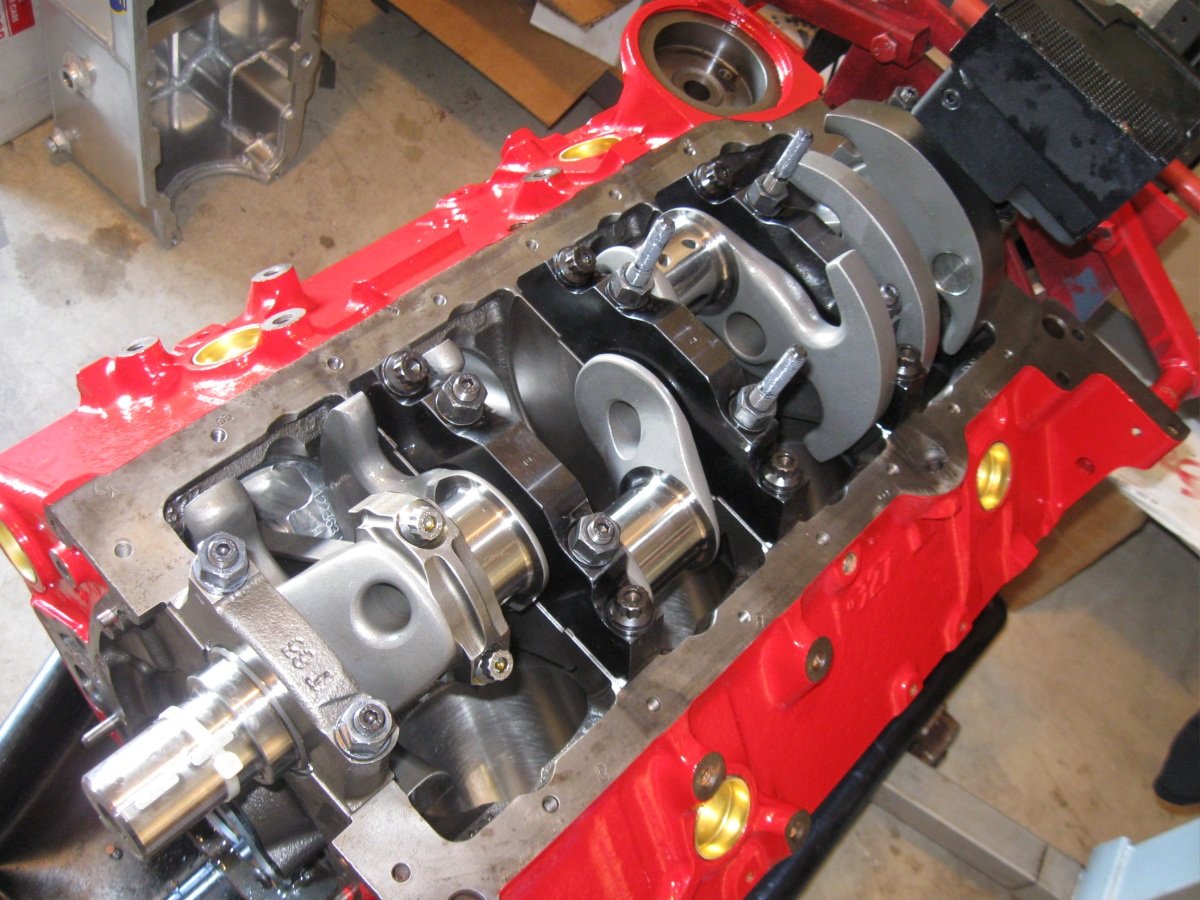
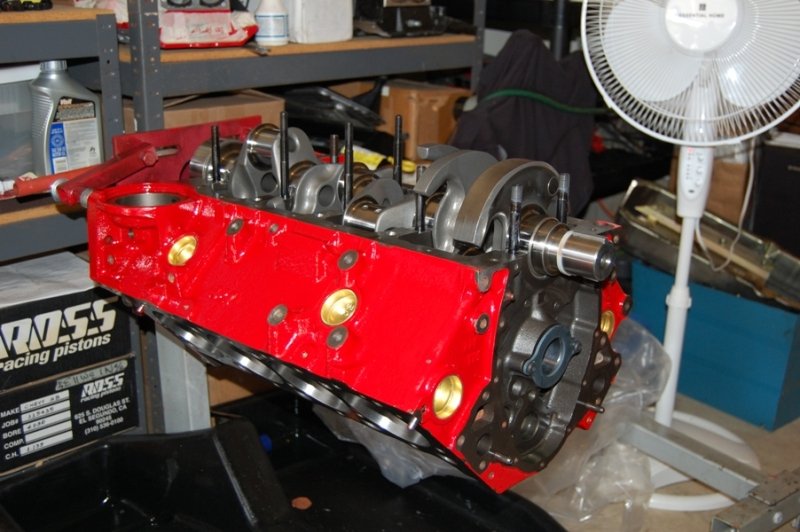
3 Milodon main studs for windage tray.
|
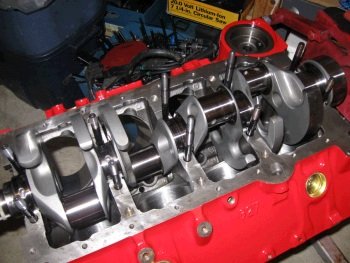
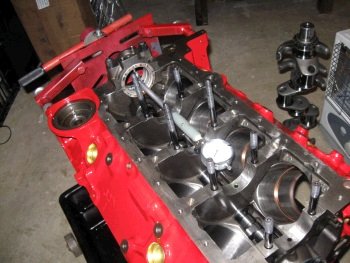
Crank in for mock-up.
|
|
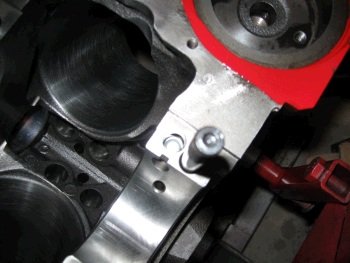
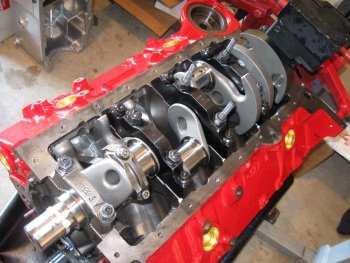
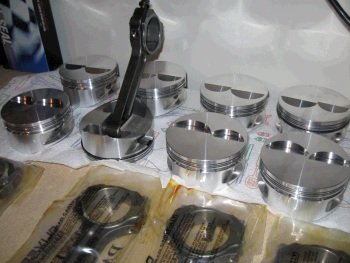
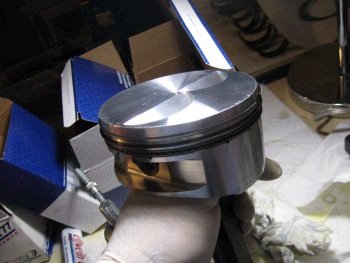
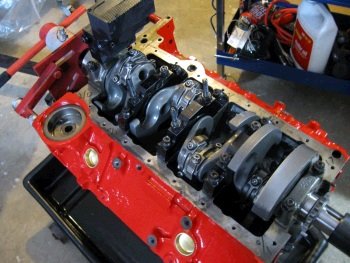
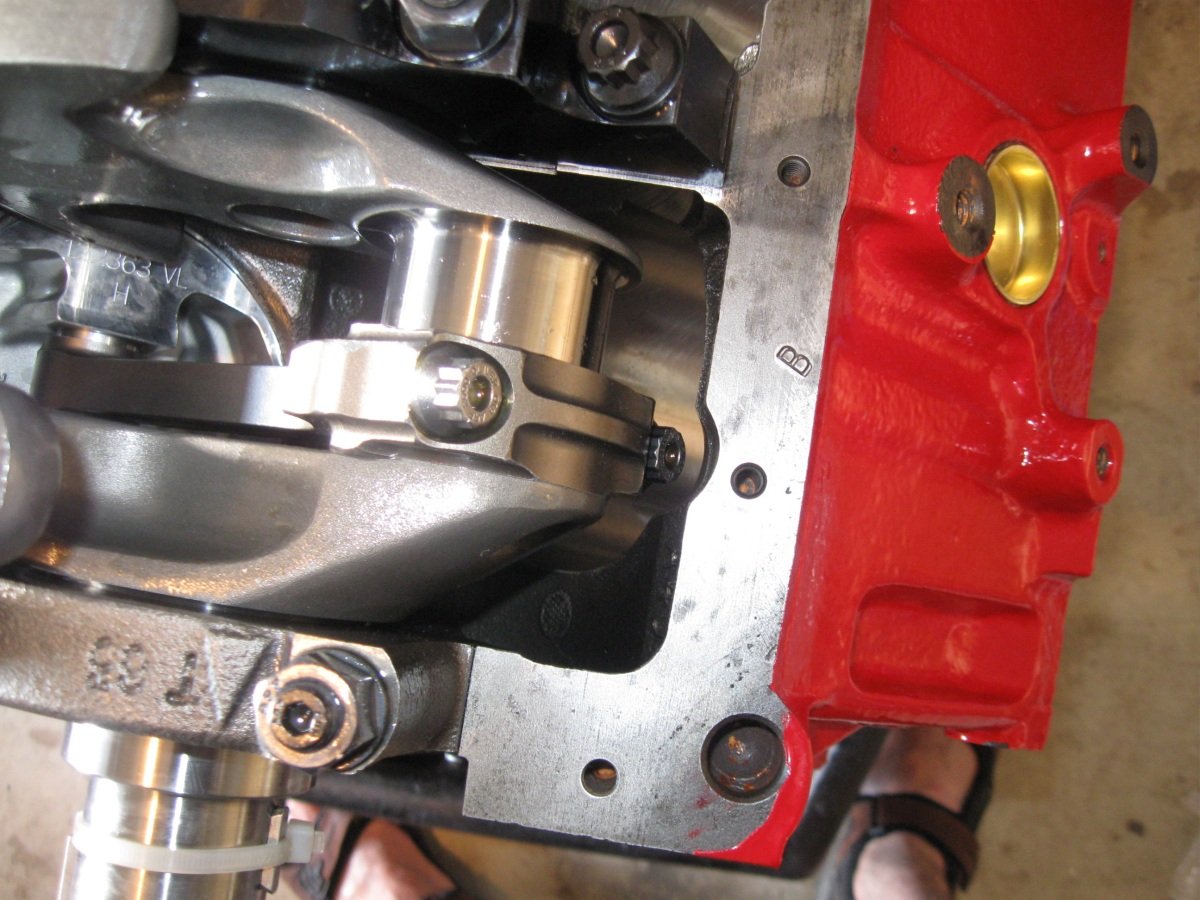
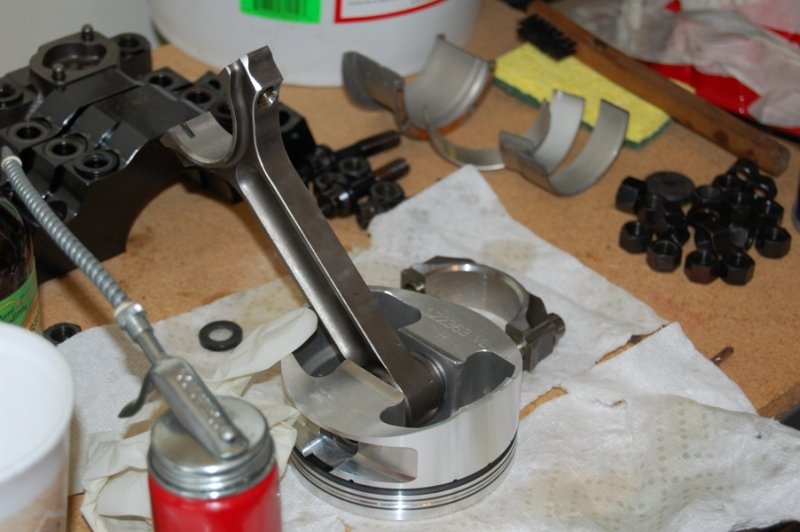
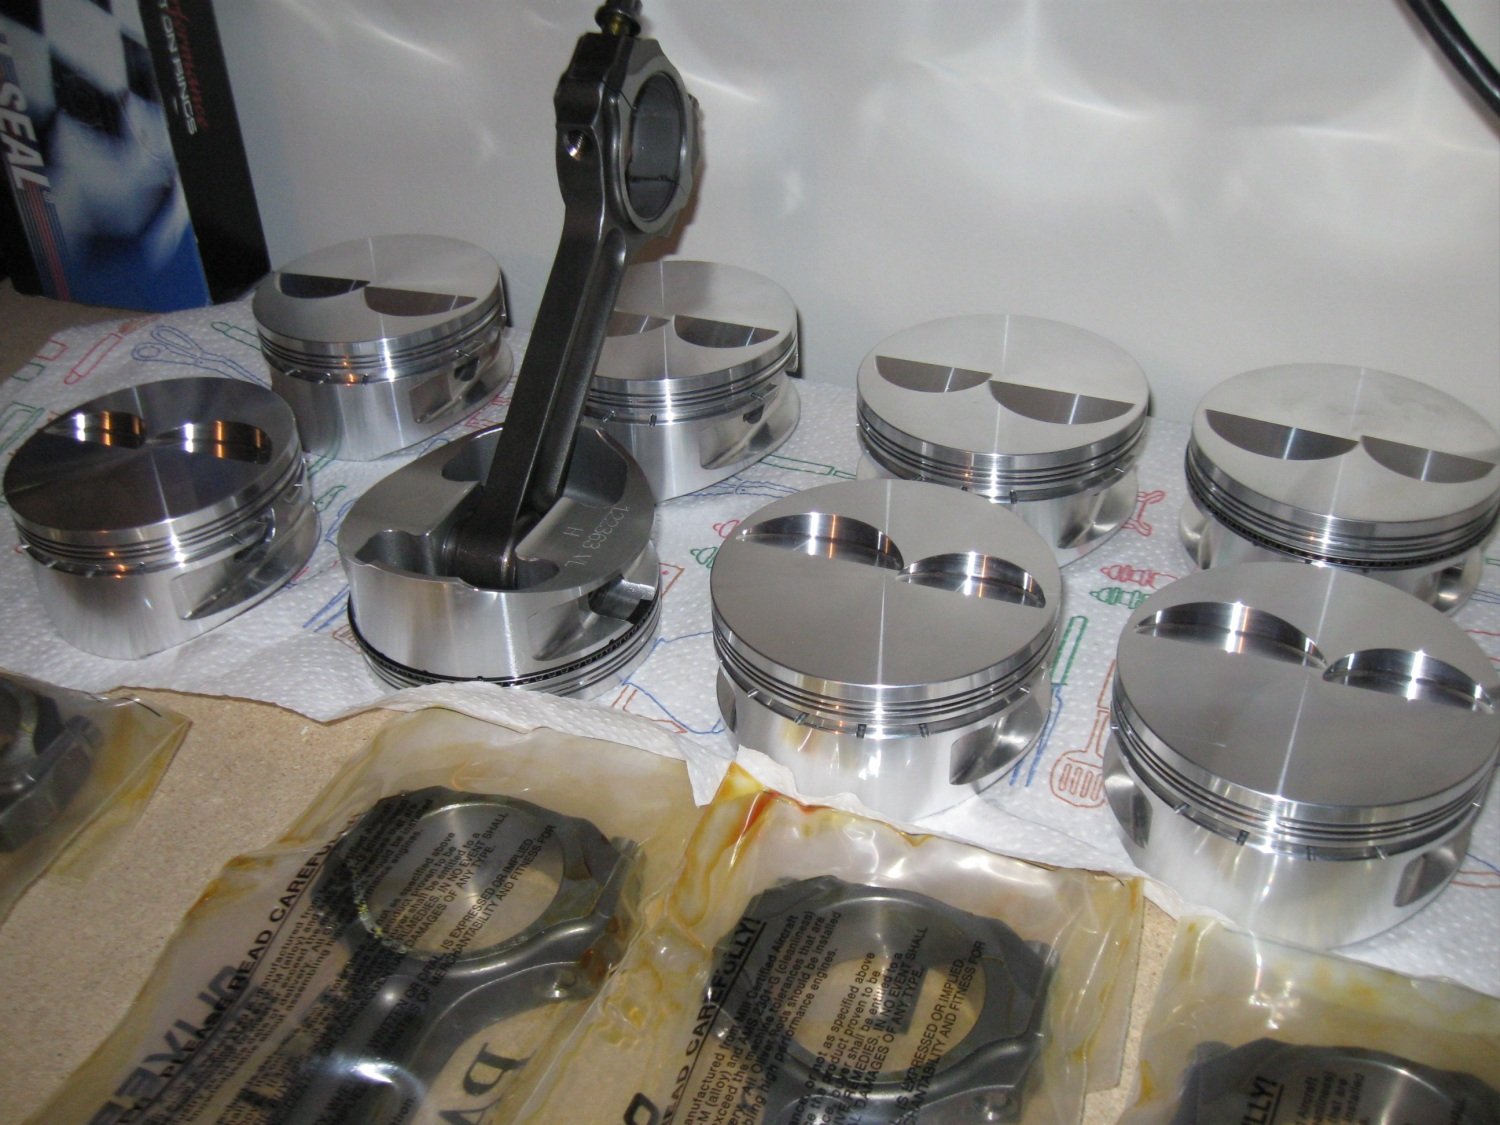
Oliver rod and Ross pistons installed.
|
This is not a final assembly. This is to mock-up to see if
everything fits.
|
|
Ahh! And look at all the clearance. The 1.888" rod
journal helps with that.
|
Titan oil pump installed.
|
|

A photo for eye candy.
|
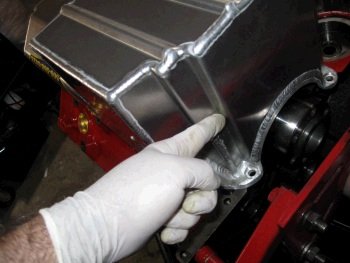
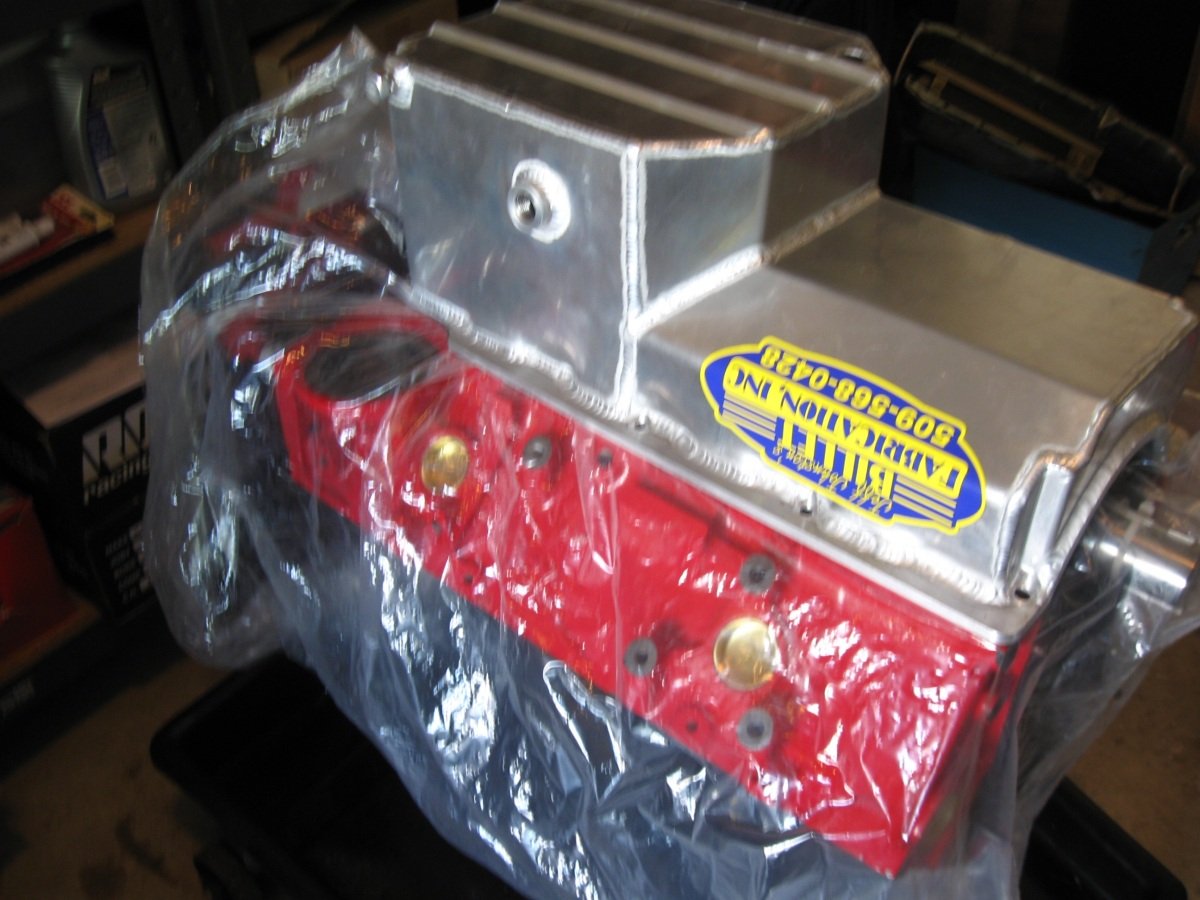
Oil pan fits over the oil nicely.
|
|

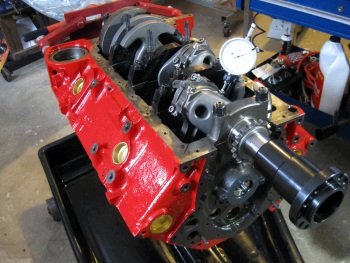
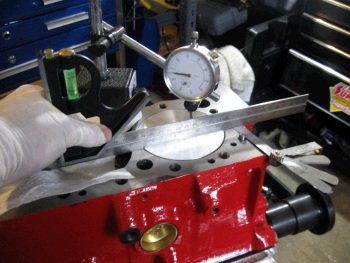
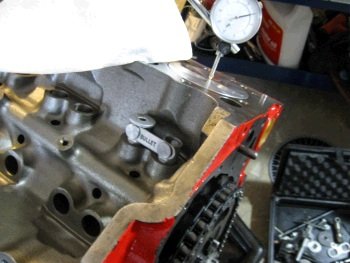
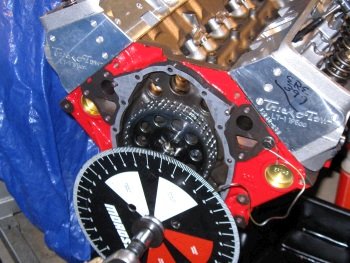
Top dead center and about .008" out of the hole.
|

Oliver rod and the custom Ross piston.
|
|
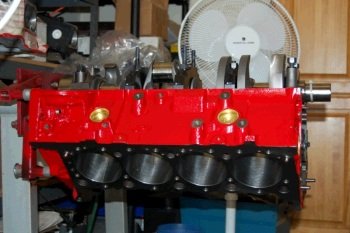
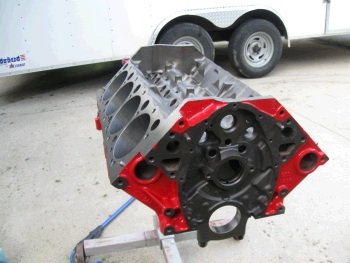
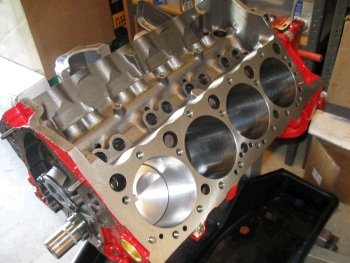
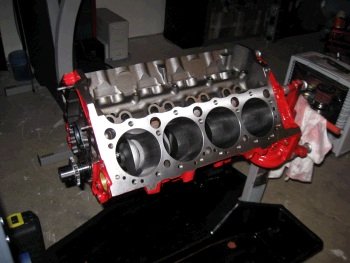
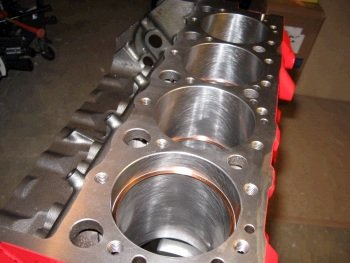
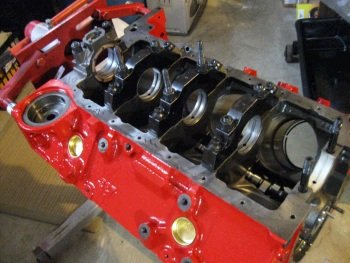
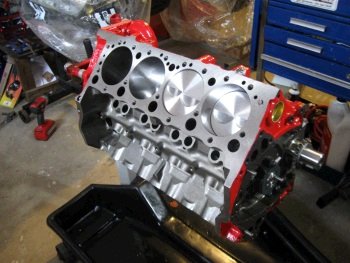
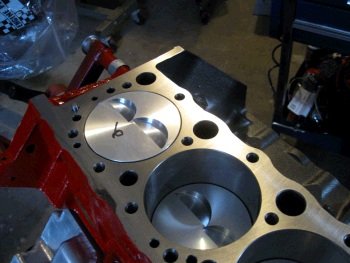
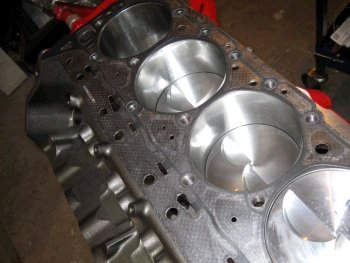
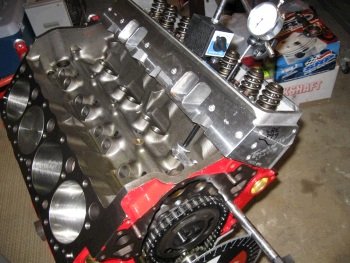
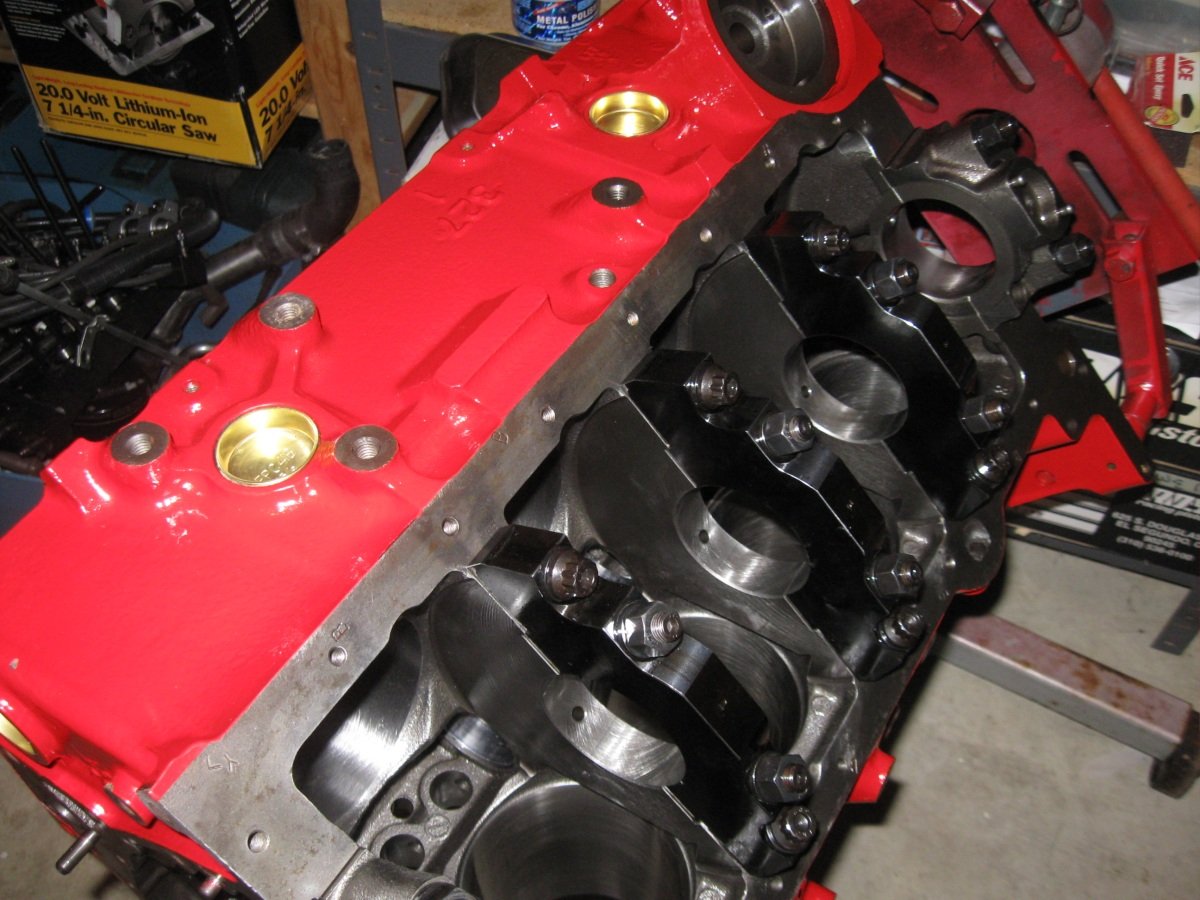
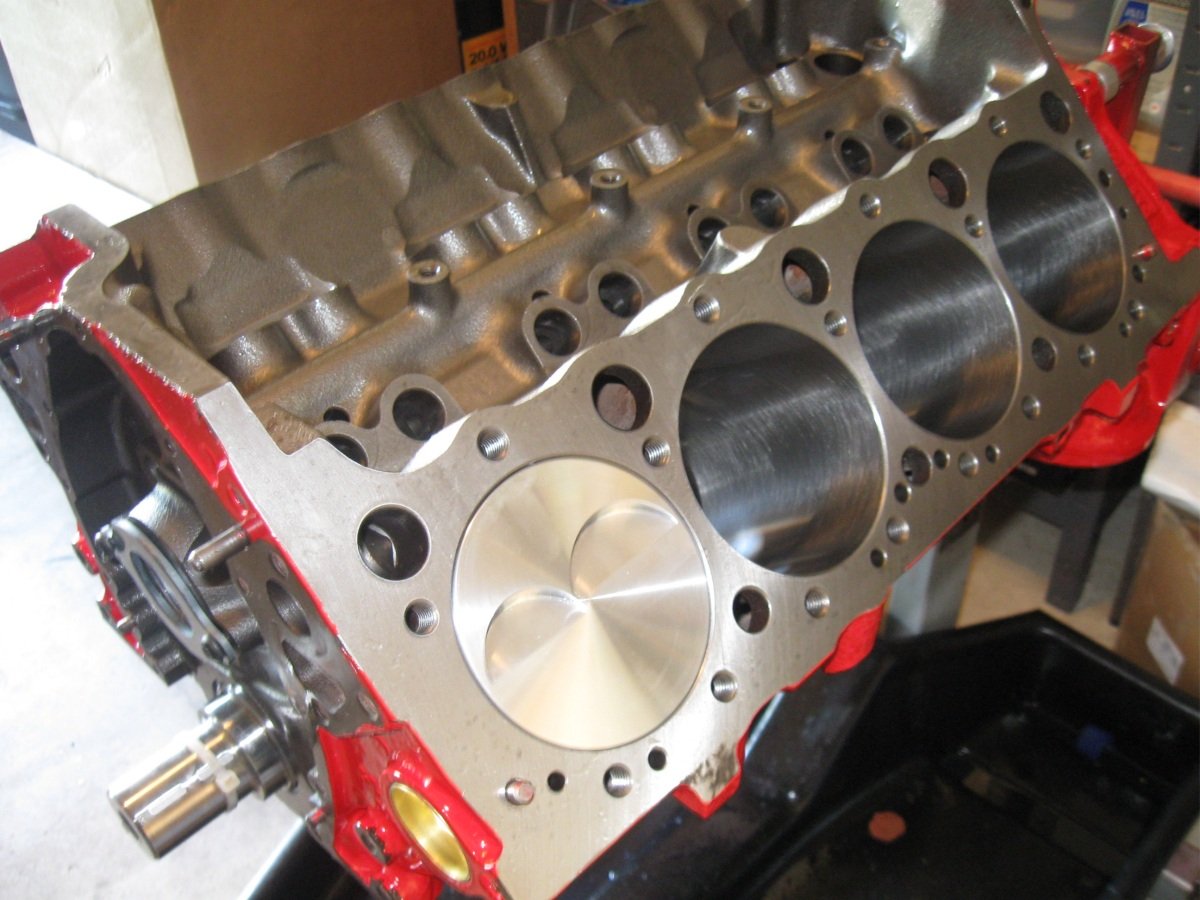
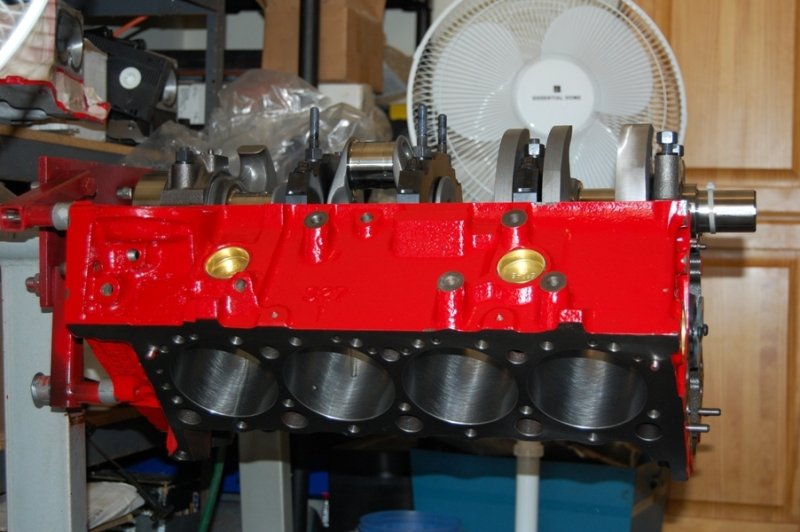
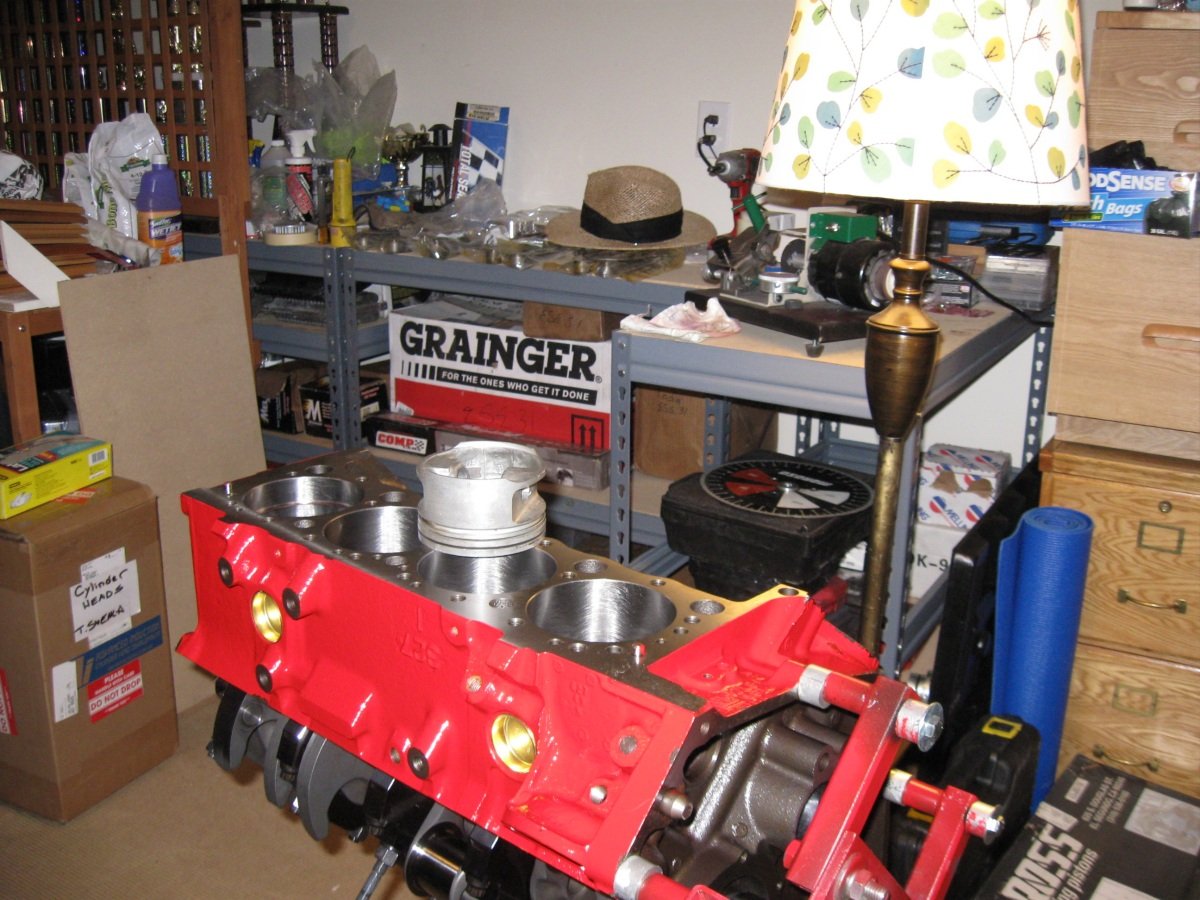
Nice view of the block.
|
Ai ported intake manifold.
|
|
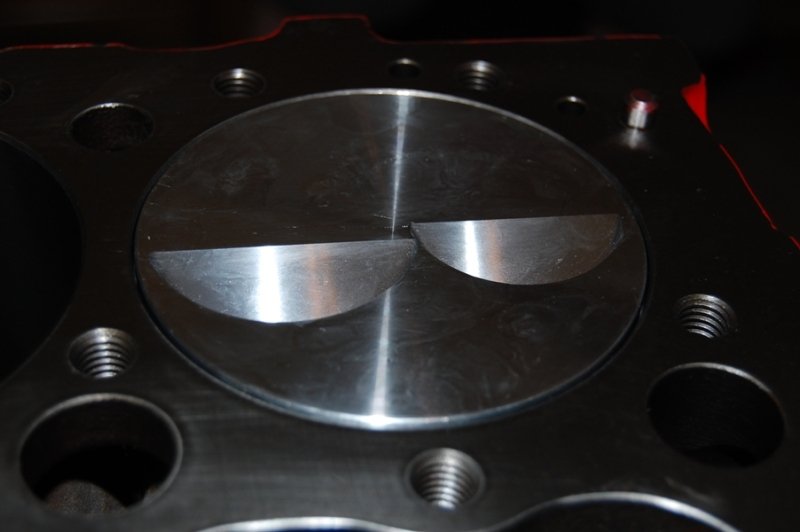
ye ol flat-top.
|
Measuring how far it is out of the hole.
|
|
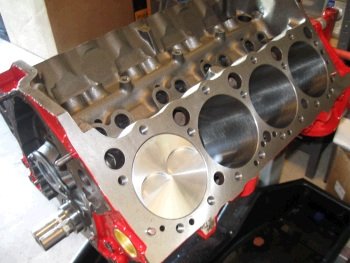
Nice view.
|

A rough measure of TDC.
|
|
Lookin' at things upsidedown.
|
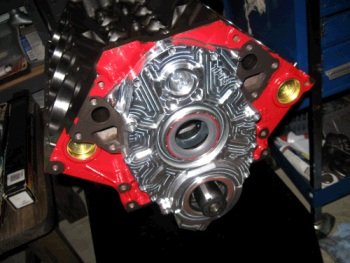
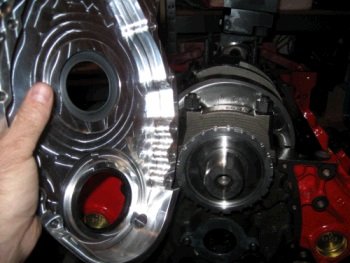
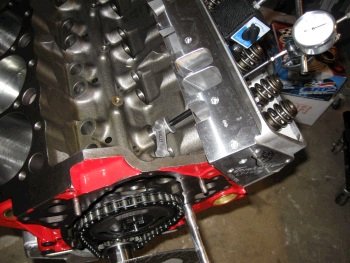
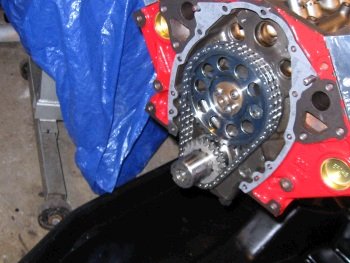
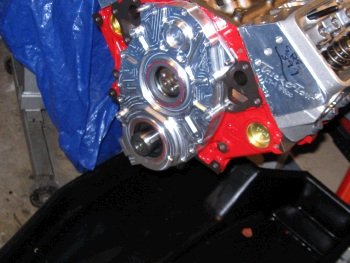
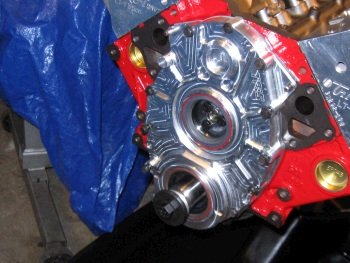
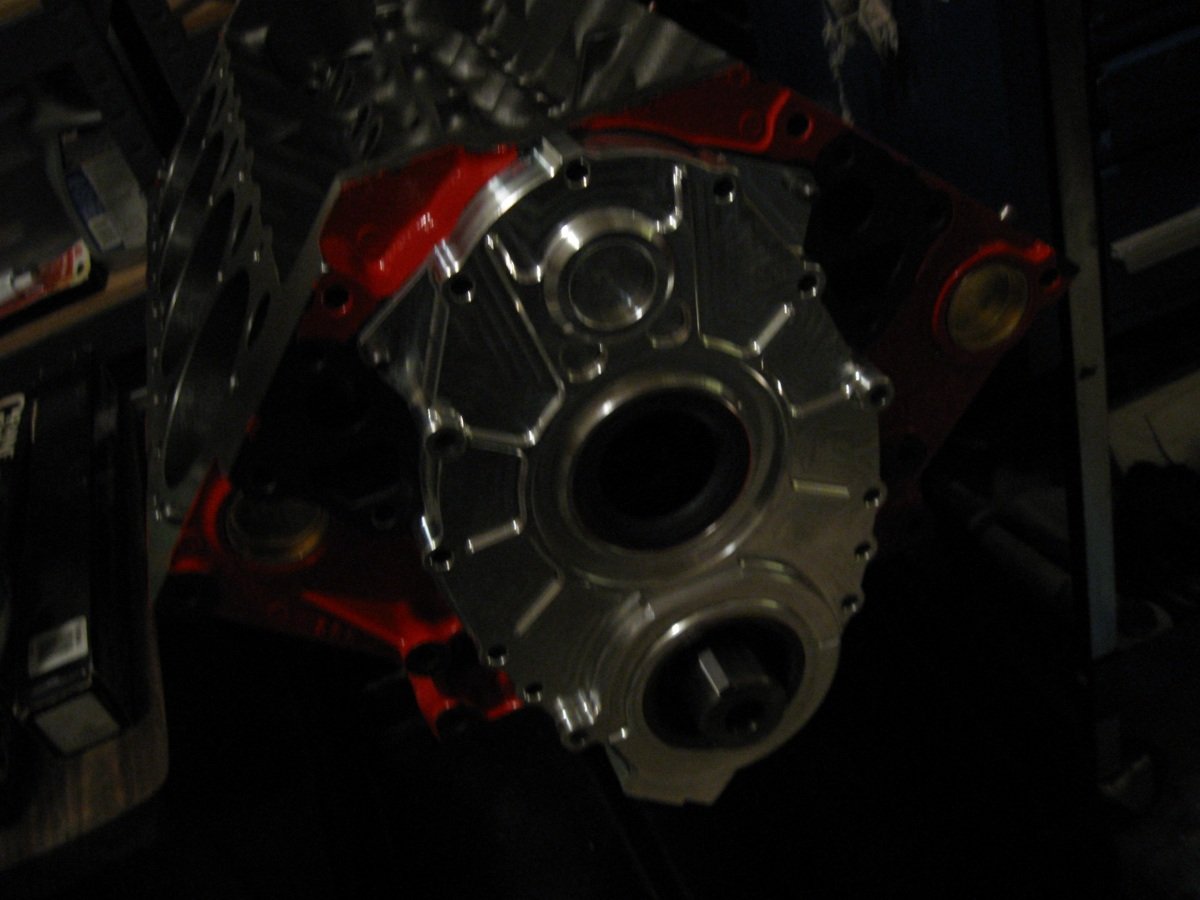
Billet aluminum timing cover with big block Chevy crank
opening. This is from EFI Connection and this cover accommodates
a double roller timing set as well as the 24x LS1 style crank
reluctor.
|
|

This photo with no flash shows how it might look to the human eye.
|
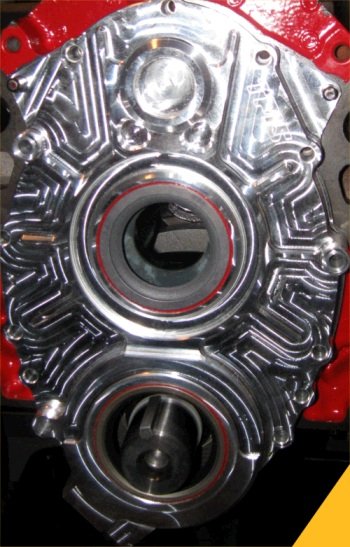
The camera flash shows the machine tooling marks. The piece is
very nice quality.
|
|
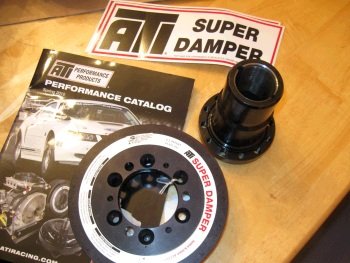
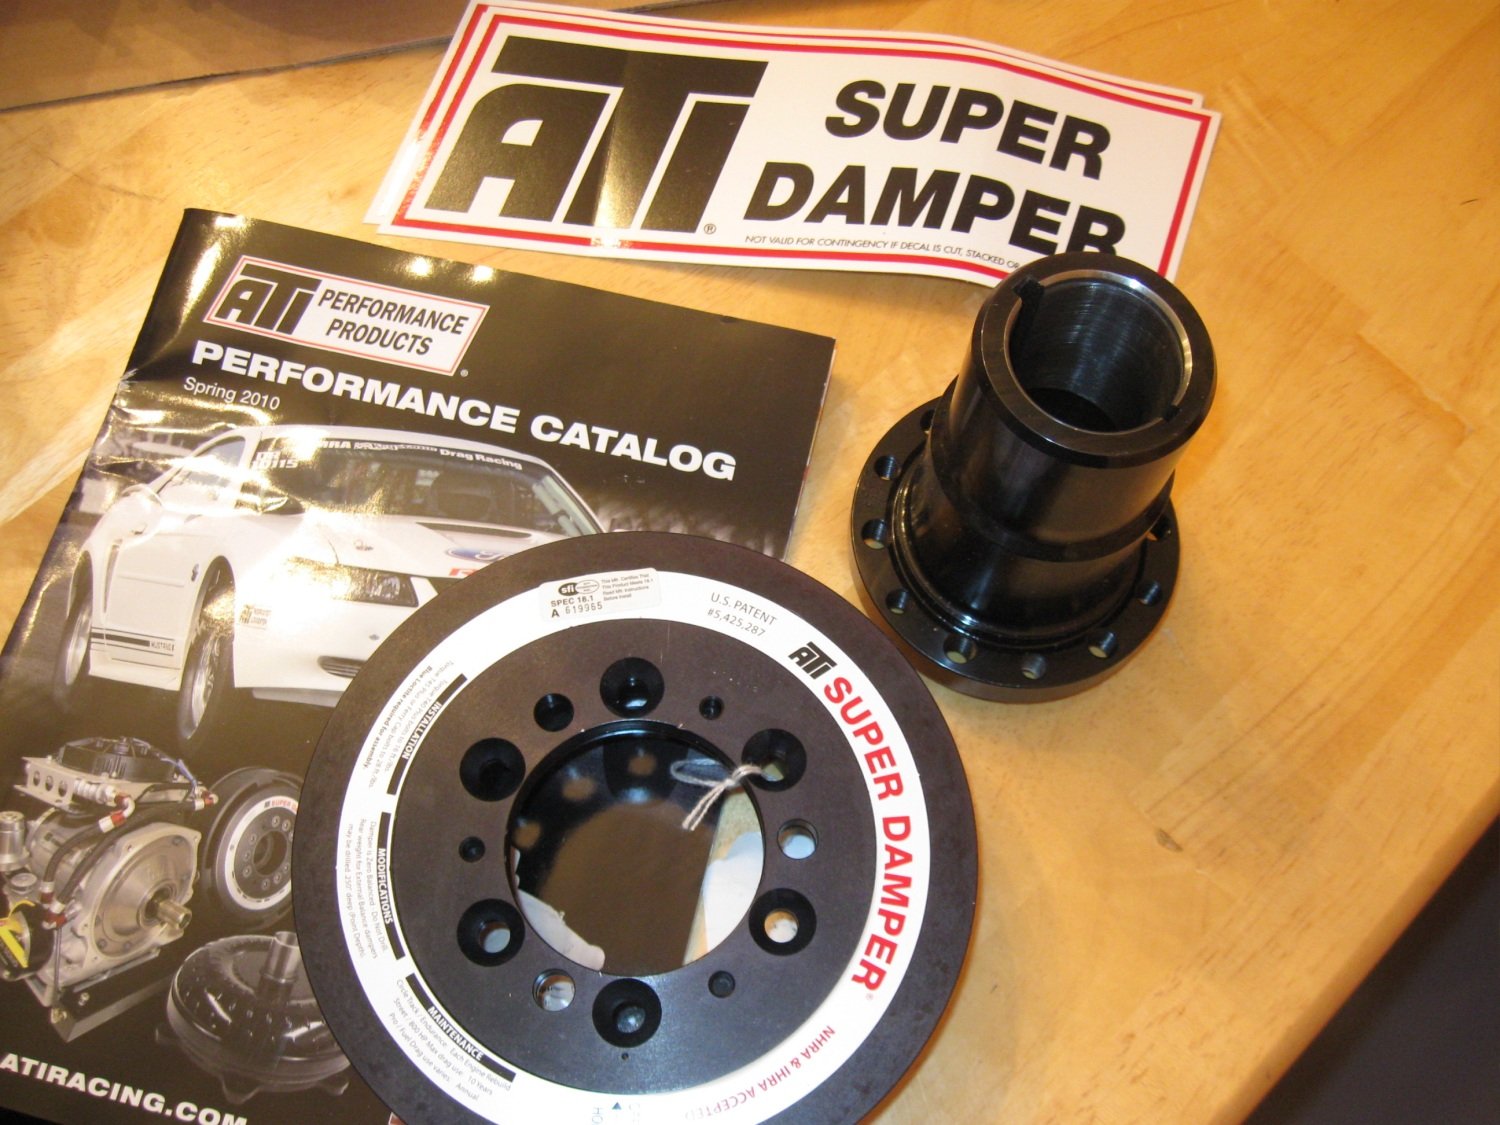
And now parts are starting to show
up. Here is the ATI damper for LT1/LT4 Y-body with BBC crank
nose and 1/4" keyway added. In a few weeks you'll see a
photo of the Crower stainless steel shaft rockers.
|
Now I have a shelf stock full of 24x LS1 crank reluctors machined to
fit over a BBC crank snout. I need to get more blower motor
customers and talk them into a BBC crank nose. :)
|
|
Here is the reluctor on the crank. The ATI hub, (not shown),
needs to be machined to taper the O.D. just a little bit so that it
fits flush.
|
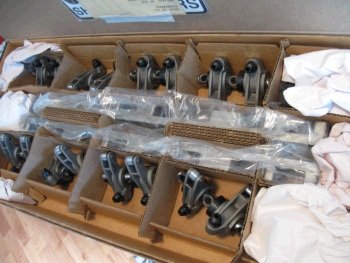
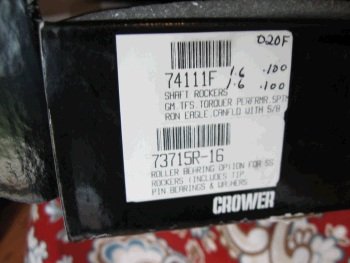
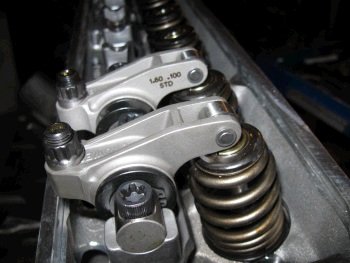
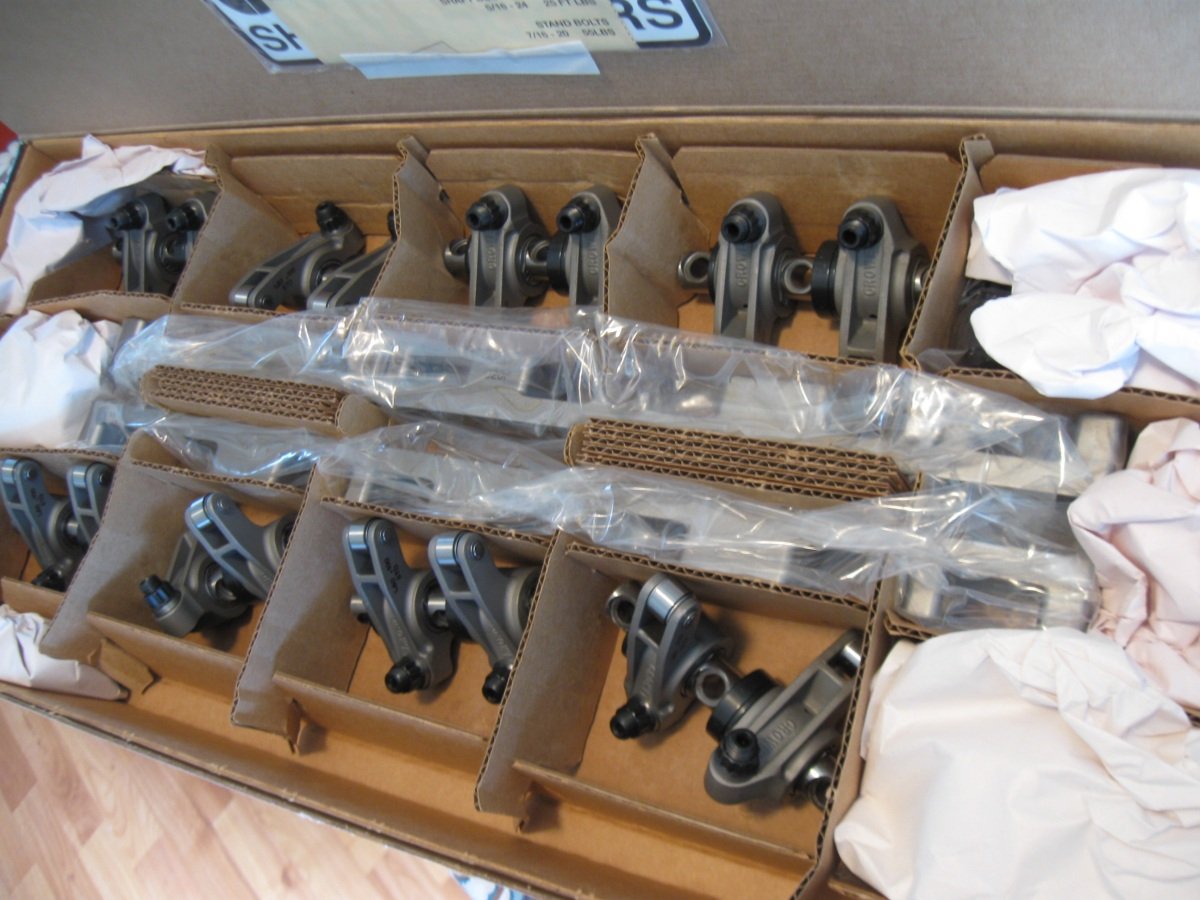
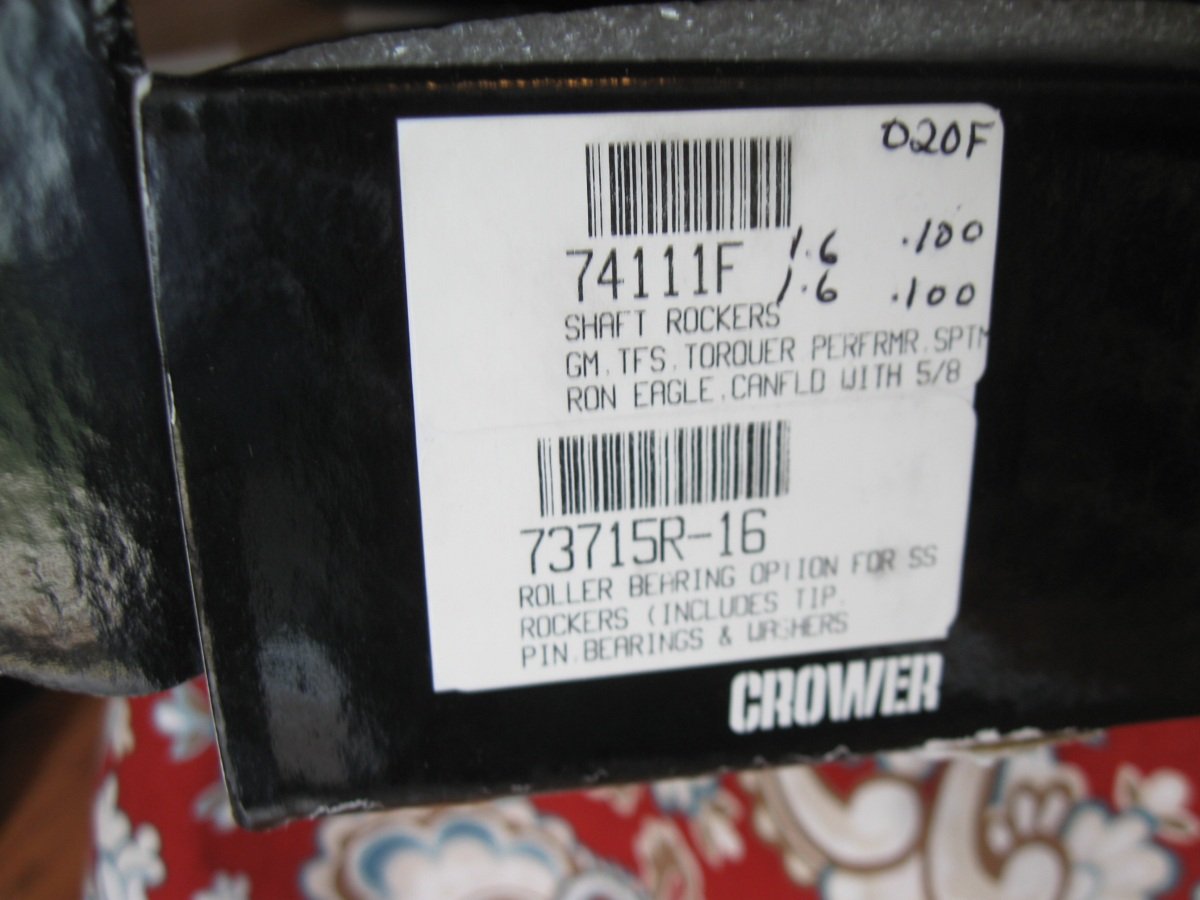
Stainless steel Crower shaft rockers arrived yesterday.
|
|
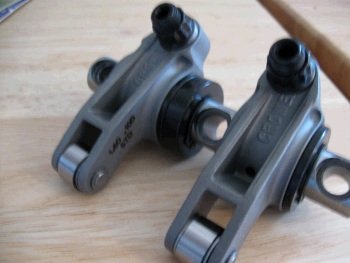
1.6/1.6 ratio, needle roller bearing tips.
|
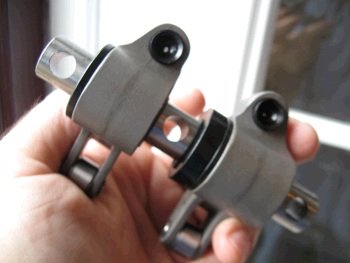
0.100" offset intake and exhaust.
|
|
I have never used Crower shaft rockers. Hopefully they fit on
the TFS heads.
|
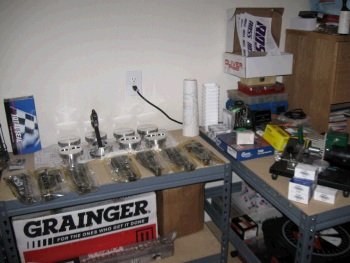
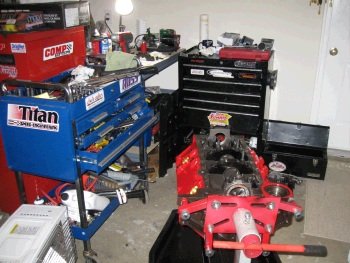
Now have my garage mostly arranged well enough to be clean and
organized.
|
|
I set up a little piston/rod assembly work station.
|
Here is 'ol 399 waiting for me to file fit some rings.
|
|

But the engine gets covered up whenever there is a chance of
dirt/dust.
|

OK, time to file fit some rings.
|
|
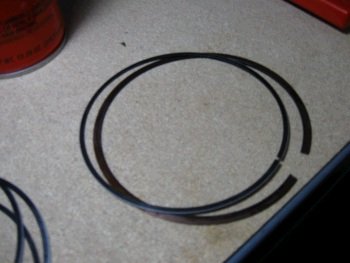
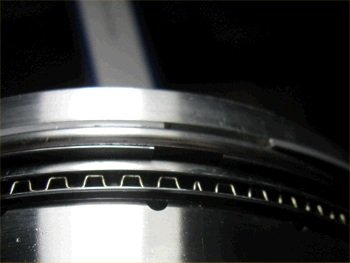
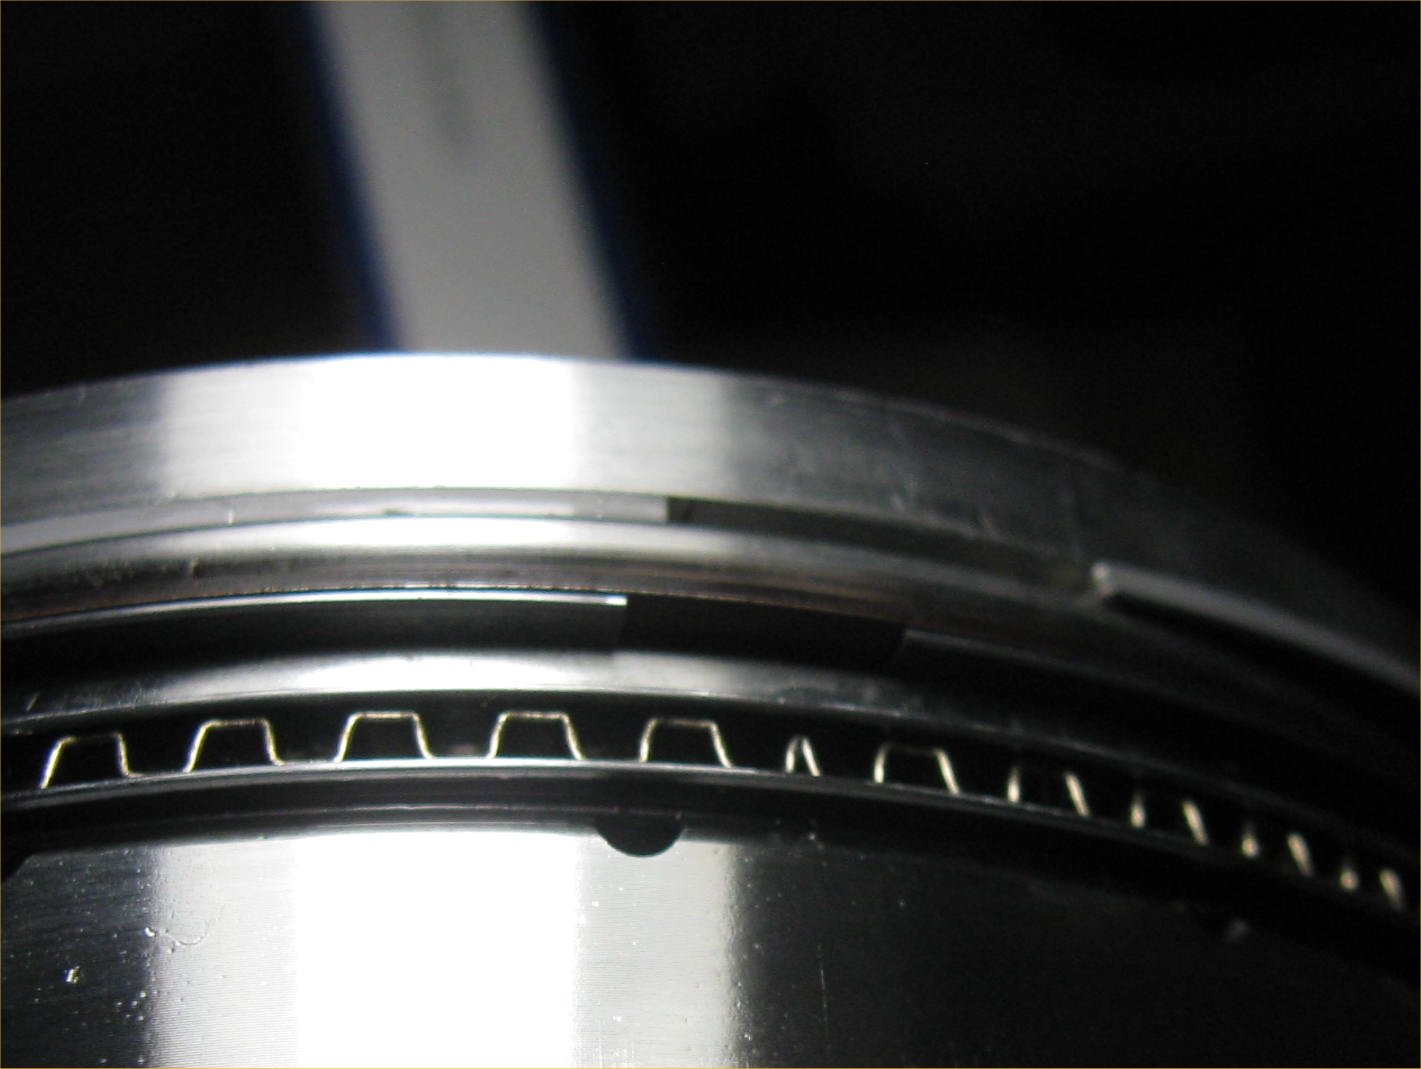
Top ring is a custom 1.2mm total seal chrome steel of custom
(secret) spec.
|
The gap is not a secret though...it is 0.022"
|
|
Cylinders 2, 4, 6, 8 fitted.
|
Another view.
|
|
Now onward to file the 2nd ring which has taken a while due to some
crushed rings during shipping. Total Seal did not add padding
to the box. Total Seal did replace the 3 broken rings for no
additional cost though.
|
The 2nd ring is a "gapless" and Total Seal instructs to gap
it tighter than the top ring which is the opposite of
convention. So the top ring I have at .024 and the 2nd
"gapless" ring at .020"
|
|
You also have to gap-file the thinner ring which fits in the thicker
L-shaped ring.
|
Now all the rings are filed.
|
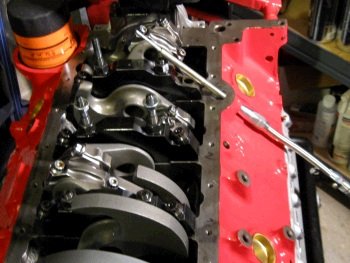
|
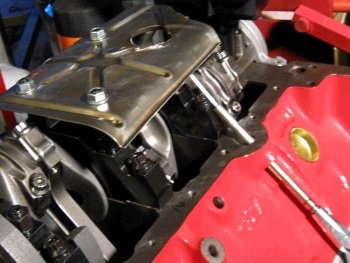
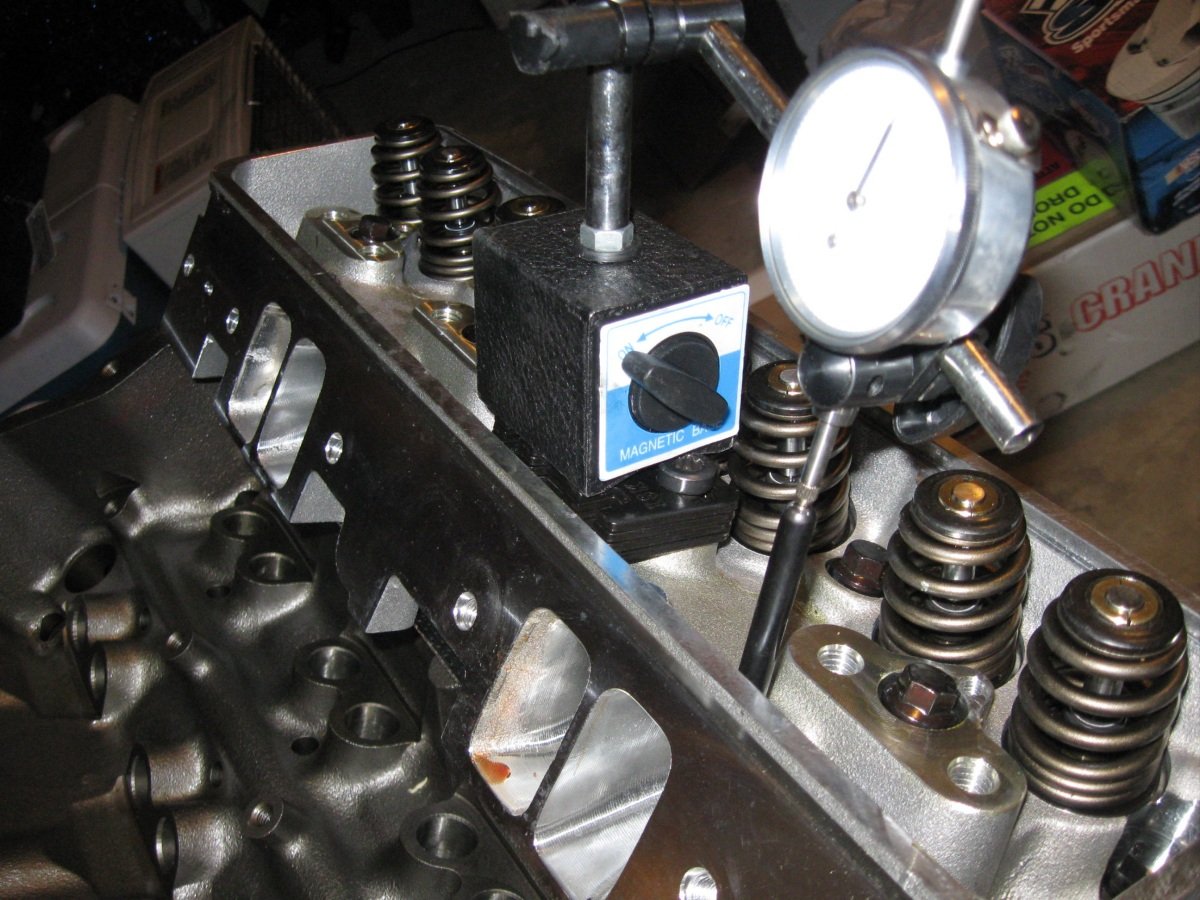
Final assembly. Cam goes in.
|
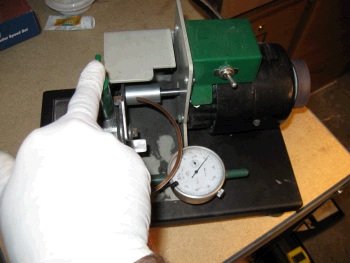
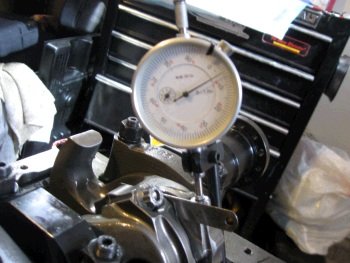
Now measuring main bearing clearance.
|
|
I use H-series for the billet caps and P-series for the #1 and #5
stock caps.
|
A mix of standard and .001" under gives .003" clearance and
so I have more bearings ordered and set to arrive tomorrow. I
think .001" / .001" will work well and give .025"
clearance...(we shall find out tomorrow).
|
|
Finally getting around to re-doing the bearings now that I have a
re-stock of different sizes.
|
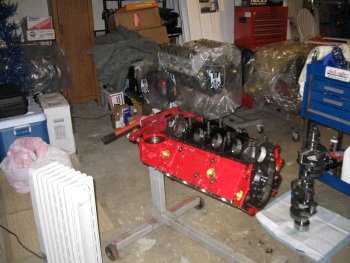
Here is the shop today. ERE399 in the work station. Back
left by the blue tree is ERE#35 for Norm, The engine with the heads on
it is ERE#32, next to that with a black bag is ESE31 and next to that
is ESE33.
|
|
Clearance now at .0017, .002, .002, .002, .0025"
|
Pistons and rings...Total seal "gapless" 2nd ring.
|
|
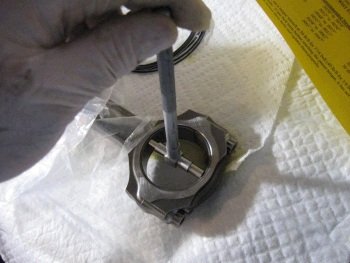
Very tricky and delicate 2nd ring. A thin ring goes under the
2nd ring. The 2nd ring has a groove that it fits in. The
top, (1st ring), is chrome steel conventional.
|
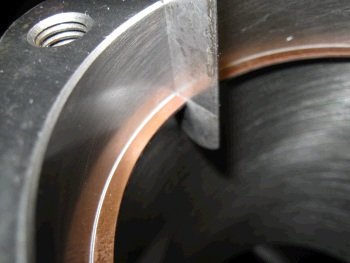
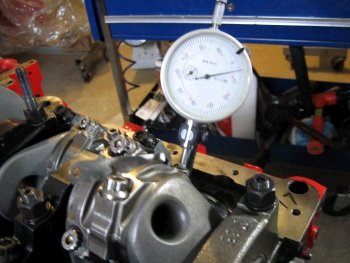
The rods are smaller than my dial-bore-gauge and so this is how I
measure, (1.8912"). The crank rod journal is 1.889"
and so this gives .0022" bearing clearance.
|
|
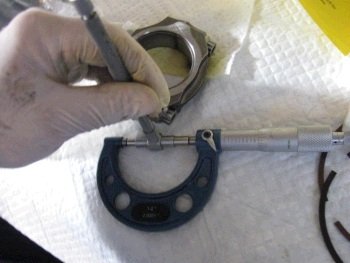
1.8912"
|
More pistons.
|
|
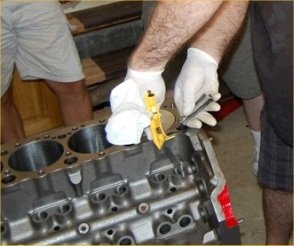
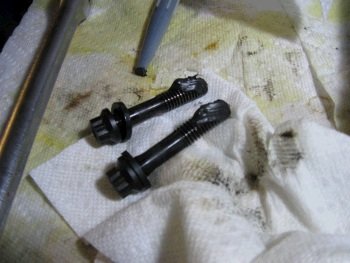
Now to the rod bolts. Oliver gave a spec of .005"
stretch.
|

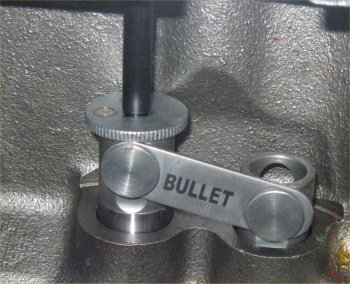
.018" feeler gauge between the rods braces the rods while the
bolts are torqued.
|
|
63ft-lb torque gives .005" stretch.
|
More rod bolt stretching.
|
|
All rods bolts torqued.
|
Before I forget I better seal up the outer main bolts with RTV.
Engine coolant will seep here if there is no sealant.
|
|
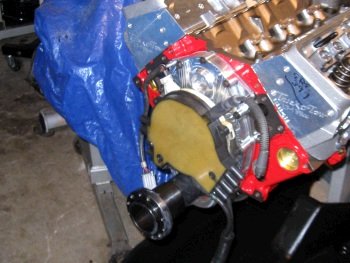
Titan pump on for test fitting of the Billet Fabrication oil pan.
|
WHAT! Billet Fab made a mistake and the pan bumps the oil pump
at this location.
|
|
For now I put on a Corvette pan while the Impala pan goes back
to BF for an exchange.
|
Proof that at least one knock sensor can be installed.
|
|

Piston top dead center.
|
Piston is out of the hole .010" at piston 1, 3, 5, 7
|
|
Out of the hole .006" at piston 2, 4, 6, 8.
|
Threading plugs into the front oil galleries.
|
|
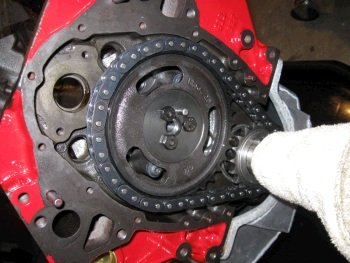
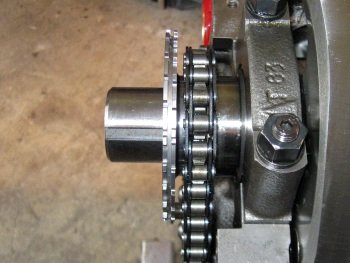
Single roller timing set with big block Chevy crank gear.
|
Was going to degree the cam but realized I don't have a BBC crank
bolt.
|
|
So for now I'll put on a temporary head gasket, (this is a GM
LT4). I need to order a custom set of Cometic head
gaskets. .045" for the left head and .041" for the
right head.
|
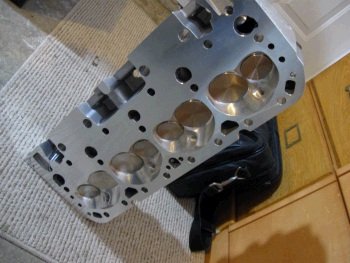
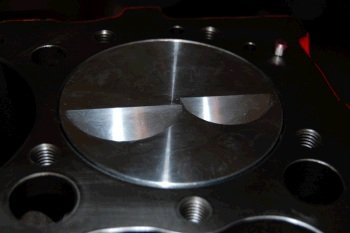
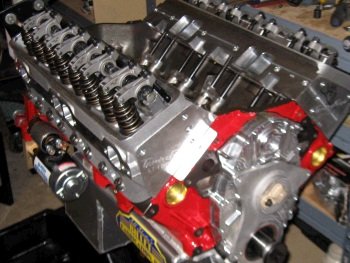
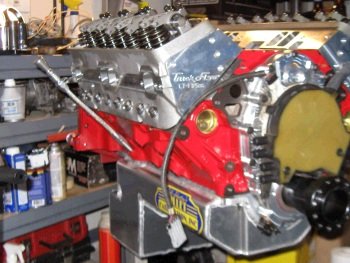
Here is a sneak photo of the Ai CNC ported TFS head.
|
|
ARP head bolts with stainless steel (no rust) outer bolts.
|
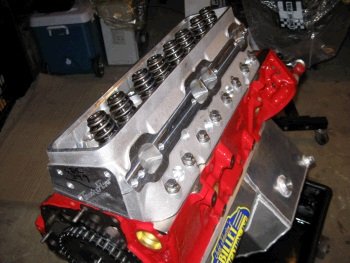
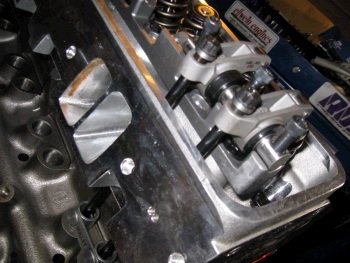
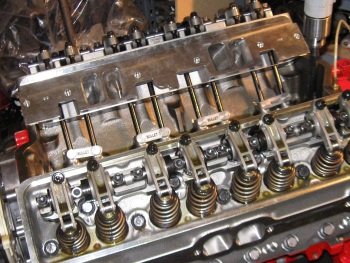
Head on in order to test fit the Crower shaft rockers.
|
|

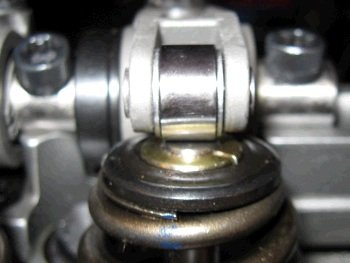
Crower shaft stand installed with no shims gives a very good rocker
tip to valve tip geometry.
|
Another view of the rocker tip valve tip geometry.
|
|
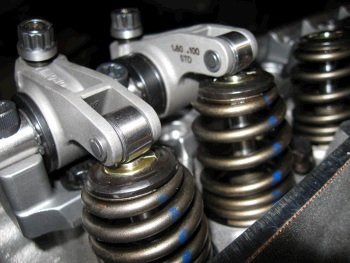
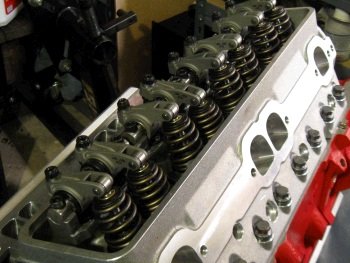
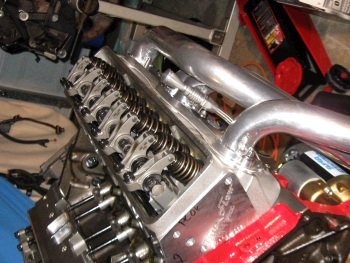
A nice view of the shaft rockers. These are stainless steel
and super duper high quality.
|
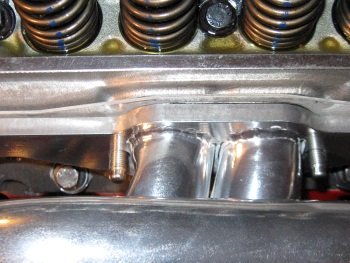
Test of pushrod length. These are 7.050" pushrods but
7.000" would be perfect. Ai will be sending 3/8" OD
7.000" long pushrods this week.
|
|
Another view of the rockers.
|
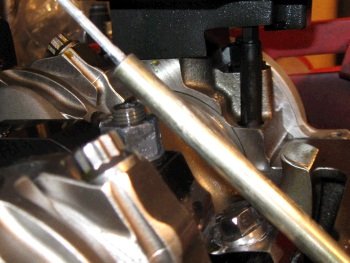
Now to the cam-degree-check. I did not have a big block Chevy
crankshaft bolt until today and that is why I have not degreed the cam
yet.
|
|
With a cylinder head on you need to find TDC with a piston-stop via
the spark plug hole. But I have one head off and so I found
TDC with #6 piston.
|

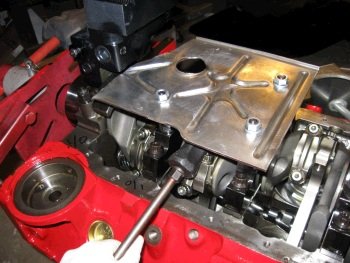
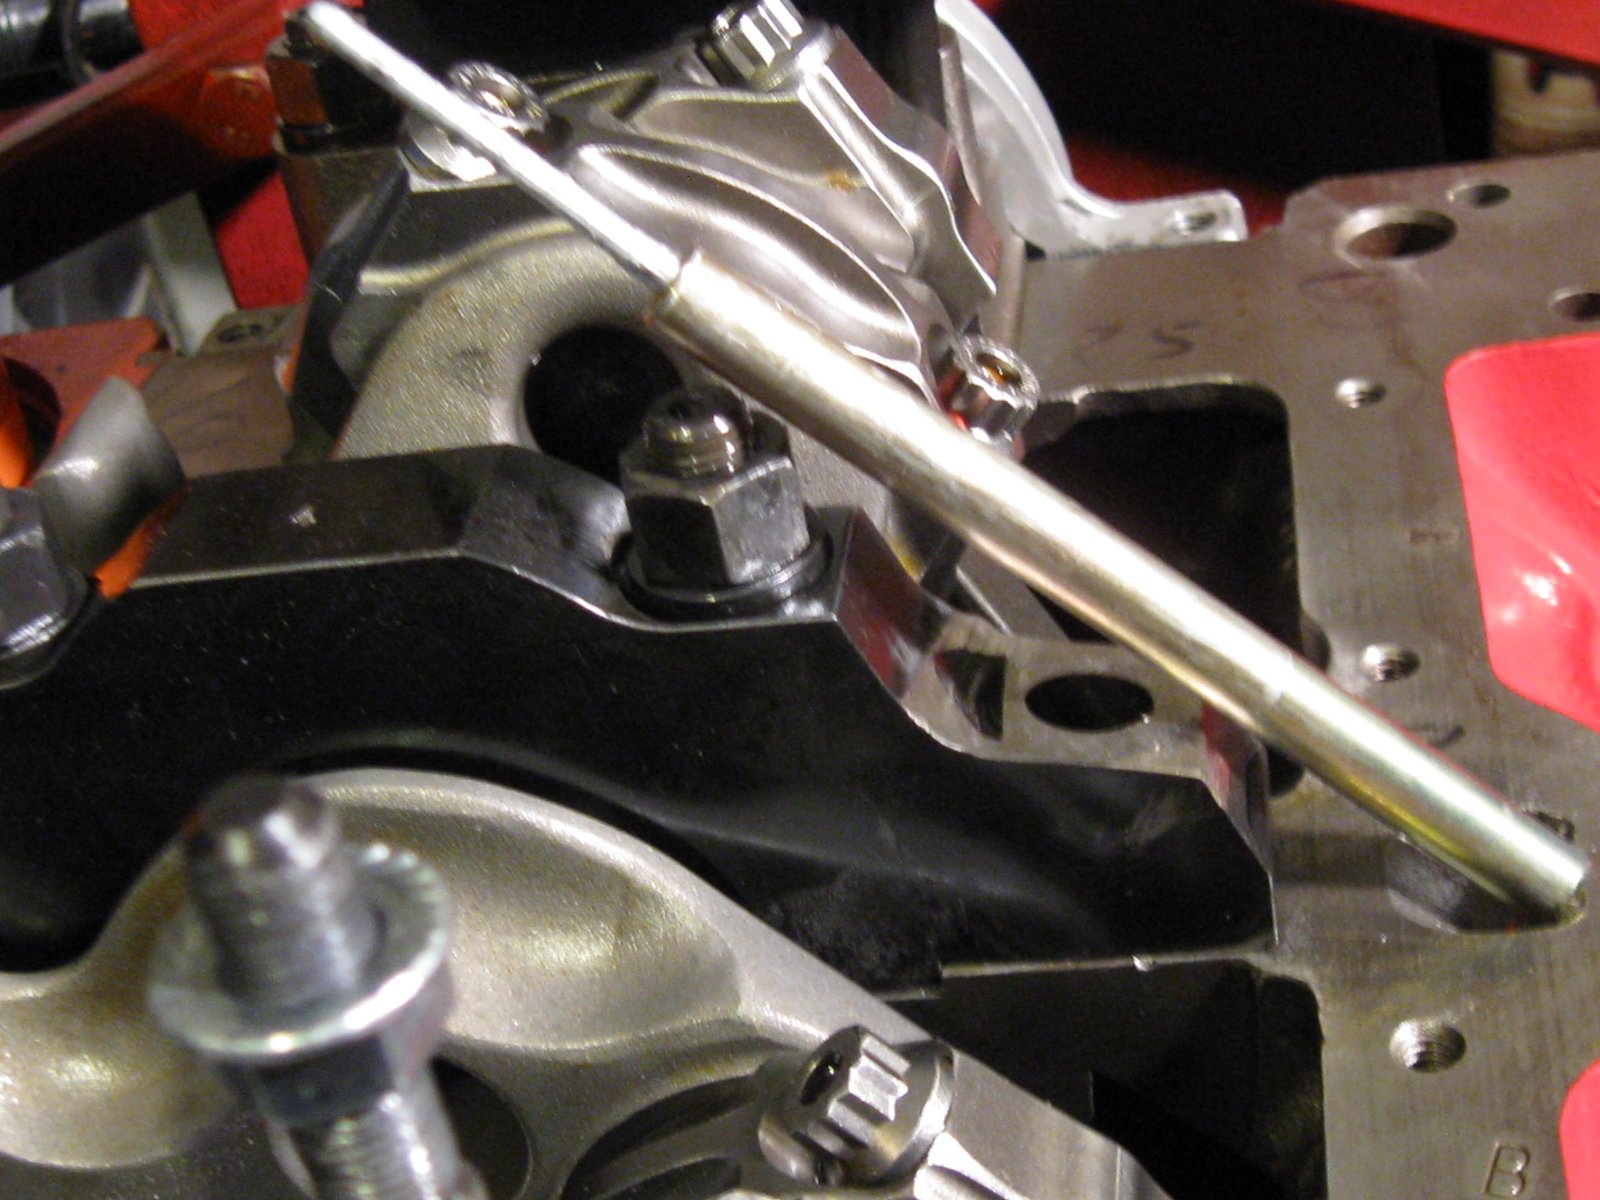
Bolted on some steel for the magnetic base to be secure.
|
|
These are the hydraulic roller lifters sourced by Ai. I have added
the flat surface for the pushrod to ride on. The cam
degreed at 105 intake centerline. The cam card calls for 104 degrees intake centerline. I'll call that dang near
perfect.
|
Now to the custom trimmed stock windage tray
|
|
The rods just barely touch.
|
The tray was bent away from the rod bolts.
|
|
This shows the space.
|

I had to curl down the edges to get the oil pan to fit.
|
|
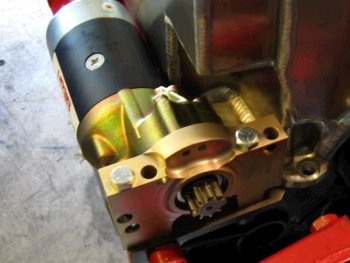
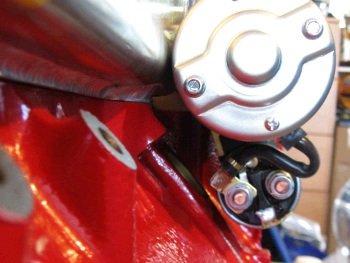
Tilton heavy duty starter.
|
It just barely fits.
|
|
|
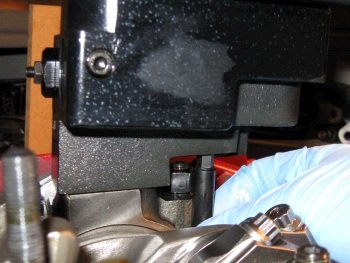
Cam pin needs to be a bit shorter. When you put the timing cover
on and then the cam sensor, the cam sensor bumps into the pin.
|
|
I pulled the cam all the way out and ground down on the pin.
Not too much though so that a regular opti-spark can still ride the
pin.
|

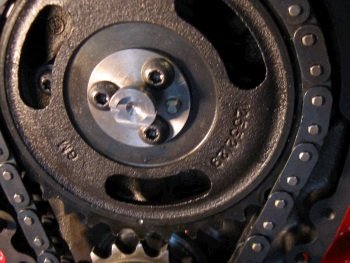
The crank 24x reluctor is riding too far forward, (it seems). I
need to figure out if this is ok or what is going on here.
|
|
This is a standard thickness crank gear and so the reluctor should
not be too far forward. I took these photos so I can show Mike
at EFI Connection.
|
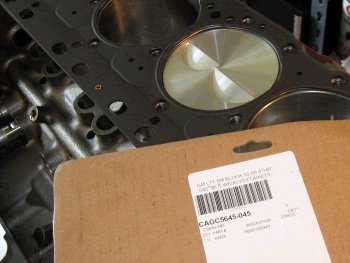
.045" thick Cometic MLS head gasket.
|
|
|
Crower stainless steel shaft rockers with needle bearing roller tips.
|
|
|
|
|
Still need to install ATI damper and the intake manifold and
whatever odds and ends. Oh..also need to message the oil pan a
bit for the stock oil dip stick tube.
|
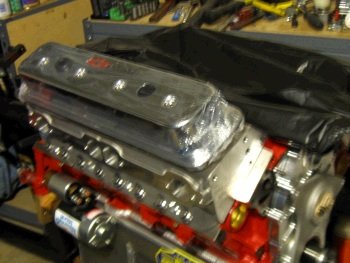
blurry photo of the chrome valve covers, (with protective
plastic). I wanted to see if the rockers hit the valve
covers...and they do not hit. Yea!!!
|
|
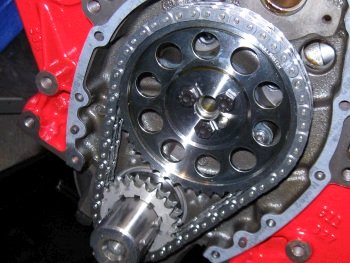
We decided to replace the single roller Cloyes timing set with my
new favorite double roller. It's all billet and nitrided.
The brand name is Rollmaster, (made in Australia).
|
This required another cam degree check. Crank sprocket at
"0". Cam degree checked right on the cam card of 104
deg intake centerline.
|
|
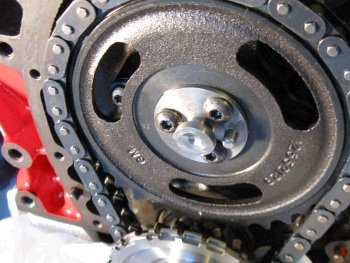
we are doing the 24x LS1 conversion so here is the cam reluctor
|
Cam reluctor on.
|
|
Crank reluctor is on too...(not
shown). With this timing set the 24x crank reluctor is
positioned perfectly for the crank sensor. The single roller
crank gear did not have a taper and did not set properly onto the
crankshaft. This Rollmaster crank gear does have that taper
and fits quite well.
|
Ooops...we are going to do initial tuning with the optispark and LT1
pcm so I cannot have the cam reluctor installed.
|
|
This is the optispark from the clients
stock motor.
|

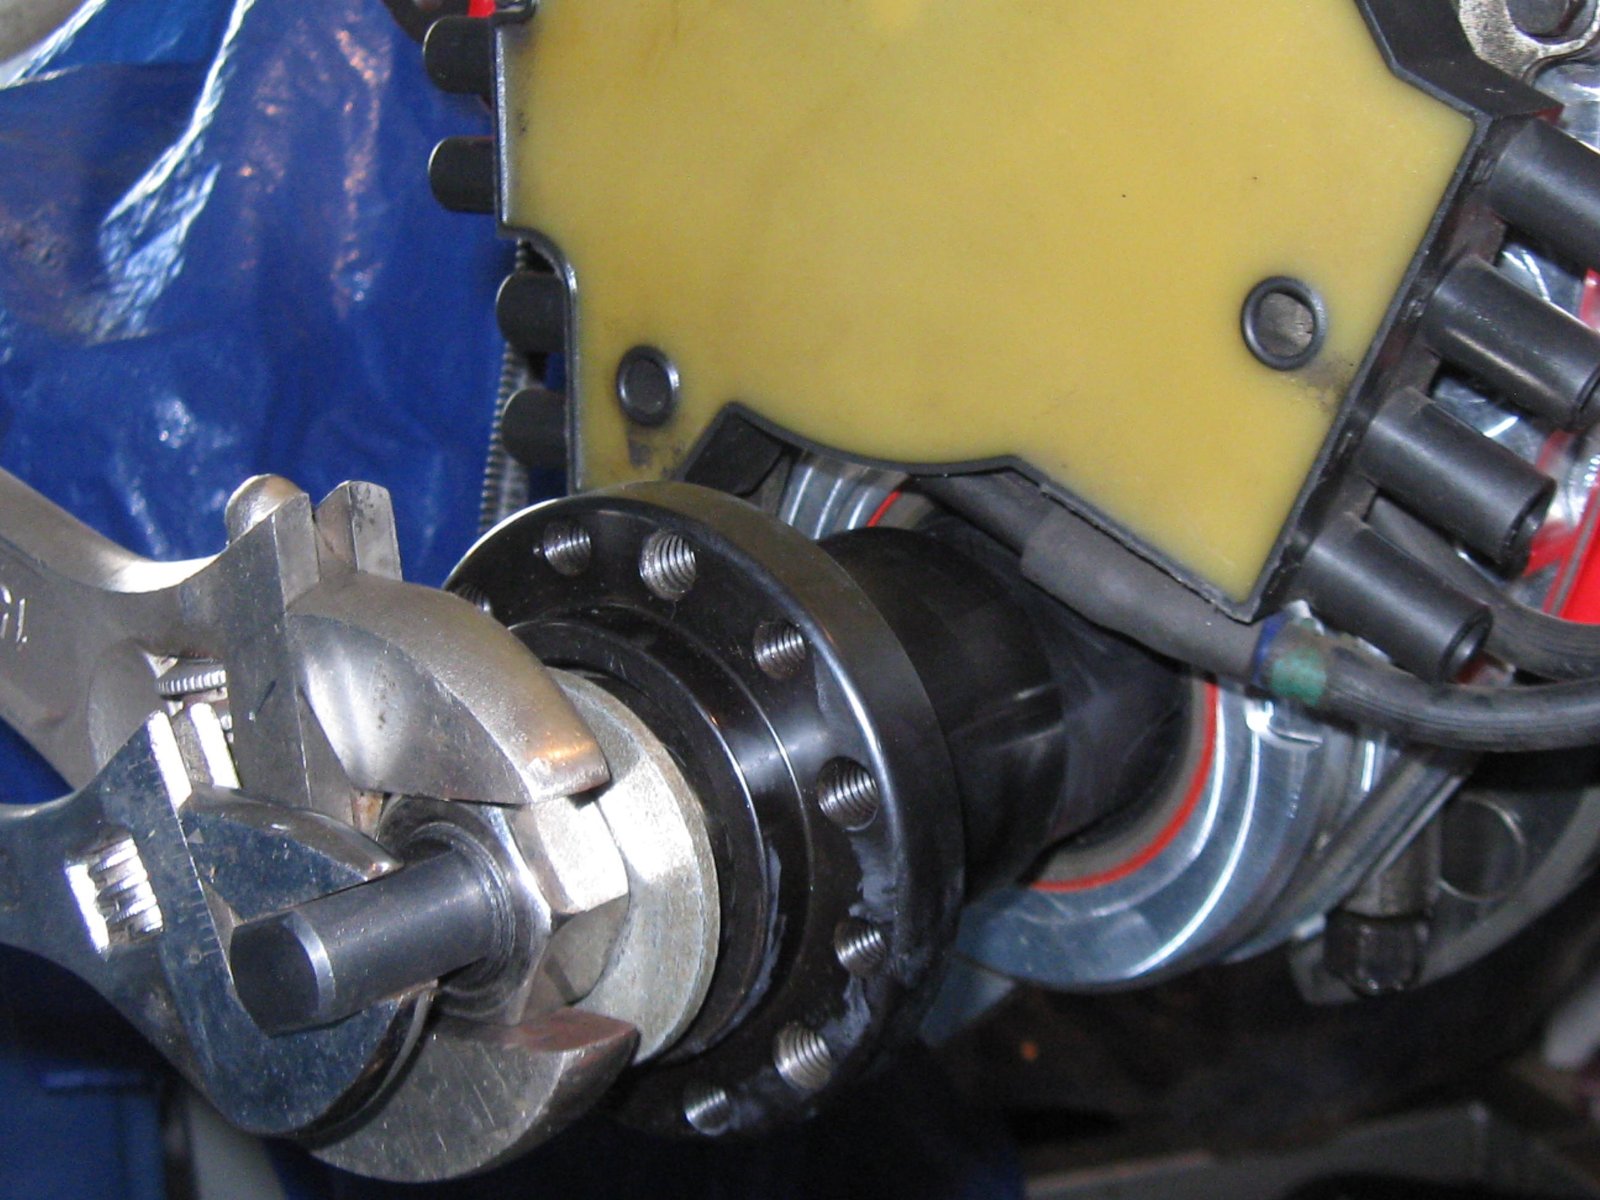
Installing the big block Chevy crank hub from ATI. This is
needed because the crank nose is BBC sized, (1.600").
|
|
This Rollmaster timing set now allows the 24x reluctor to be right
were it needs to be...
|
Just slightly forward of centerline.
|
|
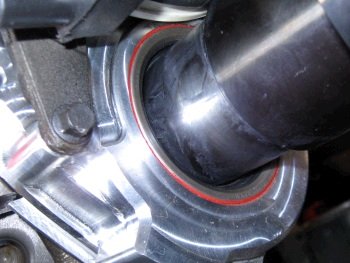
Ooooops. The TPIS timing cover has a seal for a 2.500"
BBC hub and little did they know that I have an ATI LT1 for a BBC
nose. ATI makes the O.D. at 2.30". I found a
seal that fits and will swap this out soon.
|
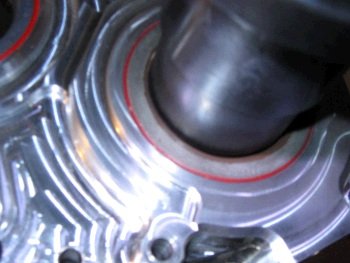
Hub off. This seal will be pulled out.
|
|

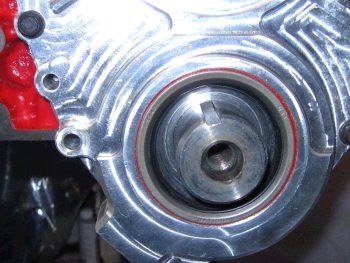
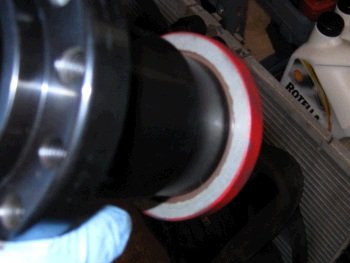
Old seal. New seal (National Seal 712250)
|
Test fit perfect.
|
|
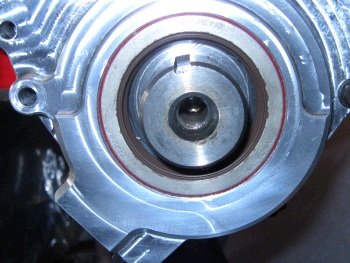
New seal in
|
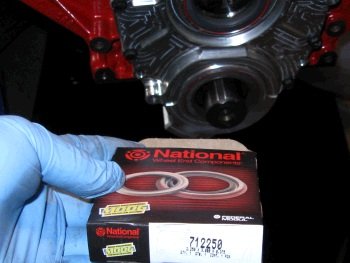
Photo for my records.
|
|
Hub on.
|
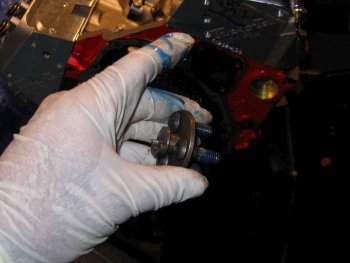
Trimming the oil pump drive shaft. Titan provides the shaft a bit too
long and the customer trims it to fit.
|
|
Now the oil pump shaft is in and the oil pump drive gear is torqued
in place, (temporarily).
|
Now a final fit of the oil pan. Need to make sure the oil dip
stick fits.
|
|
More oil pan and dip stick messaging. This photo is without
flash and shows the nice red powder coating.
|
The BF pans always require that I widen the dip stick hole.
|
|
The dipstick tube bumps the main cap. Usually I use a
sorta-flexable stock tube. This is a Locar non-bendable.
|
Quick photo of the oil pump drive shaft that my blue gloved hand is
holding. It is trimmed to fit and needs to have some wiggle room
to allow for expansion. I'm double cheking that now.
|
|
After milling down the main cap the tube passes.
|

But I need to get a smaller headed bolt because the tube still hits
the bolt, (not shown).
|
|
Now I have the bolt counter-sunk and the tube just passes overhead.
|

|
|
Oil pan finally on after widening the rear bolt holes and more
widening of the dip-stick hole
|
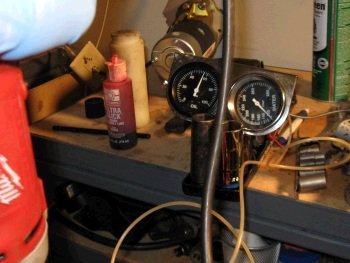
Oil pre-lube pressure test. 56psig.
|
|
All lifters passed oil up to the rockers.
|
Test fit of 1&3/4" headers. These holes are not
aligned, (too narrow). See where the headers studs are tight
outboard but there is space inboard. I had to gently hammer the
headers past the studs with a rubber mallet.
|
|
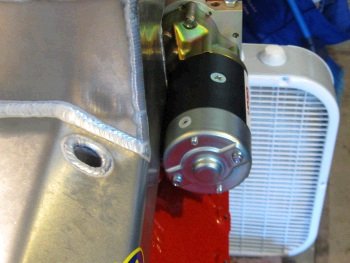
I'm going to have to widen the #3 and #4 bolt holes prior to
installation. Here the header is on and it clears the starter
motor and the Lokar dipstick tube is installed.
|

|
|
I'll get a better photo soon.
|
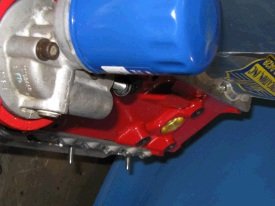
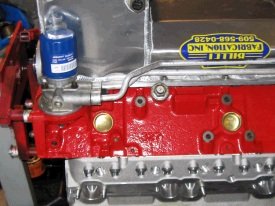
I switched to the stock B-body oil filter adapter with PF47 filter.
|
|
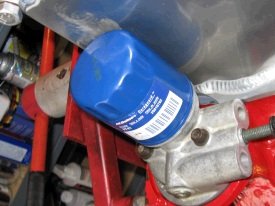
A little messaging of the oil pan allowed for the filter to fit.
|
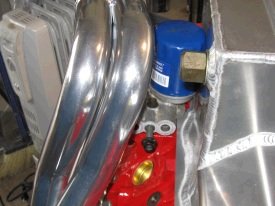
To removed the filter you'll have to take down the adapter because the
oil filter is tight against the oil pan.
|
|
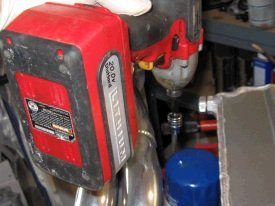
I tested the idea and you simply un-do the 2 bolts, (1/4"
hex-allen)
|
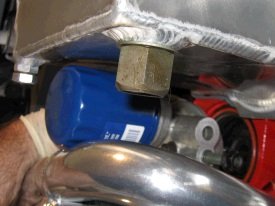
Lower it down and now you change the filter...then bolt it back up.
|
|
This is all to make it easier to change the oil filter with the big
oil pan and the headers.
|
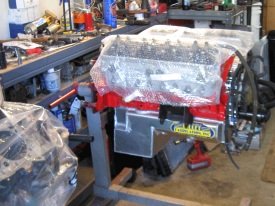
Last photo of the motor on this page prior to installation. Go
to |LINK|
for motor-to-car-installation photos.
|


