|

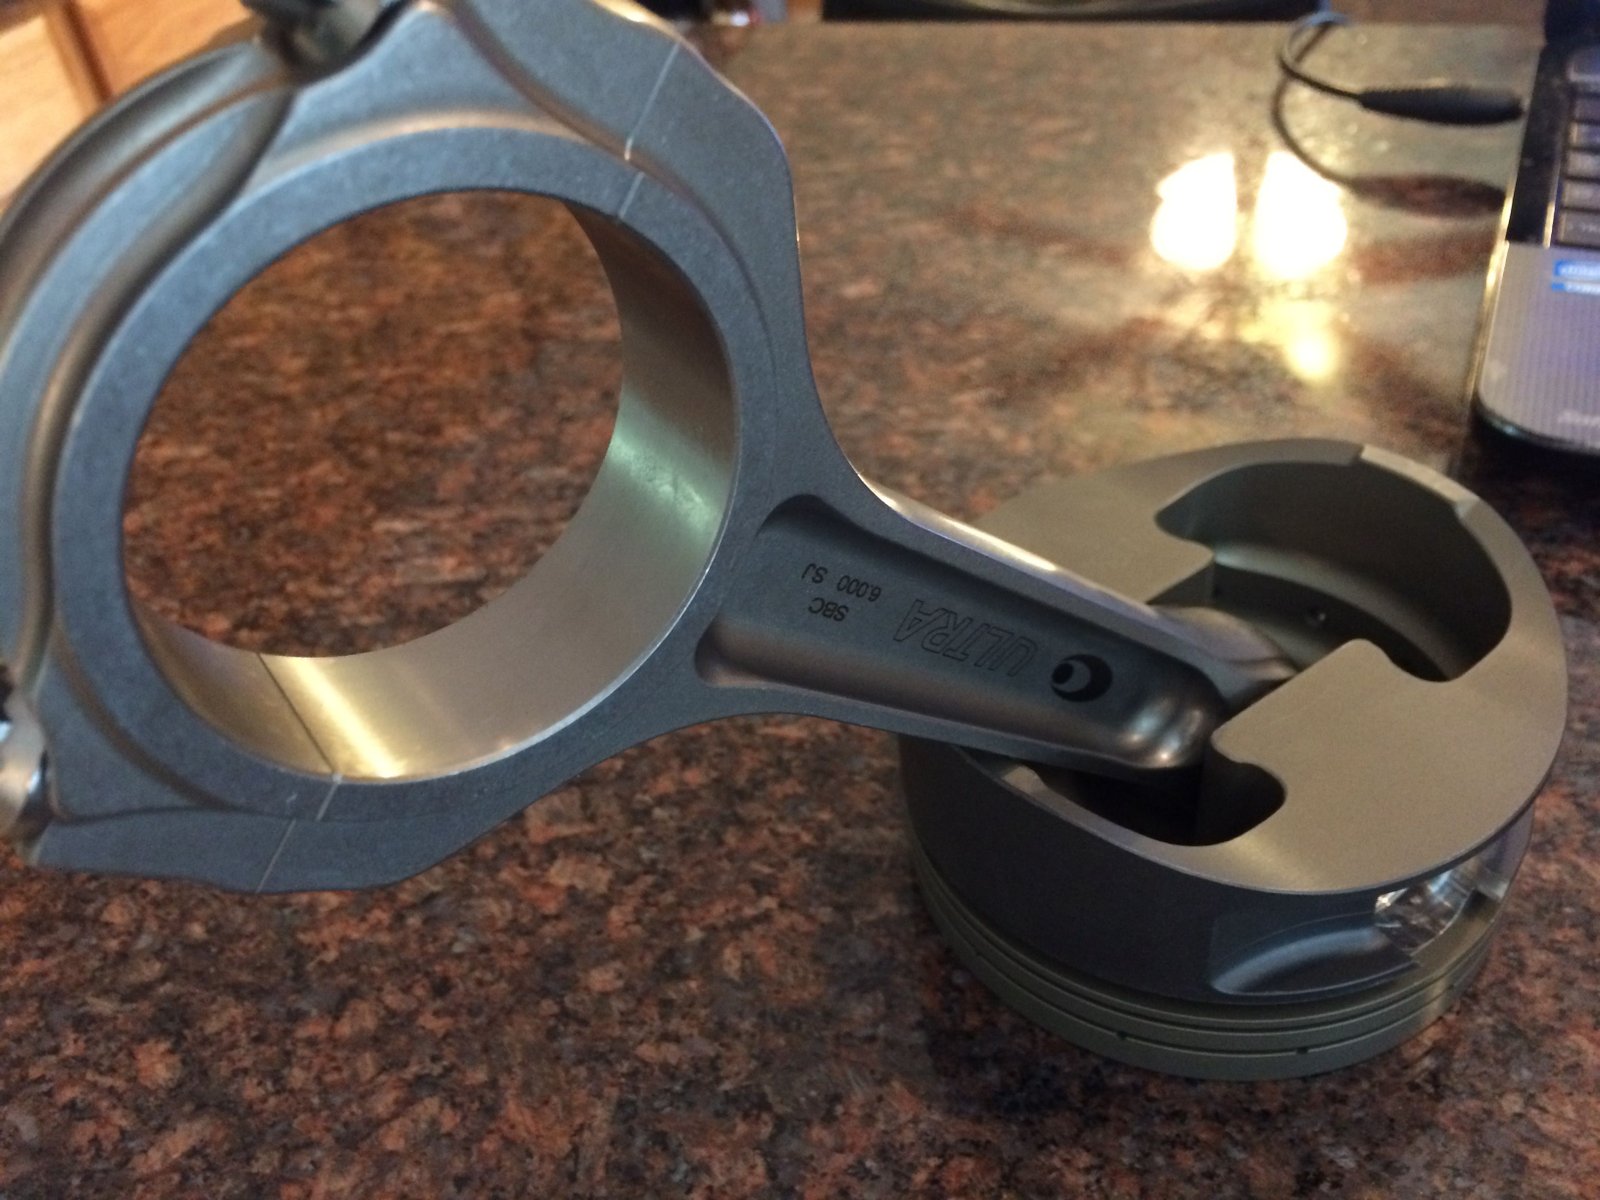
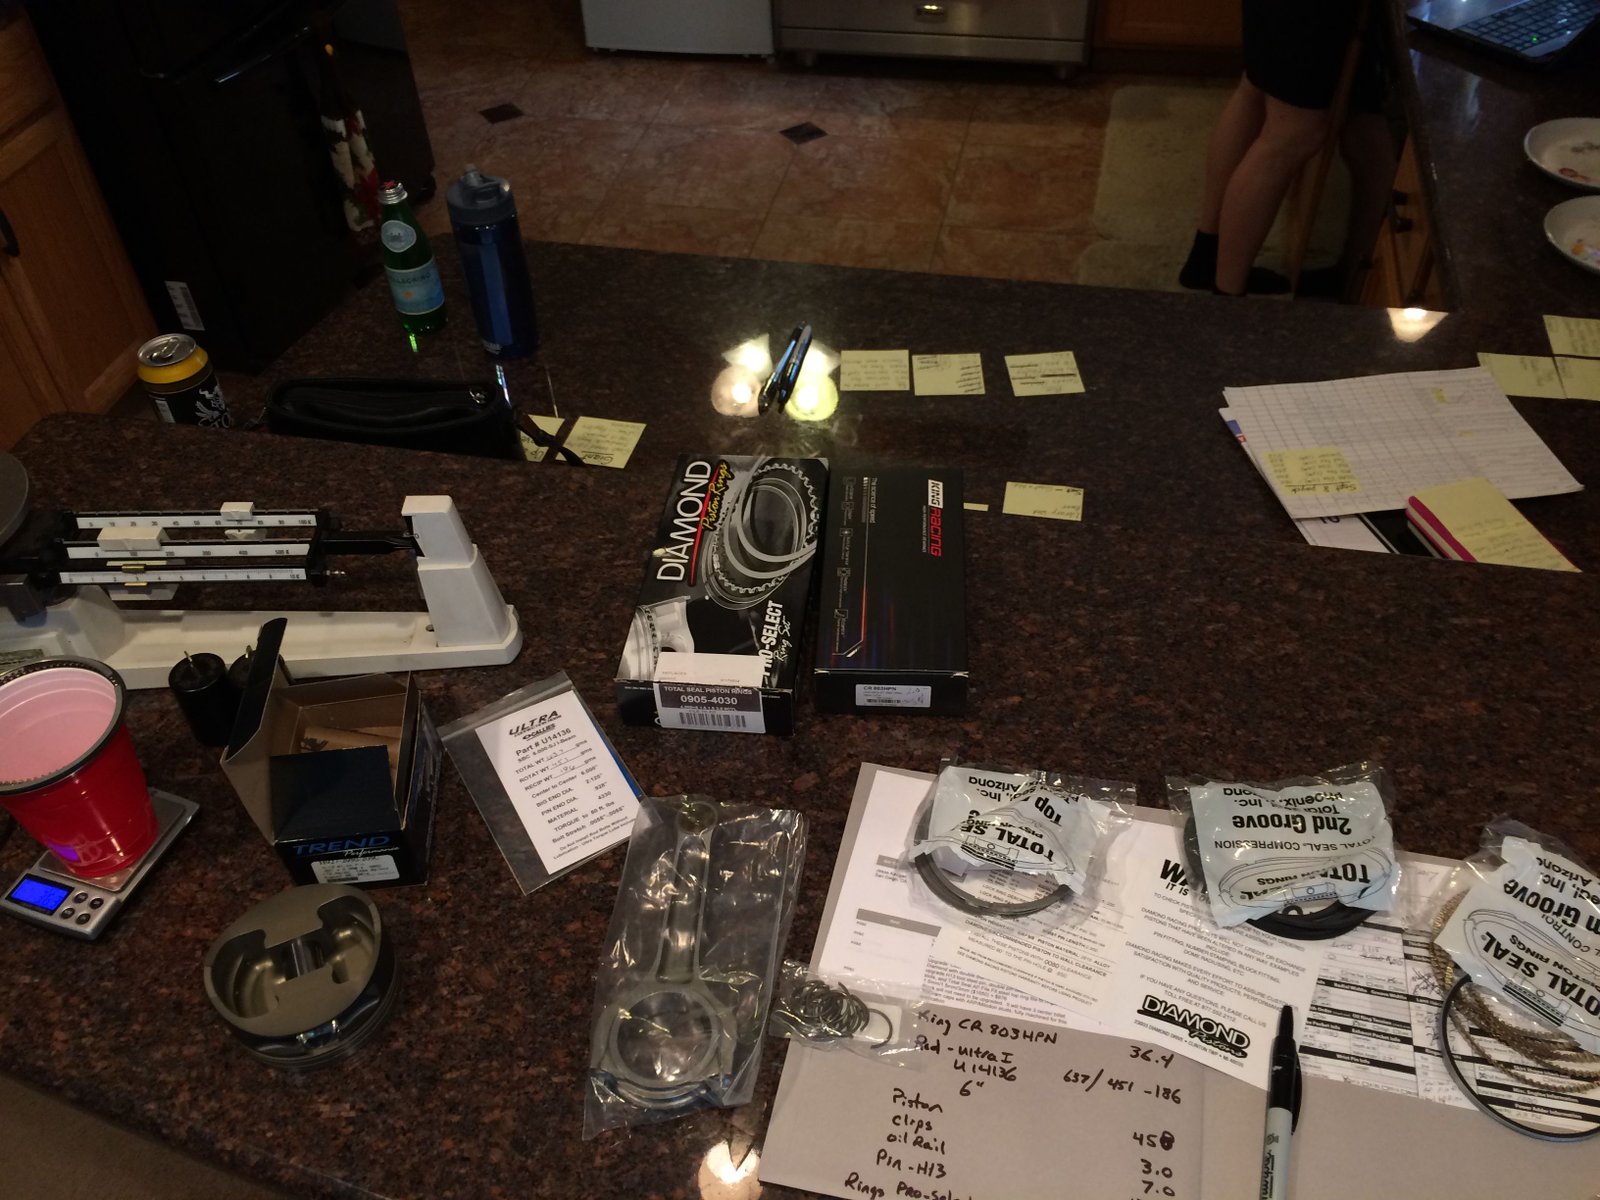
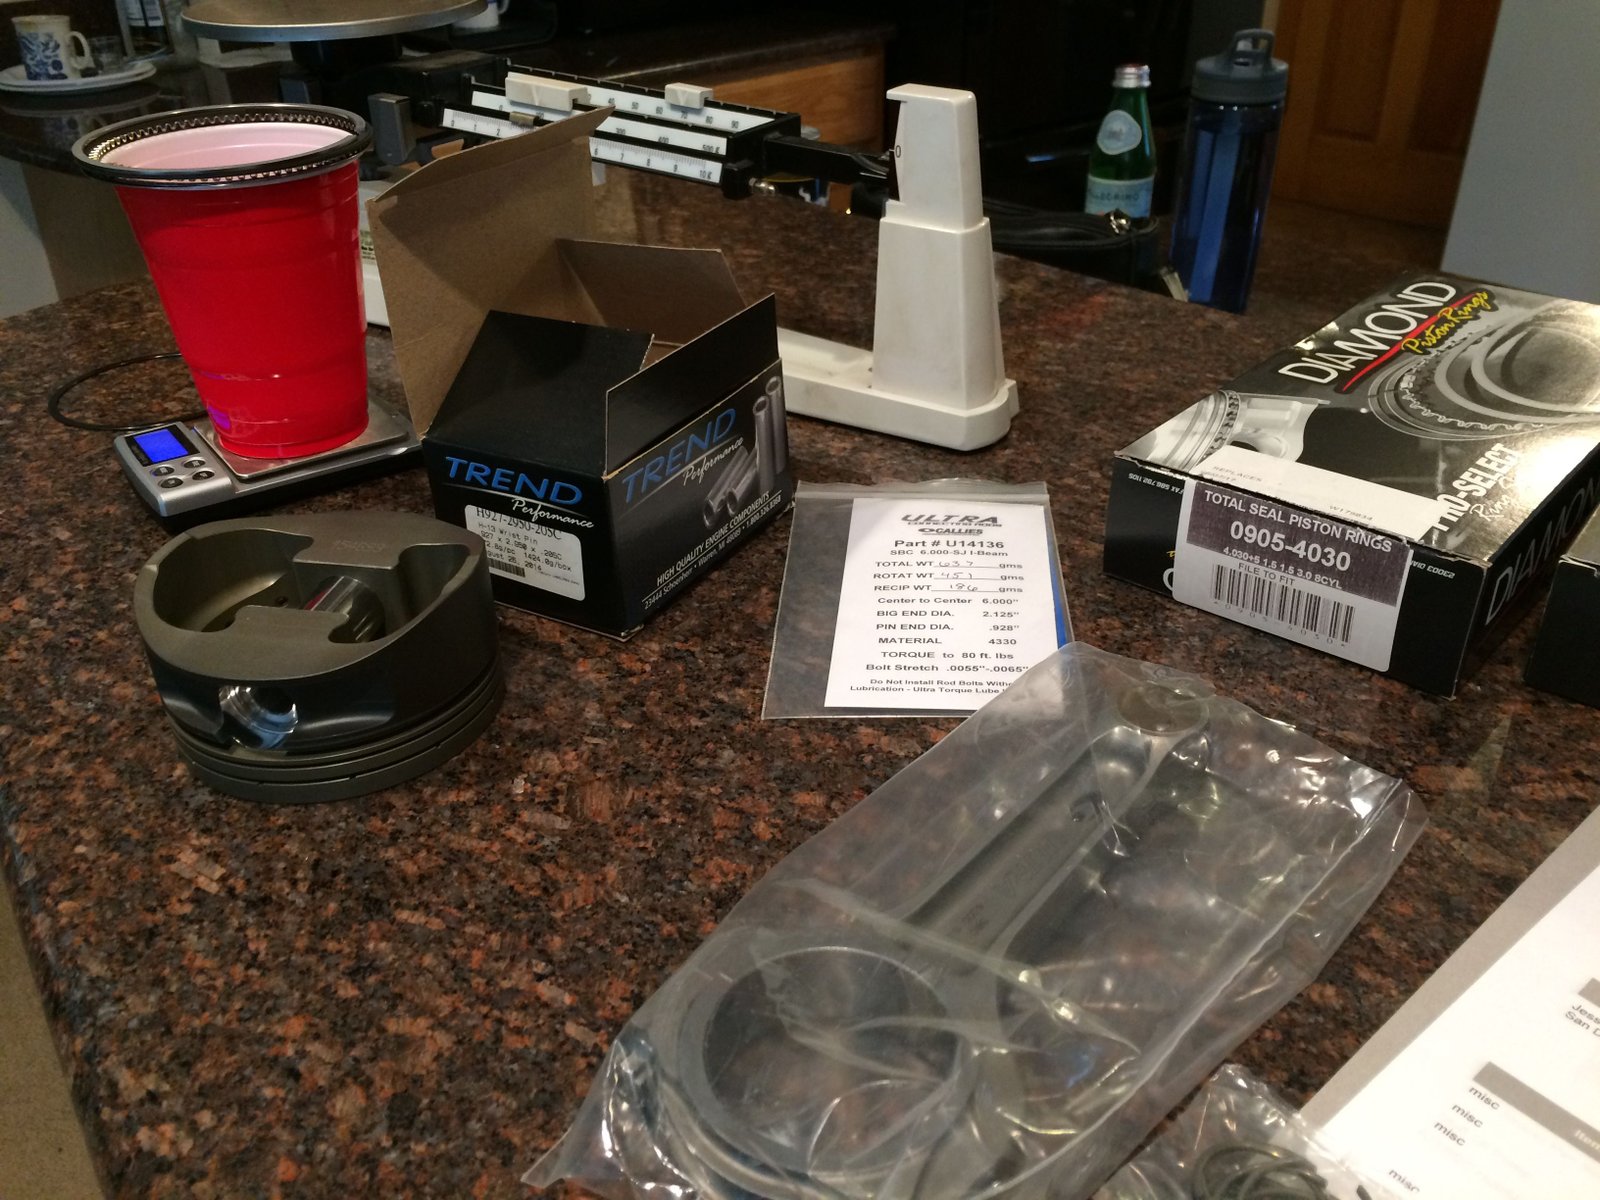
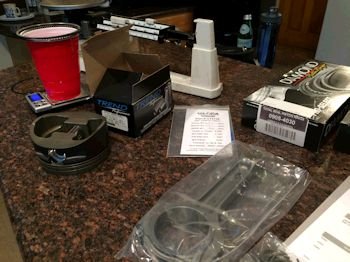
Callies Ultra connecting rod: 6.0"
|

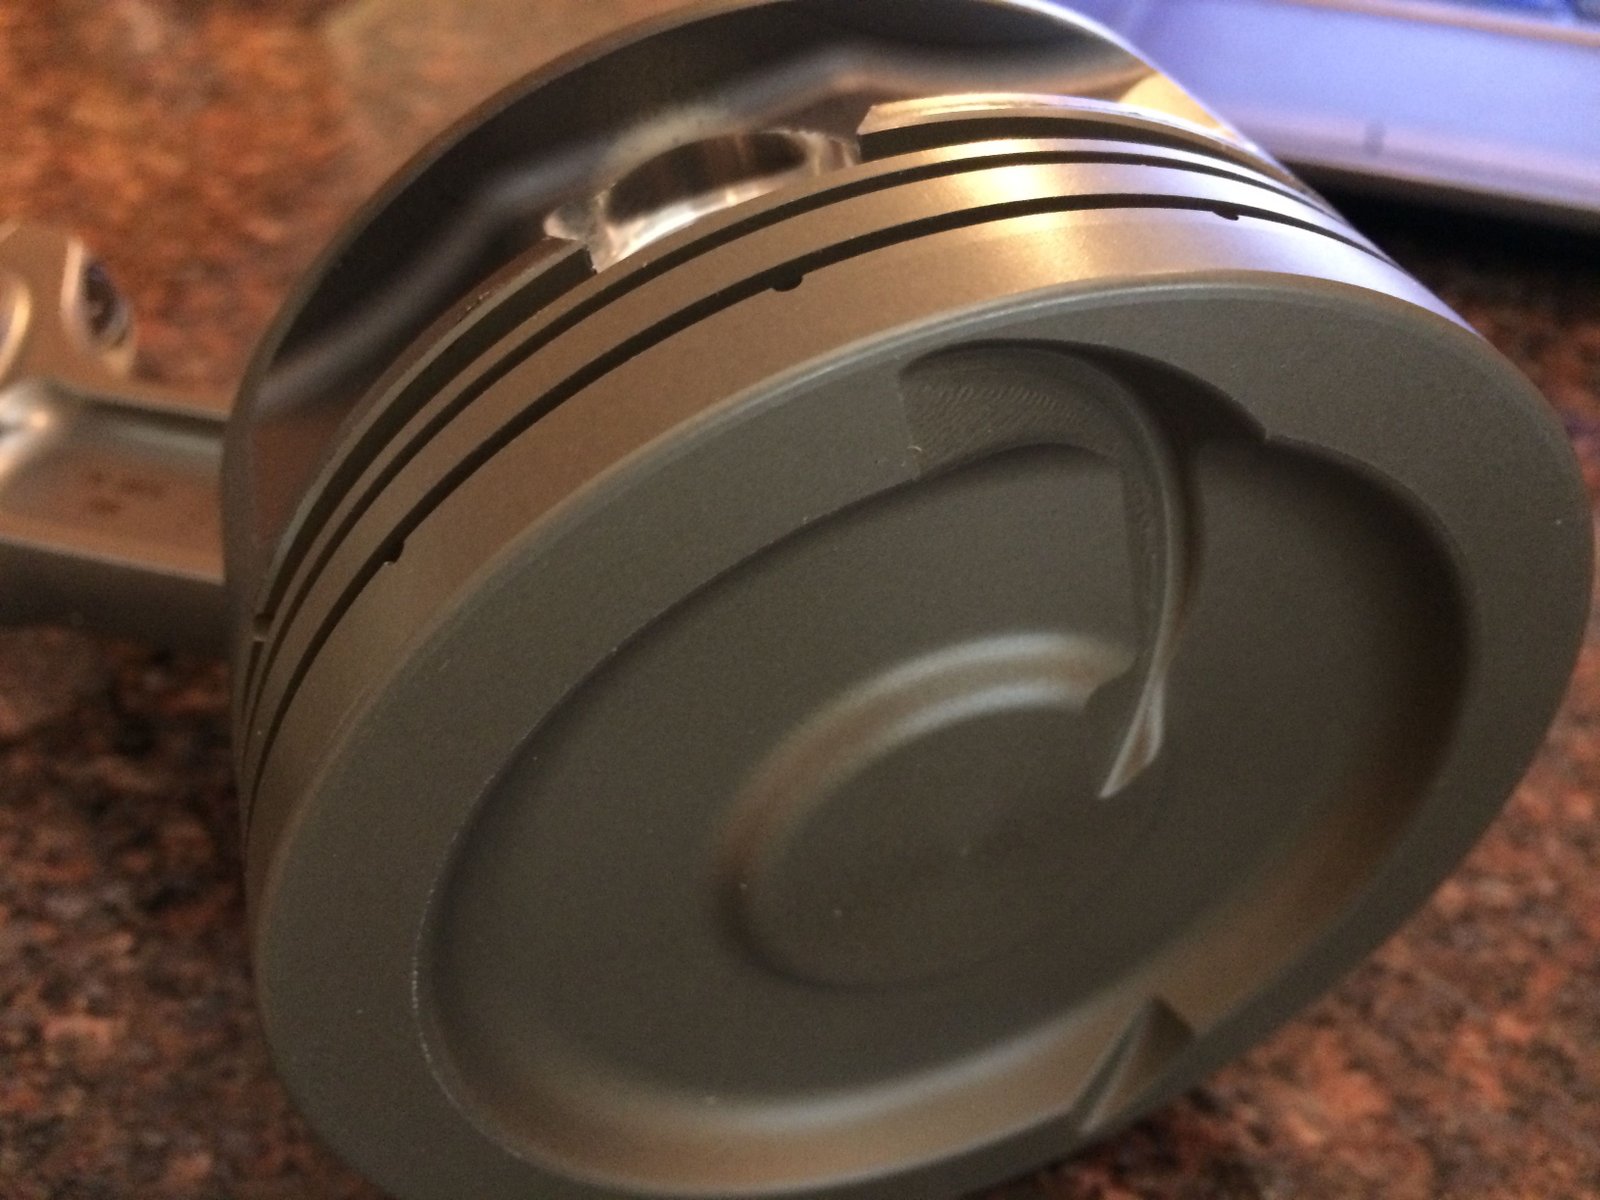
Diamond blower piston at -25.5cc |

Gas ported and with severe duty wrist pins. |
 |

Callies is about one month away from having the crankshaft
finished but I sent my weights onward to Justin (my Callies
account rep). |

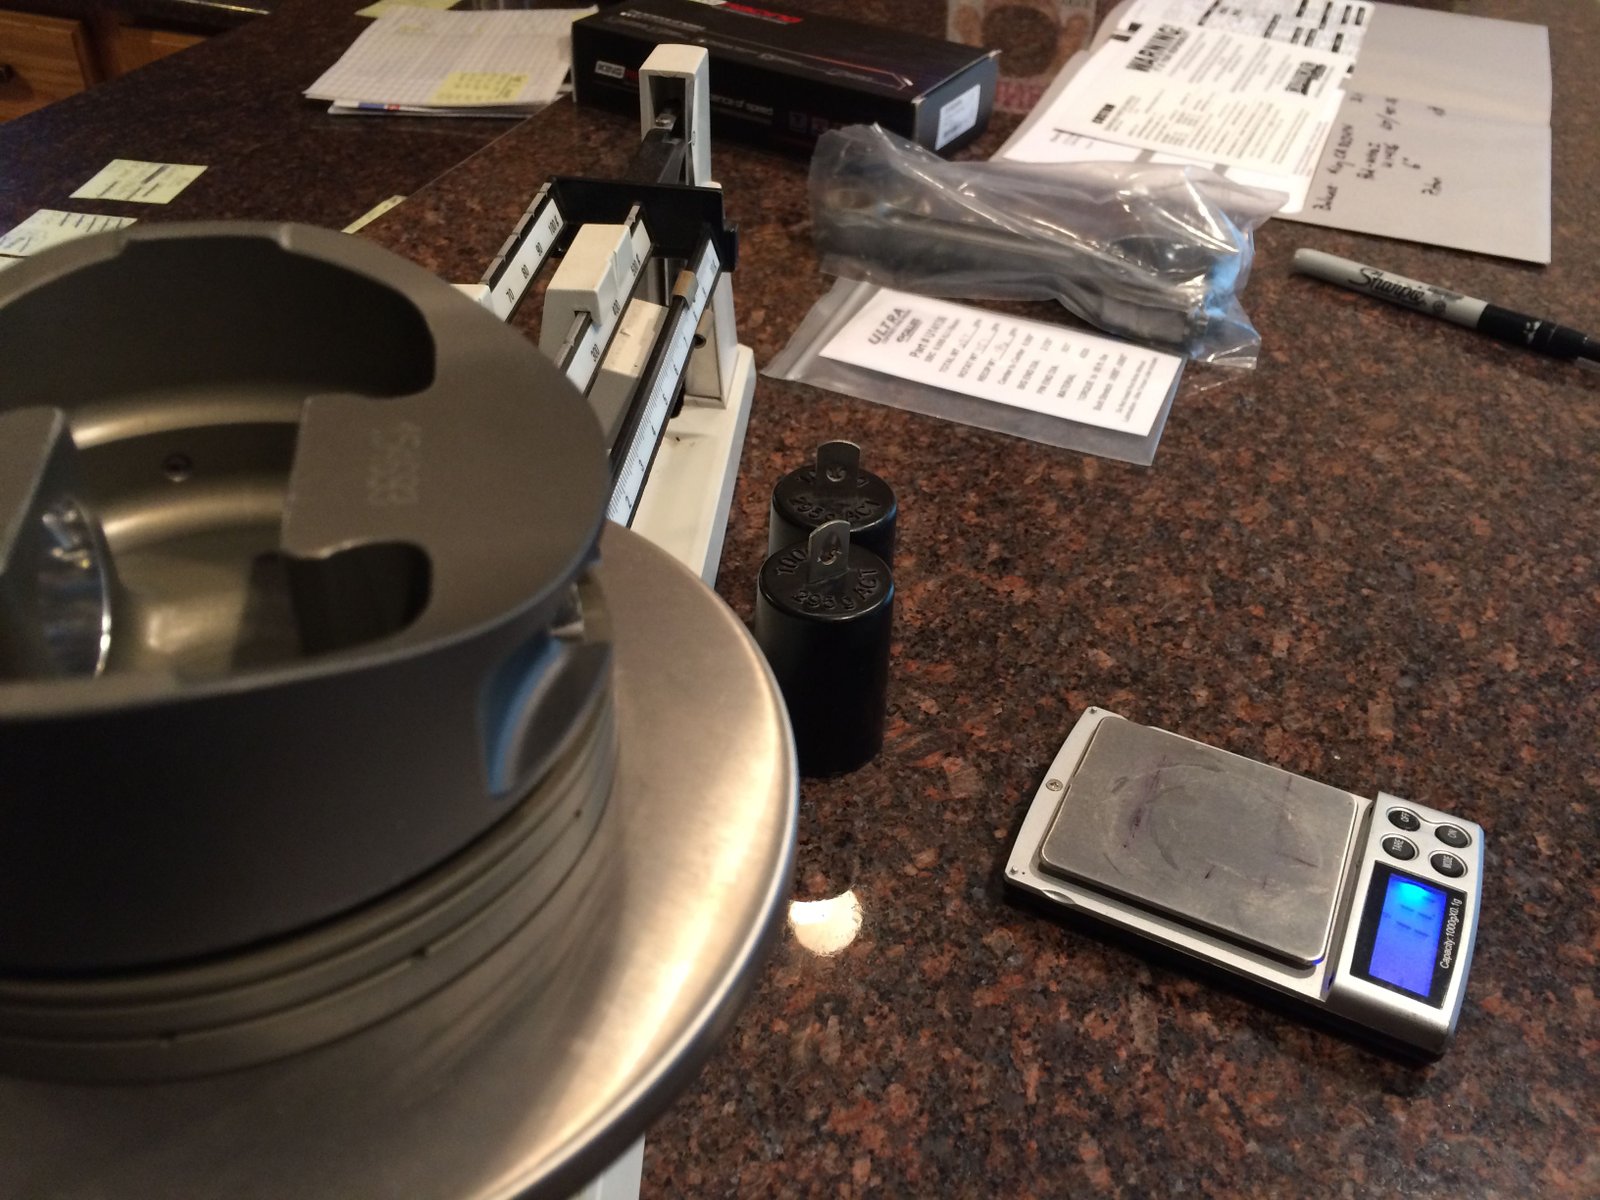
H13 tool steel pin @ 173g |

Calculated @ 1844g bob-weight. |
 |
|

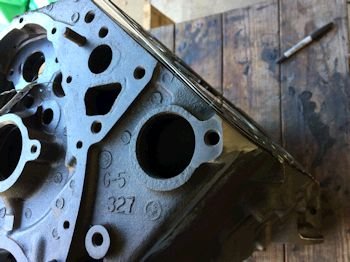
November 3rd, 2017: Still waiting for the custom crafted
crankshaft (Callies). Here is some block work while we
wait. The Cometic MLS head gasket does not match the LT1
block in the oil return (front left intake valley). The
black sharpie markes where I will grind.
|

Blurry photo but this is after grinding to allow for oil
return. |
Here is a grind area of the front left corner (for
supercharger). |

Block is pressure washed, cleaned with soap and sprayed with
oil preserve. |

This particular block was "chosen". It is only
slightly decked (the 9.015"). Not all cores allow for
the deck to be flat and clean at only 9.015". |

Here is the result of the 4 day
painting process. I paint one side at a time so as not to
have runs. |

Still waiting on the Ai heads/cam and the crankshaft. |

As soon as Callies finishes the custom crankshaft then we will
have a shortblock. |

The Callies Magnum crankshaft was finished and delivered last
week. Now it's time to assemble the short block while
we wait for the Ai TFS heads. |

Cam bearing installation. |

Magnum crankshaft, (custom), with Big Block Chevy post. |

Before doing the main cap bearing clearance I installed the
rear main oil galley plug. |
 |
Main bearing oil
clearance:
#1 = .0025"
#2 = .0024"
#3 = .0024"
#4 = .0027"
#5 = .0037"
All positions used standard size King MB557HP |
 |

Rod journal measures to 1.9995" |

Before I placed the crankshaft into the block I measured one
rod for bearing clearance. (was curious). Came out to
.0025" with the King CR 803HPN bearings and rod bolts at
80ft-lb with ARP lube as per the Ultra-Rods spec sheet. |

Here I wanted to show a spot that should always be clean prior
to installing the main cap. Oil will migrate onto this
surface, (or dirt). Just prior to placing the cap on I blow
it out with air. |

Crank is in and all caps are torqued except for #5. The
feeler gauge thrust is .005" |
 |

Crank thrust is .006" with the rear main off and also
with the rear main on and torqued. |

Mocked up #1 piston/rod and thankfully it comes to zero
deck-height. This was planned many months ago but you never
know what it will truly be. |

No interference at the crank counterweight. |

All rods measured for bearing clearance. .0022" to
.0025" |

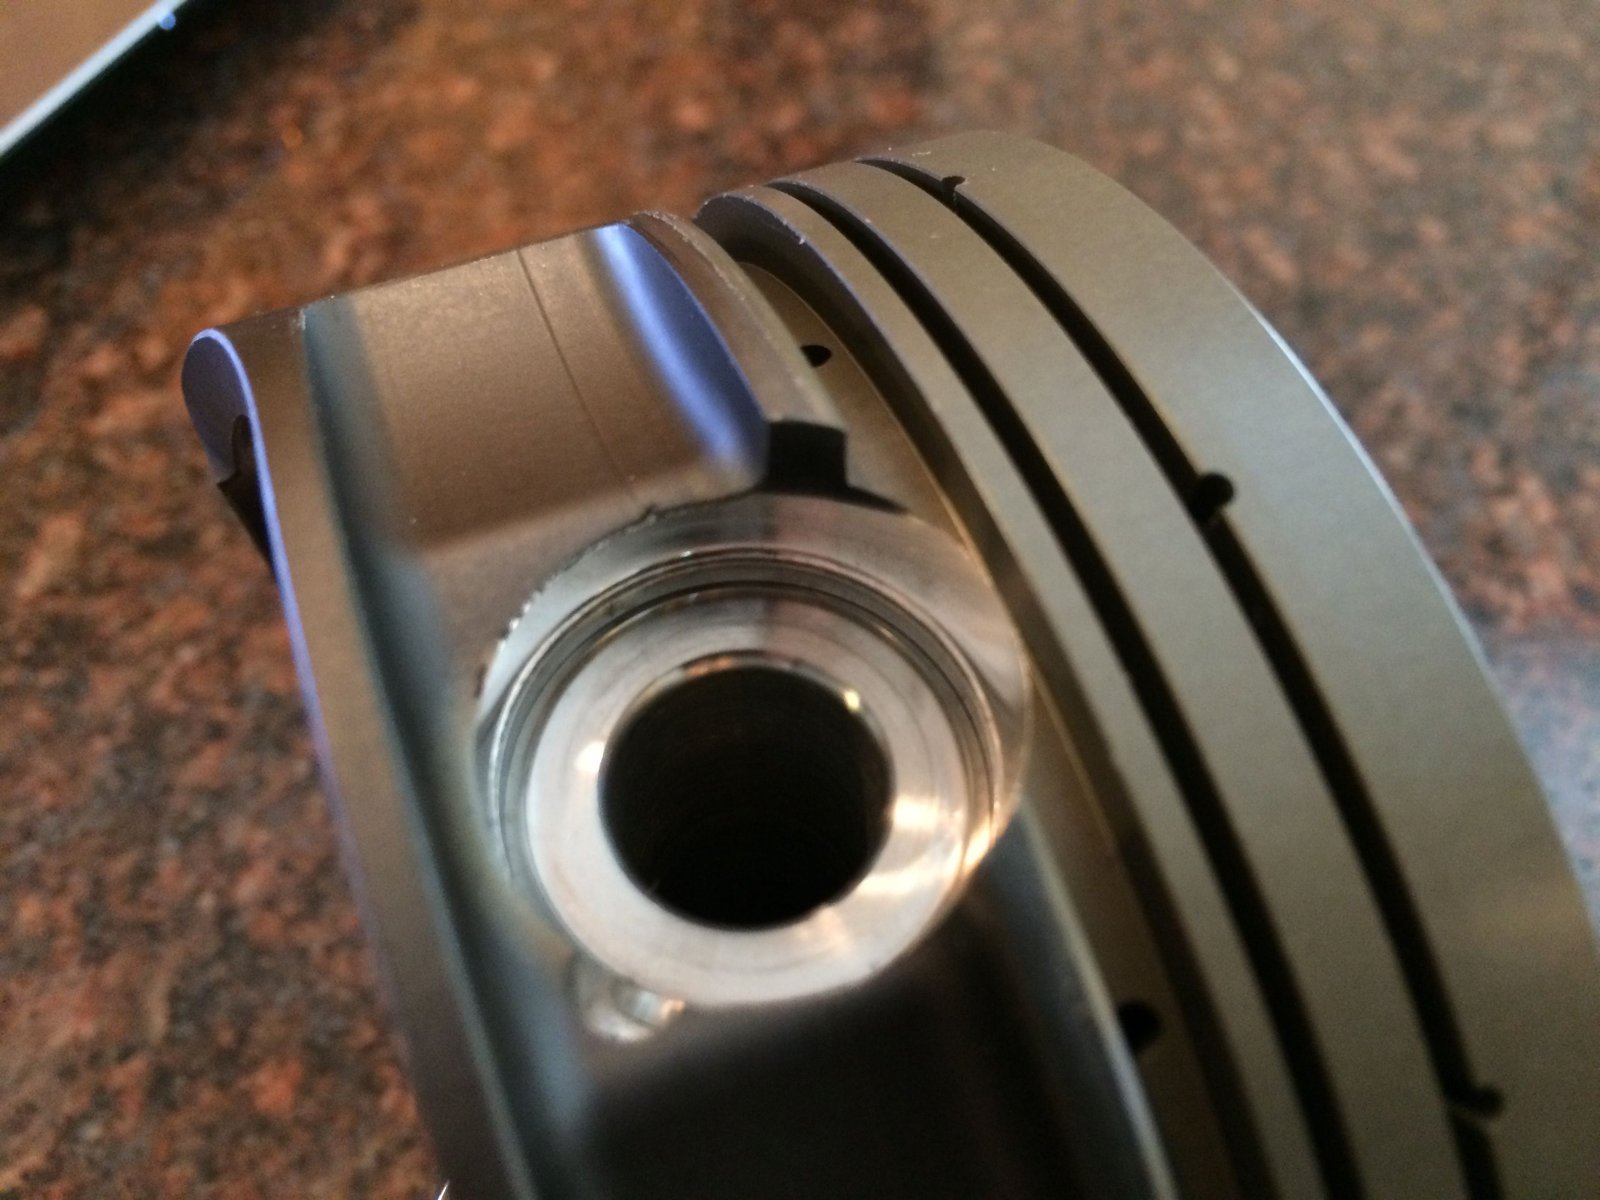
File fitting process: Gap calculated for big psi
boost. I made the gap .024" top and .024" 2nd ring
which is a bit tighter than convention. Reason being is that
the piston was specified to have the 1st ring land down and far
away from the combustion chamber. |

This is what a .024" gap looks like in my bore gauge. |

This is what a .024" gap looks like in the actual bore. |

This Goodson ring filing tool is the best investment I have
ever made. |

1st ring is Total Seal C-33 steel and the 2nd ring is a napier
style oil scraper. Both are 1.5mm |

Here is a good look at the ring package and the sturdy
"full-round" Diamond piston custom specified for high
boost. |

Here is a good look at the overly sturdy piston. A stiff
and sturdy piston is heavy but it makes more power than a light
weight piston under boost. |

-25.5cc dish. |
 |

The piston looks a bit proud in this photo but it is truly at
zero and flush with the block deck. The block is purposely
only slightly decked to 9.015". The piston compression
height was ordered to be 1.115". With a 6.0" rod and
3.800" stroke that puts the piston at 9.015" and 388
cid. |

While waiting for Ai to finish the heads and cam I have a few
things I can pre-fit. Here is the front oil galley
area. I have the oil weep plugs installed even though this
engine will use an electric water pump. I like the little
bit of cooling that the weep holes give the timing set. |

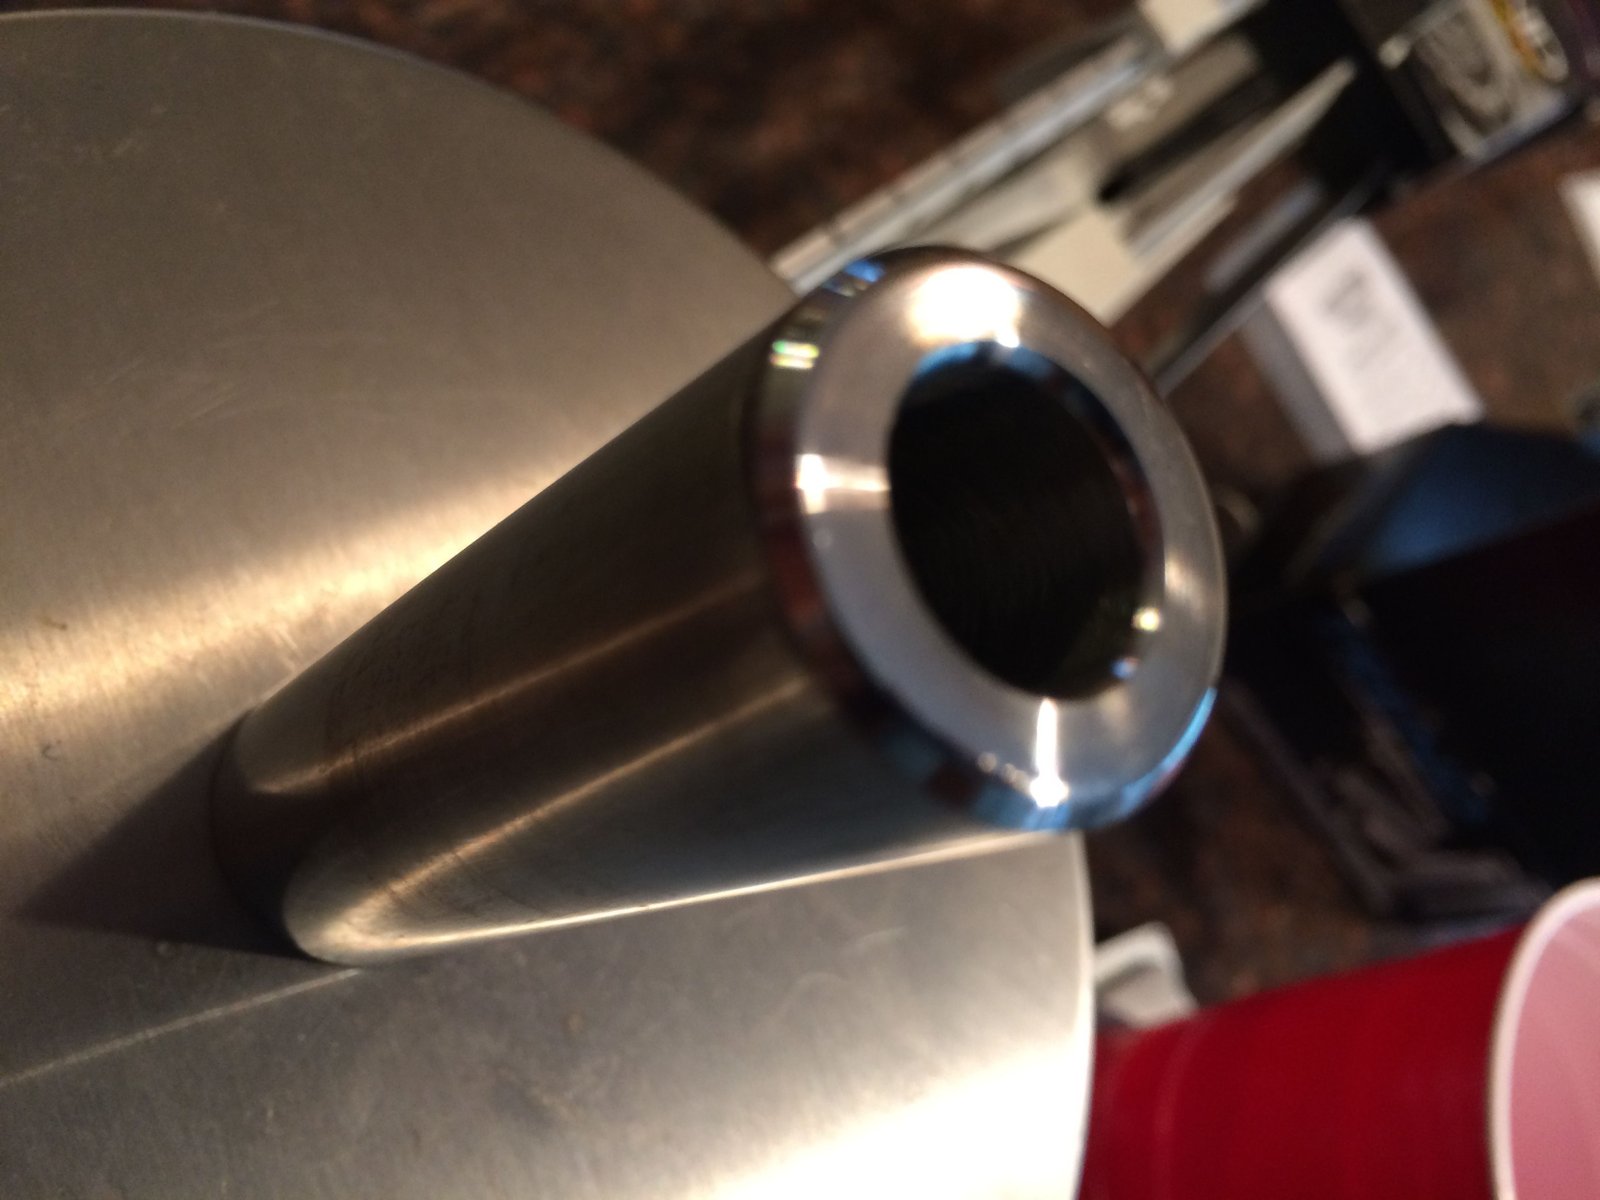
And here is the ATI hub for BBC nose. I guess I ordered
an Impala SS hub because this is too long. I compared it too
an Fbody hub to the right. Good to catch that now. |

Titan gerotor oil pump. Test fit. |

Titan supplies an oil pump mounting stud, (and a drive shaft
not shown). |

Ellwein-Stef's oil pan with billet rails. This pan has 6
features that are specified by me. Delete internal windage,
add oil level sensor bung, turbo oil return bung, fit for Titan
pump, front notch for clearance, oil drain on driver's side. |

Test fit for oil pump clearance good. |

Test fit of the oil dip stick tube...good. |

Now testing to make sure rotating assembly does not bump. (it
usually does). Bolted down snugly... |
 |

Very slight bump from this crankshaft counterweight.
That is the usual spot that needs clearancing. |

AFR 227cc - LT4 heads have arrived. These are fully CNC
ported. LT4 ...777 gasket shown here. |

Nicely polished combustion chambers. These are the
competition heads with titanium retainers. I did not measure
the chamber cc yet. |

The 777 gasket shows that the Ai ported LT4 intake manifold
ports are smaller than the head ports. That is a desirable
situation. It helps with reversion. |

Here is another view of the Ai ported LT4 intake manifold. |

A view of the AFR heads. |

EFI Connection supplied the timing set and 24x reluctor.
The timing set comes with a big block Chevy crank sprocket to
replace the SBC crank sprocket. The 24x reluctor is shown to
the bottom right. It fits the BBC crank nose. |

This is a Tony Mamo camshaft. It's a billet core and a
Comp Cams lobe 13034 and 13050 with 222/239 duration @ .050"
and .563/.584" lift with 1.6 ratio rockers. |

Camshaft installed at zero. |

Degree checks that it is installed at 112 intake centerline as
per the cam card. |
 |

EFI Connection 24x reluctor shown here and it is not at all
close to rubbing on the timing chain. |

Another view of the 24x reluctor. |

Here are the camshaft numbers. |

Timing cover test fit. This shows the 24x reluctor is
dead center of the crank sensor hole. |

Rotated the crank a few times with the timing cover on and
here the cam pin has interfered with the cover.. |

The cam pin is not all too far out but it still interferes. |

Cleaned up the metal shavings and dust and pounded the cam pin
in. |

One more test fit and all is good. |

EFI
Connection timing cover. |
 |
 |

Windage tray installed after trimming for oil dip stick and
oil pump. |
 |
 |
 |

In my opinion the best pan for the LT1 F-body, B-body and
Y-Body. |

Head gasket is MLS from Cometic: .051" compression
thickness, (10.7cc). |
 |

ARP head studs cleaned. Then Right Stuff RTV applied to
the threads that go into the water jacket...(all of them). |

Lubed up the washers with ARP lube. |

The valve springs are so wide that some head stud/nuts have
very little clearance for a wrench socket. |
 |
 |

65cc verified. This gives 8.9:1 compression ratio. |
 |

Here is the oil drain return from the heads. I relieved
the block in that area so that the oil would not be blocked. |
 |

Custom ATI hub for BBC nose. |

Close up, (not in focus). |

LT4 intake set in place to act as dust cover and to pose for
photo. |
 |
 |

GMPP lifter guides. Crower hydraulic lifters. |

Here is a test with T&D shaft rockers while I wait for
Crower to finish and ship. The T&D requires a
7.000" pushrod. Maybe the Crower will be the
same. |
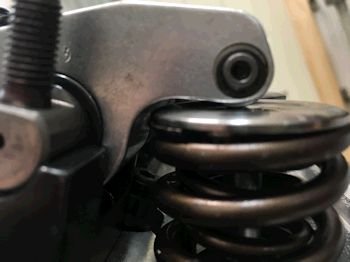
I wanted to show how large the valve spring is and that it
barely clears the mock up T&D shaft rocker. I put a set
of stud mount Comp Cam rockers on and the ProMagnum rocker did not
even come close to clearing. |
 |

Here is a good visual to show that the valves on this set of
heads are not in the standard 23* SBC position. The T&D
rockers are set for standard heads. The Crower set that is
on order is built specifically for this head. |

One last look at the camshaft prior to installing oil plugs.
Below is the oil pressure test. The Titan oil pump is set
for 65psig relief and that is what the drill presses it up to. |
 |
 |

Crower shaft rockers are here. These are for the 60/40
valve spit. (.060" intake / .040" exhaust). The
intake valve is moved more to the cylinder centerline and the
exhaust valve is moved more toward the cylinder wall. |

The photo to the left show the shim gauge. It show that
I need to add .100" shims under the shaft stands. This
photo shows that the rocker pairs line up quite nicely to the
valve tips. |

Just enough room for valve spring clearance. |

These 7.350" pushrods are a tad too short. I'll get
a set of 7.450" on order. |

The 3/8" diameter pushrods do have quite a bit of
clearance with the heads. Yippie!!! |

Almost forgot to check for piston to valve clearance.
The camshaft is relativaly mild but the heads have the
.060"/.040" valve offset and so it would be prudent to
check. Driver's side head off. |

Solid roller lifters and zero lash. |

Two full crankshaft rotations. |
 |

The camshaft and valves left hardly an impression... |
 |

This is about .300" intake and exhaust. I hear that
0.100" is the safe minimum. |
 |

36* before Top Dead Center. |

Carb manifold on for dyno
day. |

Installing 7.450" long 3/8" diameter pushrods from
Trend. |

Prior to dyno day I double checked the top dead center mark
and made a reference on the damper at 35*. Dyno day Aug.
27th!!! |

Burtonsville Performance Machine Service:
5210 Minnick Rd, Laurel Maryland
This is Steve the dyno operator.
Bub the owner and Steve are methodical
and meticulous. |

I really like this total oil filter. The main filter
adapter is bypassed and all oil goes through this. The
screen is inspected after the ring seating session and also after
the full pulls. They say you usually find a lot of lint from
shop rags. |

They have run quite a few LT1 engines on their dyno.
They have an adapter to allow the dyno water
pump to take the place of the stock water pump. The steam
line is capped after it is bled of air. |
 |

The engine performed as expected. Sounds great too. |

And here is the tell-tale truth from the oil filter.
There is a bit of aluminum from the oil pan and some black RTV and a slight bit of
metal grime from the block and or heads in general. Bub and
Steve said this is quite typical and really above average for
cleanliness. No shop rag lint but I was expecting low lint
because I use coffee filters for final cleaning. |
 |

Swapping dyno intake manifold for Ai Ported LT4 mainifold. |

Intake valley looks great after the dyno run. Notice the
LT1 intake gaskets. These fit the dyno LT1 carb intake but
they do not come close to matching the LT4 ports. |

Swapped a new gear onto a core oil pump drive. |

Here is a photo directly after taking off the oil pan.
The oil pan leaked during the dyno session. The front and
back 1/2 moon were leaking. I did not install the oil pan
with RTV knowing that I would pull that pan and inspect after the
dyno. |
 |

Now a new gasket and RTV top and bottom. |

You may be able to see the RTV. |

Here we have the intake valley cleaned up and ready for the
LT4 intake manifold. GM....777 LT4 gasket. |
 |
 |
 |
|