|

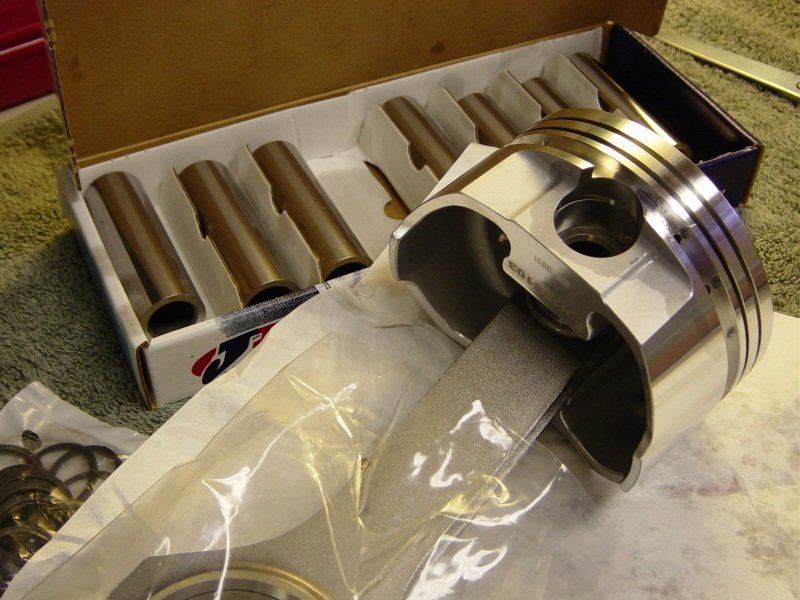
Fully machined .030" over LT1 block from Chad Golen with Eagle
splayed main caps. Callies just delivered the fully balanced
rotating assembly Jan. 24th, 2007. Compstar crankshaft,
SRP -16cc D-dish pistons with Total Seal rings, Compstar 6.000"
H-beam rods, ACL race main and rod bearings. There is a Bauer
Racing Engines LE1.1EM cam on top of the Compstar crankshaft box.
1st order of business, (after cleaning the block with hot water and
Dawn), is to file/gap the Total Seal rings. .024" and
.026"
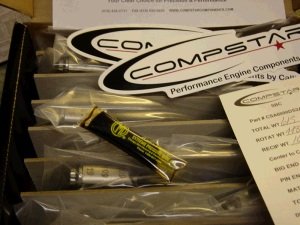
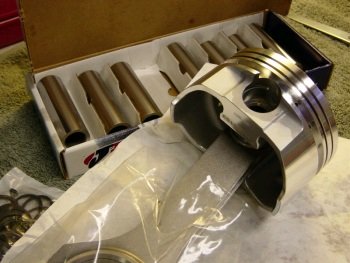
Here's what you see when opening the box of rods. These rods
are as good as some rods twice their price.
The Compstar crank is in and mains are torqued. It spins
freely.
Piston/rod pairs #1 and #2 are installed to check for stroker
clearance. Chad Golen's shop did an excellent job with the stroker
clearancing. Plenty of room. It almost looks like the
clearance was tailor made for these rods.
Update 01-30-2007
I moved back my date for the engine dyno to 2-1-07. Finally
have my cam bearings and so it's time to finish the motor
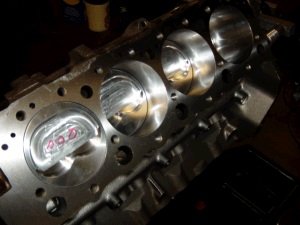
assembly. Here are pistons 2, 4, 6, 8 freshly installed.
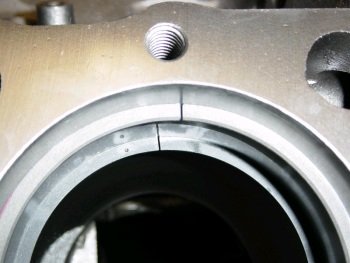
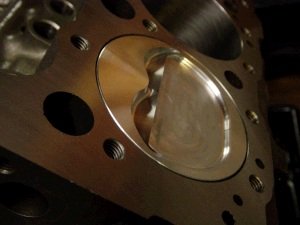
This block has been very well square decked. All pistons are
at 0.000" deck-height.
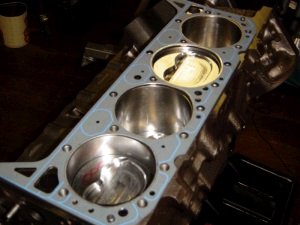
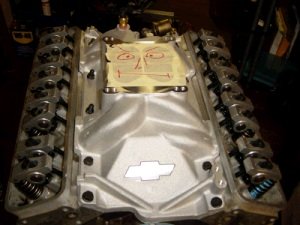
I put the heads on using the .039" thick Felpro head gasket.
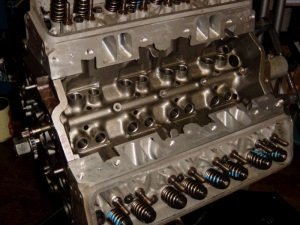
I don't think I like these "Allstar" budget head
bolts. I thought they would be like GM stock bolts but they
don't have the wide head which would act as a washer.
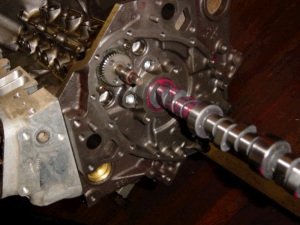
Well now that my cam bearings are in you can see the Bret Bauer cam
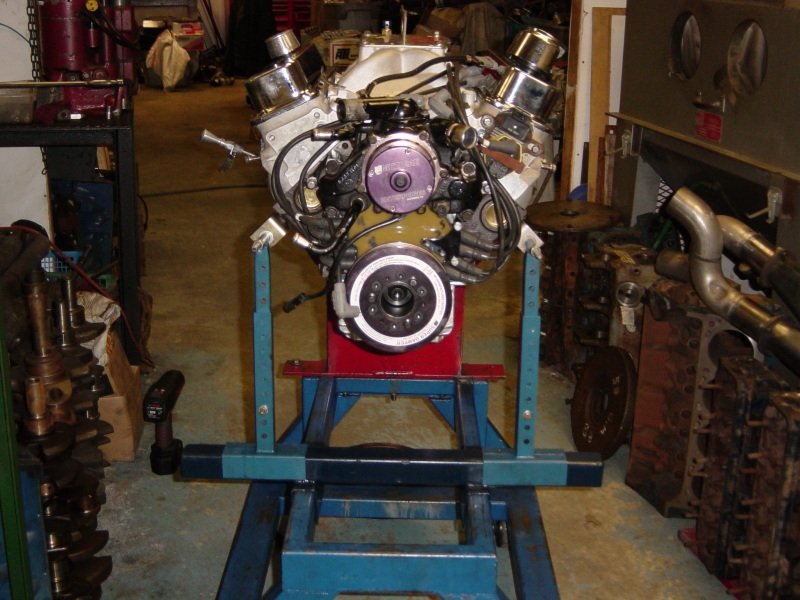
being installed. It's called the LE1.1em (emissions).

GM extreme duty LT4 timing chain. I think there is too much
chain slack but it's a very stout single roller timing chain. This
motor goes into a 1996 Impala SS and so the crank reluctor wheel
will be slipped over the crank snout prior to installing the timing
cover.
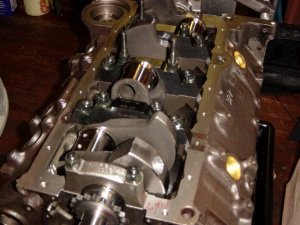
I make sure to keep the stock windage tray (if possible). Here
it is clearing the rods. I use 3 Milodon main studs.

Tin-snips and bending of the stock windage tray. This motor
gets the Titan gerotor oil pump and Stef's oil pan.
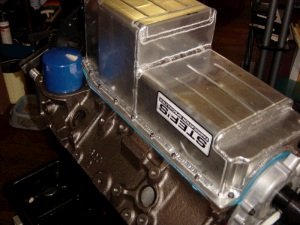
These pans are sometimes hard to fit. I needed to grind on the
pan to clear the rear crankshaft counterweight and the front and
back seal area.
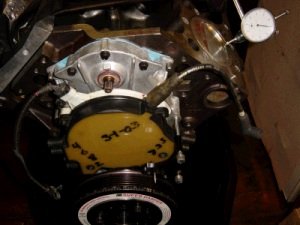
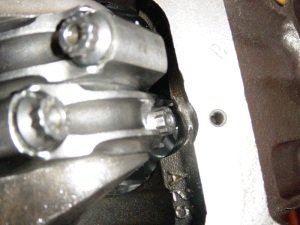
Here is a little timing pointer set up so that I can check timing
while at the engine dyno. This is a generic timing pointer I
purchased for $20 bucks.
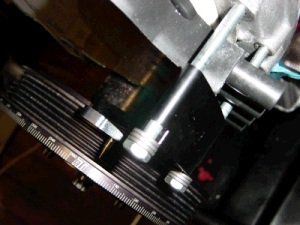
See here I used 5" long bolts and bolted the pointer right up
against the opti-spark. It's a pretty solid installation.

Pointer at TDC.
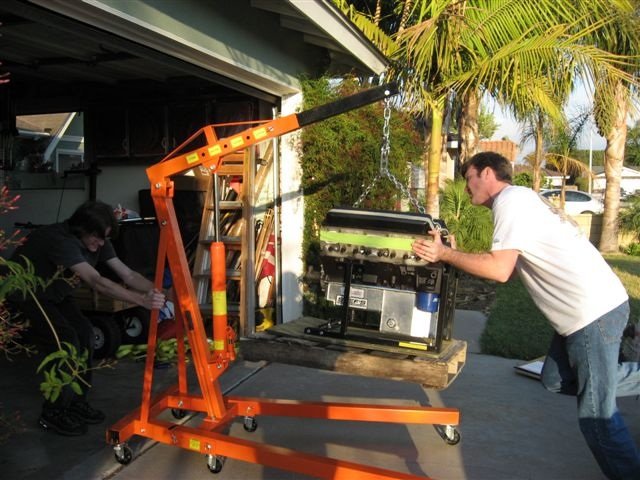
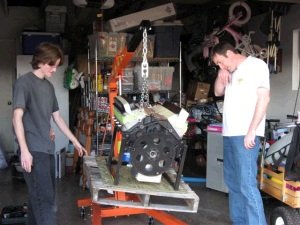
Dyno Day 02-01-2007

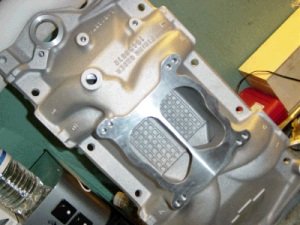
10:00am at McKeown Motorsports. ERE8 with GMPP LT1 Carburetor
intake rolling toward the engine dyno.
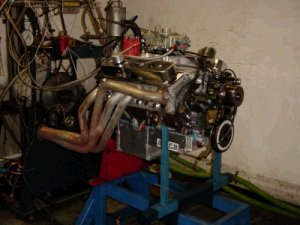
11:00am and almost ready.

Right-click/Save-As
for a short video showing my surprise that the motor started with
the stock wiring harness and LT1 EFI intake manifold.
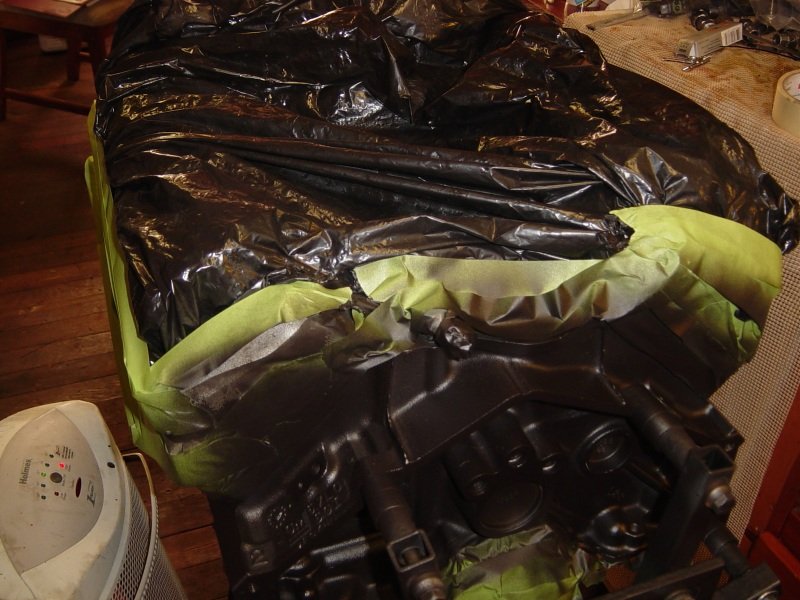
Finally painted the block with high temp black and I help it cure
with heaters.
|
Assembly of the SRP piston, Compstar rod.
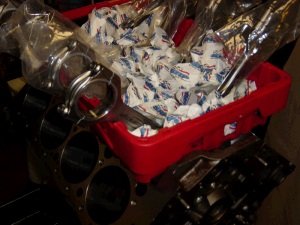
Rings on pistons and stored in proper order. The cam bearings arrive
tomorrow so I'm not going any further until those are installed.
The owner of this motor provided all of the long block parts such as
LE1 heads/cam, gaskets, lifters, rockers and the GMPP LT4 timing
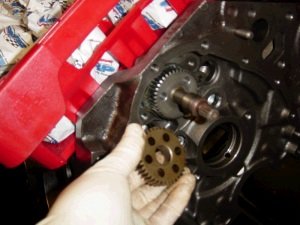
set. The old stock water pump gear is in my hand and the new
LT4 gear is in the block.

Even before installing the cam bearings I figured I could mic the
mains and install a rod/piston pair to check my stroker
clearance. Here is the bore gauge being zeroed after
installing the main caps and torquing to 80ft-lb
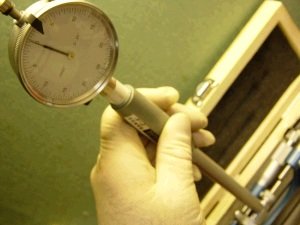
All the mains measured 2.451. That gives
.002" clearance.
And the piston is right at ZERO deck-height, (by feel---I didn't
measure it yet).
Update 01-30-2007

A new GM oil pump drive gear from DAL
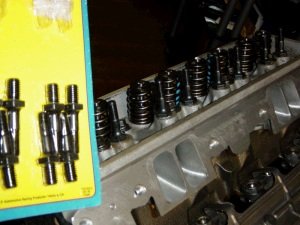
7/16" ARP rocker studs. Also removed the budget head
bolts and installed a mix of ARP and Manley.

CompCams pushrods and GMPP 1.6 ratio rockers

All installed and lifter pre-load set at 1/2 turn.
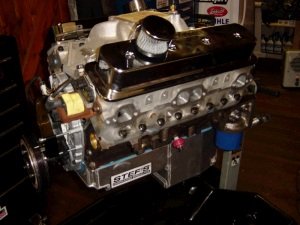
Here she is almost ready for the dyno. Notice something funny
on the intake?
It's the GM LT1 carburetor intake manifold
I'm using this carb intake so that I can get some engine dyno time,
(just in case my LT1 wiring harness does not work)

Here is a Billet Fabrication oil pan made special for Ellwein
Engines. It has a "power kick-out" and fits like a
glove. Very high quality and very high cost.
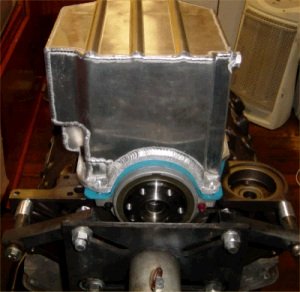
Another view of the Billet Fabrication oil pan.

And another view.

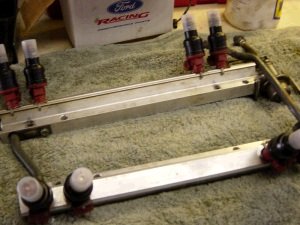
Jan 31st: Working odds and ends today to get all ready for
tomorrow's engine dyno session. Spare fuel rail set up for AN
fittings. Swapping from 42lb SVO injectors to 30lb SVO's.
Ready for the dyno.
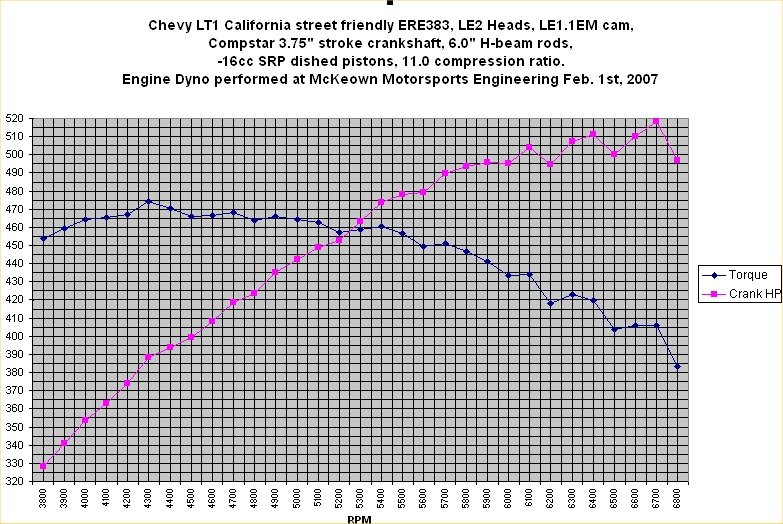
The Dyno Graph

CLICK GRAPH for uncorrected raw data.
More than 450ft-lb of torque from 3800rpm to
5600rpm.
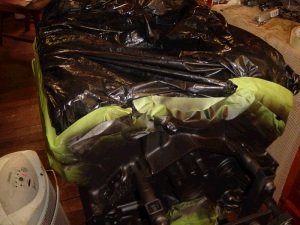
Getting ready for Yellow
Freight

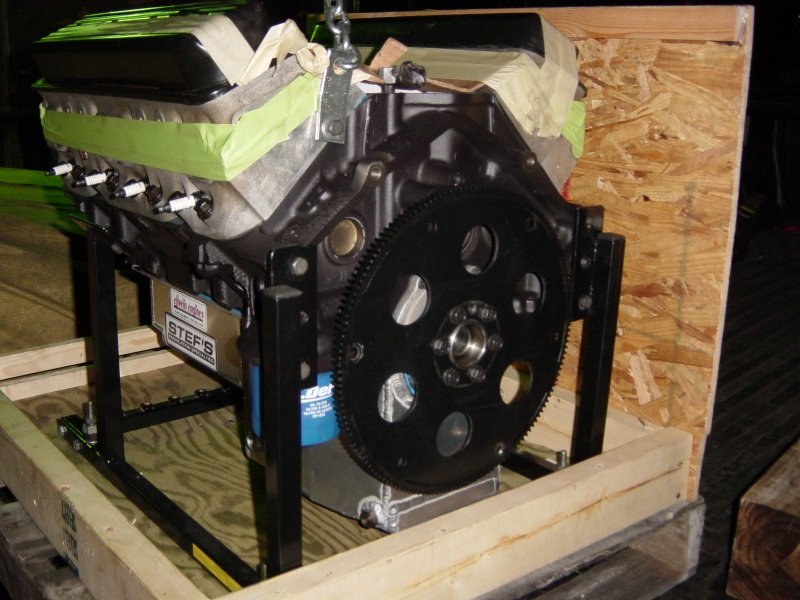
Crate is built around the pallet
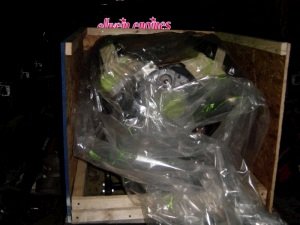
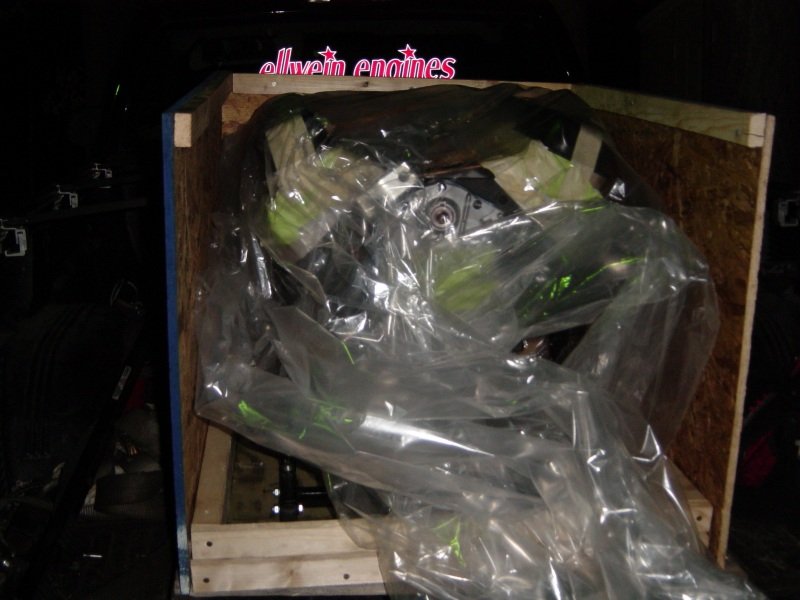
Wrapped in plastic prior to closing off box sides

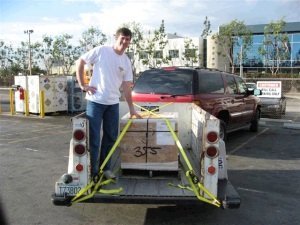
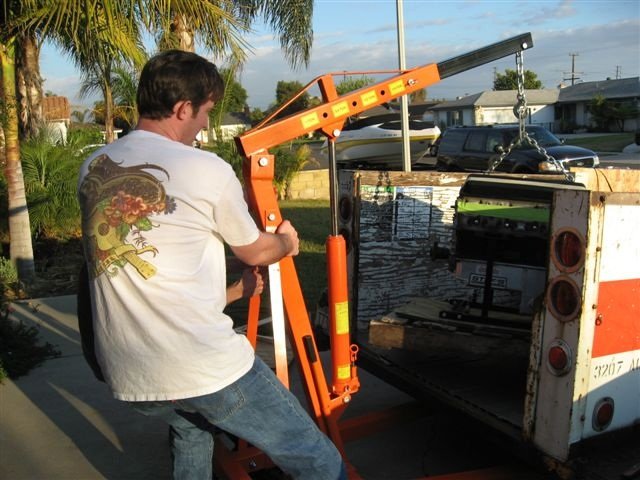
Owner found the packaging in good shape at the Yellow Freight terminal and
at home removes the top and sides and picks the whole engine/pallet combo.

So I need to heat my garage here in Maryland. I bet you guys
in SoCal have to run the air conditioner for yours. ;)
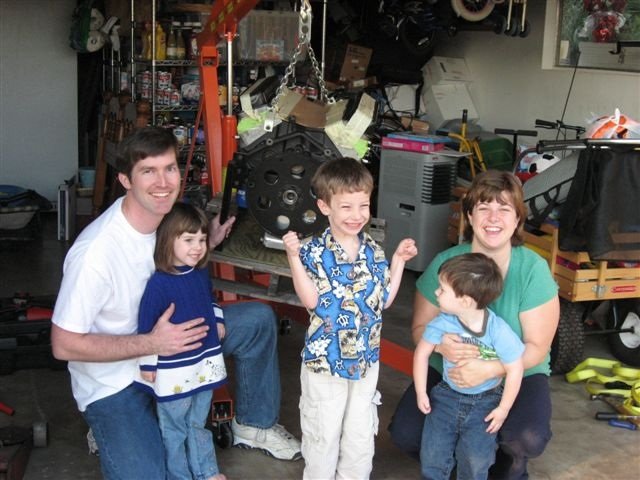
Almost home.

Very nice family photo!
|