 |
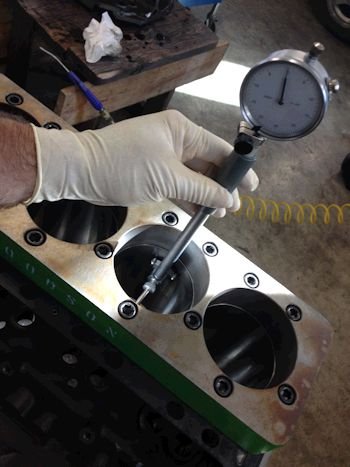
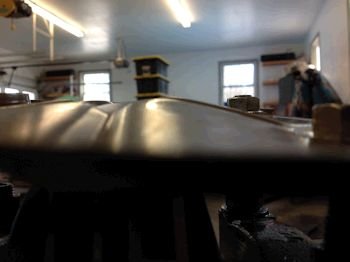
Photo to the
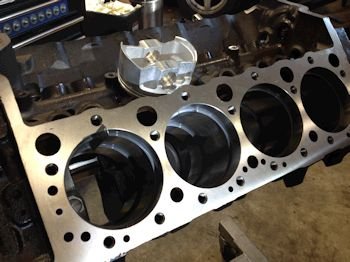
left: After my blocks are returned from the local machine
shop I will bolt on a torque plate and check the bores for
roundness and taper and then check for piston to bore
clearance. The bore gauge here is set to my 4.030"
standard and it's dead-on.

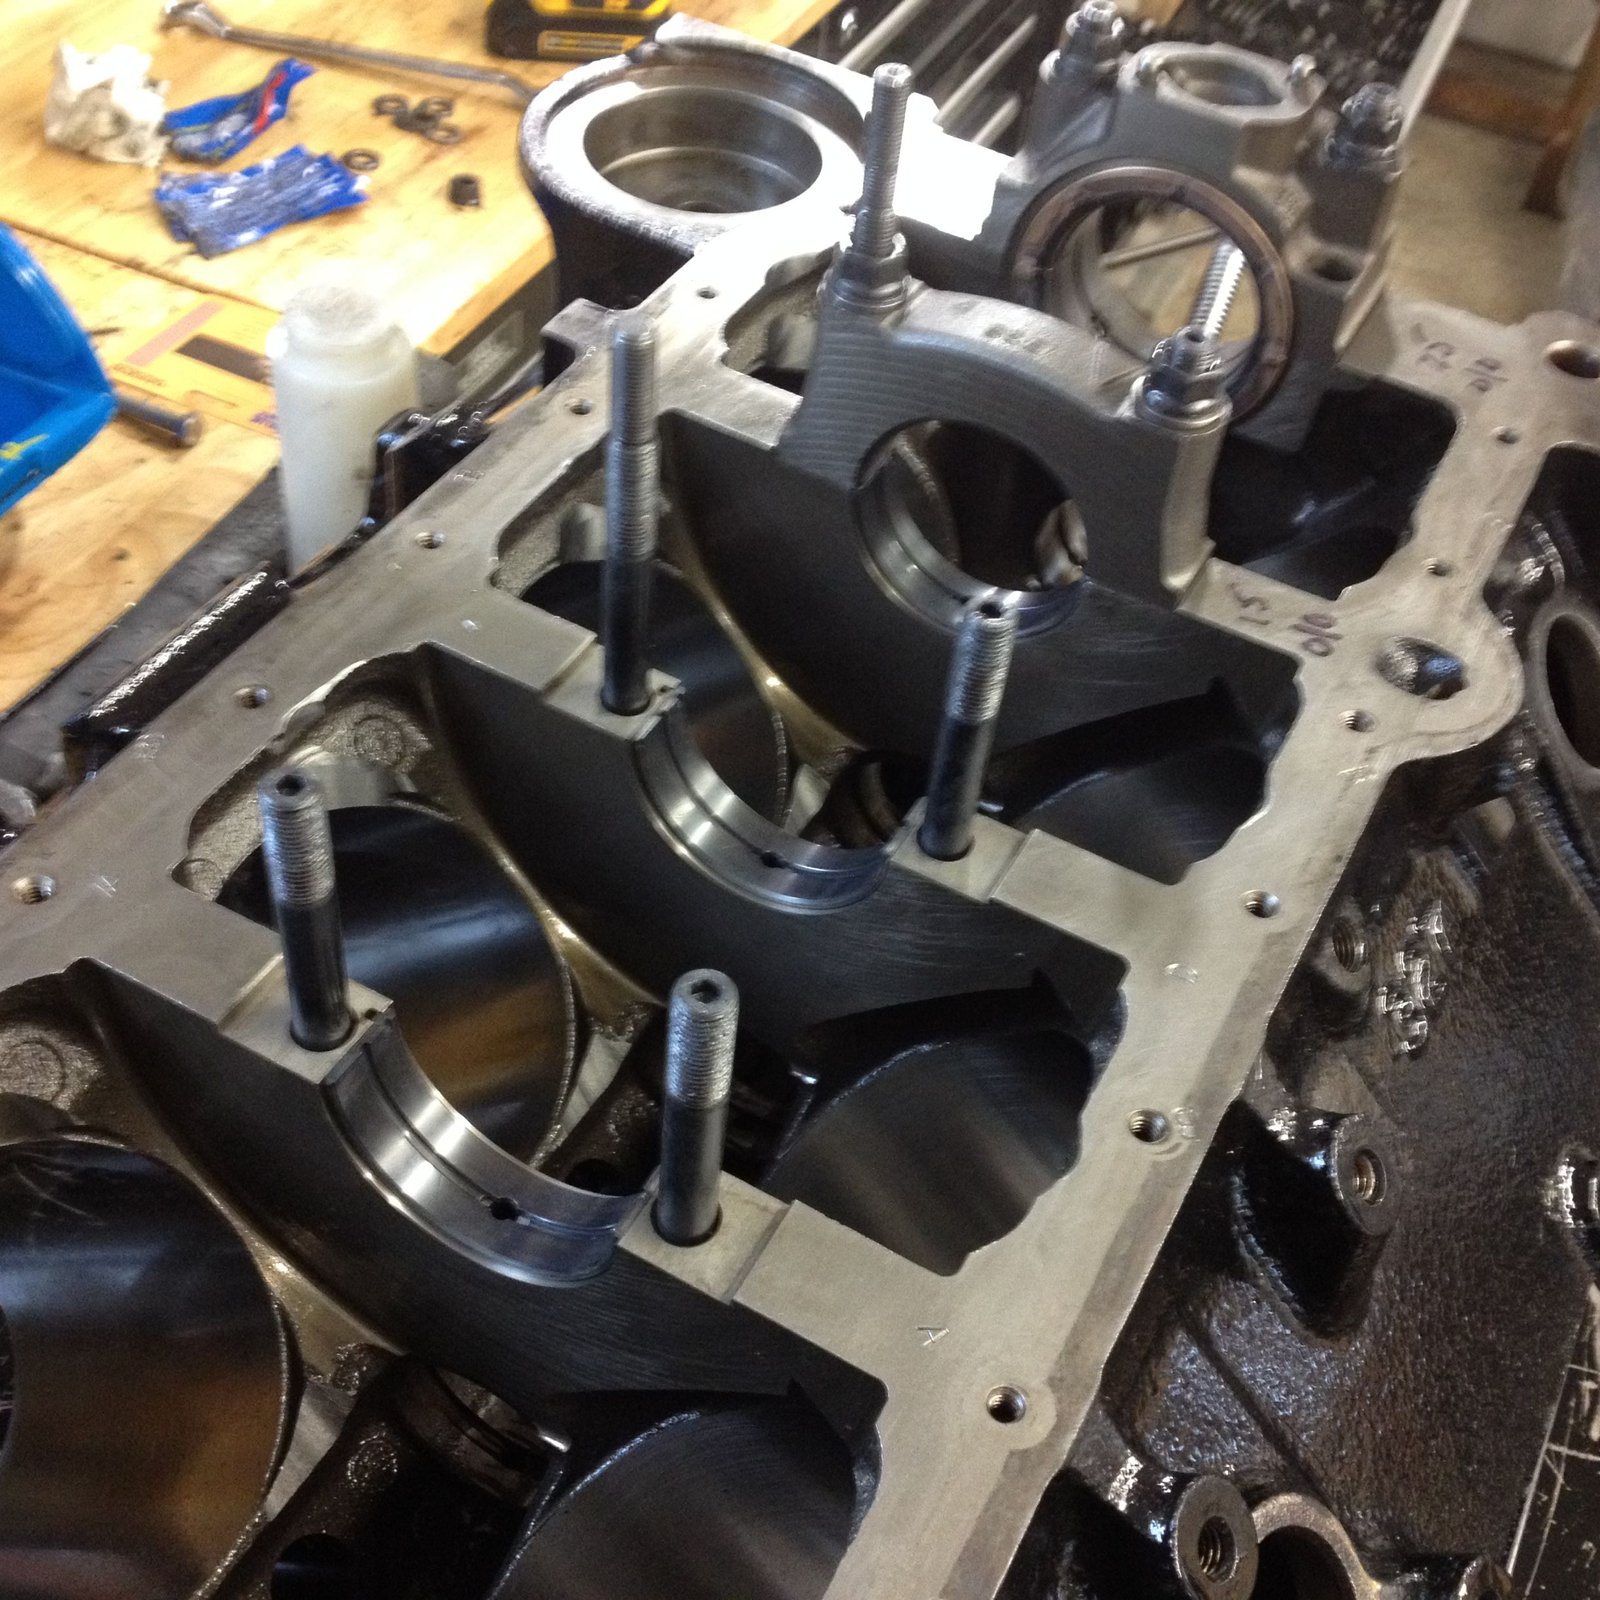
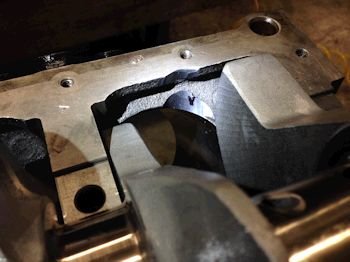
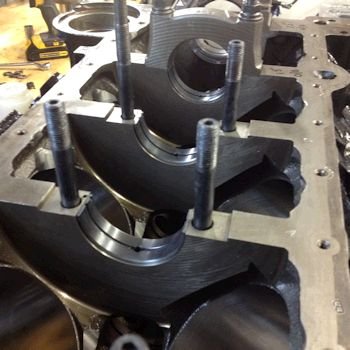
Photo above: I still have to clearance the bottom of the
block for the rods. I did a 1st draft so to speak and now I
can concentrate on where the rods actually hit. The Eagle
rod requires some clearance at the oil pan rail. (Callies
rods do not). |

The photo shows the area near the cam tunnel that required
clearancing. H-beam rods with the flat big-end sides do not
require a lot of clearance here but the I-beam rods with the
shoulder bump require it. |
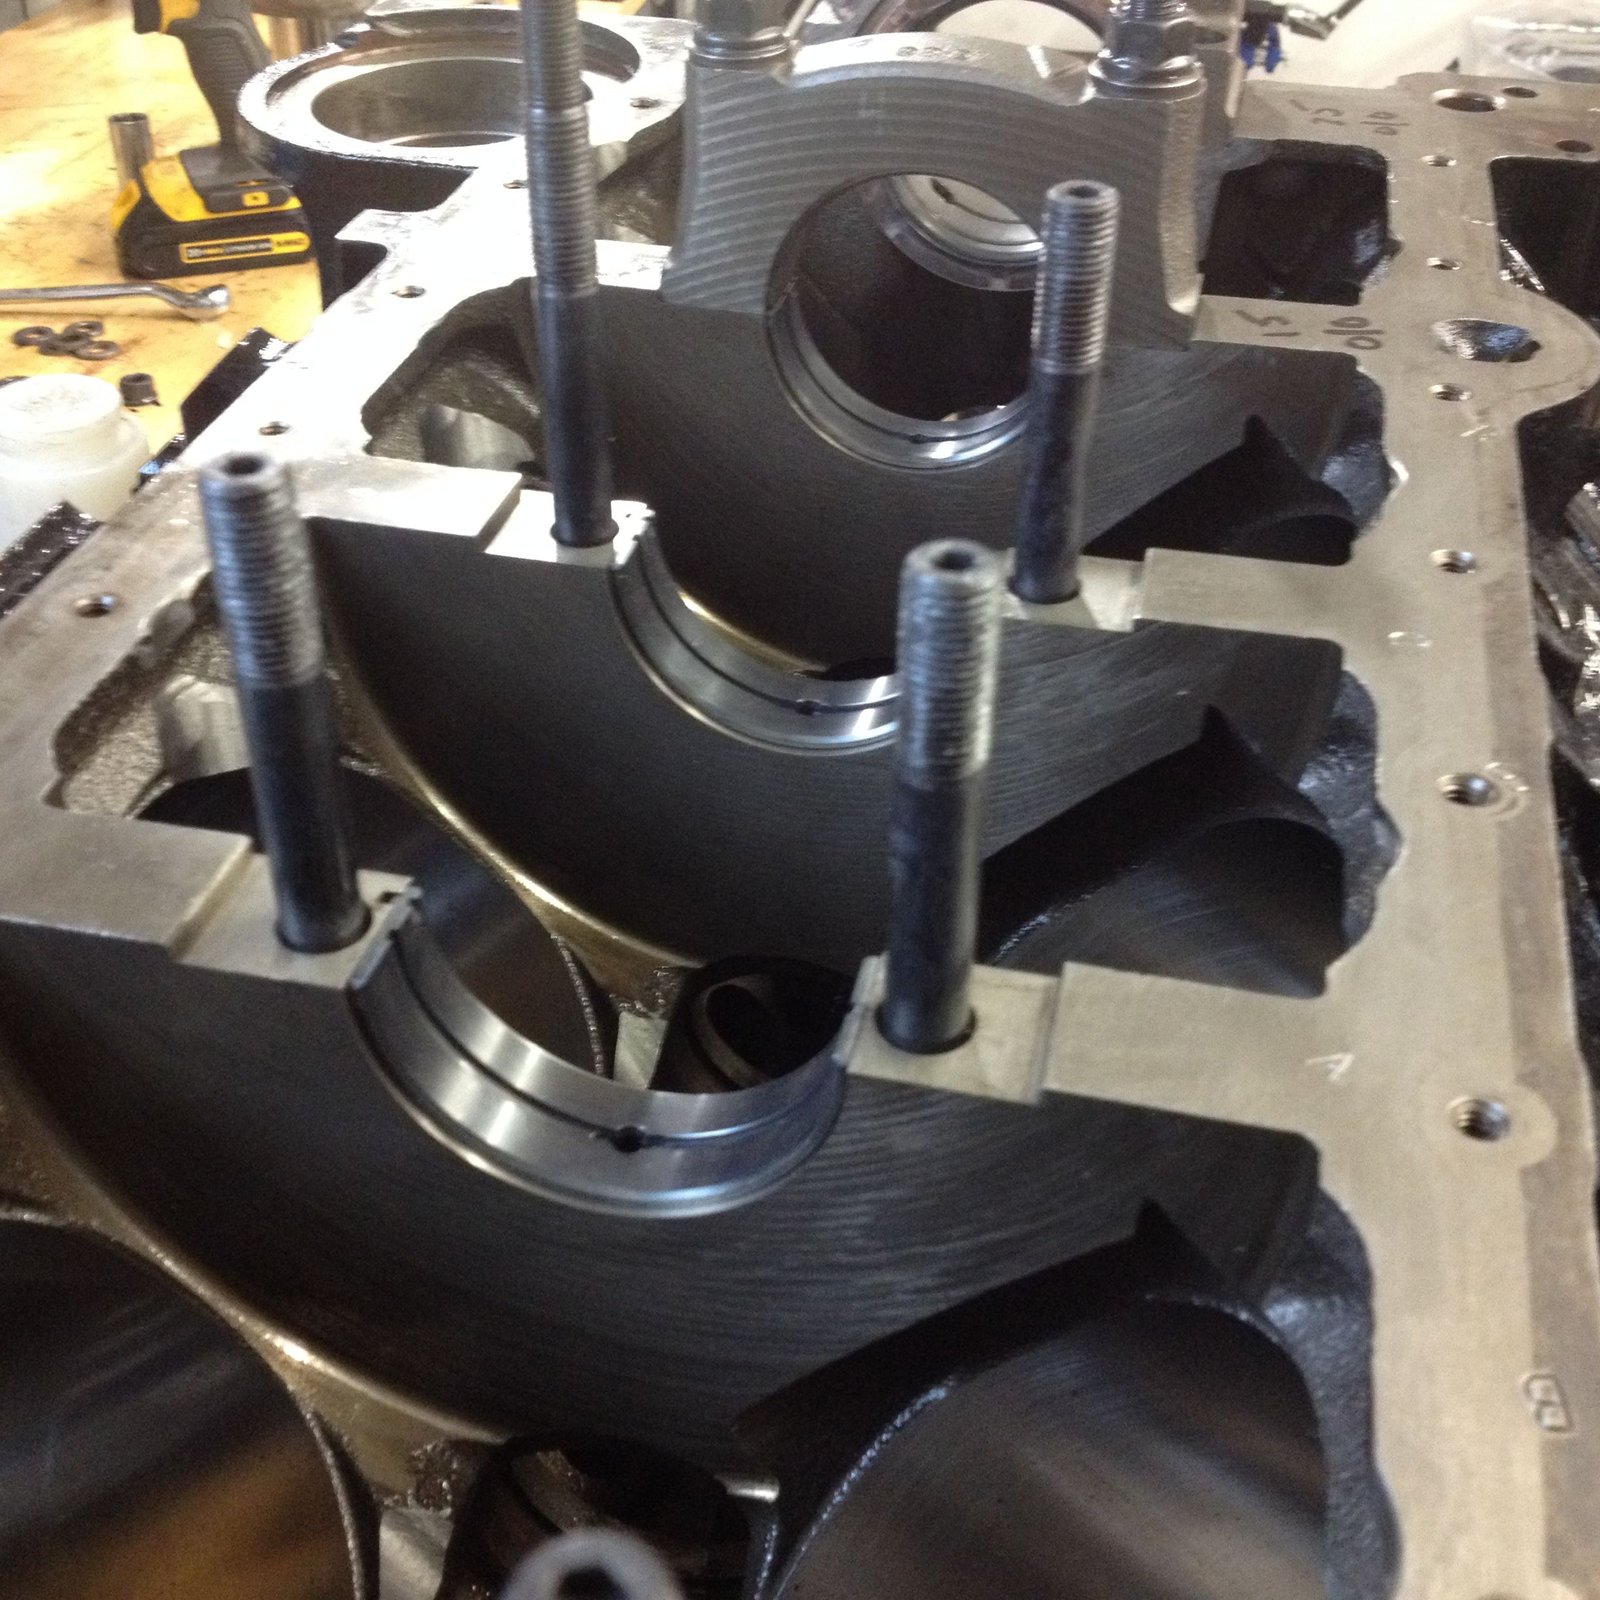
I did a second round of grinding and still have to touch up at a
few spots. Most of the bores were good. |

I took a break from grinding to get some painting completed.
Here is the POR15 at the front of the motor. |
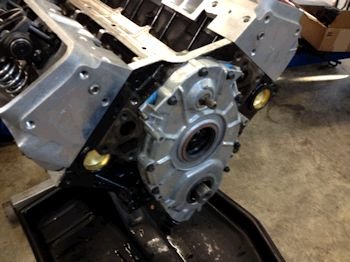
The front oil galleries are threaded for 1/4"
NTP. The lifter valley plugs will be vented for oil spray to
the timing set. That is a big block Chevy part and easy to
integrate into the SBC LT1. |
|

Rather than finish the block clearance work (it's 30*F
outside) I'll work inside at 65*F and assemble rods/pistons.
|
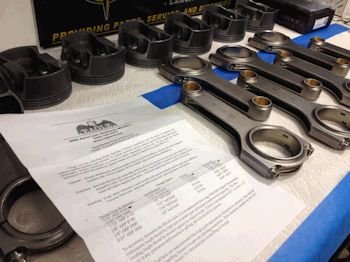
First laying things out and checking which rod bolt is
installed for torque/stretch spec. |
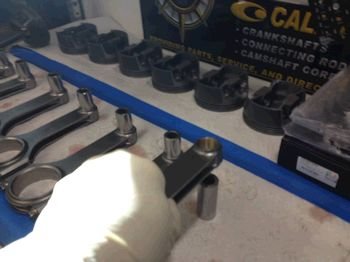
Also I check the pin fit. It the pin slides out of the
rod with only gravity assist then it's good. |
 |
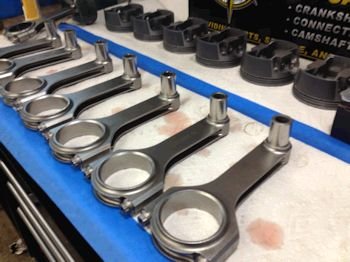
This is an Eagle 4340 steel crankshaft. It's balanced to
1803g for the Eagle H-beam rods/King bearings/Mahle pistons. |

Rod journal is 2.0990" and mains are 2.4491" |
 |
Rod bolts @ 63ft-lb
(.006") stretch. This gives 0.0025" clearance with
the premium King CR 807XPN rod bearings. |
|

After completing the additional clearance/grinding I washed
the block thoroughly with a mix of hot water and simple purple
then dried and oiled it.
|
This is a photo showing the ultra premium main bearings by
King. The MB 557XP (tri-coating). |

Here the mains are on the tight side of the spec. This
will be good for sending more oil pressure up to the rod
bearings. It's a tad tight for all out race motors or forced
induction but good for street performance motors. |
Mains are at .0015" #1, 2, 3, 4 and .0025" for the
#5 |
 |
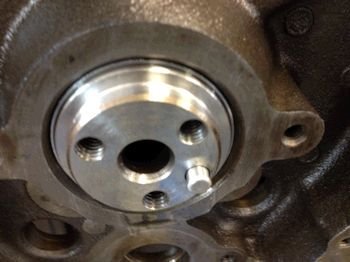
The 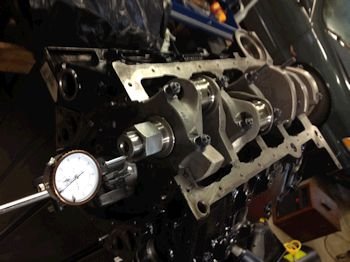
The crank end play is .006" |

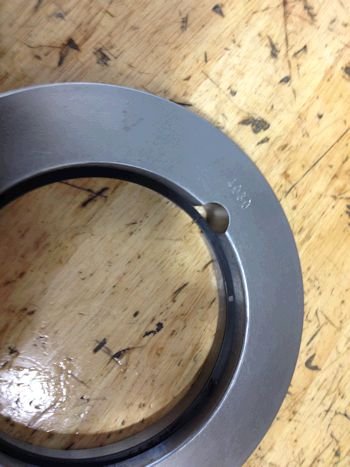
Installing camshaft bearings. Durabond premium. |
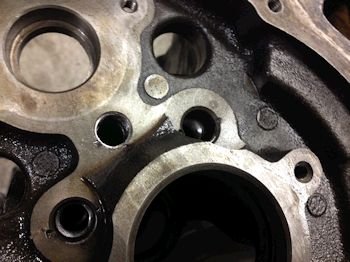
I pulled the rear main cap off because I realized I did not
install the oil galley plug. Better late than never.
Re-measured the crank end play and verified at .006". |

Lloyd Elliott camshaft. .580/.593" lift and
223/231/112 duration at .050"/lobe separation. |
 |
Just now noticed that Comp put the wrong cam pin in.
This is the standard SBC stubby. |
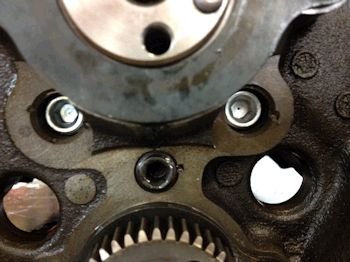
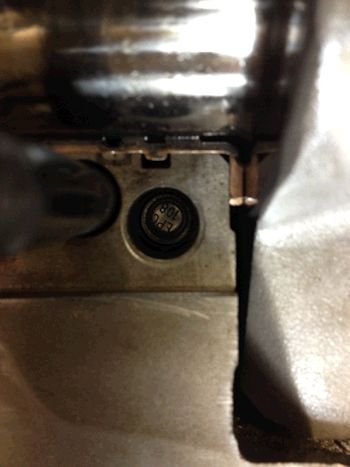
Photo verification of oil galley plugs. |

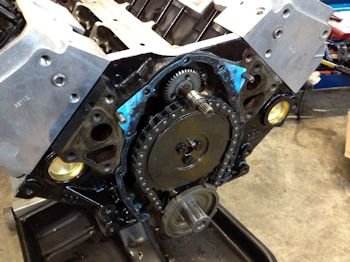
Nice timing set. This is the Cloyes extreme. |
Thankfully I have a premium pin pulling tool. Had to get
this due to Comp Cams short pins. (I'd say every 5th
camshaft will have the short pin). |
 |

Short pin shown on the left. New stock long pin
installed and looking good. |

Camshaft degree check. Here I'm dialing in TDC. |
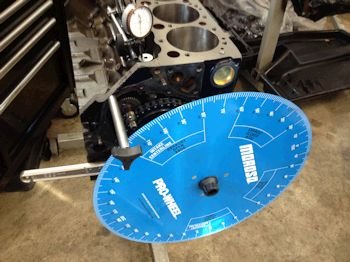
Now looking for Intake Centerline. |
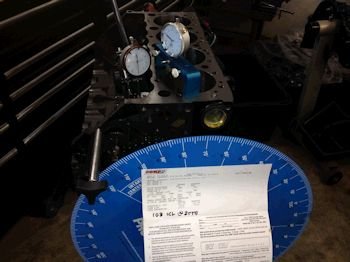
I measured 108.5 ICL on the 1st try and 107.0 ICL on the 2nd
try. I'll call it 108. That is exactly as stated on
the cam card. |
 |
 |
File fitting of the Mahle 1mm ring pack. I went with a
gap that is between the perfromance street gap setting and the
circle track/drag racing (Naturally Aspirated) gap setting.
.020" 1st ring and .020" second ring. I use my
bore gauge for the quick check with the feeler and then I verify
that with the ring in the actual engine bore. |
 |

All pistons are .012" in the hole. I try to
minimize the block decking so that the intake manifold fits
better. In other words...I usually do not "zero"
deck a block. |
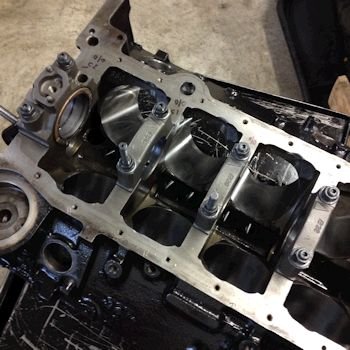
0.022" rod side clearance. |

Rod bolts clear the block. |
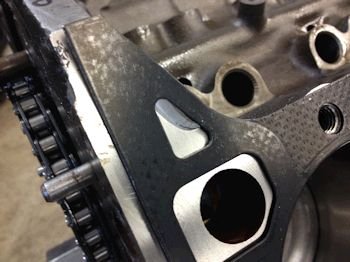
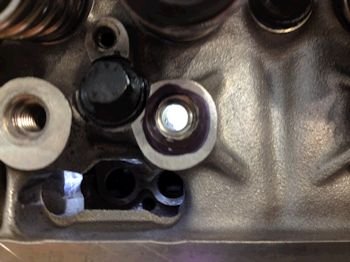
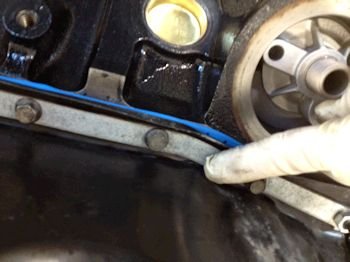
Here is the left front of the block where the Mr. Gasket and
the Cometic head gaskets do not allow for oil drain back. I
clearance in this area as a matter of routine. |

Mr. Gasket head gasket. (.026"). |

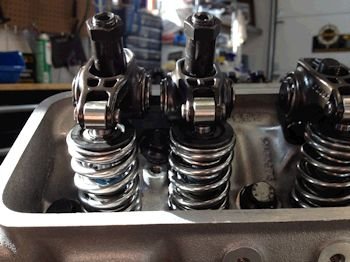
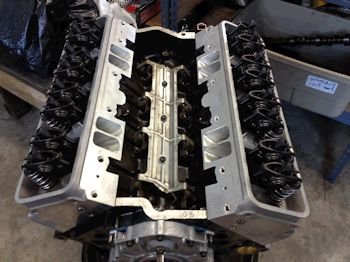
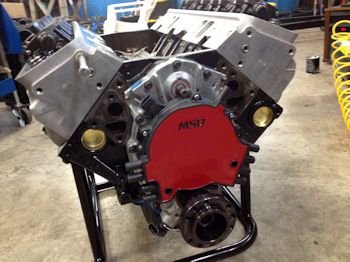
LE Heads |
 |

LE2 head on and head bolts torqued to 70ft-lb |
 |

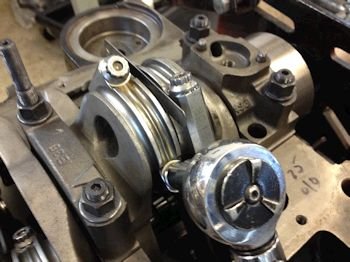
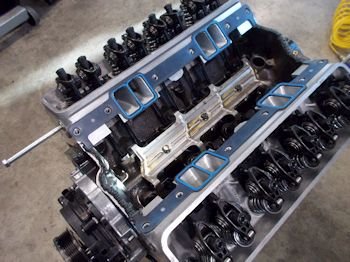
A few valve train components. Note the adjustable guide
plates. That will allow for exact rocker tip alignment over
the valve tip. |
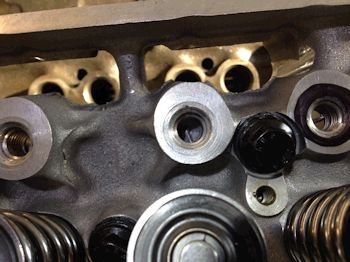
One head had the thread inserts installed too shallow.
The bottom tang interfered with the rocker stud. I ended up
threading them down a few turns and also knocking off the tang if
it poked into the intake runner. |
See here: Thread insert tang might one day break off and
fall into the cylinder. |
Here is a photo after breaking off the tang. |

Rockers on and guide plates adjusted. |
 |
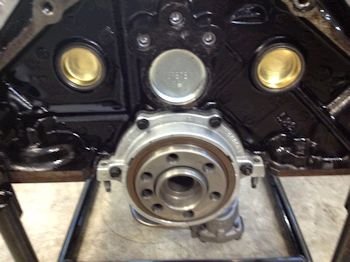
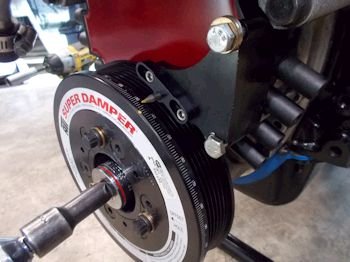
Reluctor on for proper damper spacing. Gasket gooped with
Right Stuff RTV.
|
Please excuse many of the out of focus photos. This is
an old iPhone 4S taking the photos. My newer phone is
broken. |

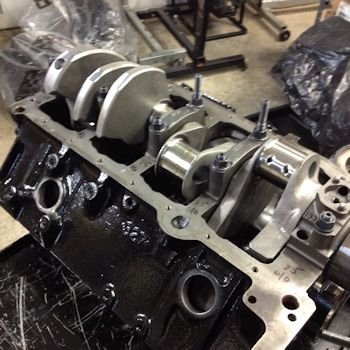
Lots of bending "up" of the windage tray. The
Eagle rods have rod bolts that protrude more than most brands.
|
 |

From this photo you cannot really see the windage tray clearance
hump. I use the stock windage try for all engines. I
don't trust the built in trays of oil pans. Here we are using
a stock pan and so this tray is a must.
|
Rockers all adjusted (1/2 turn past zero lash). |

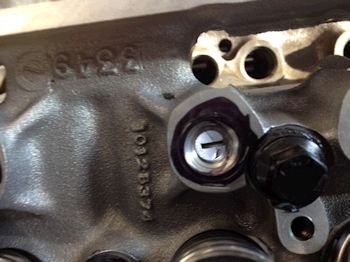
A photo for the records to show the head numbers.
|
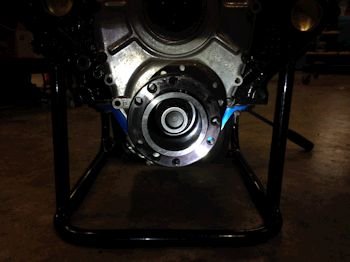
Rear main seal housing being centered prior to full torque of
the bolts. It's .004" feeler space at each of the 3
locator tabs. |
|
Oil pan test fit. #7 rod bolts hit at this spot. I
dimpled it with a hammer. Also dimpled the front bottom of
the pan for #1 & #2 rods...(not shown). |

POR-15 pain applied to the pan.
|
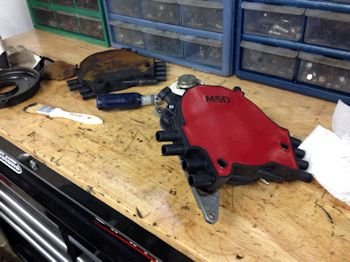
MSD cap and rotor installed. The old core opti was very
dirty. I decided not to pre-wash the core opti in case fluid
made it's way inside and messed up the optics. I just hand
wiped the core parts after assembly. |
|
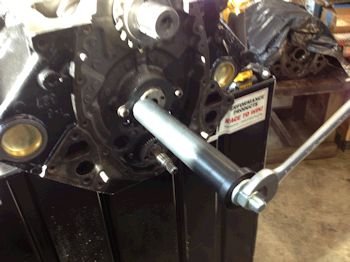
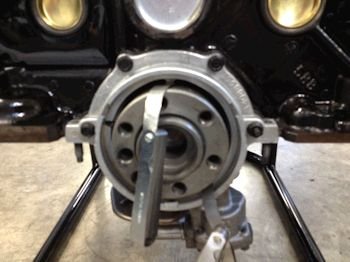
OK now I have a
slight snag. The ATI hub is binding during press-in. I
stopped for today and will be back at it tomorrow. |
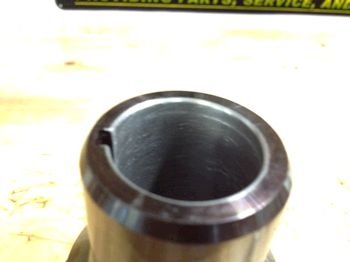
Turns out that I needed to hone the ID of the hub. It was way
too tight as an interference fit. You can see the remnant of
the line where it was being gouged by the crank nose.
|
The hub pressed on nicely. The crankshaft bolt you see is
the ARP 1-1/16" 12 point. You'll never slip your wrench
off of this crank bolt. You might be frustrated one day when
you find out you don't have a 1-1/16" 12pt socket and have to
go to the parts store or Lowe's to buy one. |

ATI hub for B-body. It is quite long. Easier to install
the opti though. An F-body hub is so short that it may be
difficult or impossible to install an opti with the hub on.
|

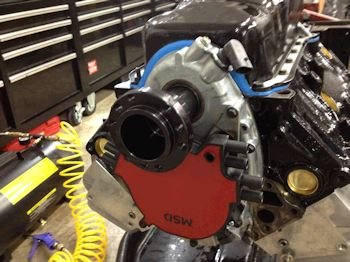
One thing I know about the MSD cap and rotor kit is the 4th
fastener (good idea) will bump into the timing cover and not allow
a complete seating of the opti. I simply grind down on the
back of the fastener here you might see it in the fuzzy photo. |
Opti on without binding.
|

Oil system test. Satisfactory at 58psig and oil dribbles at
the pushrod-rocker. |

Don't forget the oil pump drive gear...(it goes before the intake
manifold HA!). Here I simply swap gears onto the old core.
|
That's it for
today. Engine goes to the dyno in a few days. Stay
tuned. |
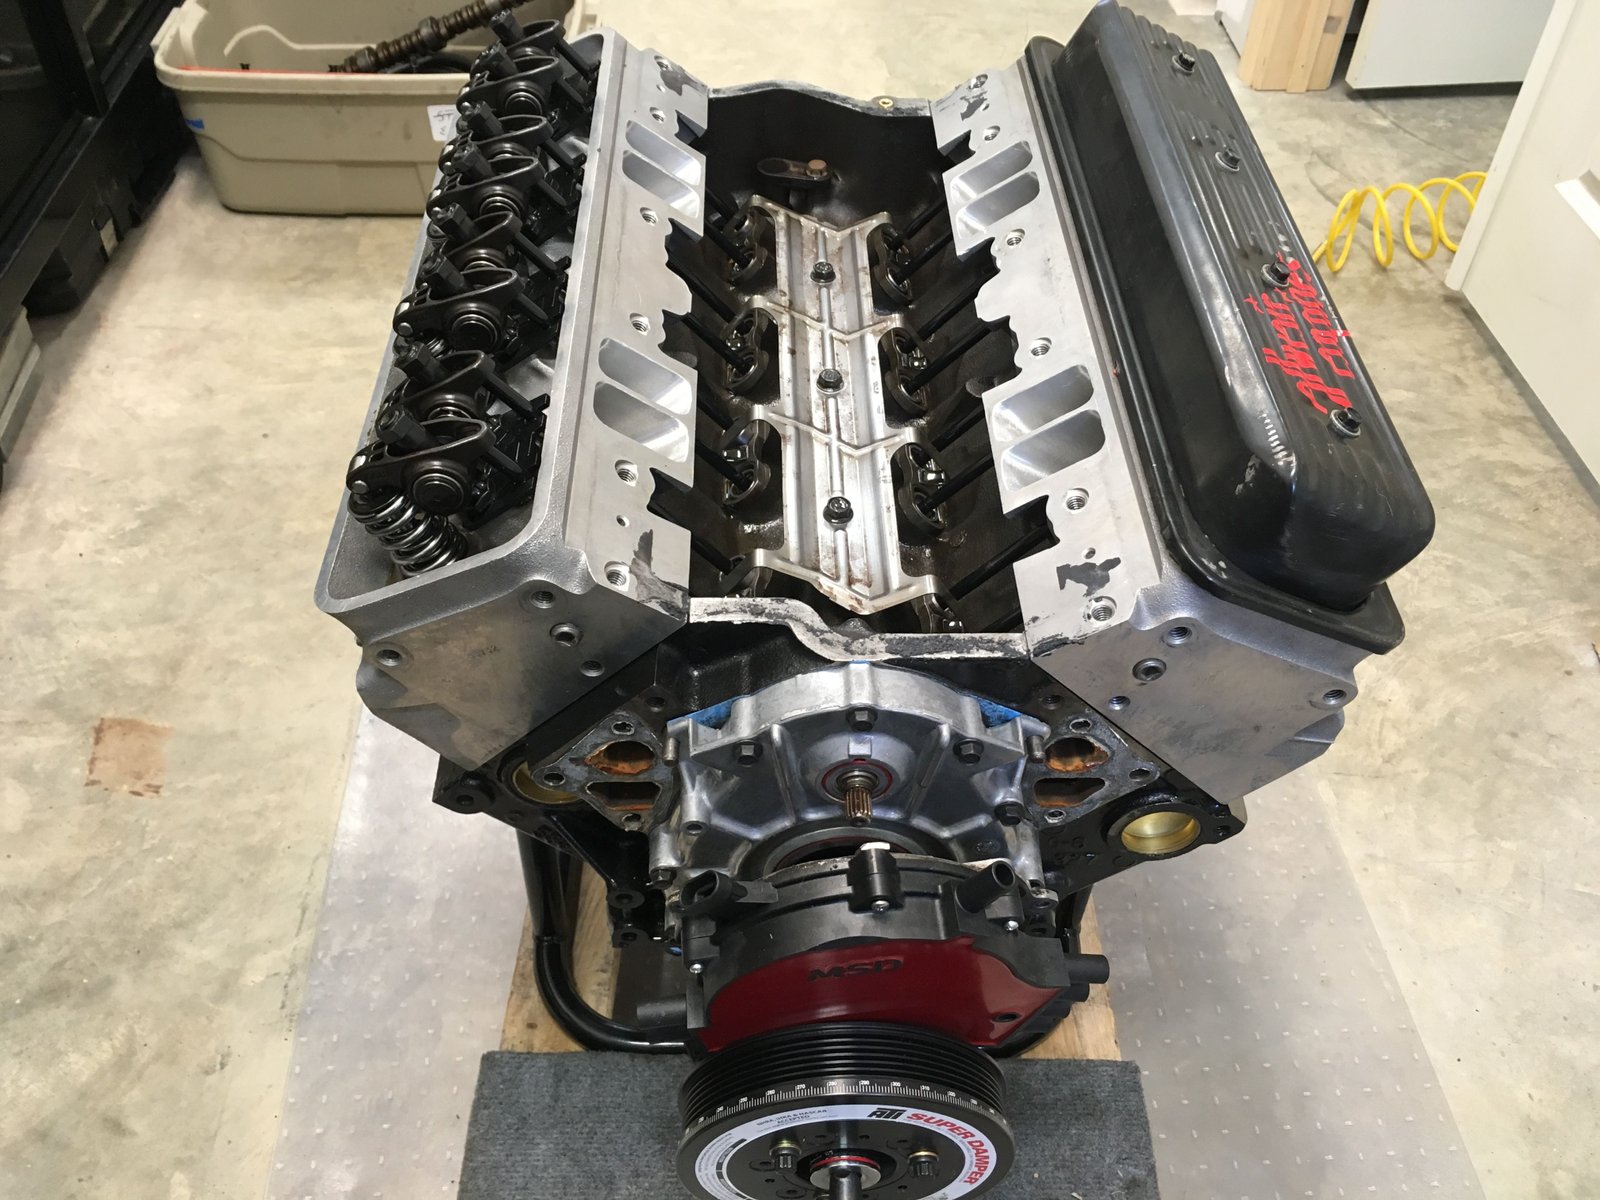
Here are the dyno only parts and the process to get the engine
ready for the engine dyno. Right now I use a carburetor so the
GMPP manifold is installed. In the near future I plan to use
an EFI system and the customer's manifold.
|
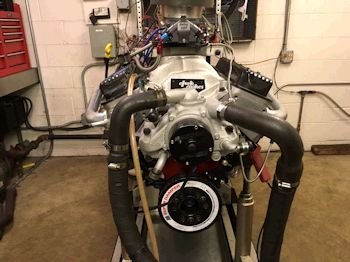
GMPP LT1 Carb manifold. |
Now a jury-rigged timing pointer is installed and TDC verified
via piston stop method.
|

An MSD distributor is installed at about 37 deg BTDC. |

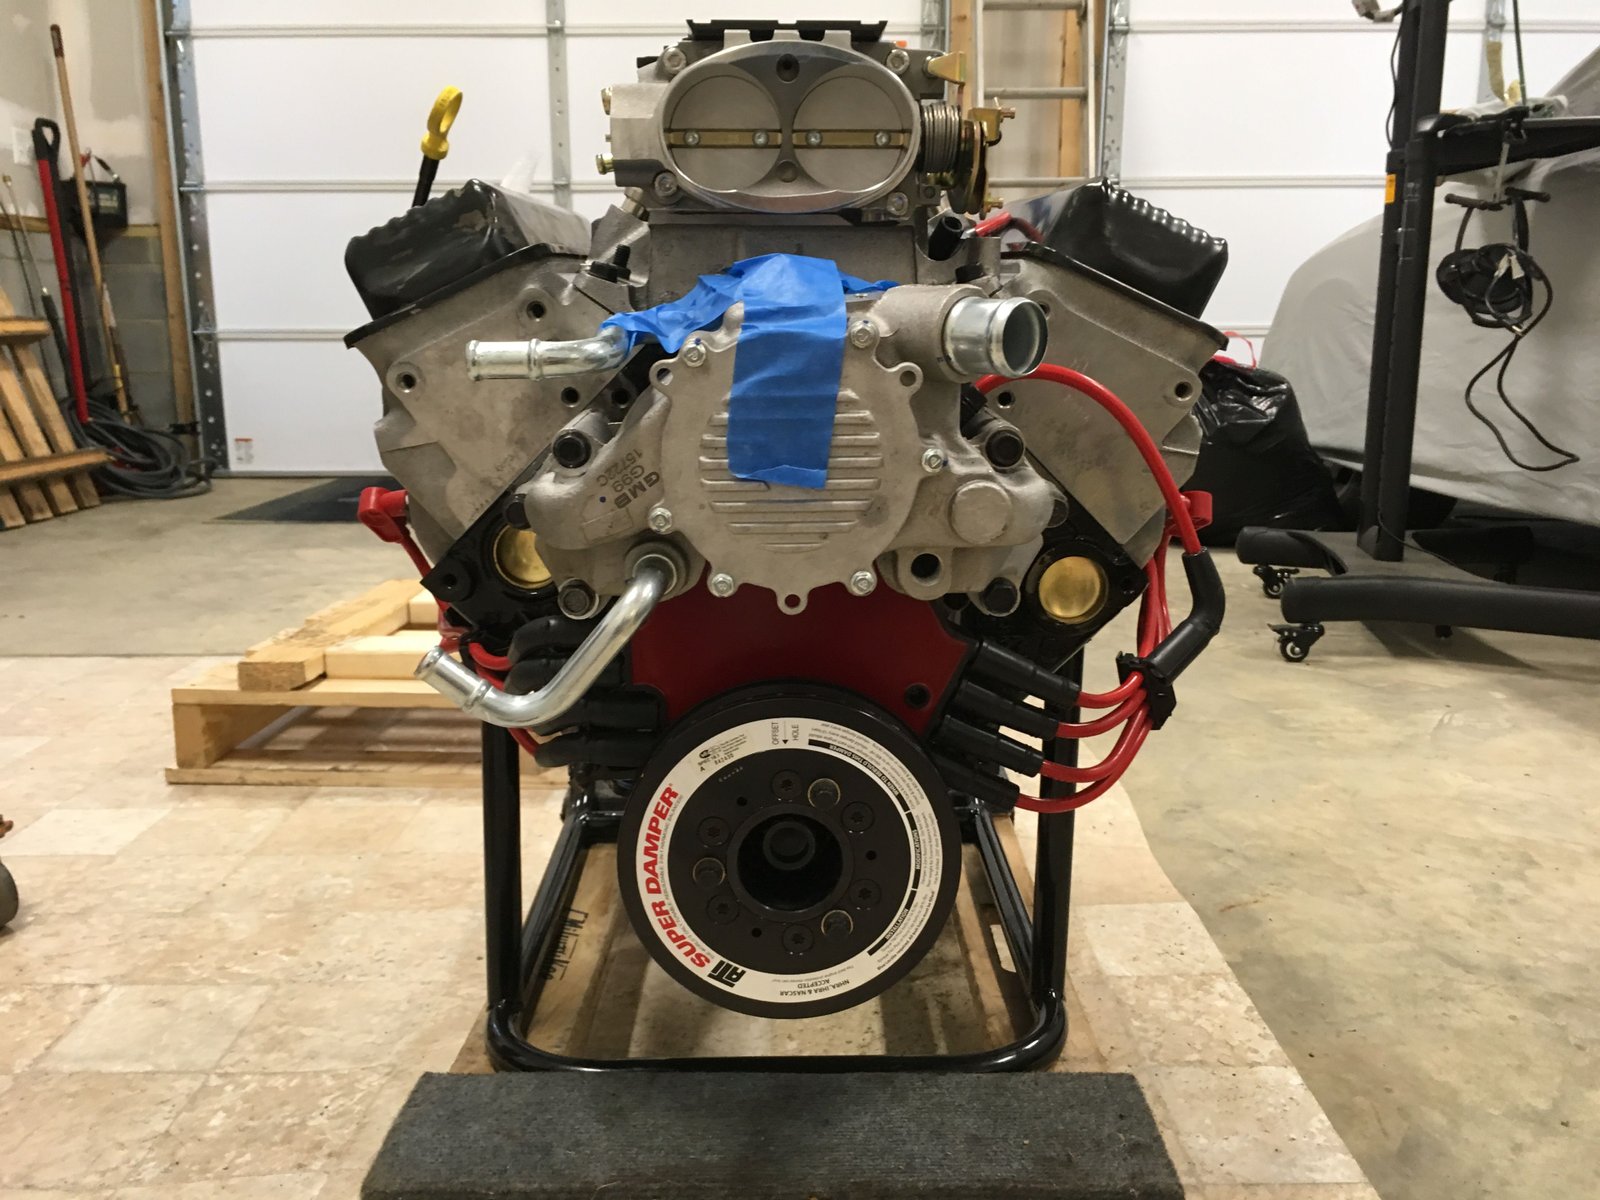
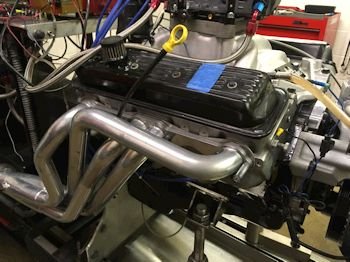
Customer valve covers cleaned up and installed.
|

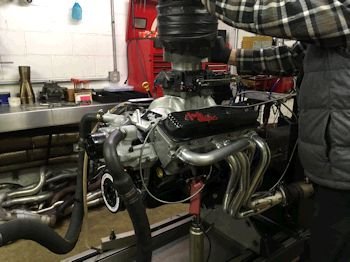
My CIA headers installed. The carburetor is at the dyno
shop. I use an electric water pump for the dyno
session. Stay tuned for the results. |

Here we are at Morgan Racing Engines with Jim Morgan. It's
about 15*F outside and 40*F in the dyno room.
|
The dyno cell draws air from the adjacent large shop, (to give
cooler air when it's hot out). But now it's good to be
getting somewhat warmer air. |
|
 |
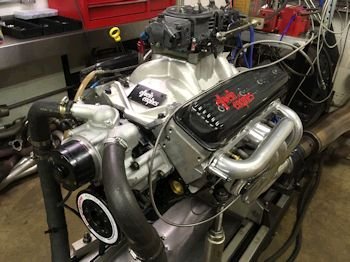
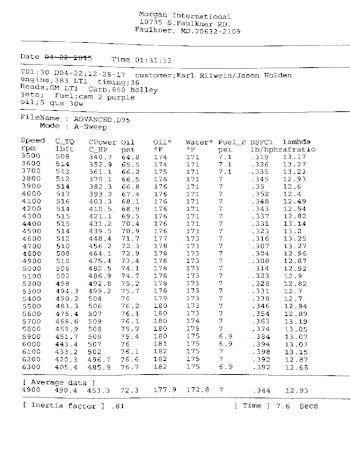
509 hp @ 5700 rpm and 517 lb-ft @ 4000 rpm. Check the
chart. The cold air made it a tick on the lean side but that
usually makes for good power. ;)
|
 |
|
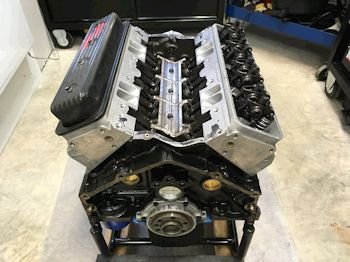
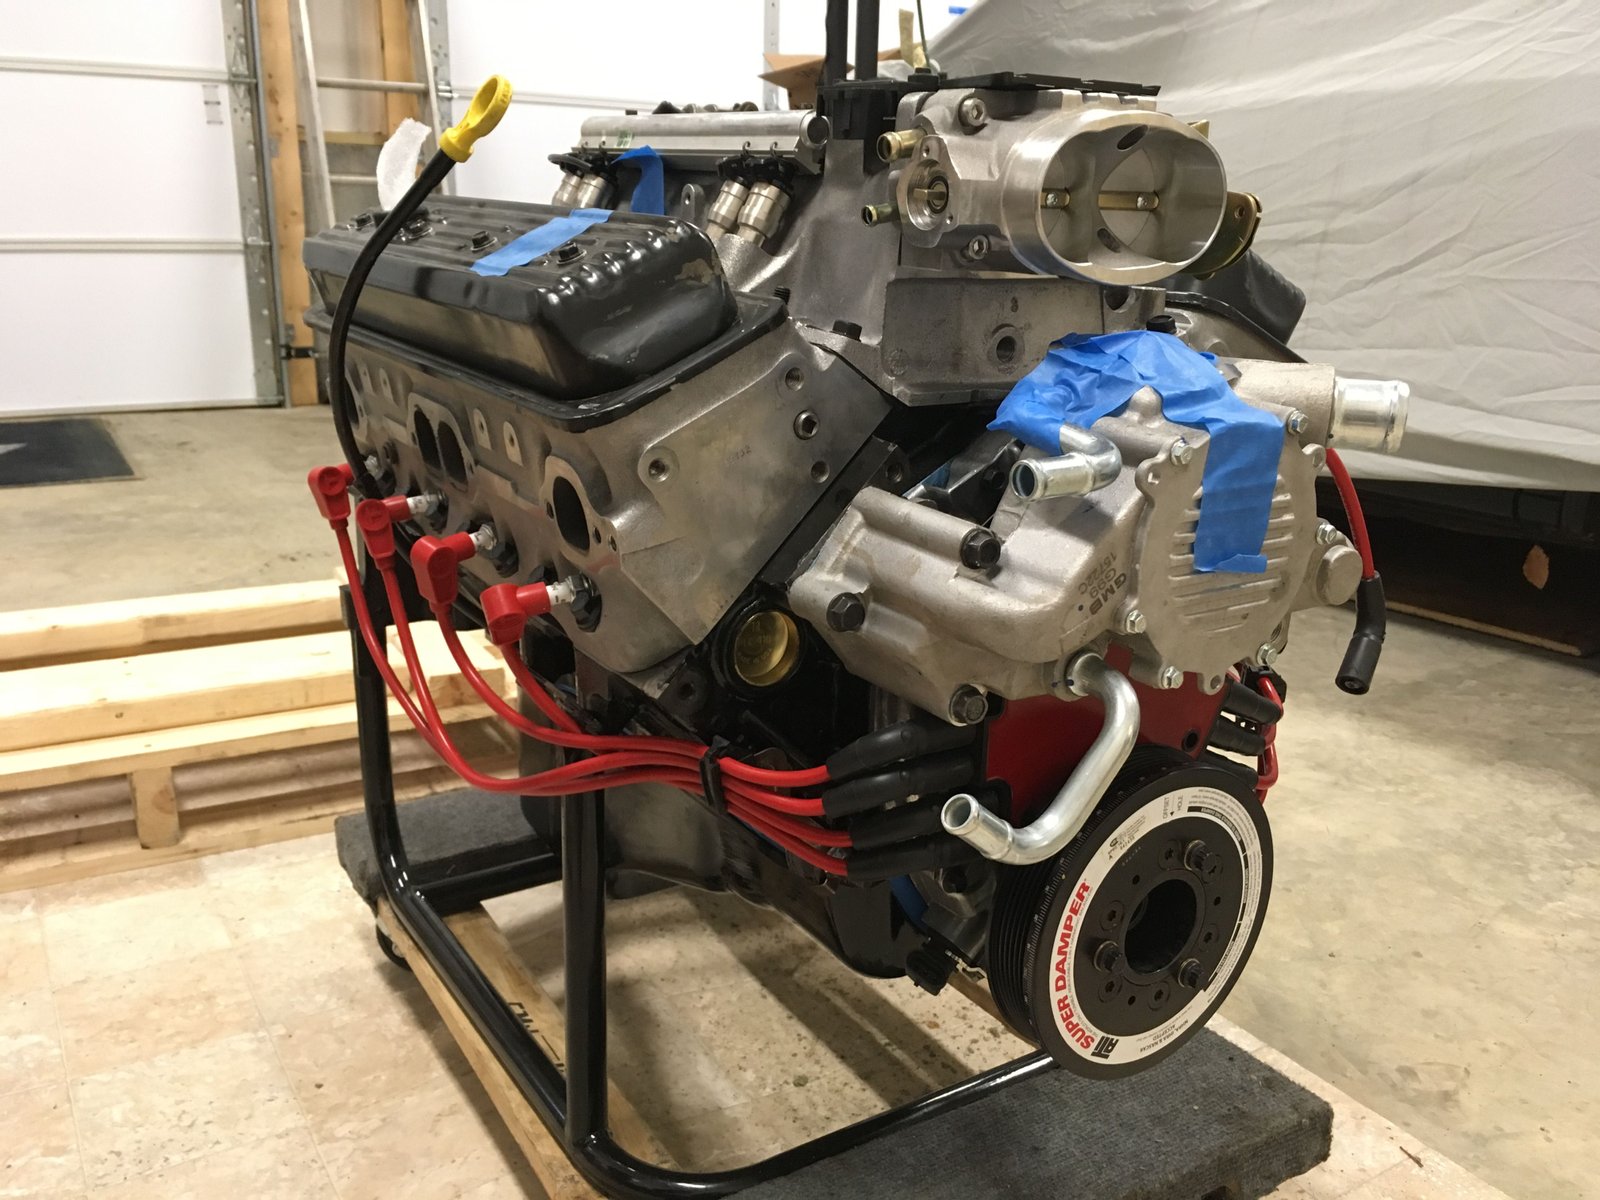
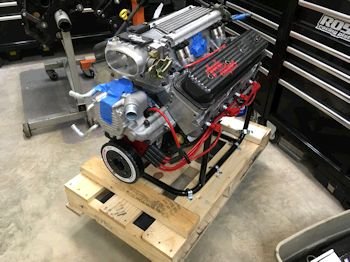
Now the engine is undressed from the dyno parts and along with
that it receives a minor visual inspection. Intake valley
looks good. Rockers look great. |

|

I collect the oil in a clean tray and let it sit for a while
to look for metal or water. This dyno oil looks great! |

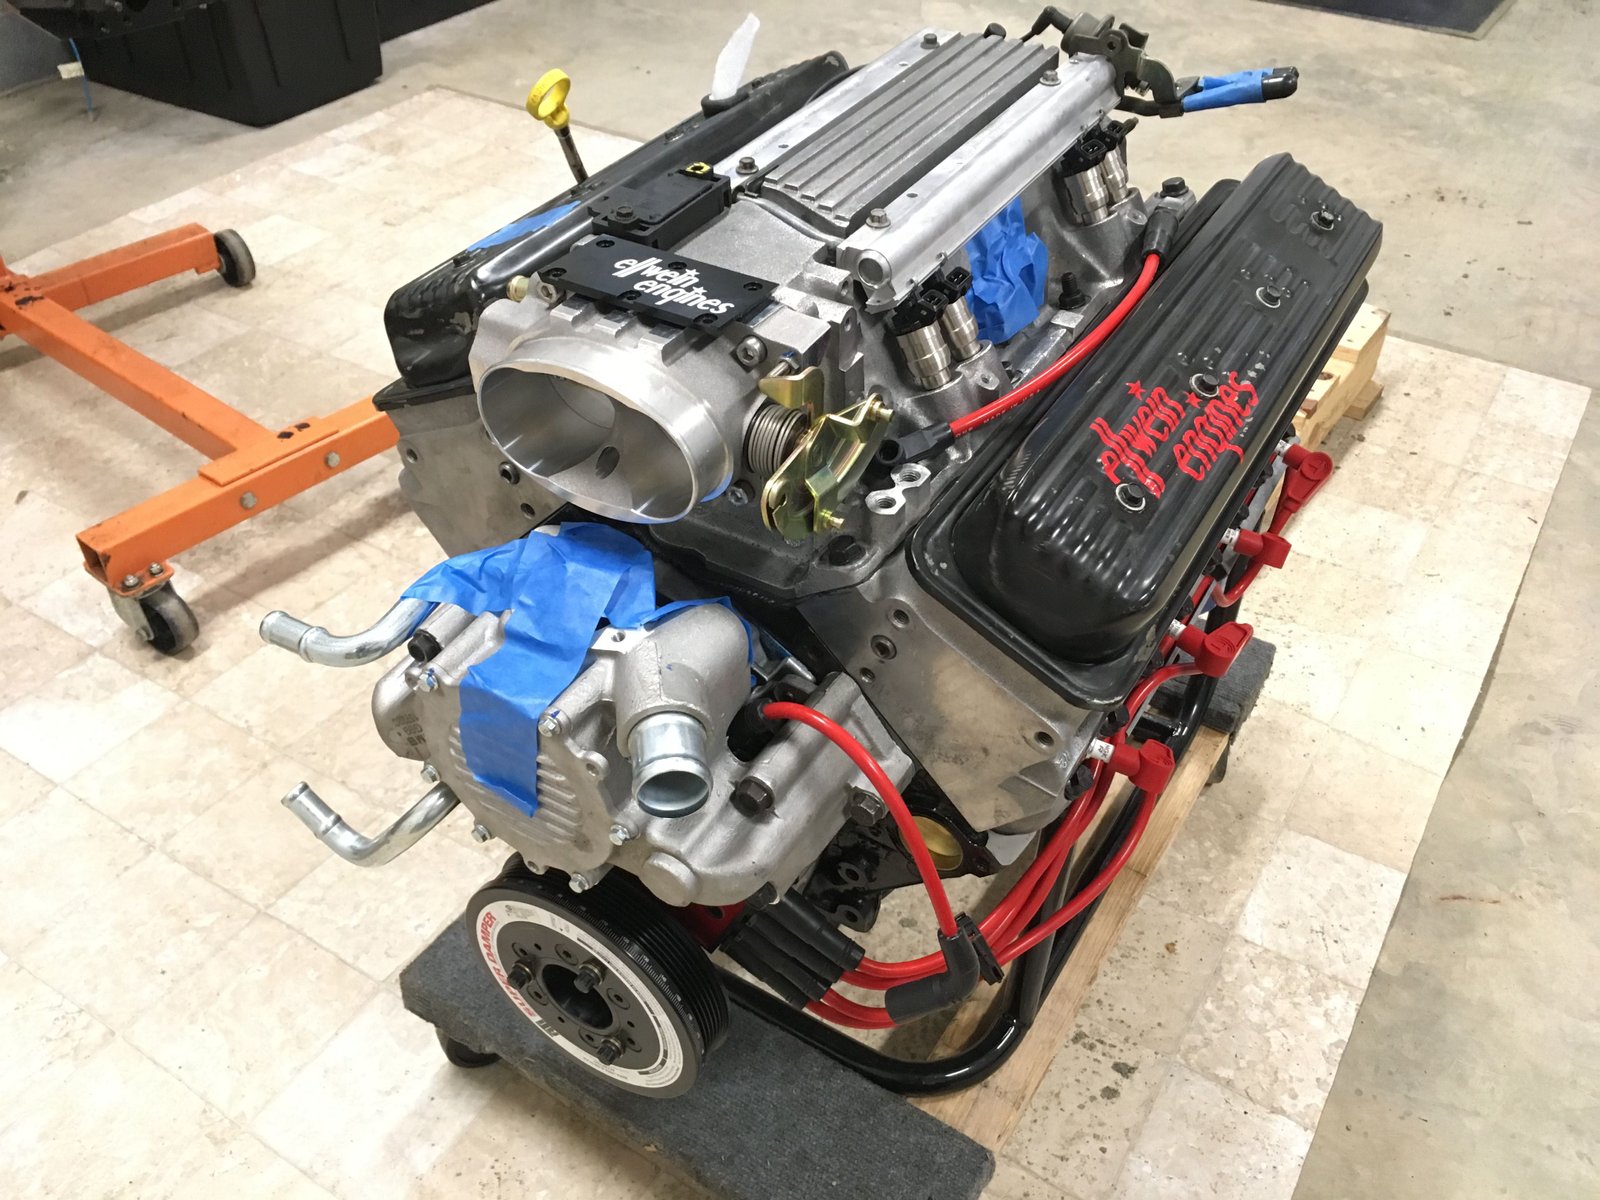
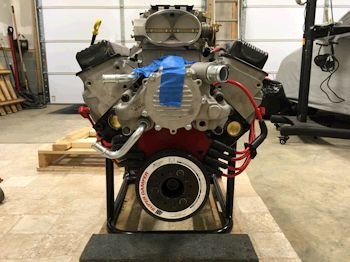
Installed some of the owner supplied parts such as a TFS
throttle body and TFS 30lb-hr injectors and AC-Delco water pump with
160 T-Stat.
|

Taylor wires. Nice fit. |
|
 |
|
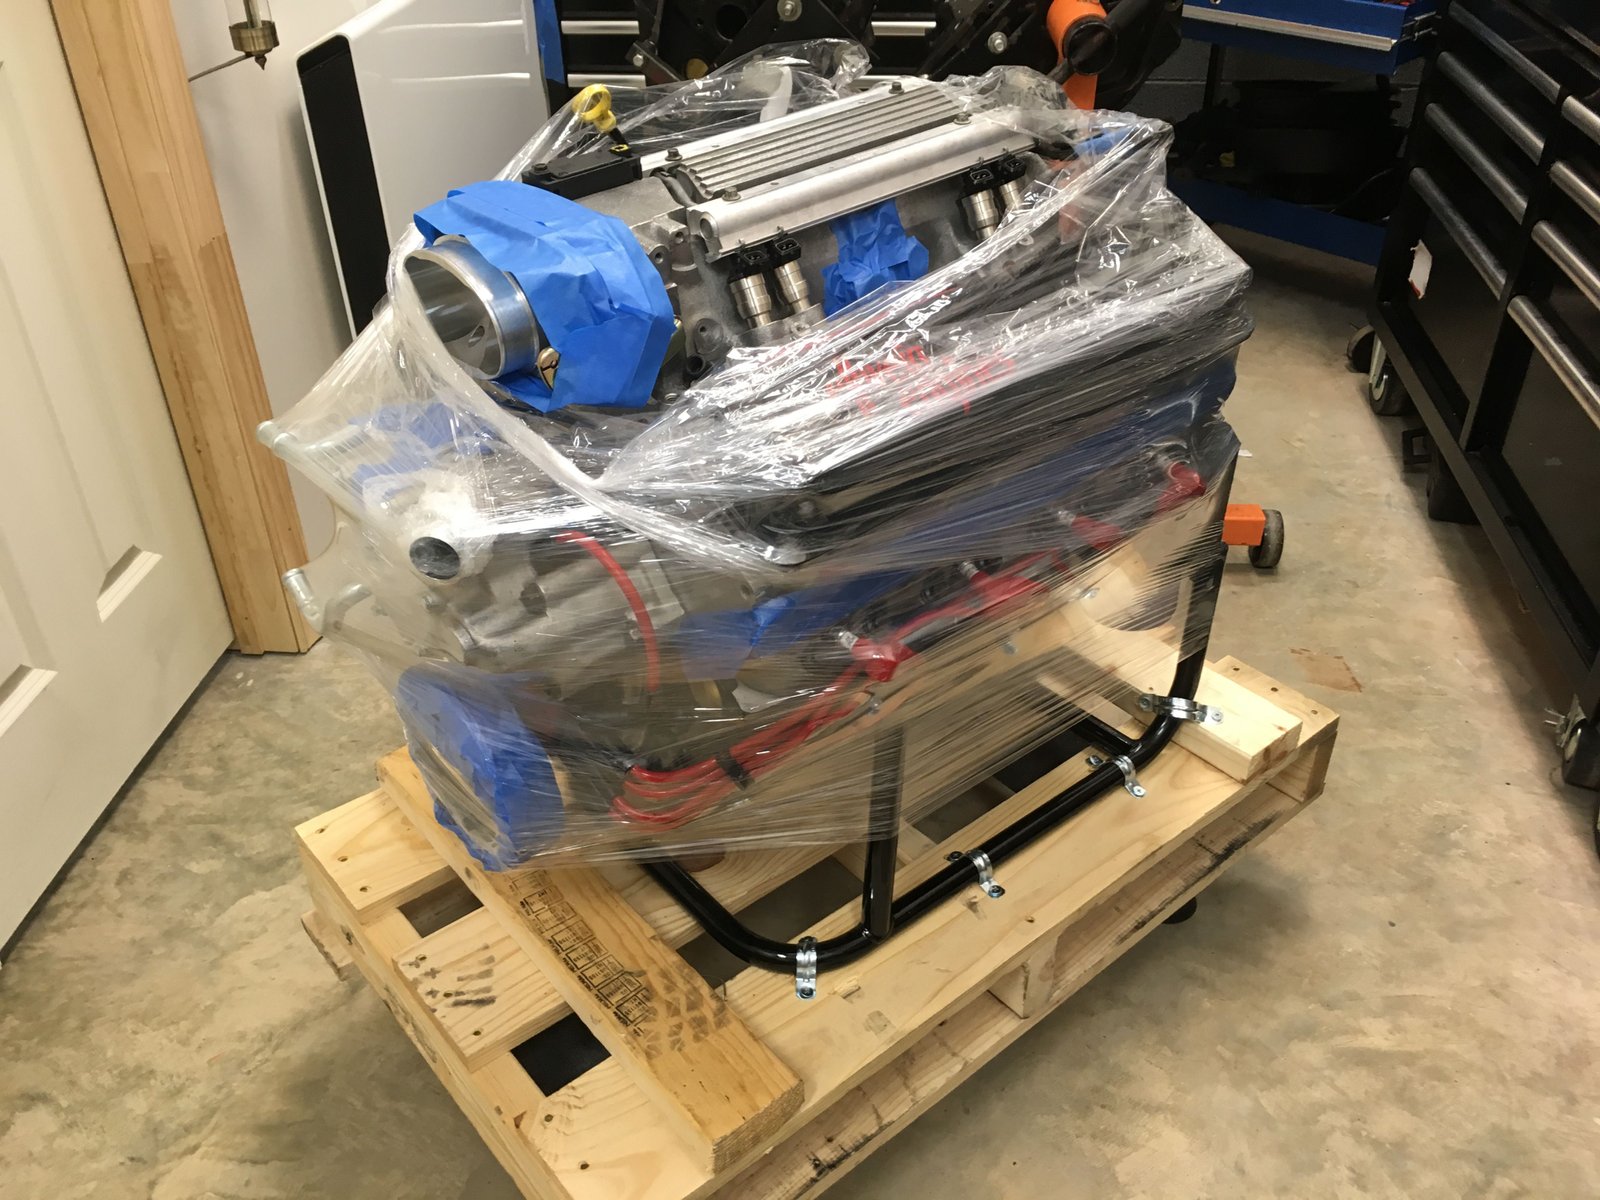
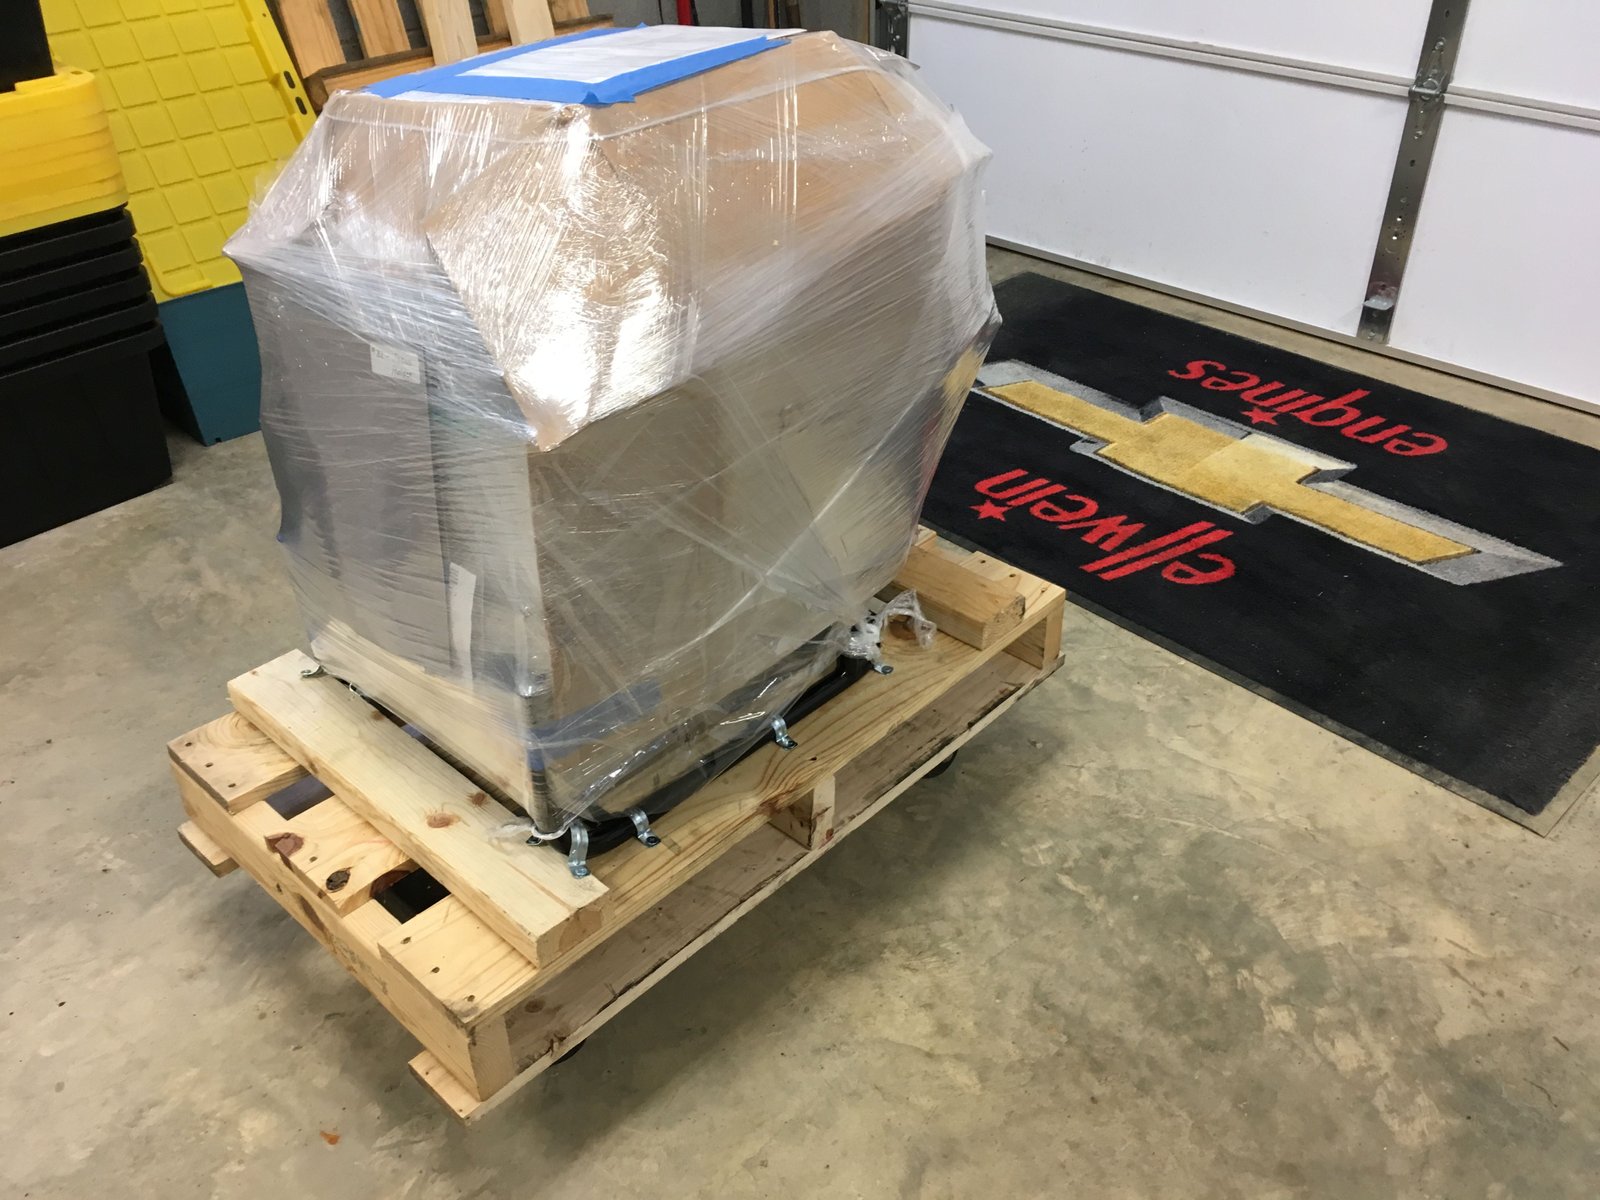
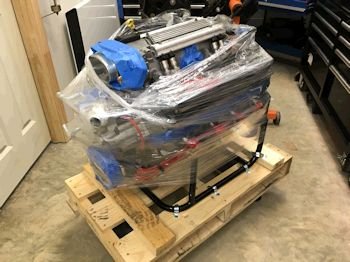
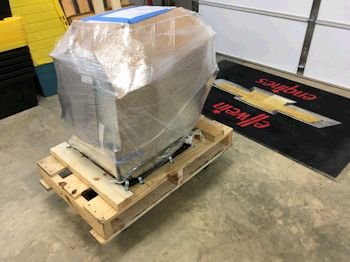
I have the motor
bolted down to a pallet but still need to get a sturdy box to cap
the engine and then wrap it up and ship her down the road to
California, USA. |
|
Ready for shipment. |