Fresh off the boat from LonGuyLan |
 |
 |

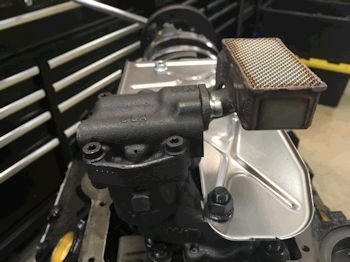
PHOTO to the LEFT: I made sure to clean around the
intake prior to removing it. The manifold is nicely powder
coated in an aluminum color. With the intake removed I can
see all looks quite normal inside. We are searching for the
reason #6 cylinder has no compression. (and there is an occasional
funny valve train noise). |

#6 intake runner looks OK. |

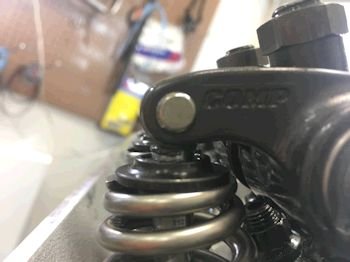
Each rocker is set on the valve tip like this. It is
unusual to me but the engine had run quite strong with this set
up. There are no unusual marks or wear. |
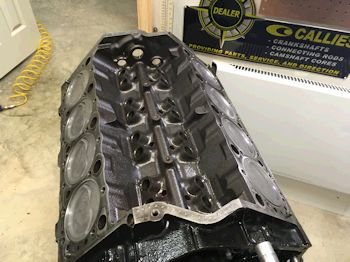
Here is the passenger side head directly after removal.
I did not immediately see something.... |

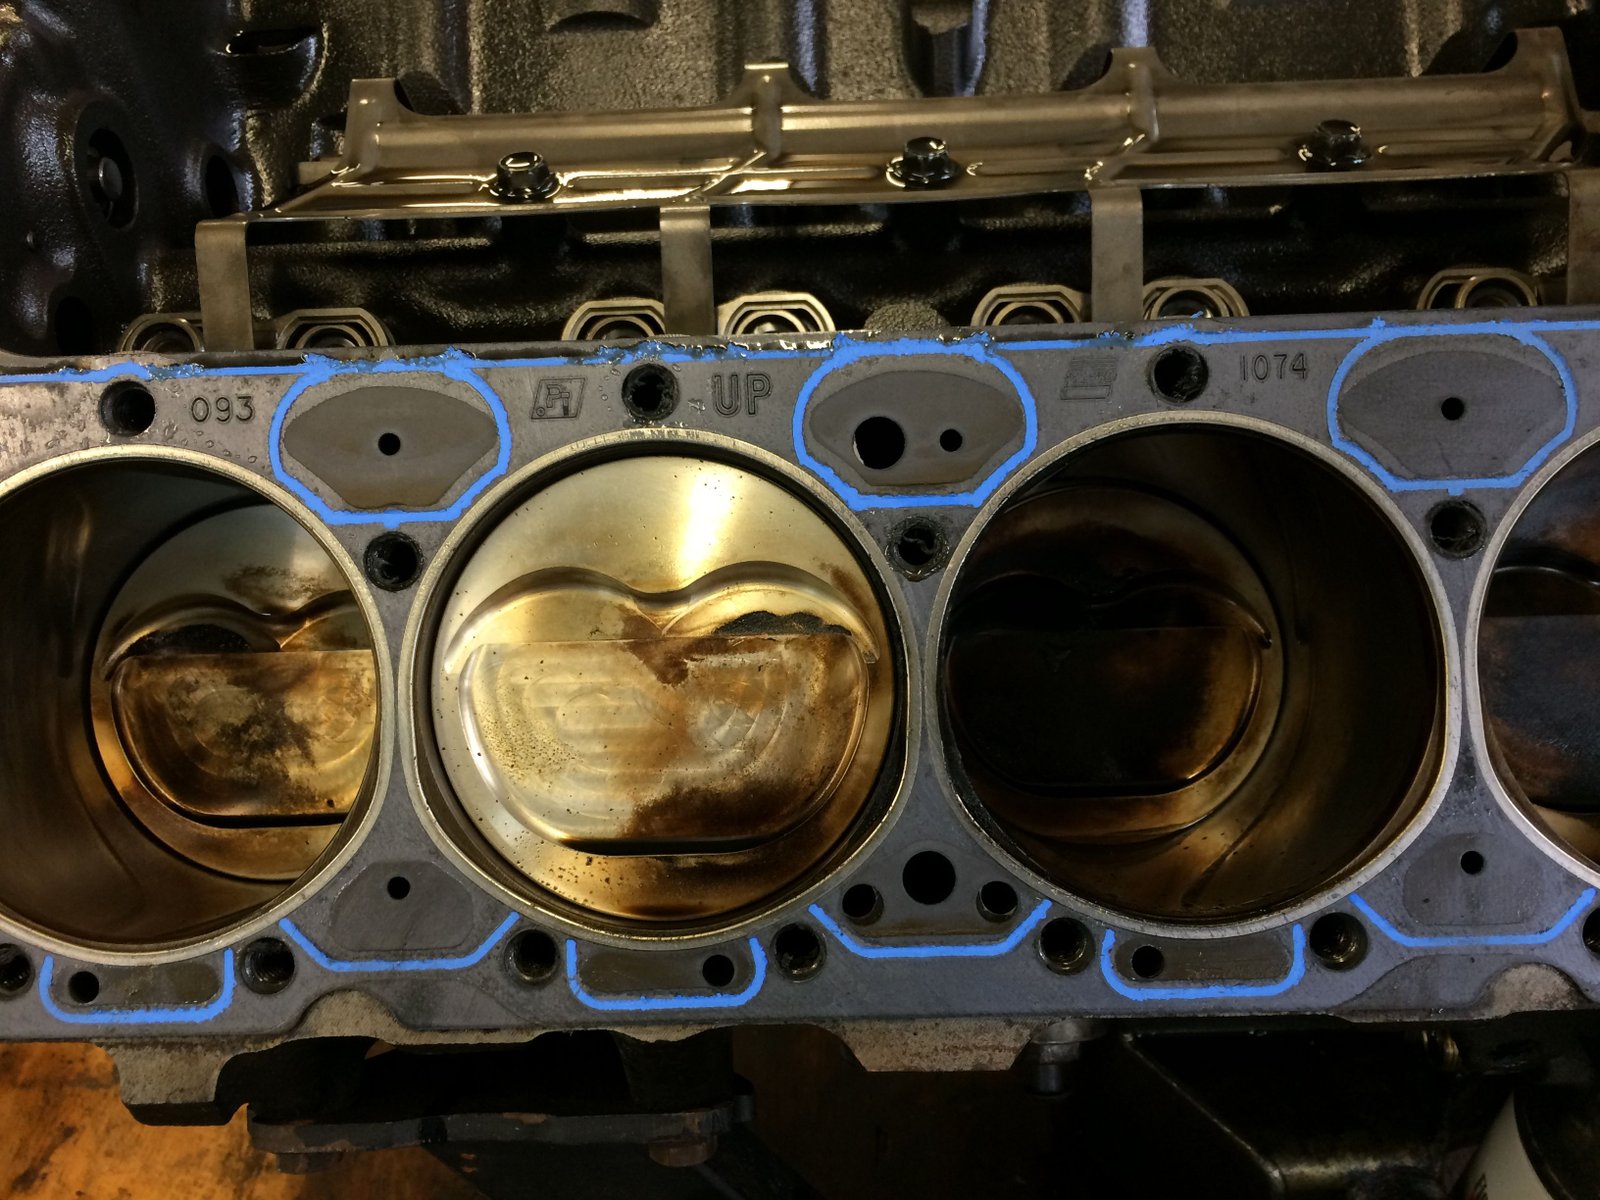
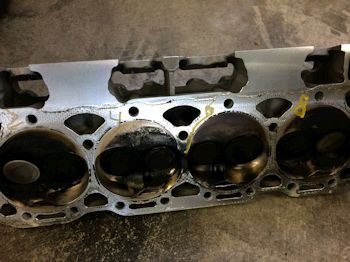
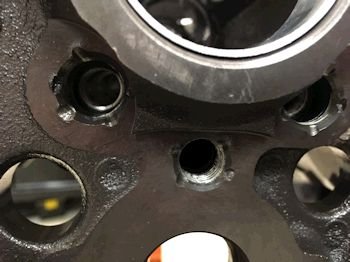
And here is the block. We are looking at #6 cylinder in
the center and #4 to the right. |

Driver's side head, (looks normal). |

Driver's side block, (this side has a FelPro 1074 gasket due
to a past repair). |

Back to #4, #6 area of the block, the head gasket was burned
through. |

The head is gassed-off in between #4 and #6 cylinder.
This is the mechanical problem. How did it happen?
That is the big question that needs to be answer so this does not
happen again. Could be a simple answer such as a blown head
gasket due to over heating. I see no signs of detonation. |

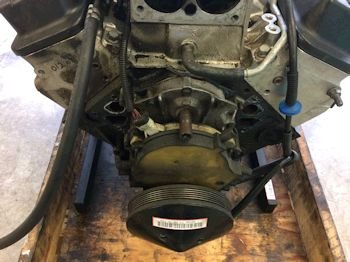
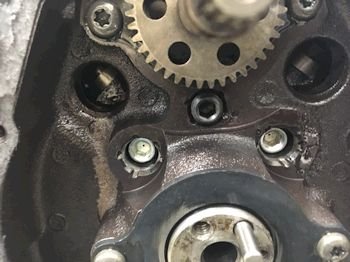
Oil pan blue gasket debris...It came from the oil pan gasket
getting chewed up by the rods. No-harm-no-foul.
Also to the right is the as-found
conditon of the oil pump shaft. This is unusual. The
pump was still pumping so we can call this
"no-harm-no-foul". |
 |

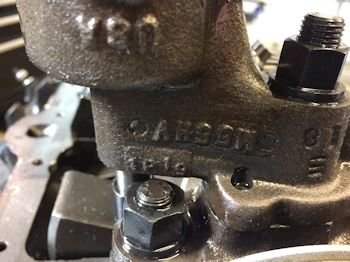
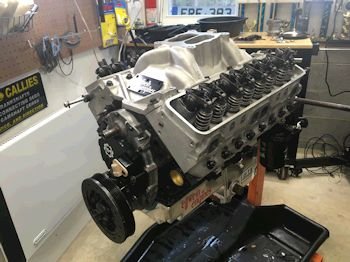
A very stout bottom end. Callies billet caps, Extreme
timing set, Billet or forged rods of some unknown brand, SRP
pistons, Callies steel crankshaft. |
 |
Melling HV oil pump with ARP oil pump stud. |

All pistons and rods removed. Rod bearings are in pretty
good shape. |

Rod journals are not in the best shape but not so bad that the
crank cannot be polished. |
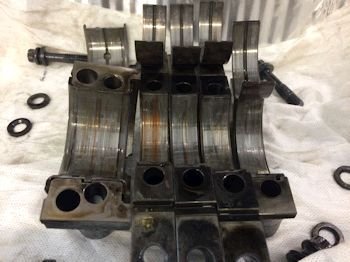
Rod bearings not so
good. Nothing that a crank polish cannot fix. |
 |

Camshaft bearings are in perfect shape.
The cylinders look pretty good too.
The plan is to have the block check out and honed. Then
order Mahle pistons with 1mm ring package. Also have the
head repaired or replaced and the crankshaft polished and
balanced. |
|

Howard's Billet I-beam rods, 5.850", 2.100" rod
journal, good condition. Part # HRS-BR5850, $850 at set if
purchased brand new. Contact Bill DeBlasio if interested in
purchase.
|
 |
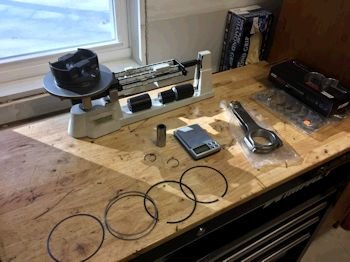
Crankshaft bob-weight is new 1725g
with the lighter piston and longer 6" rod. Everything is
lighter in this set up. The crankshaft is next in line at the
balance shop.
|
 |

Block cleaned up. Before that I took the opportunity to
grind away the sharp edges.
|

New cam bearings installed. |

New oil galley plug.
|

Freeze-plugs. |
Lately I have threaded every block for screw in galley plugs
weather they have electric water pumps or mechanical. The big
block Chevy oil galley plugs have threaded plugs with oil holes and
so I'm using them in all of my LT1 builds.
|

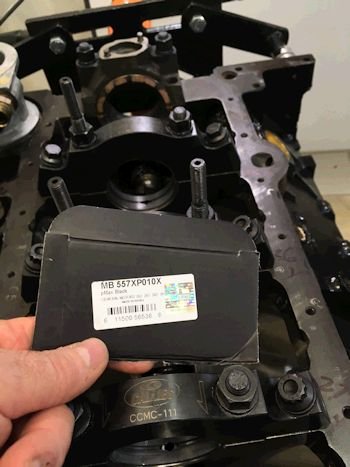
Mahle -18cc pistons (#930211240) mated to Compstar 6"
rods. |

Ring gap calculated for up to 200hp nitrous, (although Bill just
has a 100hp set up). This is in case he wants to up the
nitrous later. Top ring a .024"
|

The top rings is 1mm made by Mahle. |

2nd ring at 0.020"
|

All rings installed. The oil ring is 2 mm |

I don't have the crankshaft yet. It required a re-grind
and re-balance. The previous builder made the neutral crank
"external" for some odd reason. The crank is being
balanced neutral by filling in all of the rear counterweight holes
and adding mallory metal.
|
While we wait for the crankshaft: I installed all of the
piston/rod combos for the heck of it. I'll need to remove
them later to check rod bearing clearance. |

I have not cc'ed the heads yet to know the chamber volume but
I'm guessing 54cc. That gives 11.10:1 static compression ratio
with these 4.040" pistons, 18cc D-dish, 3.875" stroke and
.039" head gasket.
|

See the Ai heads on the bench. You might notice heads
studs laying there too. (these are used). I have a set of
head studs on order. |

Might as well check a few things now while I have the time and
we wait for the crankshaft. Here are the thread-in oil galley
plugs. I installed the Ai camshaft too.
|

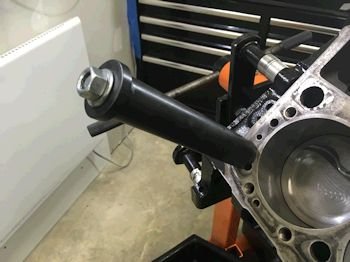
Recently I've had 2 camshafts where the nose was not ground to
fit the opti shaft. The TorqHead uses a duplicate of that
shaft to ride the cam. I want to make sure it fits
well. Sometimes the cam pin is too long. Here is the
test fit. |

Perfect fit. TorqHead now has a billet housing and it's
made with many improvements. I noticed they made the cam pin
slot deeper, (to allow for cam pins that are slightly too
long). Paul de Boer has the TorqHead system refined to
perfection.
|
Now let's think about
the valvetrain.
I installed 6 head studs and snugged a head down on the FelPro
1074 gasket to check pushrods and geometry. |

This is the current set up with raised pushrod guide plates.
|

The rockers ride the valve tip way off to the side. It
worked for many years like this. |

Here is a Manley guide plate #42355
|

This lines the rockers "almost" dead center to the
valve tip. |

The Manley guide plates have no wiggle room in the stud.
Many other guide plates allow for a tiny bit of movement under the
stud until torqued. I'm thinking this is a good thing, (the
tight fit).
|

I enlarged the rear main oil hole just a bit. The
performance bearing oil hole never lines up well to the stock
block journal hole. |

Look closely and you'll see.
|

Silly photo of the rod/piston installed with no crankshaft. |

|

Ellwein spec Stef's oil pan. 8" deep sump.
1/8" NPT fitting for oil return, (If you have a blower or
turbo). Also has a provision for the stock oil level switch
(or you can put a sight glass or oil heater in there). |

Test fitting to make sure the oil cooler adapter fits.
|
 |

|

57cc combustion chamber and -18cc piston with .040"
Cometic head
gasket gives 10.5 to one compression ratio. This is a bit
lower than previous combo which was 11.0 to one. |

Now the crankshaft has returned from a great amount of
attention. The main and rod journals were turned .010"
under. The crankshaft was restored to a neutral balance, (for
some reason the original builder made it an external and they
drilled a huge amount of holes in the counter-weights)
|

The Callies stealth crank is such a good piece. Strong
and stiff and durable. It was worth the $500 balance with
heavy metal and the $250 repair/polish. |

Measuring for main clearance. The Pro-Gram mains are the
best of the best.
I am getting 0.0015 with "standard" .010" under
bearings. Too tight. I have overnight delivery on a set
of .010X (which are really .009" under). That
should get me to .0025".
|
 |
|

Thrust is .008" and mains are .0025 to .0027 (#1 to
#4). The main thrust bearing #5 is .0035". That
is a large clearance but I think it is necessary for a performance
motor. |

Crank installed and ready for rods. I'll put the camshaft
in to make sure the rods do not hit the cam.
|
 |

Rod clearance at .0024"
|

One item that was changed for this combo was the rods.
Old rods were Howard "billet" and these are the Callies
Compstar H-beams. Wider at the bolt boss. They bump
the block. Tear down-grind-clean...... |

|
 |

|

Looking good......remember that I removed the oil galley plugs
in order to conduct a good cleaning. |

All pistons in and rods torqued.
|

New ARP head studs cleaned and ready for RTV for the threads. |
I was trying to put on the Cometic head gaskets and they would
not go over the head dowel pins. The old ones were nicked
up. Here is my pin pulling tool.
|

New dowel. |

Here is a photo of the left front valley area that I grind down
to allow for oil return. The Cometic gasket blocks it unless
you remove the material.
|

New Manley guide plates. I did not like the way the
other plates set the rockers on the valve tips. |

More assembly progress. Torque Head sensing unit goes on
before the hub.
|
 |

Here is the new shark tooth Melling 10552 pump. Cost a bit
more but this thing is silky smooth.
|

Custom oil pump pickup for fitting up to Stef's oil pan. |
|

Checking that the dipstick tube passes the windage tray
without problems. All good. |

|

Photo to the Left: Test fit of oil pan shows the crank
hitting in a common spot...back right corner. |

Pan ground down and now clears nicely.
|
I changed over to a 7.250" pushrod from the 7.200" |

|

Rockers at 1/2 turn preload. |

|
Getting ready for the dynamometer. The LT1 intake will
not be used. I use the carburetor manifold for trouble free
testing. One day when I have my own dyno I will test with
EFI. |

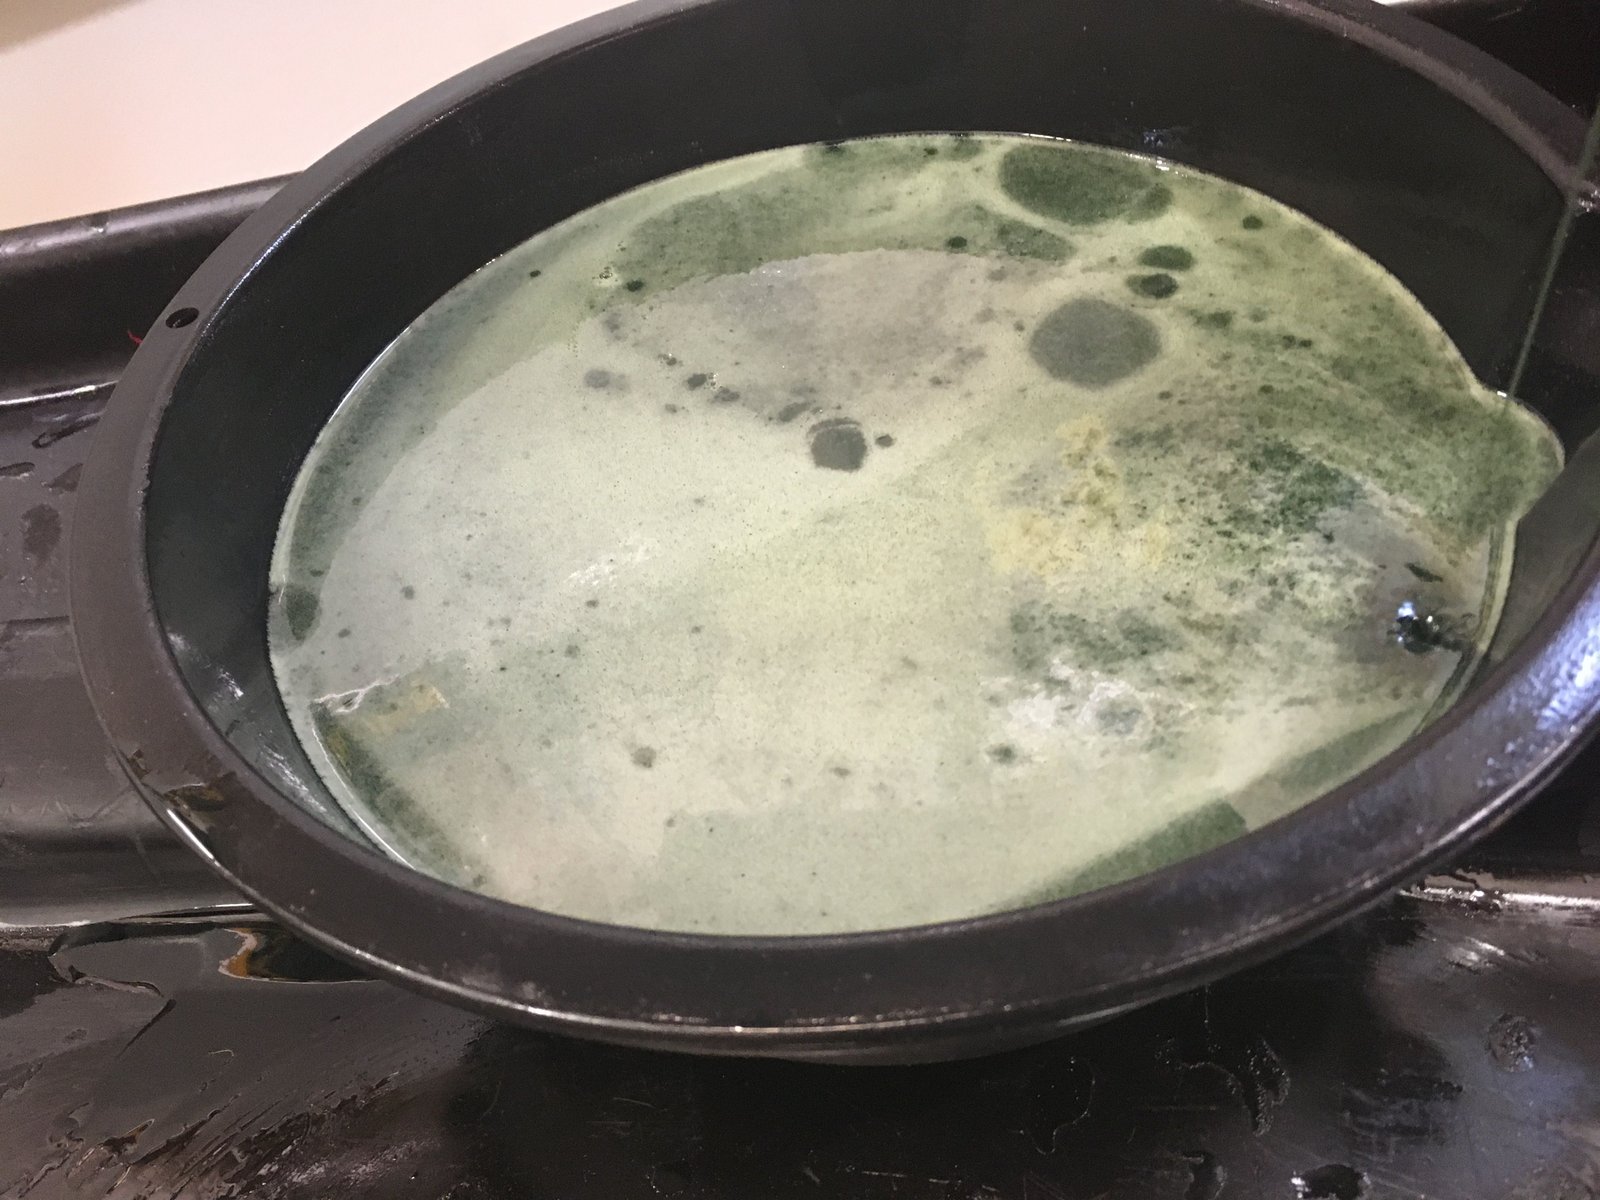
Testing for oil pressure....something is not right. only
20 - 30 psig. And lots of air.
|

I'm using Penn break-in oil and it's green. But it's
also full of tiny bubbles. I'm going to call it a night and
pull the pan the next day and see if I left out an oil galley plug
or two. |

The next day the air is gone (but the oil is still green) ;)
|

Tear down shows my mistake....did not replace the front plugs
during that final cleaning. |
Plugs in.
|

Getting read for dyno and new oil system test. |

|

Oil pressure is 60psig. I put in Amsoil 30W break in oil
instead of the Penn green oil. |

|

Only one glitch found during oil system test. One lifter
sent more oil than the rest. I'll replace that lifter after
the dyno test. |

|
Check back in a few
days for dyno results. |

|
|