|
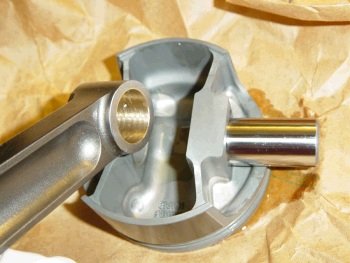
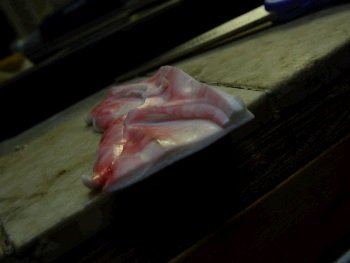
I weigh the piston/pin/rings/locks and give that info to the balance
shop. This is a Mahle piston for 6" rod, 3.75"
stroke.
|

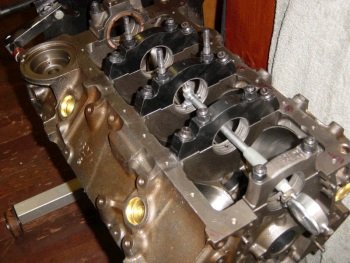
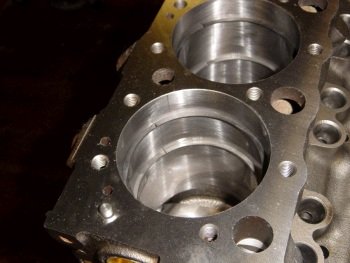
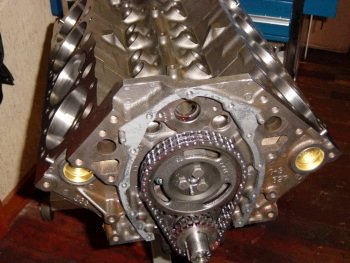
October 4th, 2007:
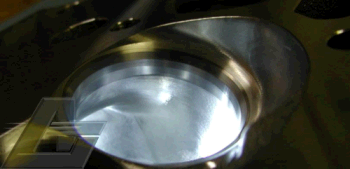
This is the block only minutes after washing with soap and
water. It's been air dried and oiled with WD40.
|
|
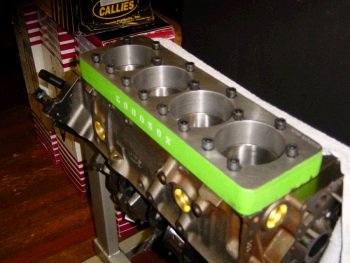
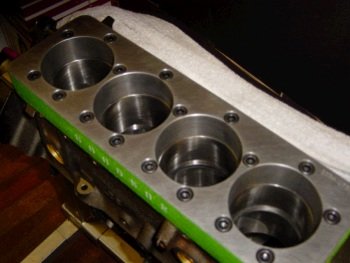
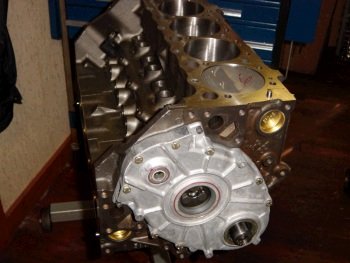
Another view of the freshly
cleaned block.
|
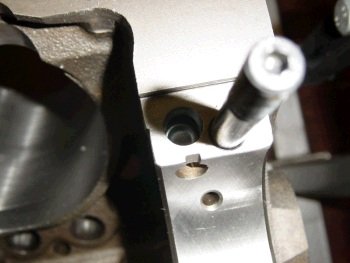
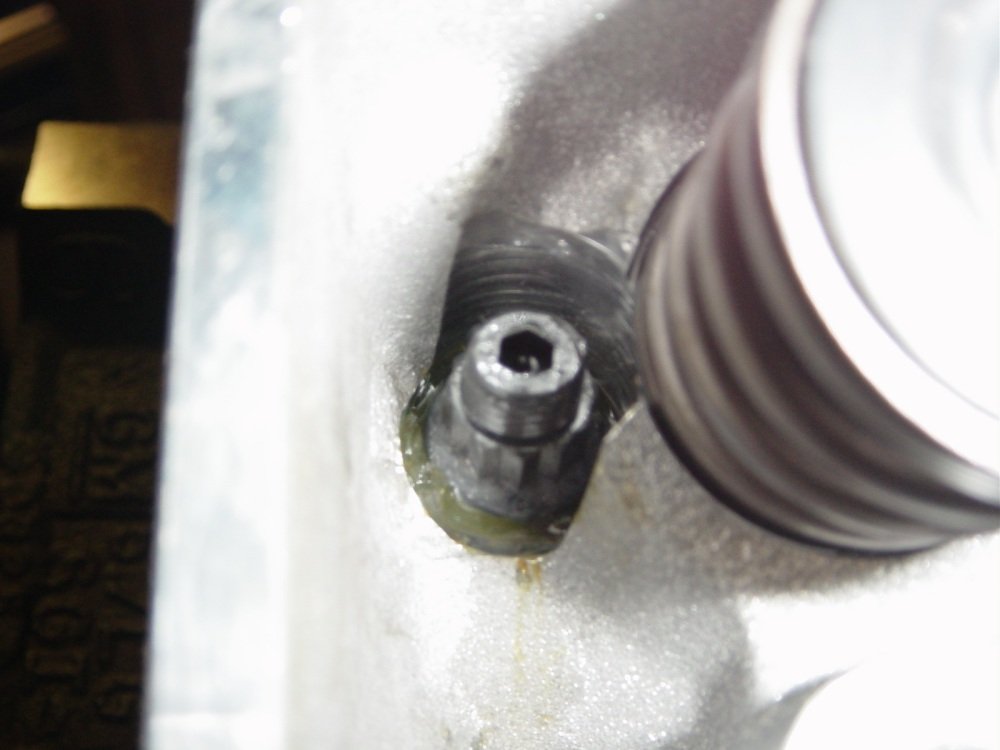
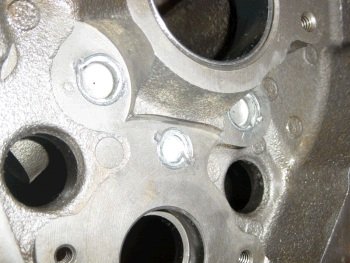
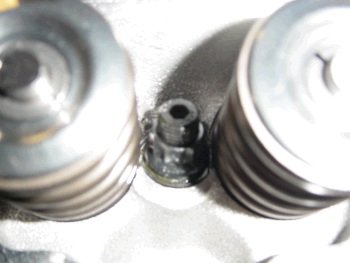
Oil galley plug. Factory
has a steel ball in that oil galley. I use a soft core
plug. If that galley is not plugged then the oil filter will
be bypassed and oil pressure will indicate somewhat higher than
normal.
|
|
Cam bearing
installation: I draw on the bearing to help with proper oil
hole alignment. This is bearing #5 and it needs to have the
oil hole at 12 O'clock.
|
Here is a Dura-Bond coated cam
bearing being hammered home.
|
|
The front #1 cam bearing on
the LT1 should have the oil holes at 1 and 5 O'clock. The
engine is upside down here so you see the holes at 7 and 11 O'clock.
|
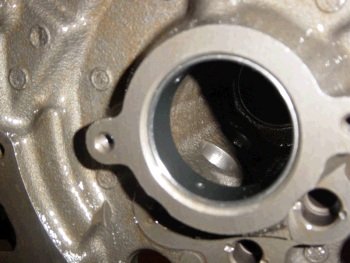
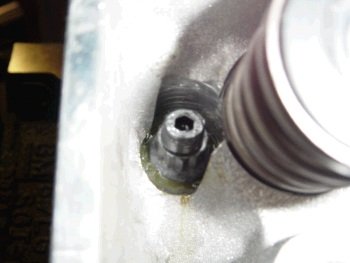
LT1 oil galley plugs with
small holes to allow air to escape the galley for quick lube of the
valve-train.
|
|
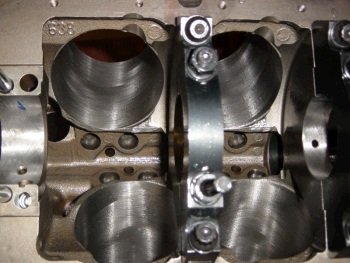
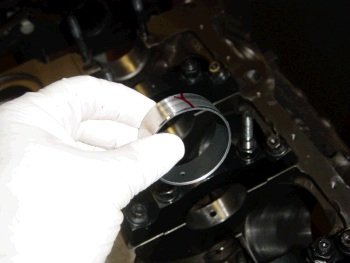
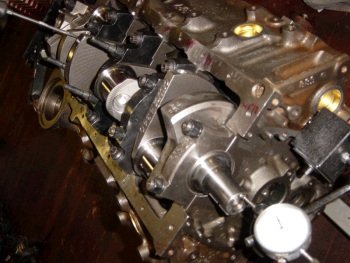
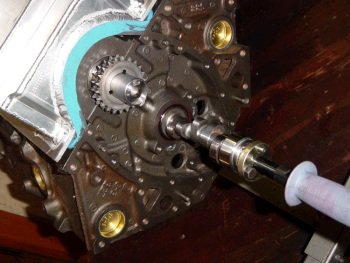
Measuring for main bearing
clearance.
|
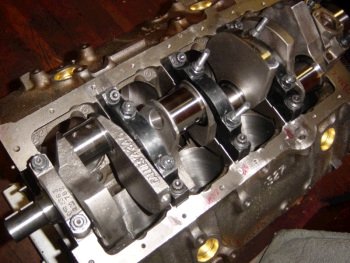
Here is the Dragonslayer
crankshaft from Callies.
|
|

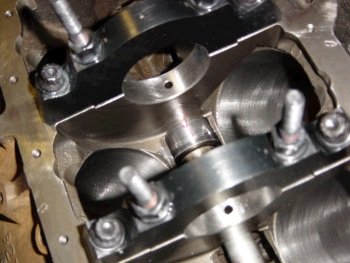
Main bearing clearance ended
up at .0025" for all. I used standard size Clevite
H-series for #2, 3, and 4. I used .001" under Clevite
H-series for #1 main cap. And finally I used standard sized
ACL bearings for the thrust #5.
|
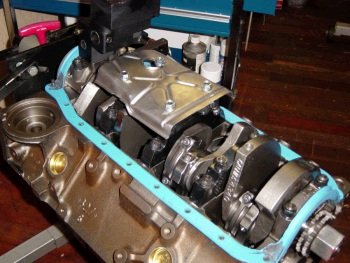
Crank is in and caps are
torqued. Thrust (crank end-play) is .006".
|
|

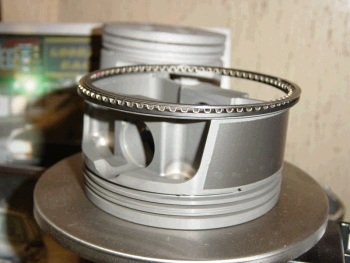
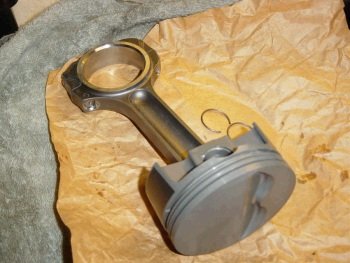
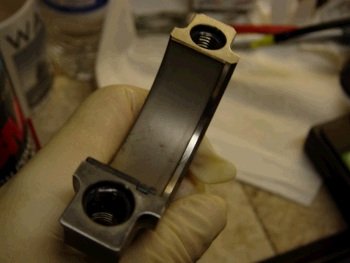
Oliver rod, Mahle piston ready
for assembly
|
Cleaned and oiled.
|
|
Mahle uses 2 wire locks for the pin which is 2 grams lighter than
using 4 spiro loxs.
|

Pistons/rods stored in Pepsi rack.
|
|
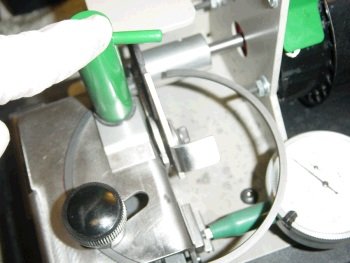
Ring filing. This tool is from Goodson.
|
Top ring at .024"
|
|
2nd ring at .028"
|
Invested in a torque
plate. Turns out that it makes the bores a tiny bit more round
but the ring gap is the same.
|
|
Piston to cylinder wall clearance is 0.0025 to 0.0030"
|
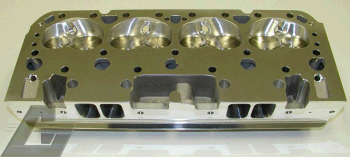

I have these exact heads here
at the shop. Ai delivered them yesterday. And now they
are the photo child feature at their web page, (LINK)
look mid-way down at the TFS 215cc heads.
|
|

Measured rod bearing clearance, (Oliver billet stroker rods with
Clevite H-series bearings). All = 0.0025"
|
For the last year or so the Clevite H-bearings have only been
available in the "N" type which is
"narrow". You can see that here.
|
|
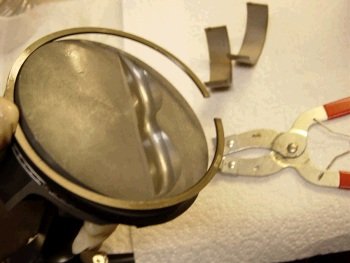
I am finding better technique for ring installation. No
scratches on the piston and no over-stretched over-expanded rings.
|

ARP brand piston ring compressor. Bores have to be super clean
and then oiled prior to installing piston/rod combo.
|
|
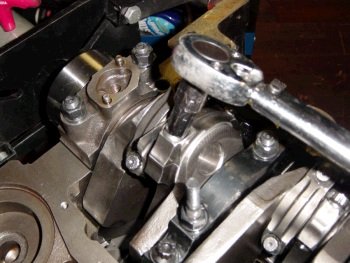
Shim is slid between the rod pairs as support while torquing rod
bolts to 90ft-lb.
|
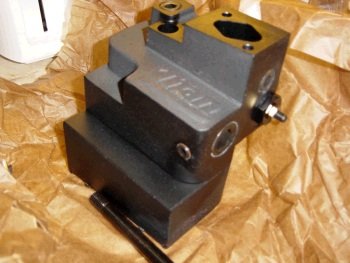
Freshly unwrapped Titan gerotor oil pump.
|
|
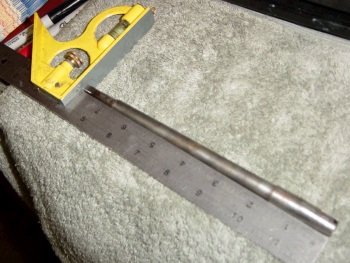
The Titan uses a solid drive shaft and it needs to be shortened to
fit.
|
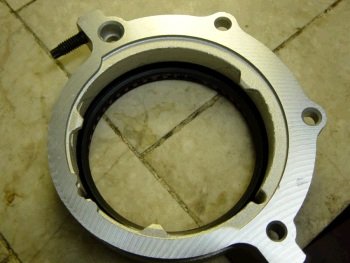
All long blocks receive a brand new rear main seal and housing from
GM.
|
|
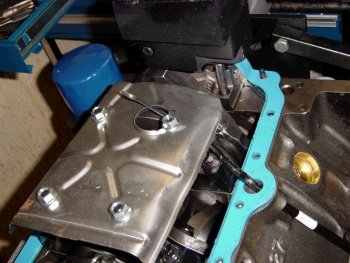
Now the pump is on and the modified stock windage tray is installed.
|
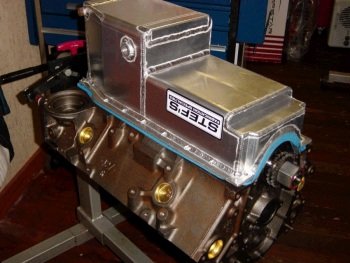
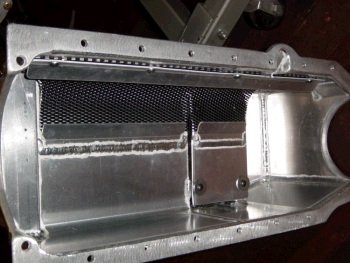
The Stef's oil pan is custom build for Ellwein Engines to fit around
Titan oil pumps. You can have one for your LT1 powered car by
just calling Stan at Stef's. Tell him you want the Ellwein oil
pan. The pans are quite costly so be prepared.
|
|
Ai solid roller cam. It
took me a while to get the cam degree correct due to using the
Cloyes Hex-A-Just timing set. I will probably go to the
regular double roller Cloyes though.
|
Hex-A-Just timing set.
The cam button and bolts need to be modified so as not to stick out
too far and interfere with the opti-spark. I just grind down
the cam button and use small headed cam bolts.
|
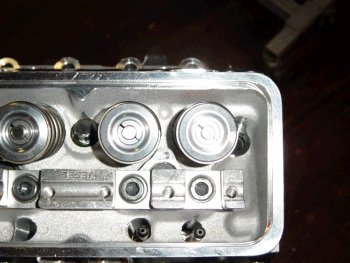
|

After degreeing the cam I need
to put the heads on and mock up the valve train to check for piston
to valve clearance and also pushrod length. Note this head
bolt washer needs to be flattened on the sides to fit past the wide
springs.
|

These Xceldyne retainers and
locks are beautiful. Here is a photo for your eye pleasure.
|
|

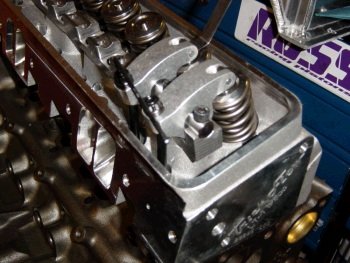
So the head is on and the Jesel rockers and the adjustable pushrod
on Morel solid roller lifter in #1 exhaust.
|
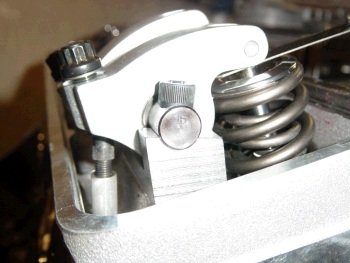
The lash is set at .026"
and the rocker adjust nut turned down 1 turn. Pushrod measures
8.000"
|
|
Flash masked the rocker tip to valve tip marks. (sorry). I
installed shop pushrods for the next test. The Jesel stand has
the shims installed to make the stand taller. This puts the
rocker tip at the dead center of the valve tip. The engine was
rotated and the valves to piston clearance checked out fine.
Will do that test one more time after the final timing set is
installed.
|
Checking piston-to-valve clearance, (PTV). Cam has to be
degreed for this to be meaningful. I don't do this on motors
with smaller cams.
|
|
Head on with rockers lashed to .026". I measured the
pushrod length incorrectly the other day because the 8.000"
(3/8") set I just received from Ai are too long. I
ordered up a set of 7.900". Substituting 7.850"
5/16" pushrods here.
|
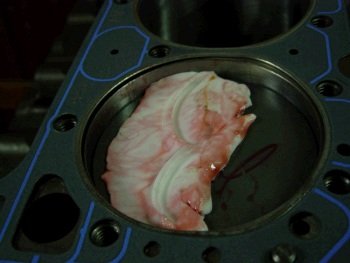
After turning the crank slowly, (just one revolution), this is the
result. Exhaust valve needs more PTV than intake. I have
to carefully peel that out and cut it and measure the thickness.
|
|
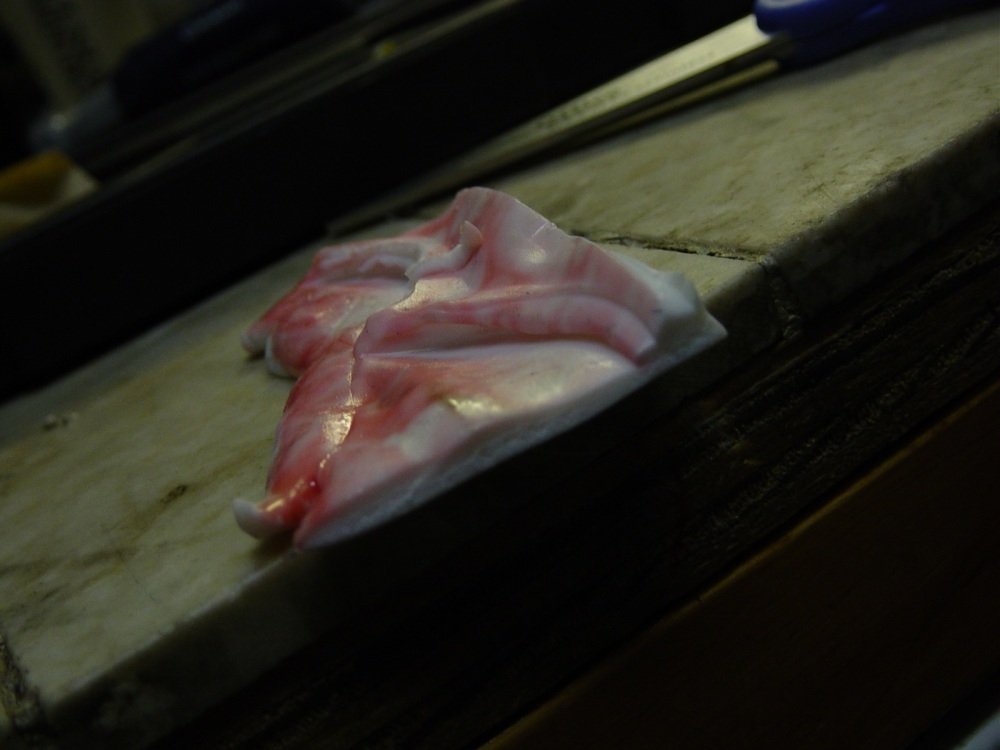
The intake side was thinnest. This is 0.080". It
smooshed a little bit at where I squeezed the caliper on it at the
valve edge. The exhaust is .100"
|
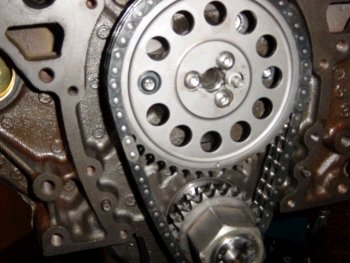
New Cloyes timing set. This is a -.010" set. Crank
sprocket is at zero and the cam degreed dead nuts on (104 deg. ICL).
|
|
New timing cover from local GM, (Winegardner Pontiac).
|
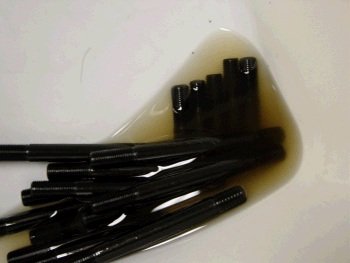
ARP head studs being cleaned in Brake-clean.
|
|

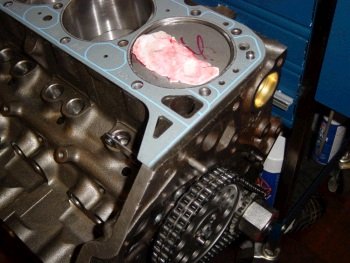
Using FelPro head gasket at .039" crush with .006" piston
in the hole for .045" quench.
|
The ARP stud set is a 6 point hex-head kit but this center stud
needs to use a 12pt nut from my shelf stock. (valve springs too wide
for 6pt nut).
|
|
The mid size studs at the end of the heads also need to use the
12pt.
|
Getting ready to put the Stef's oil pan on. Oil pan gasket
needs to go on and then the dipstick tube.
|
|
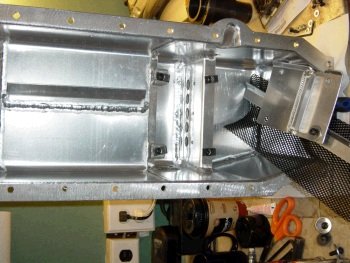
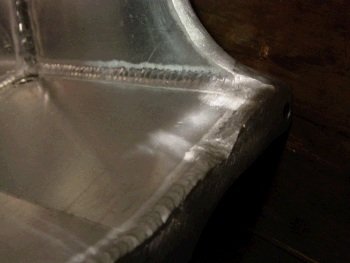
Stef's pan requires to be disassembled and cleaned to make sure weld
slag and metal shavings are removed.
|
Clean and re-assembled.
|
|
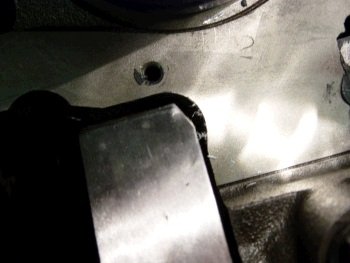
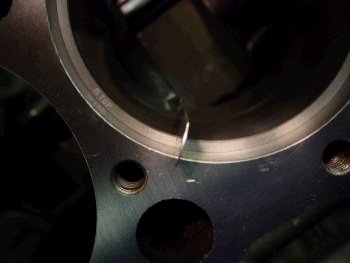
This rear crankshaft counterweight bumps into the oil pan rail.
|
That's the spot. I have to clearance it with a Dremel tool.
|
|

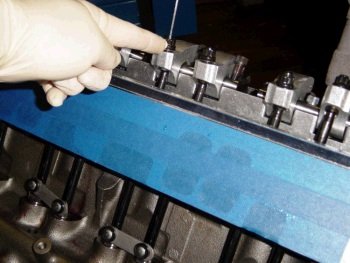
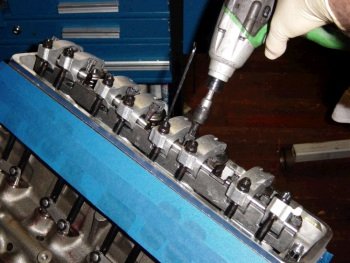
Taking a break now from doing the oil pan. Here is a step by
step photo instructional on how to install and set the Jesel rocker
lash. Do one pair at a time. Roll the crank over so that
the intake/exhaust lifters are on the cam base-circle. Do not
have the Jesel rocker pair screwed into the rocker stand at this
time.
|
Make sure the Jesel rockers have the adjuster nut fully backed out.
|
|
Tighten the shaft bolts, (25ft-lb with oil).
|
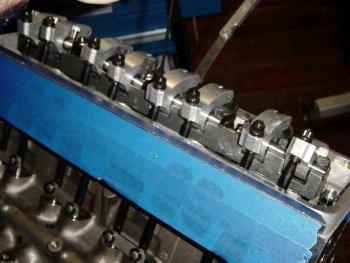
Set the lash, (.026") and you are finished with this
pair. Be careful and do not do what I did a few years
back. Do not screw-in or unscrew any shaft bolts when the
valve spring is under tension. The shaft will snap into 2
pieces.
|
|
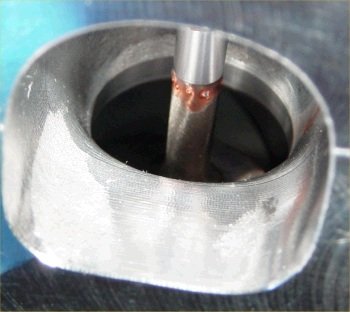
The reason that PTV is so important to check is that the exhaust
valve is closing with the piston coming up and chasing it. An
uncontrolled valvetrain, (valve bounce or valve float), could cause
the piston to hit the exhaust valve. This photo shows the
piston still pretty far away as the exhaust valve shuts.
|
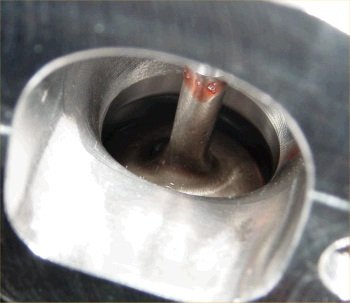
Now the piston is near TDC and the exhaust valve is as close as it
gets to touching the piston. The valve is actually in the
piston valve relief pocket.
|